
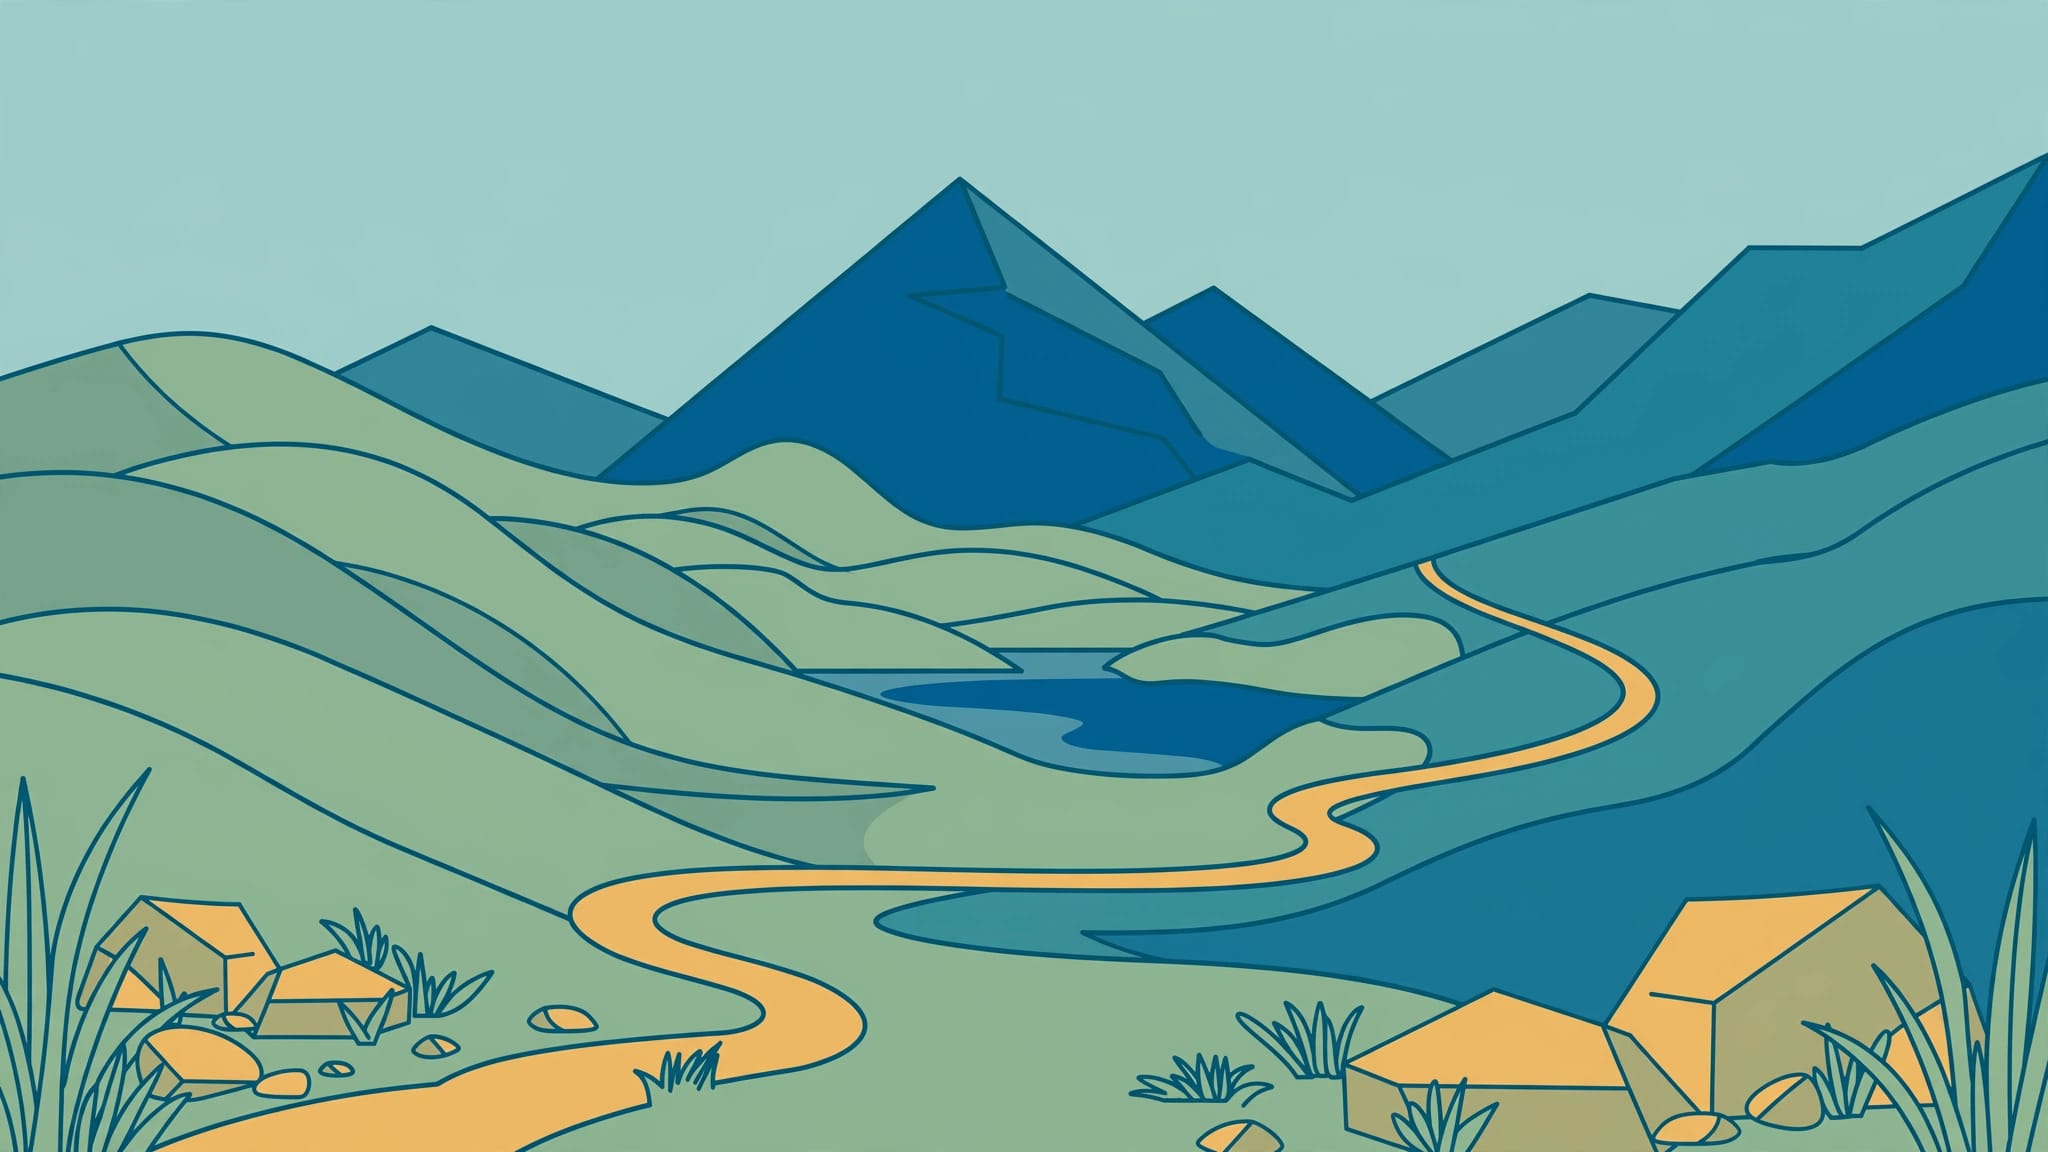
Foreground layers give travel landscape photos depth by connecting something near the camera with the view beyond it. The strongest foreground supports your subject rather than competing for attention.
A nearby rock can make a mountain feel farther away, but filling the bottom of the frame with random detail usually adds clutter. Viewpoint matters more than finding an impressive object.
Start by deciding where you want the viewer’s eye to land, then build a clear route toward it.
What Foreground Layers Do for Landscape Photography
A foreground layer gives the viewer a visual entry point. A foothold for the eye. It also provides clues about distance that a flat photograph would otherwise lose.
Connect the Near View With the Distance
Start with the distant subject. Then look for something nearby that belongs with it.
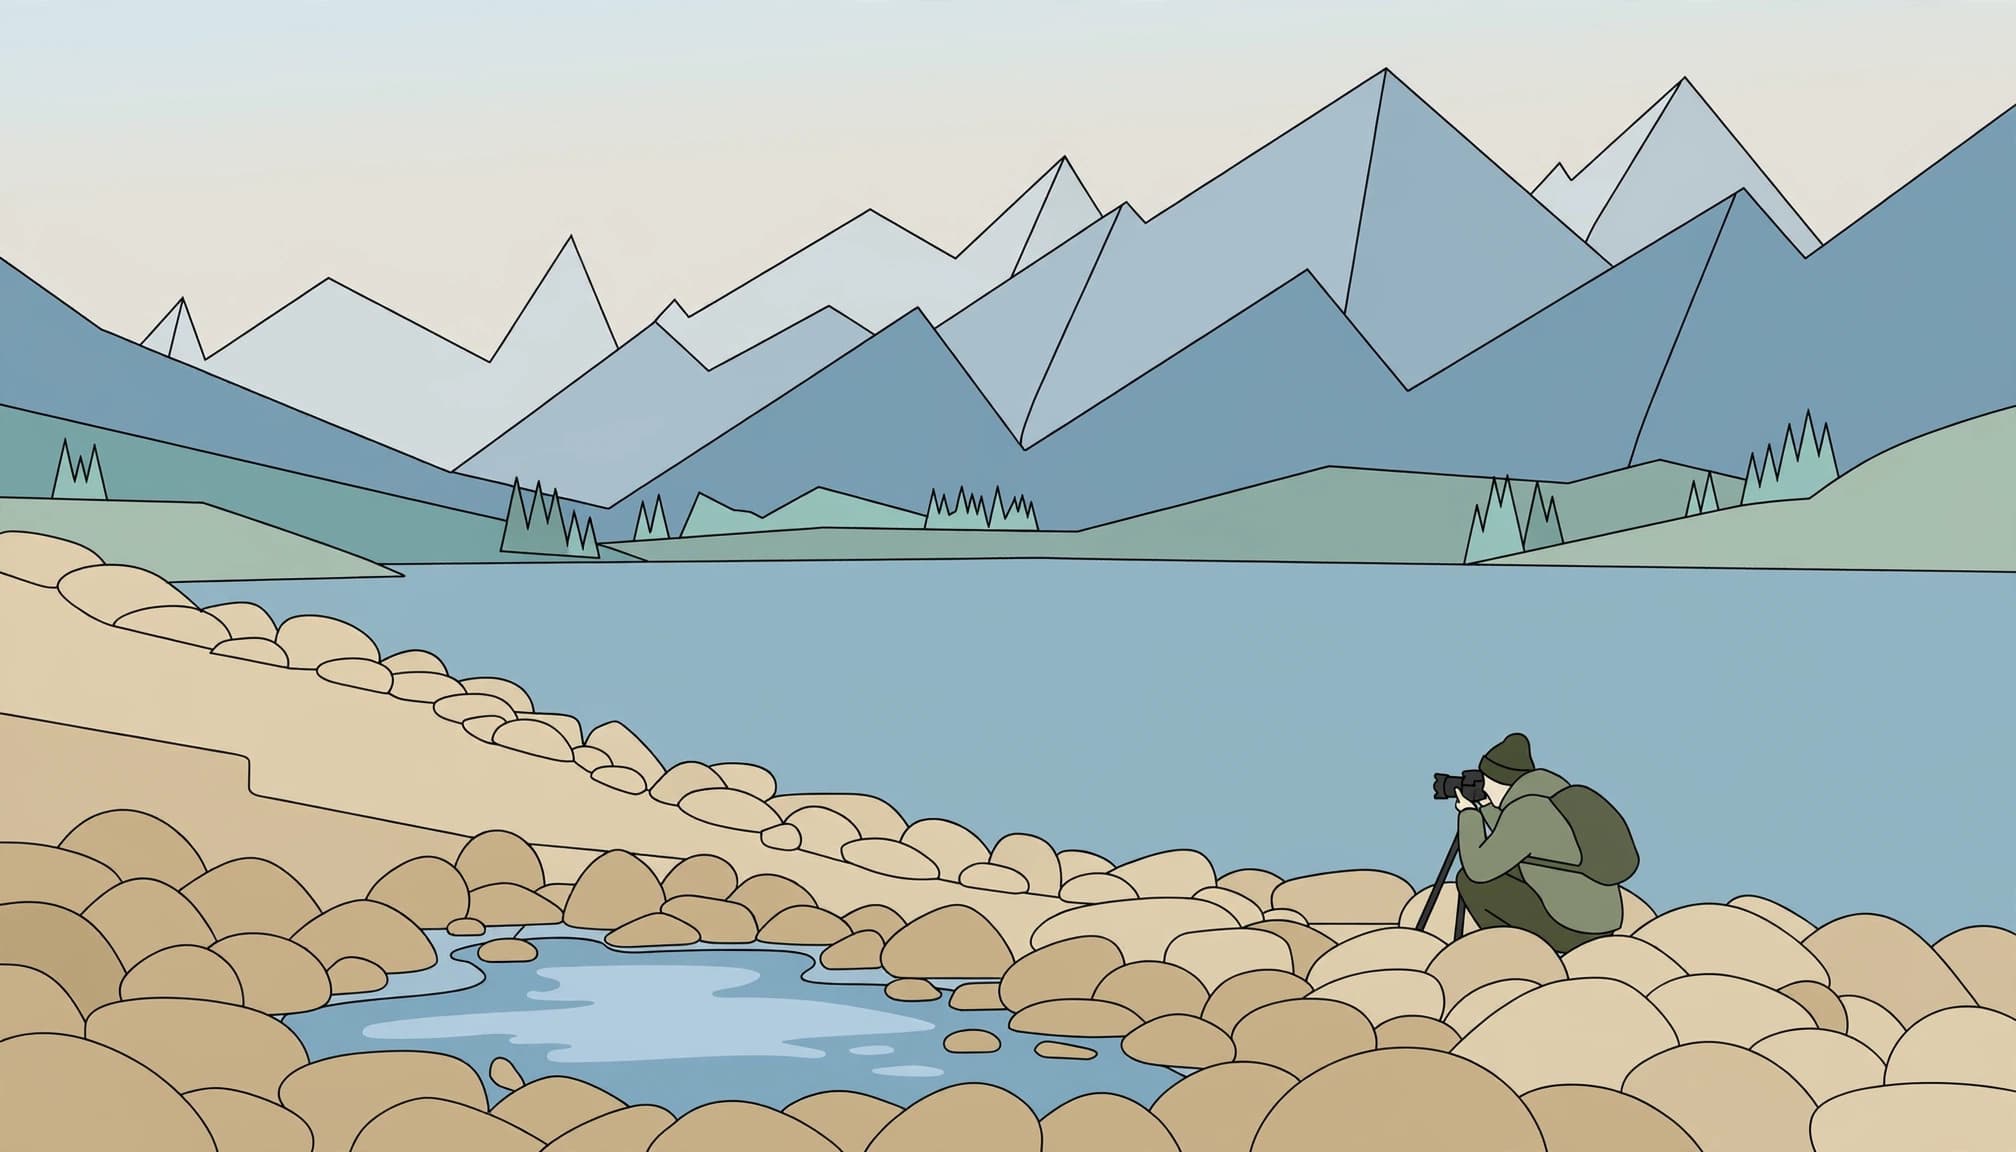
Shoreline stones relate naturally to a mountain lake. A trail can connect your position with a hut across a valley. These relationships make the landscape easier to read because the viewer can follow its geography.
However, you don’t need an obvious object in every layer. Open water can provide the breathing room between a detailed shoreline and distant mountains.
Create Depth Without Blocking the View
Overlap helps establish distance, but too much overlap hides useful information. A foreground branch may frame a peak beautifully until it cuts across the summit.
Give each layer some breathing room. Keep important outlines distinct, especially where dark shapes meet other dark shapes.
When nearby detail merges with the background, change your position before adding more elements. A simpler foreground often gives the landscape greater depth.
Choose a Foreground That Belongs in the Place
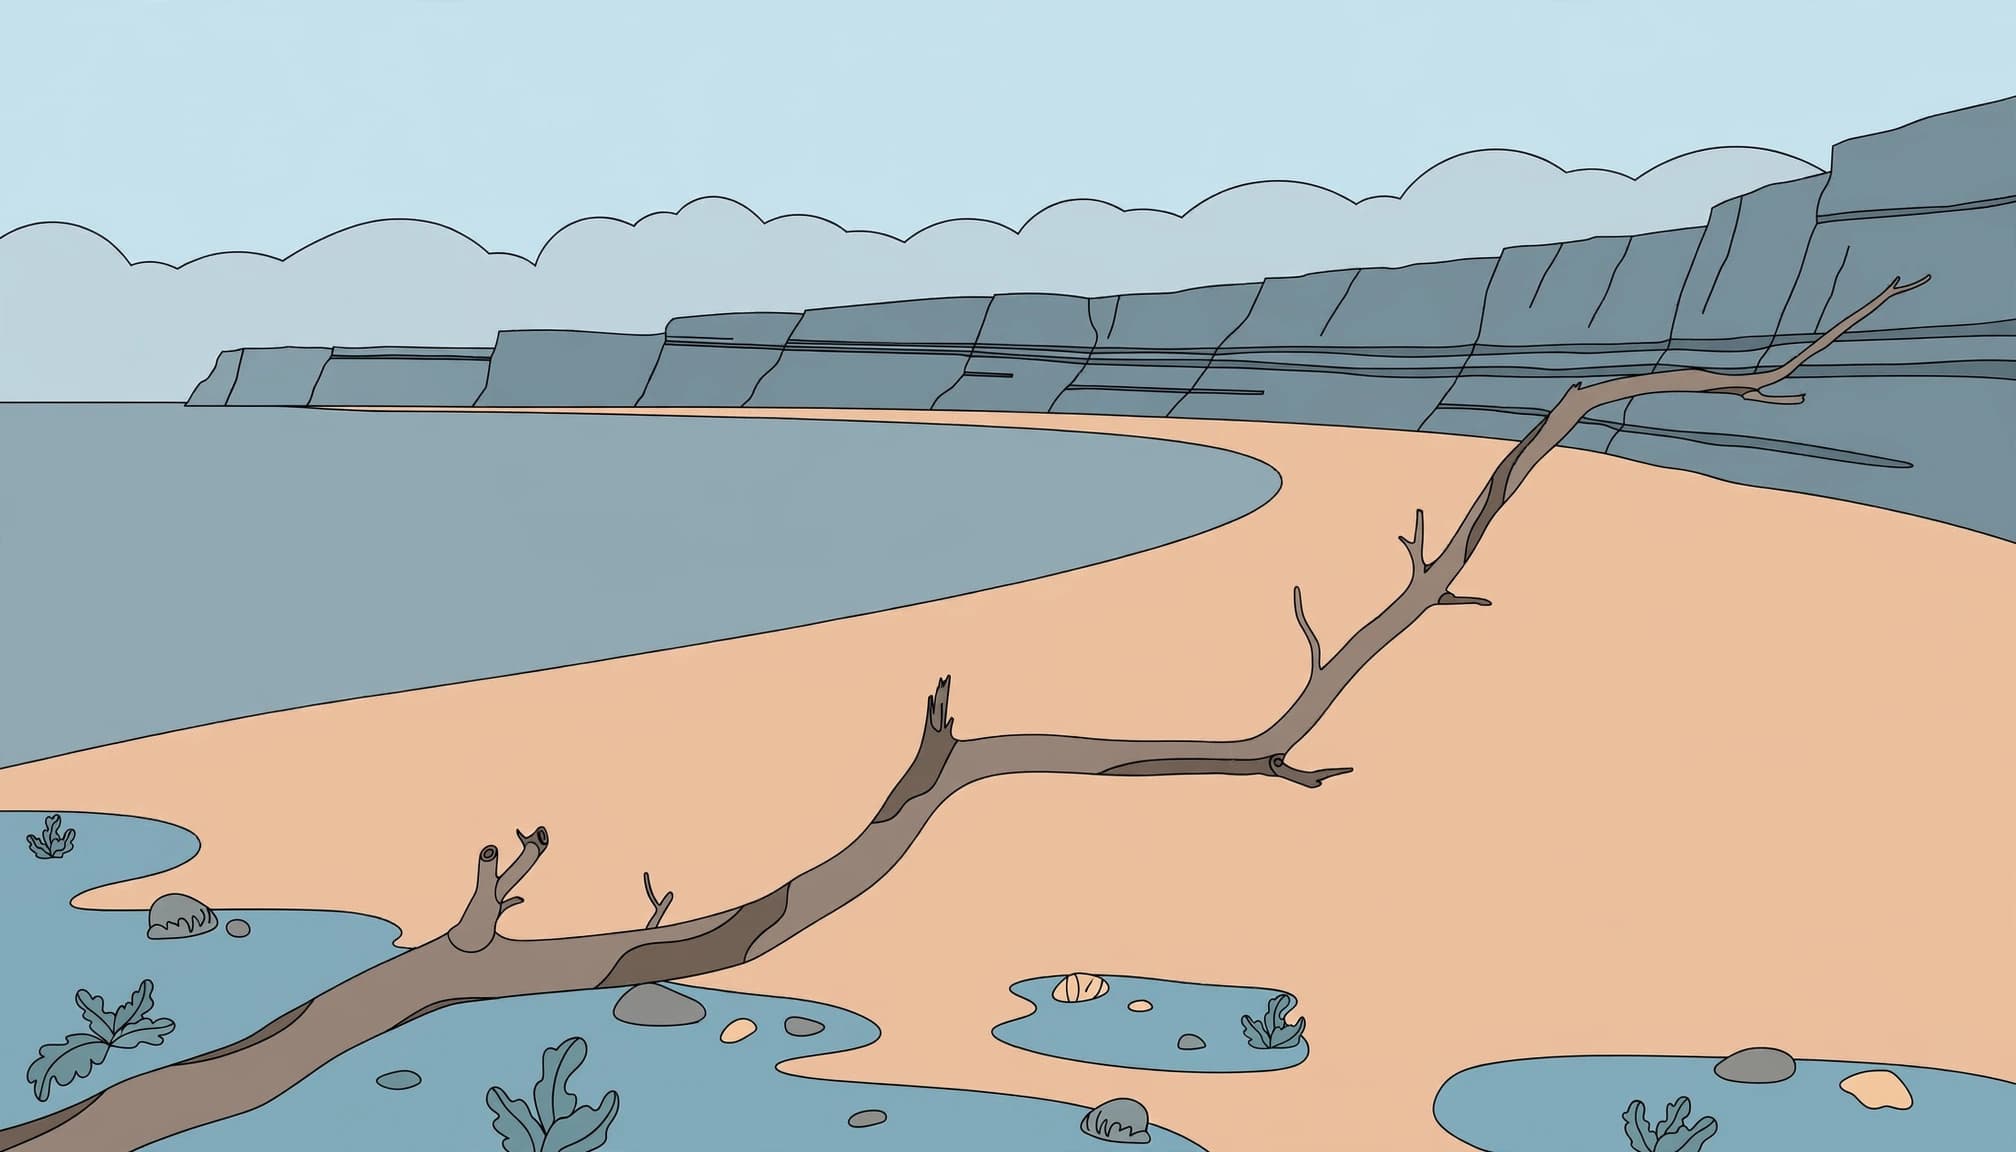
Useful foregrounds tell you something about the destination. Weathered coastal timber feels connected to a beach; an unrelated object placed there for interest doesn’t.
Look for Direction and Shape
A curving path can guide attention toward a mountain. Similarly, the edge of a tidepool can echo the coastline behind it.
Follow the line through the frame before shooting. If it carries attention toward an empty corner, shift until it points somewhere useful.
Avoid including a foreground merely because it has texture. Detailed gravel can fill a large area without giving the viewer a reason to look beyond it.
Use Built Features in Travel Landscapes
Foreground layers aren’t limited to natural scenery. A low parapet can anchor a coastal village view, while a doorway can frame buildings on a hillside.
The white walls described in these Santorini sunrise composition ideas show how architecture can guide attention toward distant domes.
Keep nearby structures proportionate to their role. Unless the wall itself is your subject, let it introduce the view rather than cover it. Watch for bright surfaces that attract more attention than the landmark beyond them.
Change Your Viewpoint Before Changing Your Lens
Move your feet first. Camera position determines how near and distant objects line up, while focal length determines how much of that arrangement enters the frame.
Adjust Height to Control Overlap
Crouching makes nearby objects more prominent. However, it can also hide the middle distance behind them.
If a foreground boulder blocks the shoreline that connects it to a distant mountain, raising the camera slightly can restore that missing stretch of water without sacrificing the boulder’s shape or its sense of nearness.
Compare both heights before setting up a tripod. Neither position is automatically stronger.
Match the Composition to Your Available Lens
A wide lens makes nearby objects appear large relative to the distance when you work close to them. That can strengthen a foreground, but it can also shrink your mountain into insignificance.
Step back when the balance feels wrong. Then adjust the zoom to restore your framing.
These one-lens travel photography techniques offer ways to adapt your viewpoint instead of carrying more equipment. If the foreground remains messy, a tighter composition may be the better photograph.
A longer lens can isolate distant layers without requiring a close foreground at all.
Keep Important Layers Sharp
Composition establishes depth, but focus determines which details remain readable. According to Canon’s depth-of-field explanation, depth of field describes the area of apparent sharpness within an image.
Set Focus for the Actual Distances
Don’t automatically focus on the mountain. A close foreground may fall outside the sharp area even when the background looks excellent.
Instead, choose an initial focus point and inspect both the nearest important detail and the distant subject at magnified playback. Adjust focus or aperture according to what the photograph needs.
The PhotoPills depth-of-field guide explains why aperture alone doesn’t settle this: focal length and focus distance also affect apparent sharpness.
A Bear Lake field anecdote illustrates another risk. During a cold June shoot, a photographer focused on wet granite and fitted a 6-stop filter. After three sharp frames, a glove nudged the focus ring while wiping away spray. Focus needed resetting.
These slow-shutter sharpness techniques address similar problems around water.
Use Focus Stacking When the Scene Allows It
When a very close foreground and distant landscape won’t both appear sufficiently sharp, focus stacking can help. Capture matching frames focused at different distances, then combine their sharp areas during editing.
This guide to focus stacking in landscape photography covers capture and blending.
Keep framing and exposure consistent between images. However, windblown flowers or changing waves can complicate the blend, so judge whether a single frame with a clearer sharpness priority would work better.
Let Light Separate the Layers
Distance becomes easier to read when nearby and distant areas have different brightness or contrast. Side light can reveal the texture of a foreground rock while leaving a mountain slope in softer light.
Fog offers another form of separation. A dark tree against pale mist often reads more clearly than the same tree against a detailed hillside. These techniques for photographing foggy mountain villages apply the same principle to roofs and distant buildings.
Watch the foreground as the light changes. A patch of sun may turn an unimportant stone into the brightest object in your picture.
If the nearest object attracts attention but offers no route into the scene, reduce its brightness through timing or exclude it through framing.
At lakes, a polarizer can reveal submerged shoreline stones by reducing reflections. Rotate it gradually, because removing too much reflection can weaken the connection between water and sky.
Build the Frame Without Disturbing the Place
Use a short sequence when you reach a promising viewpoint:
- Identify the main subject before searching for foreground interest.
- Find a nearby shape that points toward it or explains the location.
- Adjust camera height and position until important outlines separate.
- Inspect sharpness and frame edges before taking another version.
This sequence keeps composition deliberate without turning a travel stop into a long equipment exercise.
Inspect the edges closely. A clipped branch can suggest accidental framing, while a bright scrap of litter may pull attention away from the view. Recompose rather than relying on a later crop.
When the only angle that separates a flower from the distant ridge requires stepping into fragile vegetation, accept a different composition and use the path edge or a more distant foreground instead.
The National Park Service’s Leave No Trace guidance encourages visitors to leave natural places as unchanged as possible. Don’t move stones or bend plants to manufacture a cleaner foreground. Place tripod feet on durable surfaces without blocking the route for others.
Key Takeaways for Your Next Shoot
Use paired photographs to judge your choices rather than trusting the first composition.
- Make one frame at standing height and another from lower down, then compare how much middle distance remains visible.
- Photograph the scene with and without the foreground anchor. Keep the version that gives the main subject a clearer setting.
Compare the photographs at the size you’ll share them. Fine foreground texture may disappear on a phone screen even though its overall shape remains strong.
Frequently Asked Questions About Foreground Layers
Does the Foreground Always Need to Be Sharp?
No, a deliberately soft foreground can frame a sharp landscape. Out-of-focus foliage works best when it forms a simple border rather than an unrecognizable blob over the subject.
However, a detailed rock that dominates the bottom of the photograph usually invites closer inspection. Visible softness there can become distracting, so decide whether it deserves that much space.
Can You Create Foreground Depth With a Phone?
Yes. Camera position matters regardless of the device.
Use the main camera as a starting point and move until a nearby shape connects with the distant scene. Avoid assuming the widest camera will improve every view.
Tap to focus on an important part of the scene, then inspect the result. Small-screen previews can conceal softness or awkward overlaps, especially around fine branches.
Give the Foreground a Clear Job
At your next viewpoint, choose one nearby element and work with it before searching for another. Keep its role clear as you change your height.
Then inspect the point where it meets the distance. Can you raise the camera enough to leave a visible strip of water between the foreground rock and the far shore?
