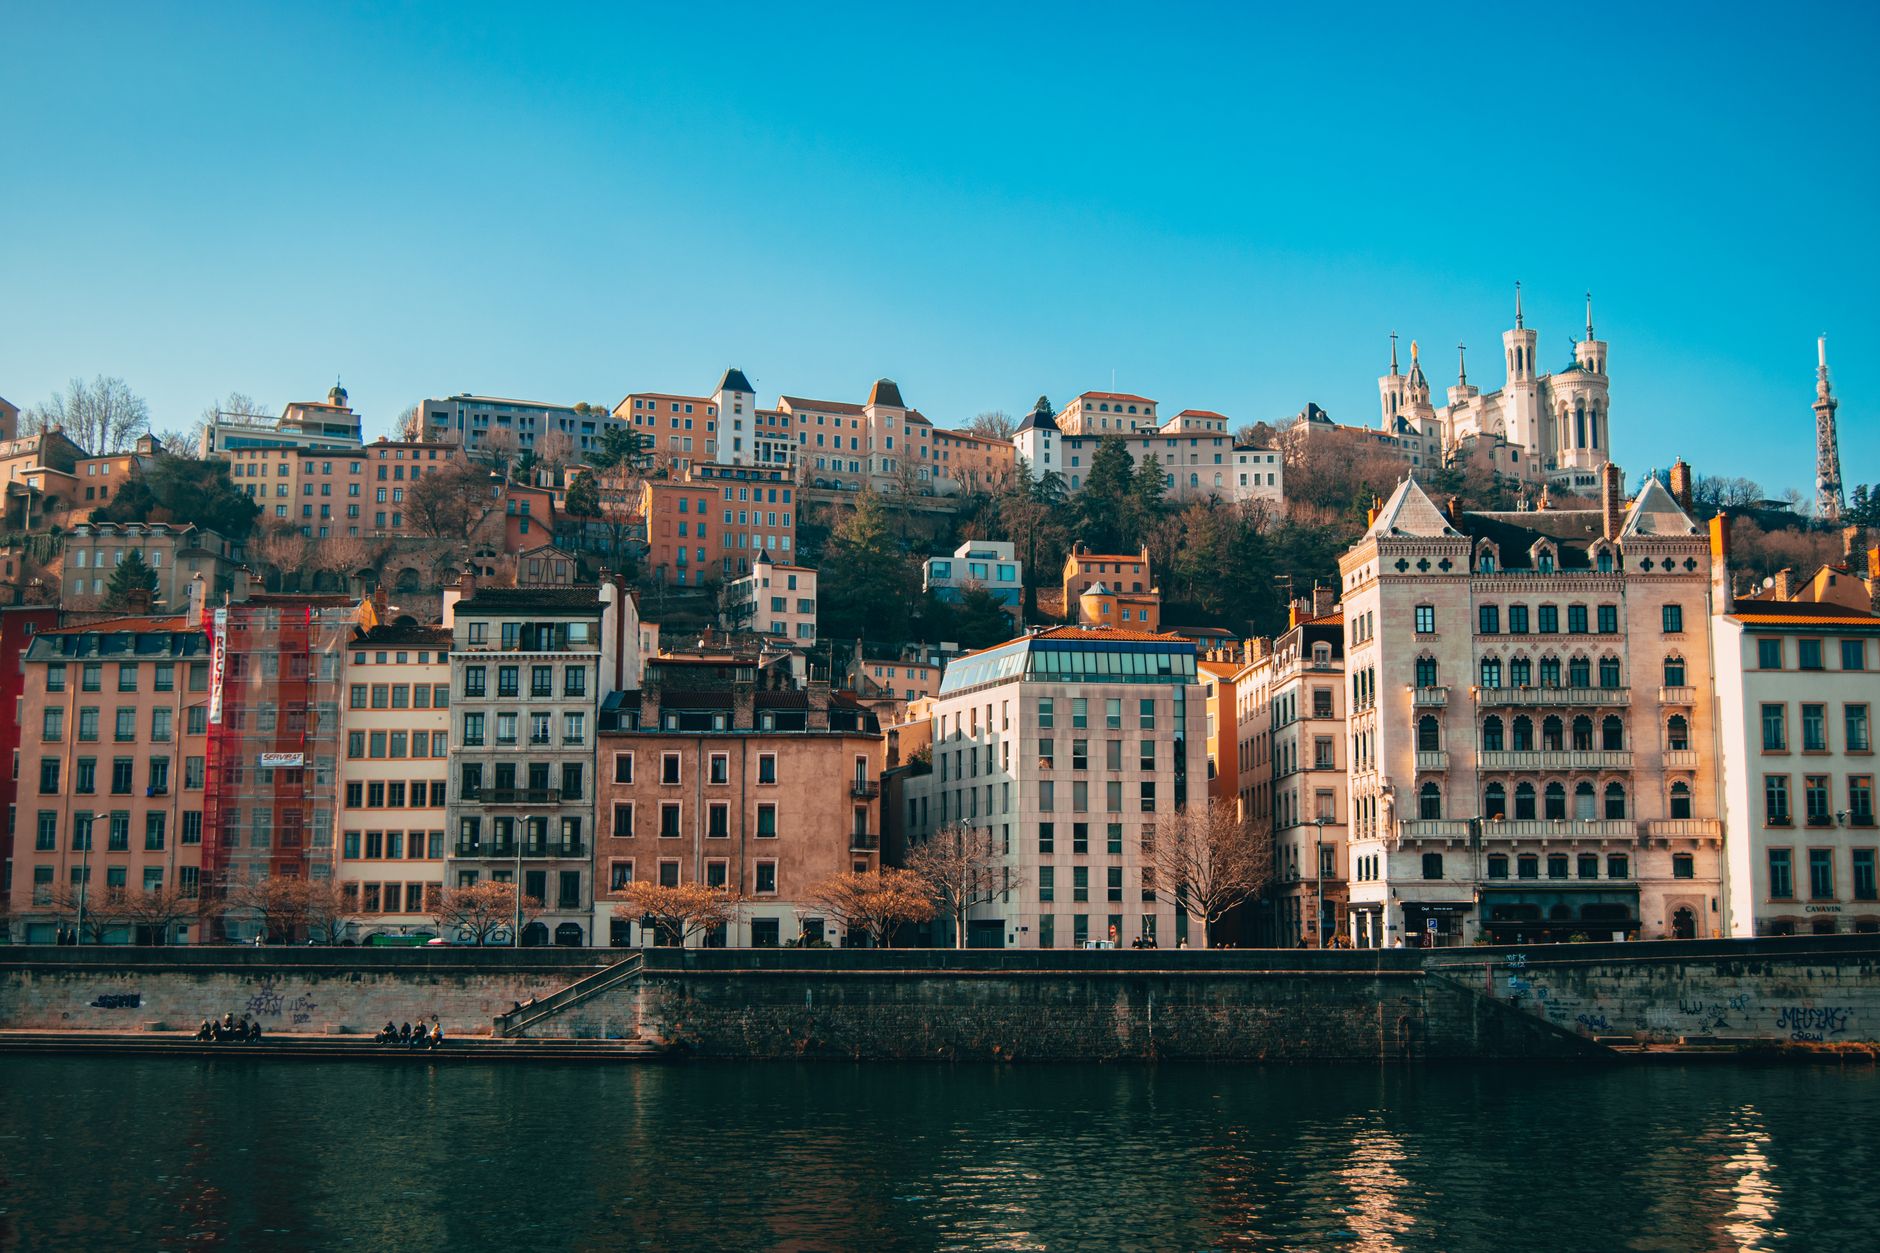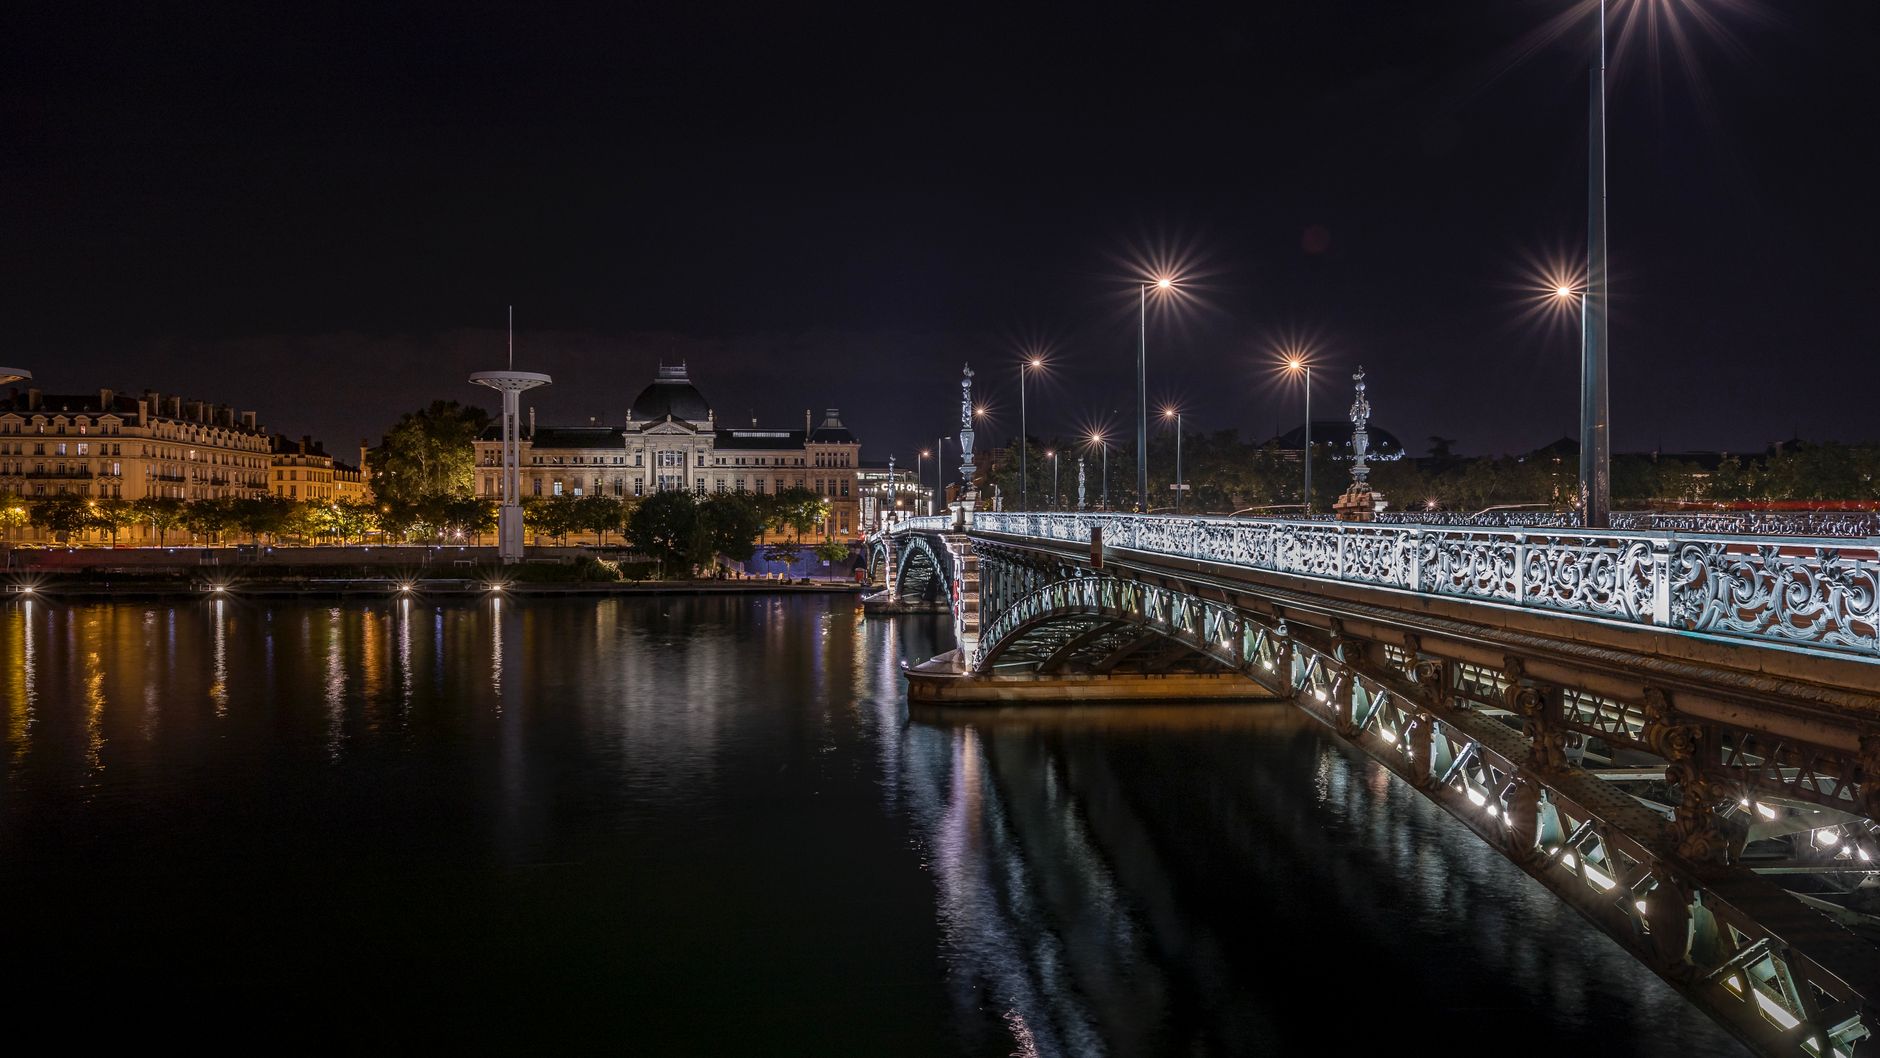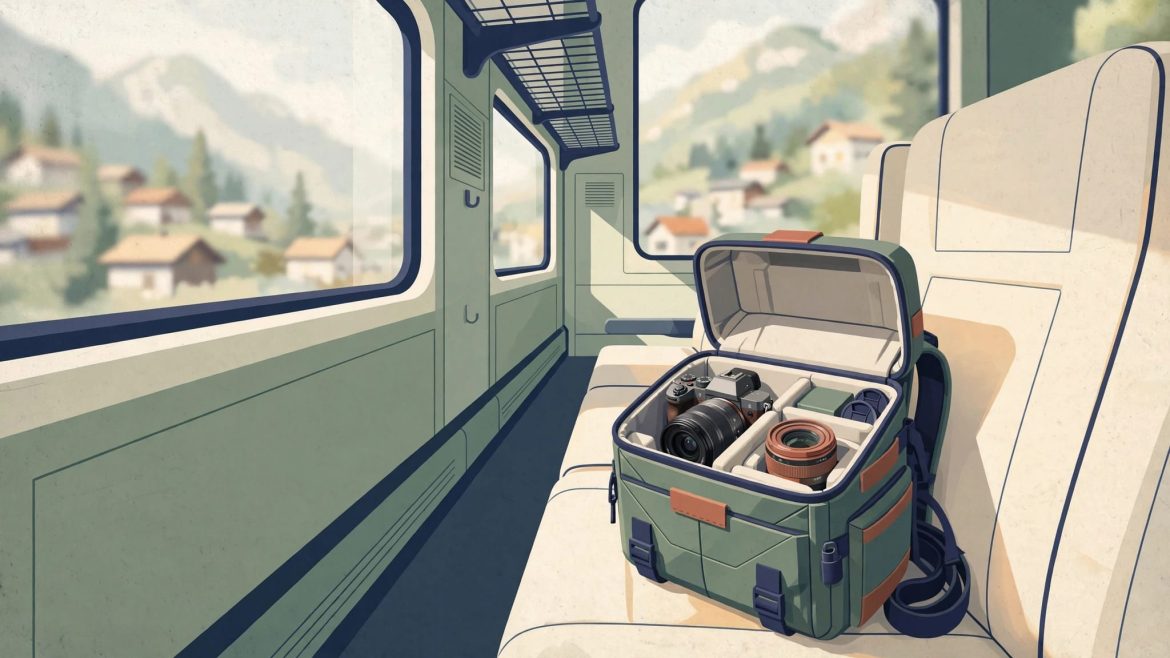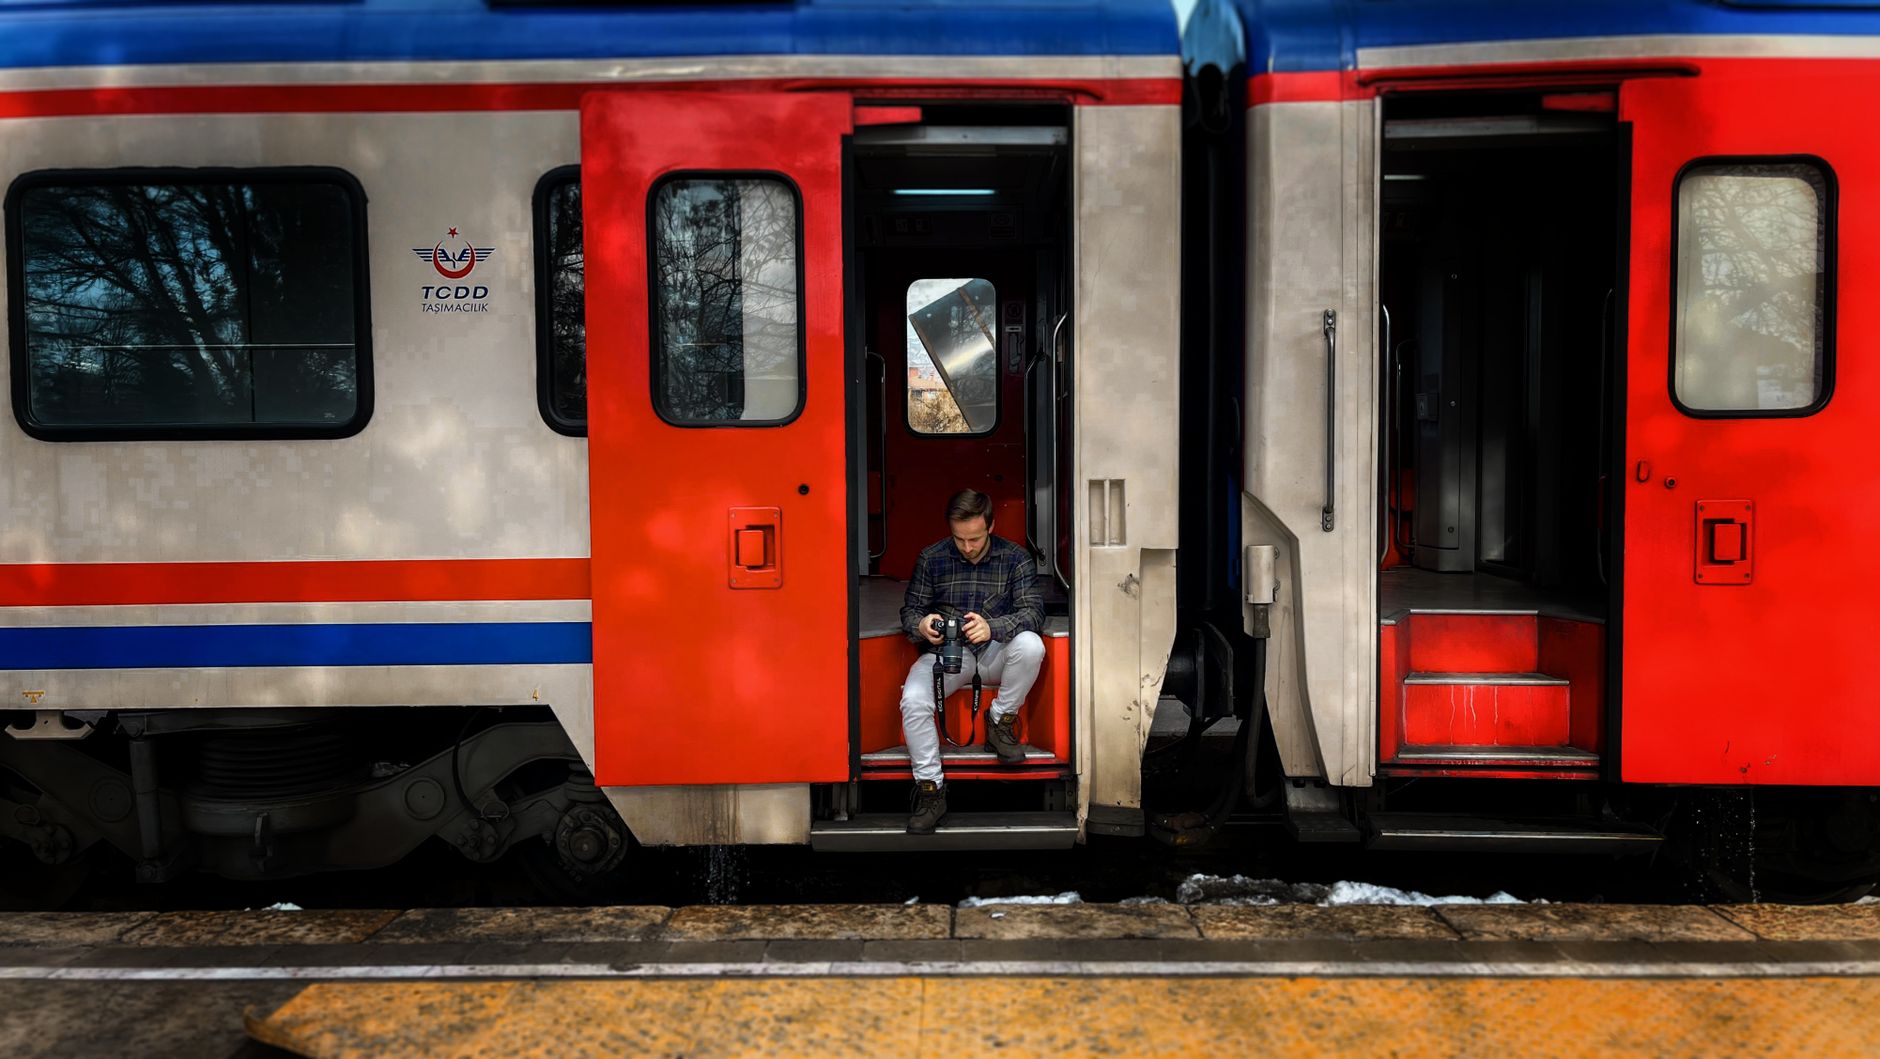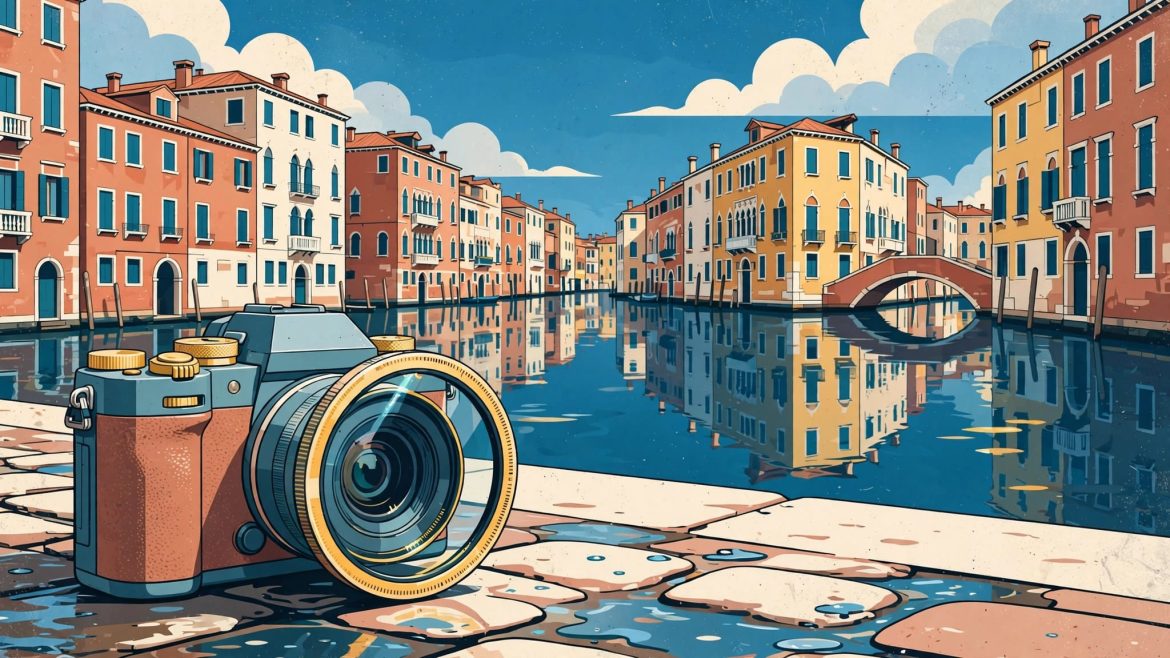
A pale sky over the Amalfi Coast or a glare-covered canal in Venice can leave a travel photo looking flat. Polarizing filter photography changes light before capture, giving you control when glare or washed-out color is the actual problem.
A circular polarizer can reveal cobbles beneath rainwater, separate clouds from blue sky, and give foliage a fuller tone. It costs light, so it isn’t an all-day setting. Rotate it and judge the effect through the viewfinder before setting exposure.
Key Takeaways
- Choose a circular polarizer for modern mirrorless and DSLR cameras. A linear polarizer can disrupt autofocus sensors and through-the-lens metering.
- Rotate the outer ring while viewing the scene through the viewfinder or live view. Make small adjustments until reflections and colors look balanced.
- Expect the filter to absorb one to three stops of light. Check the histogram, adjust shutter speed as needed, and use positive exposure compensation only if the meter still leaves the frame too dark.
- Aim with the sun roughly 90 degrees to your left or right. The effect is usually weaker when the sun is directly ahead or behind you.
- Remove the filter for night scenes and flash photography. Also take it off for wide blue skies that may turn unevenly dark.
- Lightroom can refine color and contrast, but it can’t recover reflections that hid important detail during exposure.
What a Circular Polarizer Changes
Polarizing filters restrict light waves traveling in certain directions. Reflected light from non metallic surfaces, including water, glass, wet stone, painted walls, and foliage, is often partially polarized. Turning the filter can reduce reflections and remove reflected white light. This can increase color saturation without creating color artificially.
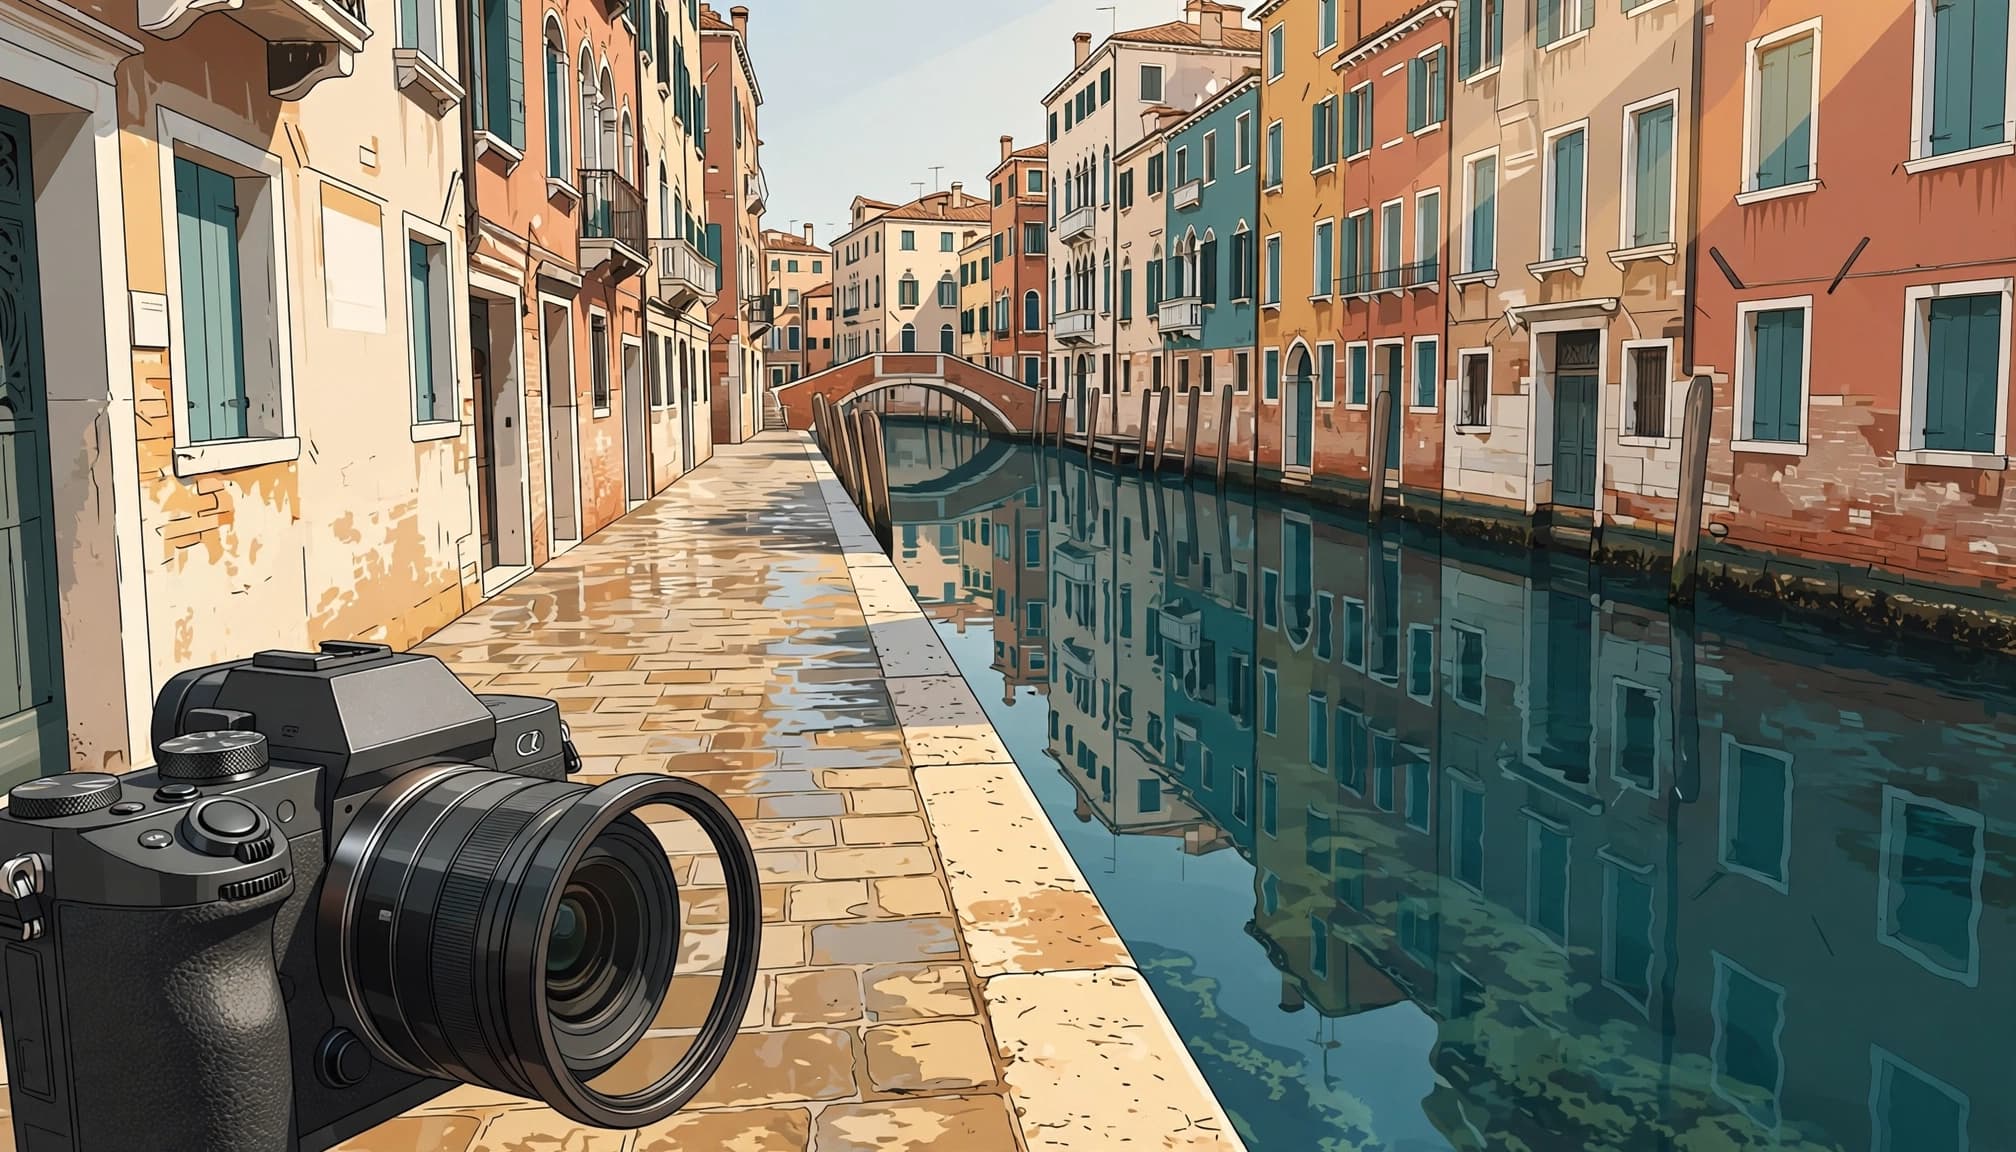
Reflections become a creative choice
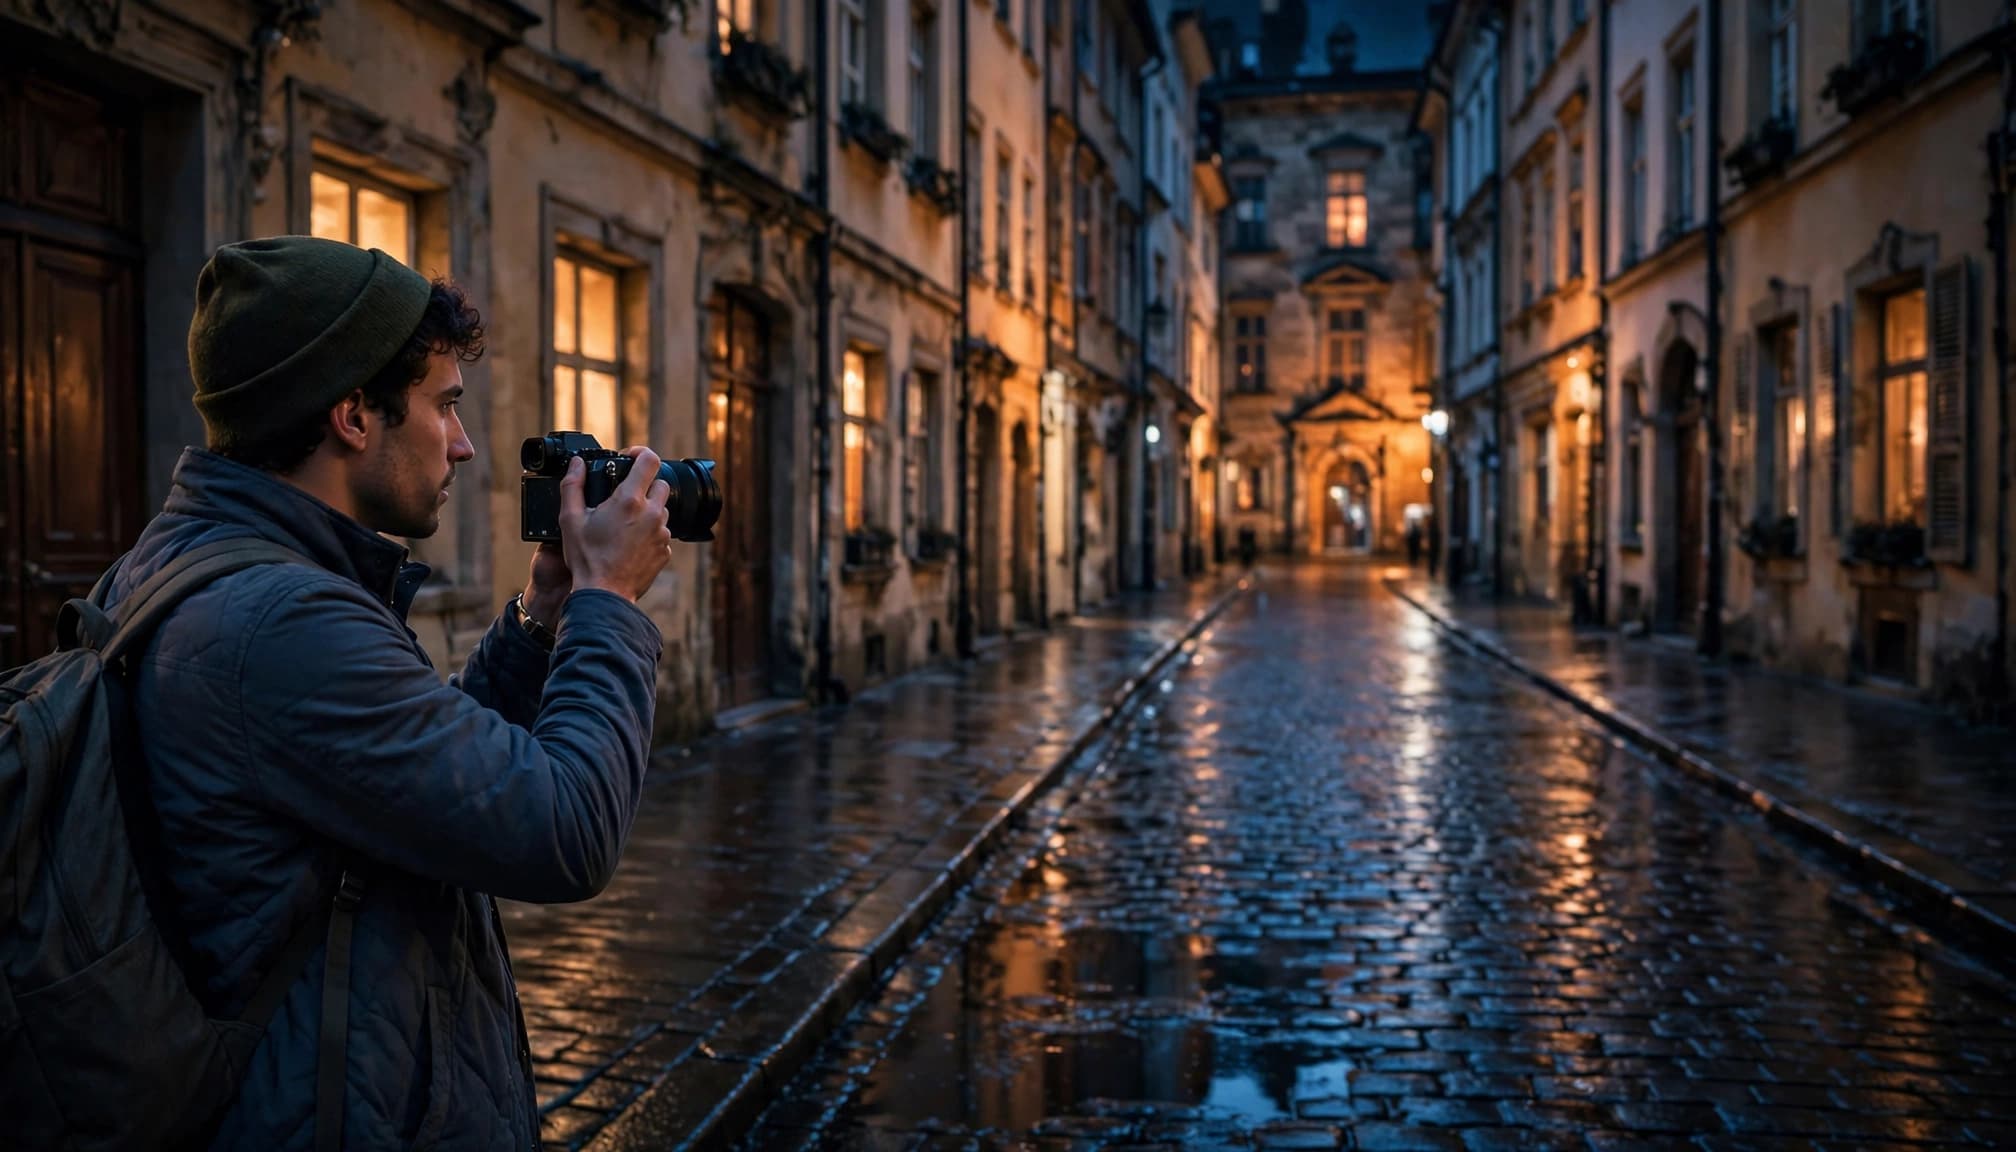
You don’t always need to erase reflections. On a rainy Prague street, reducing glare can reveal the texture of old paving stones. At a Copenhagen harbor, a small adjustment can retain enough sheen on the water to connect boats with their reflections.
A circular polarizer guide from Kase shows the same core strengths: less glare, richer color, and more contrast. The important part is restraint. Rotate until the scene looks believable, then back off if it starts to feel stripped of atmosphere.
Sky color changes with your angle
The strongest effect on a blue sky appears when the sun is to your left or right, roughly 90 degrees from the camera’s view. If the sun is over your left shoulder, for example, a view facing north or south may show deeper blue than a view facing toward the light. Polarization can also improve distant contrast by reducing atmospheric haze in some landscapes, but the effect varies with direction and weather.
The difference can be immediate, but it won’t look uniform across every frame. Ultra-wide lenses can cover areas of sky with different degrees of polarization. That can create an uneven dark band or patch over mountains or a Mediterranean horizon.
Rotate the Filter Before Setting Exposure
The filter has two rings. The rear ring threads onto the camera lens, while the front filter ring rotates. Compose first, then turn it slowly while watching live view or the viewfinder. Compare the positions with the least and most glare before choosing a setting.
Find the useful setting
Start with a neutral-looking position. Rotate through the full range, then settle on a believable middle setting that reduces glare without making the scene look artificial. The strongest setting isn’t always best, since reflections can add atmosphere and context.
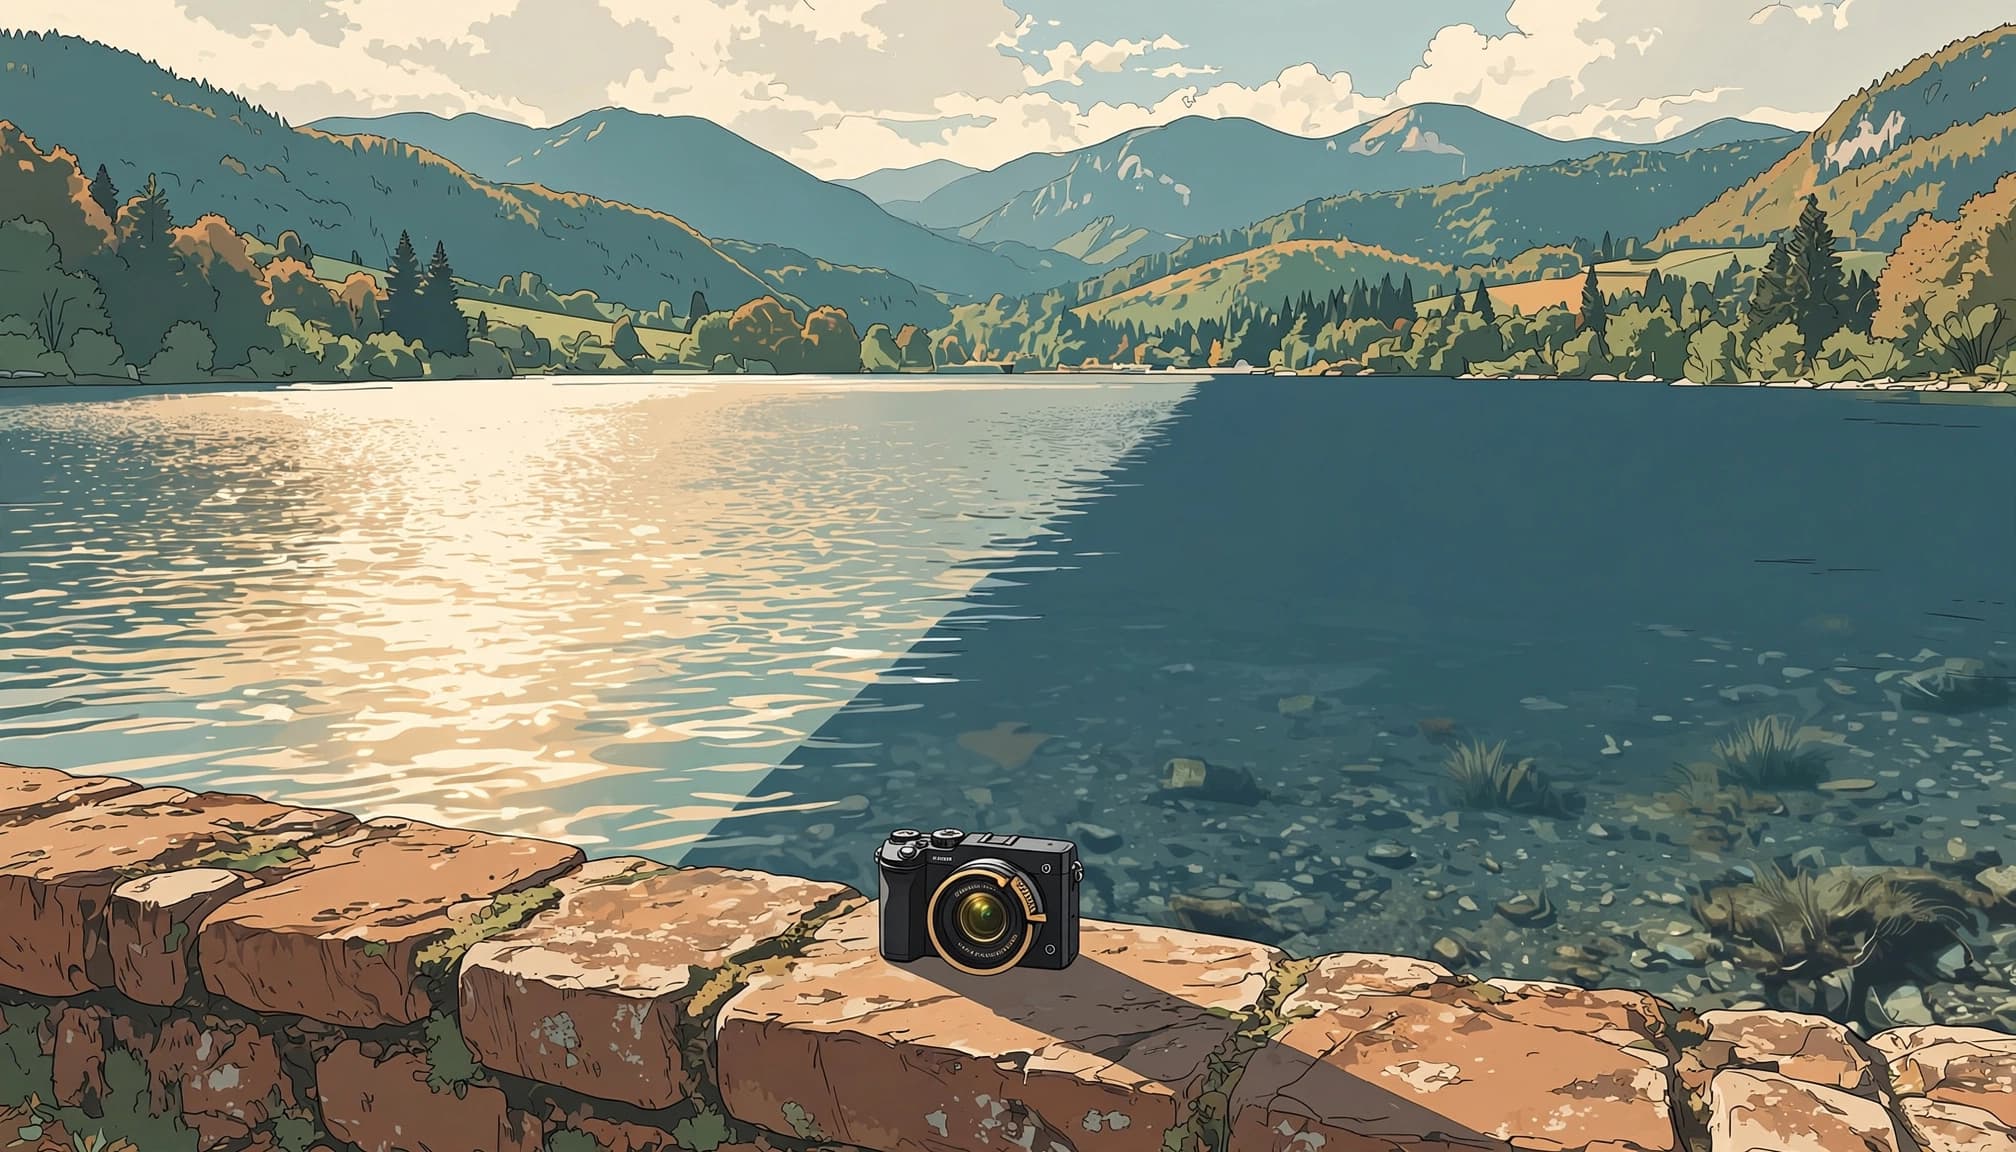
The effect repeats after roughly half a turn, so two positions may look similar. At Lake Bled, rotate slowly while watching the lake near the shore. You may see shallow stones and green water emerge, while the distant surface changes less. Tamron’s circular polarizer advice also recommends watching the effect live rather than guessing from ring markings.
Recheck after every new composition
Polarization depends on the camera’s relationship to the sun. Recheck the rotation after changing direction, focal length, or composition.
A setting that works for a lake-facing composition can be wrong after you turn toward a church, bridge, or side street.
Wet stone. Cold fingers. Fast checks.
That habit matters when light changes quickly. In coastal Croatia or Greece, turn slightly toward the sun and the water may regain its glare. Turn away, and the color can deepen too far.
European Scenes That Benefit Most
Travel photography offers more than big mountain views. Polarizing filters earn space in your bag when they solve the visual problem in front of you.
Canals, lakes, and waterfalls
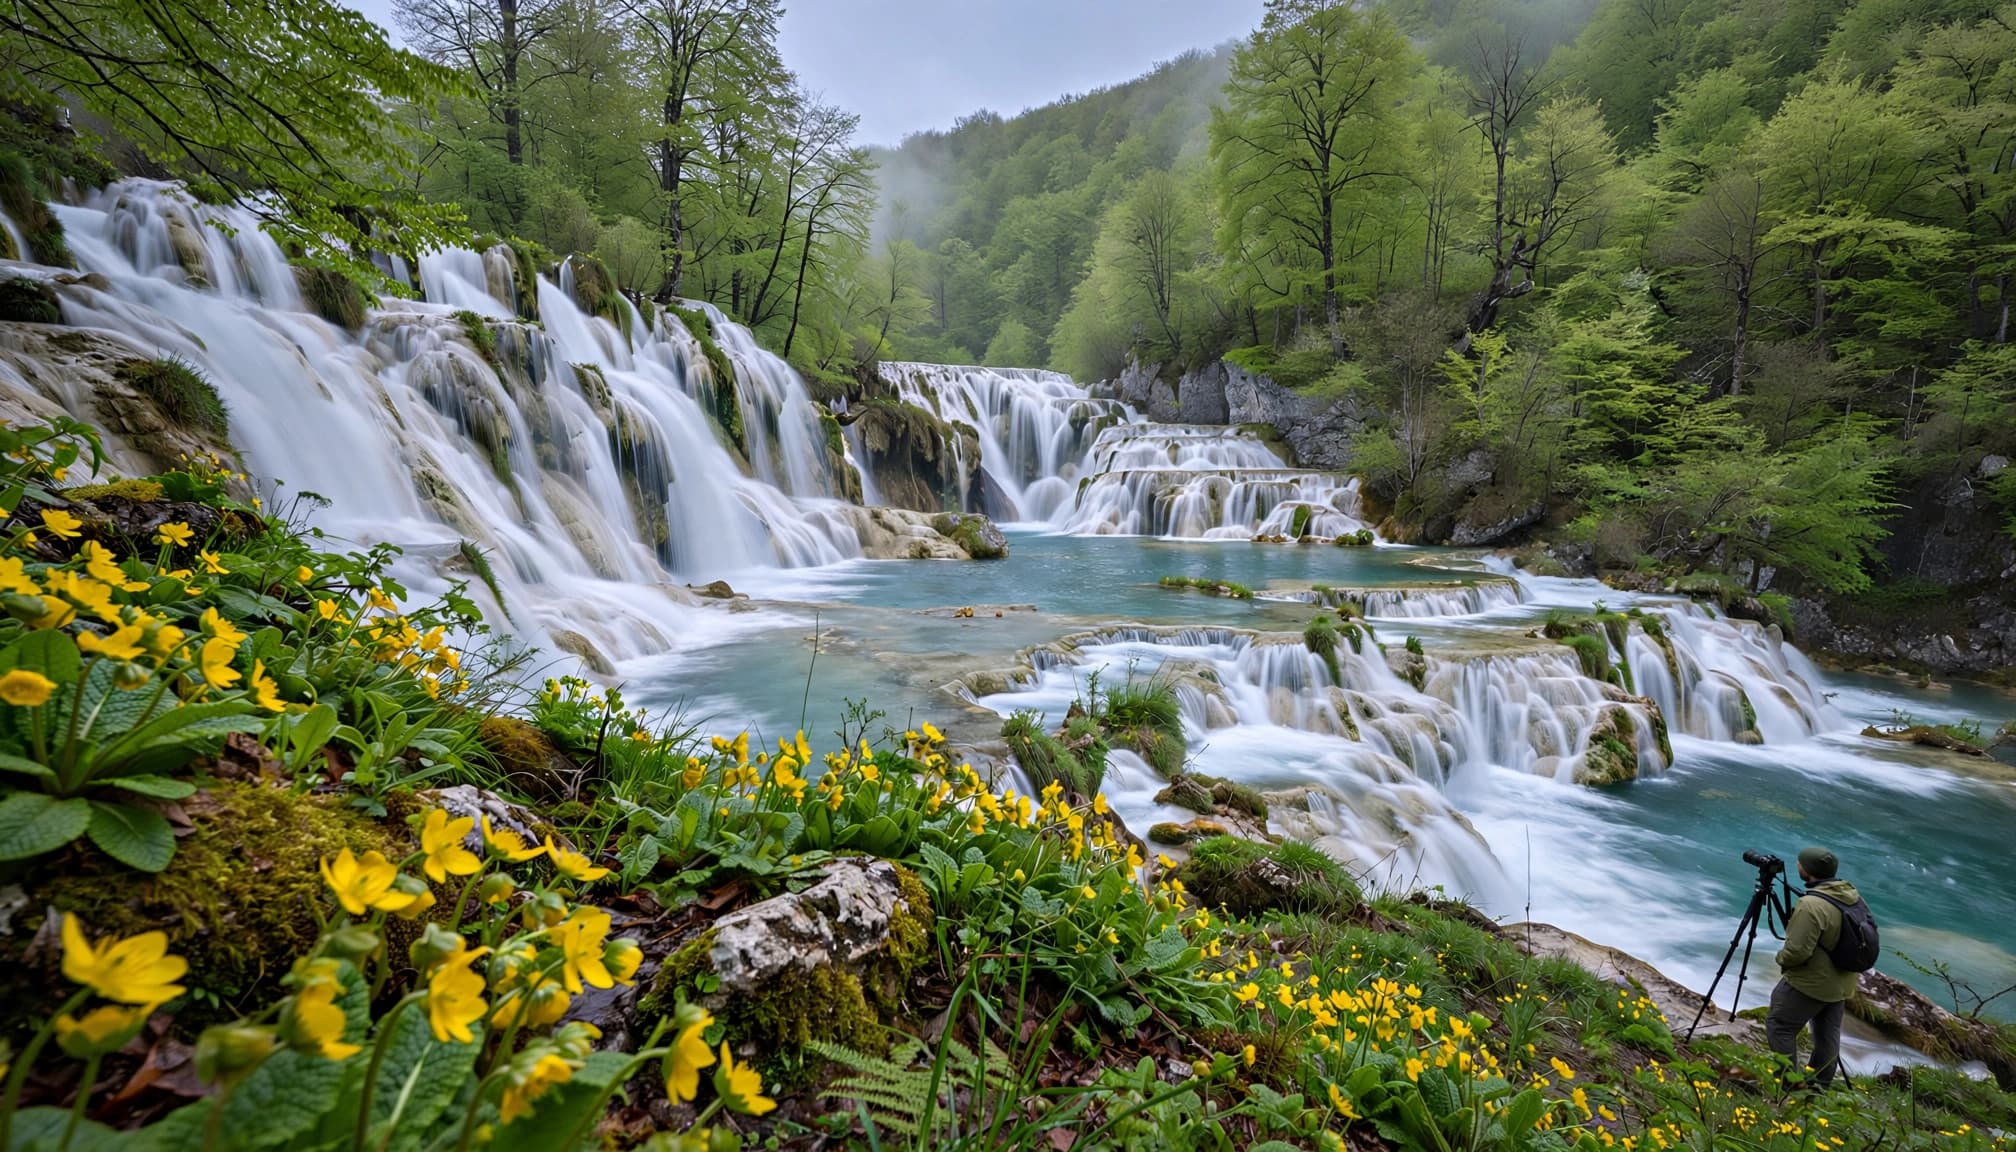
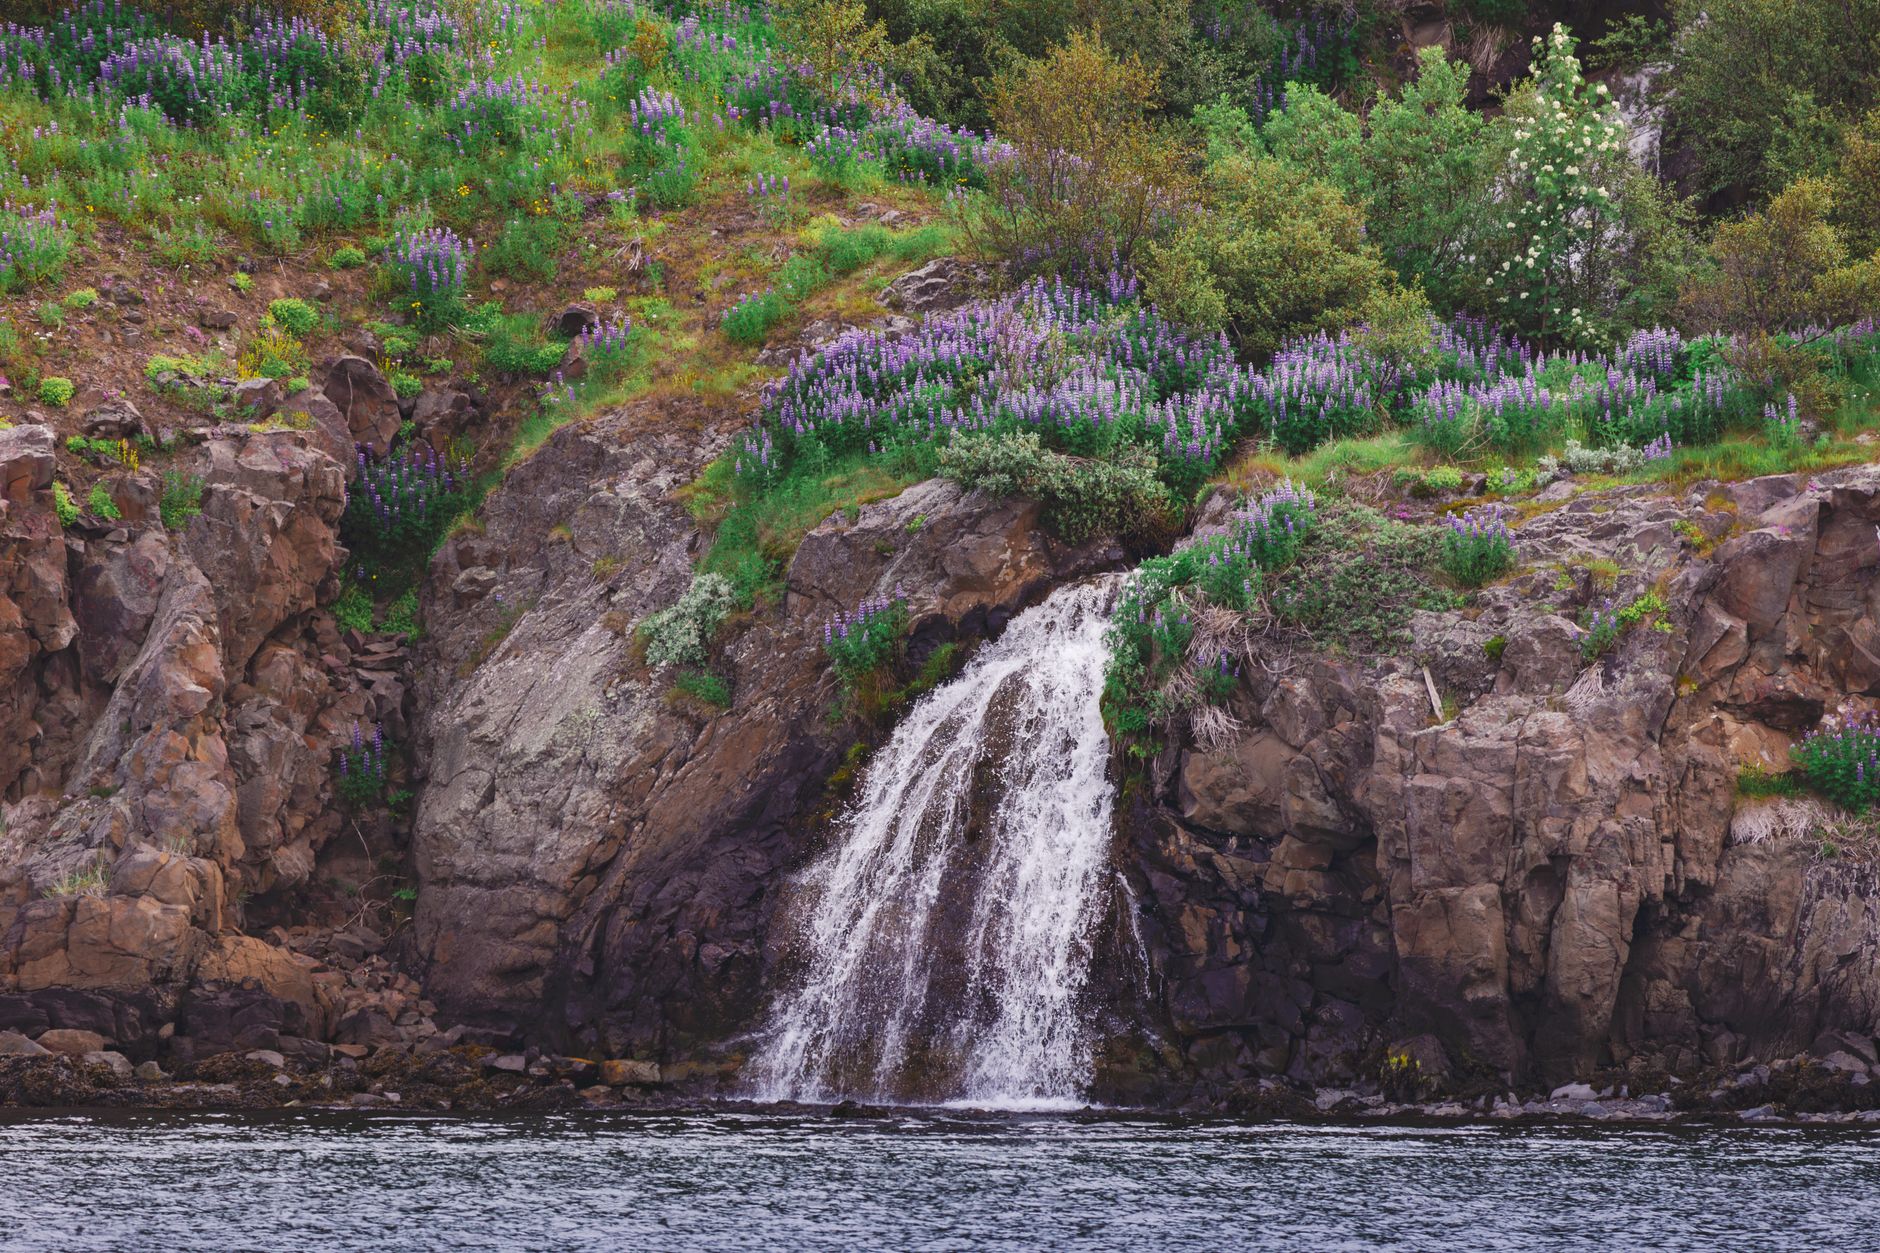
Water is the obvious use. In landscape photography, a polarizer can cut the silver glare on Venetian canals, reveal rocks below a Plitvice stream, and make an Alpine lake look less metallic. It also helps wet leaves retain their natural green after rain.
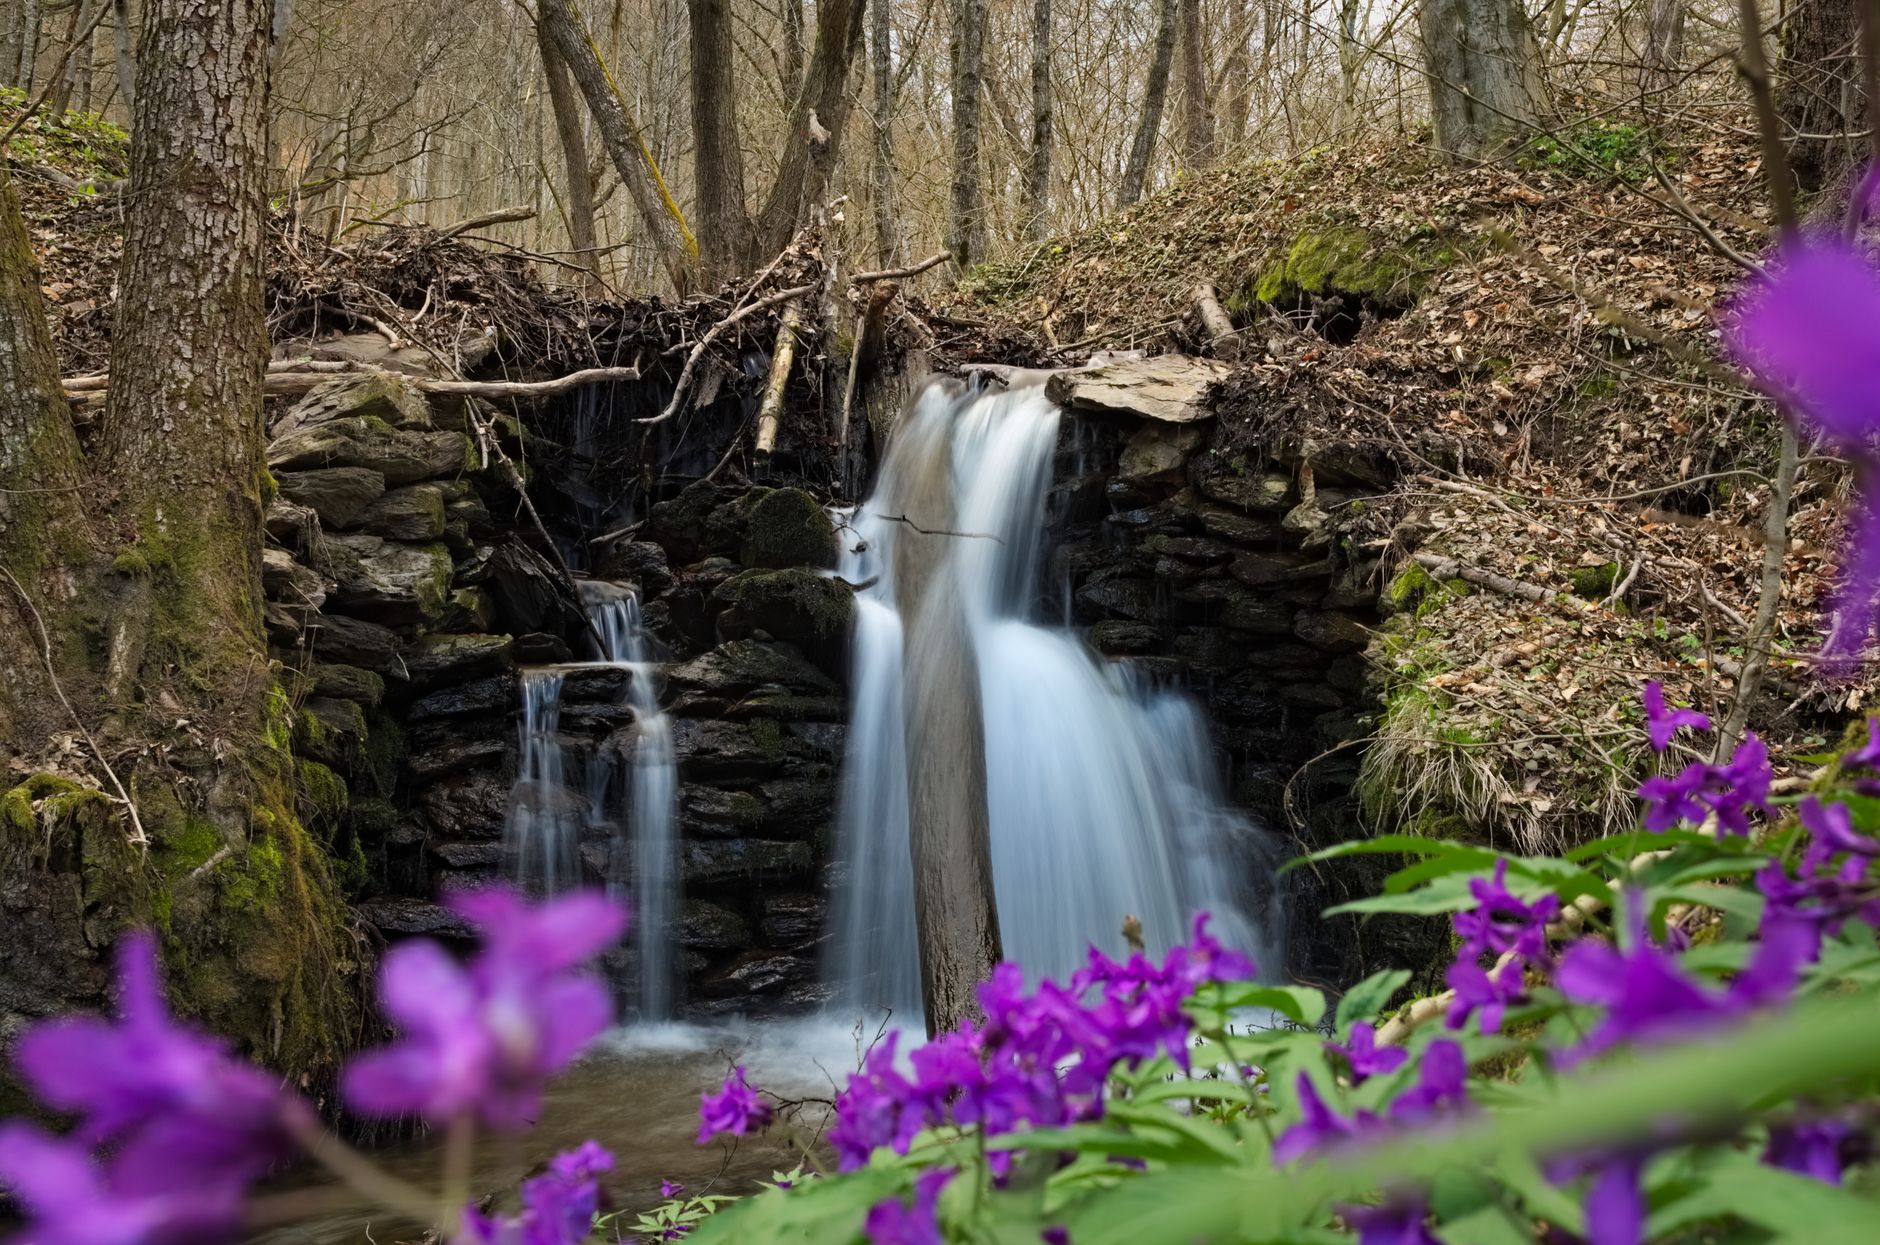
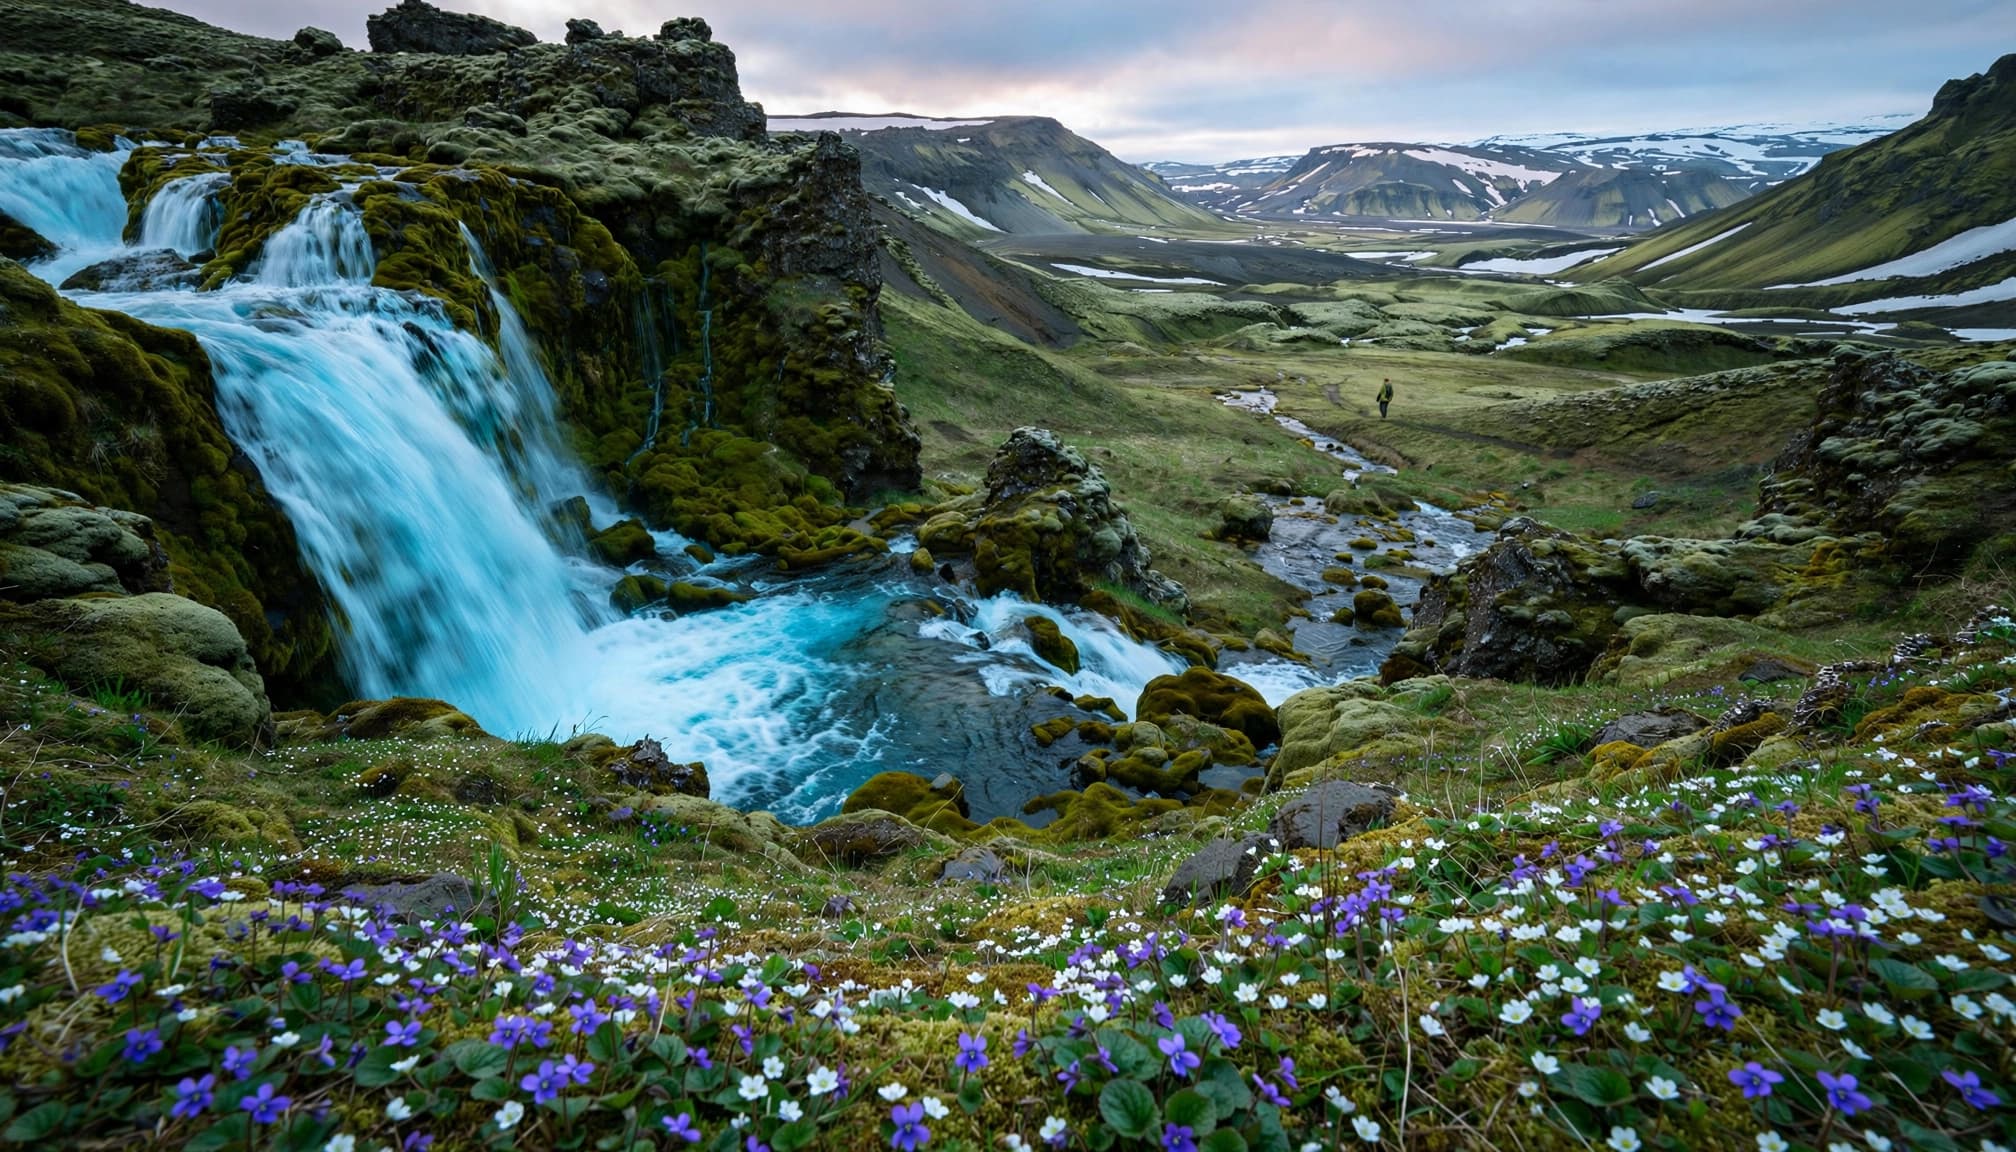
When you frame a waterfall in bright daylight, the filter can reveal detail in wet rock and shallow pools. However, its added light loss may force a longer exposure time than moving water or shifting clouds allow. Check the preview at full magnification for droplets and soft edges.
Architecture, shop windows, and painted facades
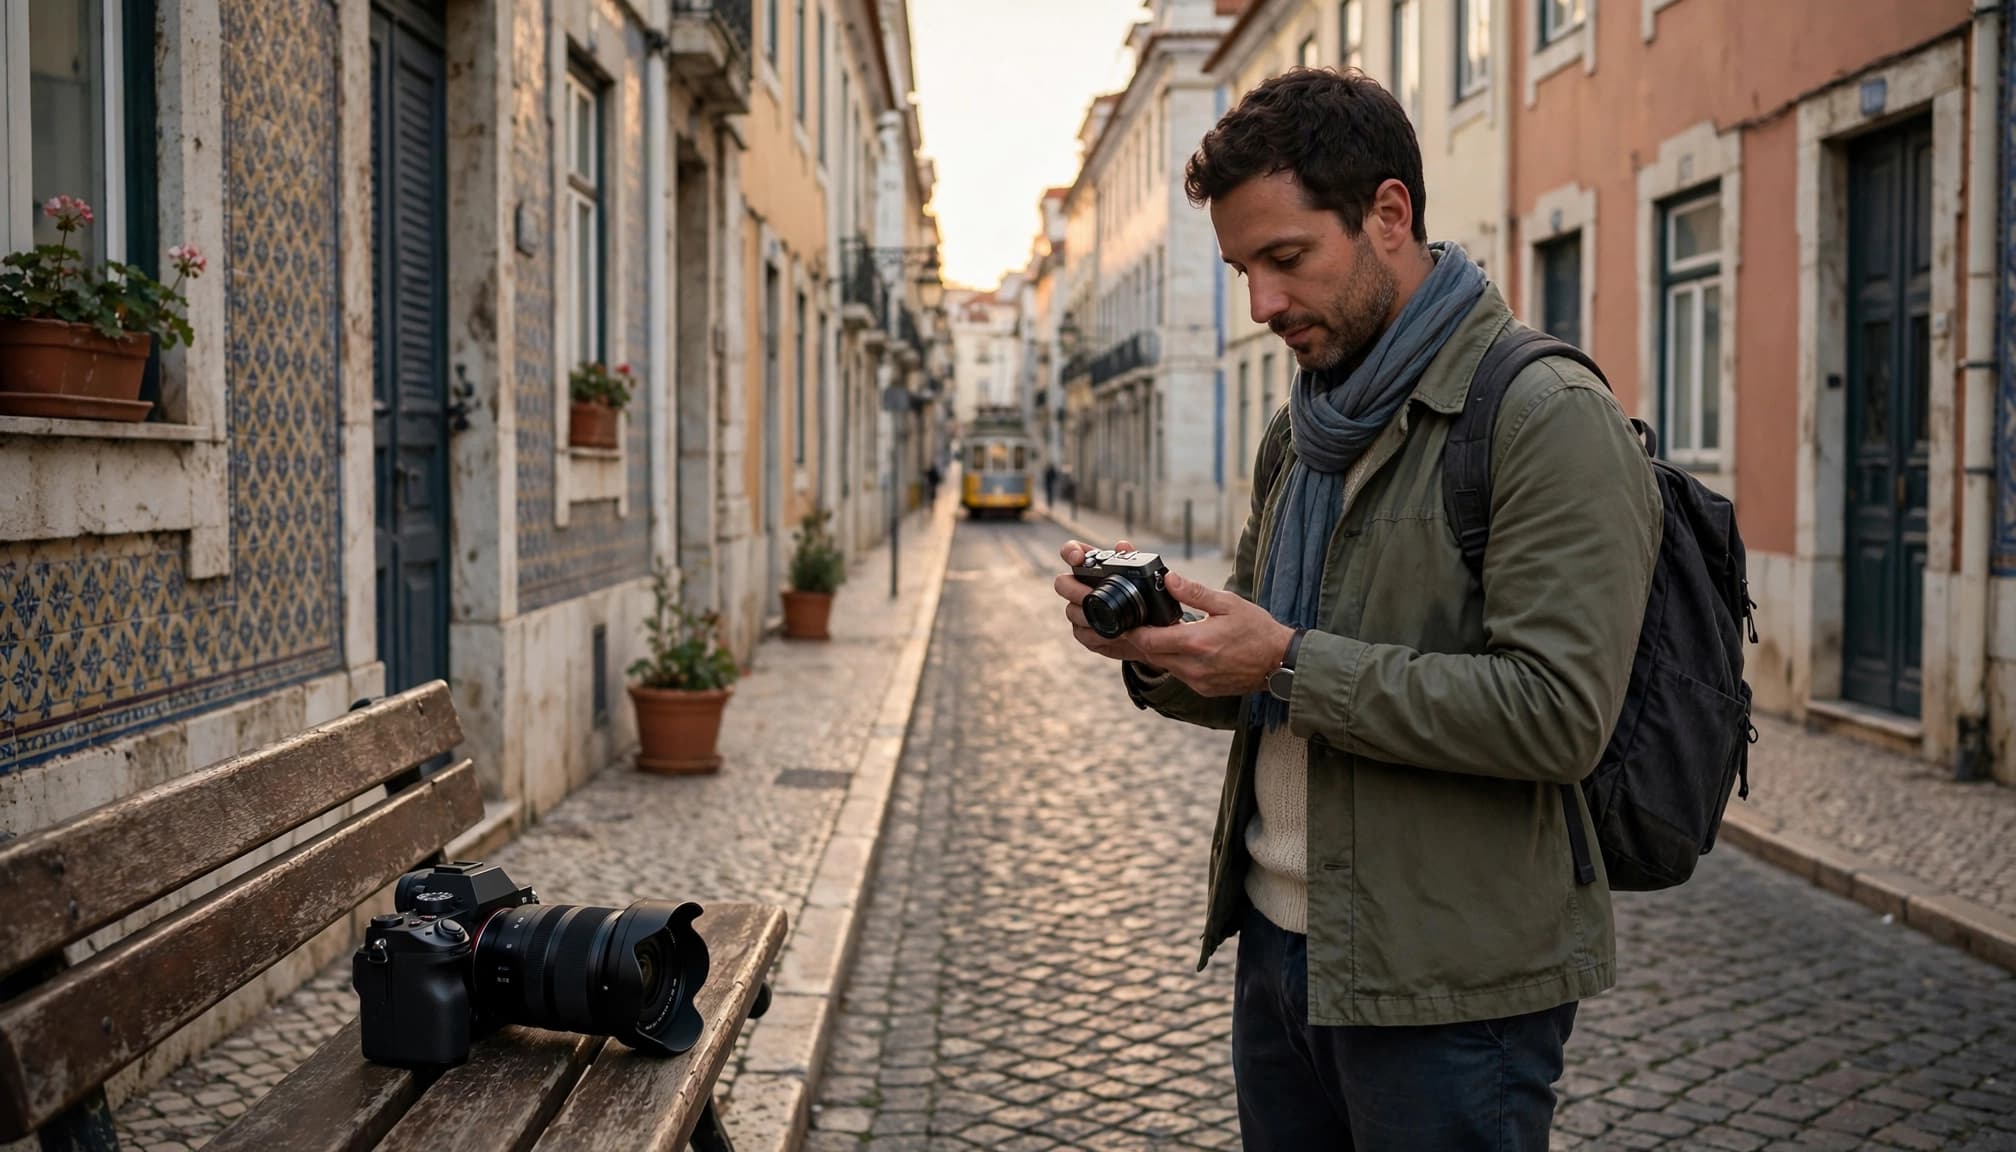
Architecture benefits when reflections hide stone, tile, or color. Rotate the filter while photographing Lisbon’s tiled walls or Barcelona’s modernist facades. Glare may recede enough to show interior shadows or cleaner glass. Removing wet-surface glare can make painted colors look fuller without pushing color saturation across the entire image.
Still, reflections can add context. A Paris cafe window that mirrors passing pedestrians may tell a stronger story than a perfectly transparent pane. When a reflection contributes meaning, make two versions: one with stronger polarization and one retaining more of the reflection.
Wet streets and close details
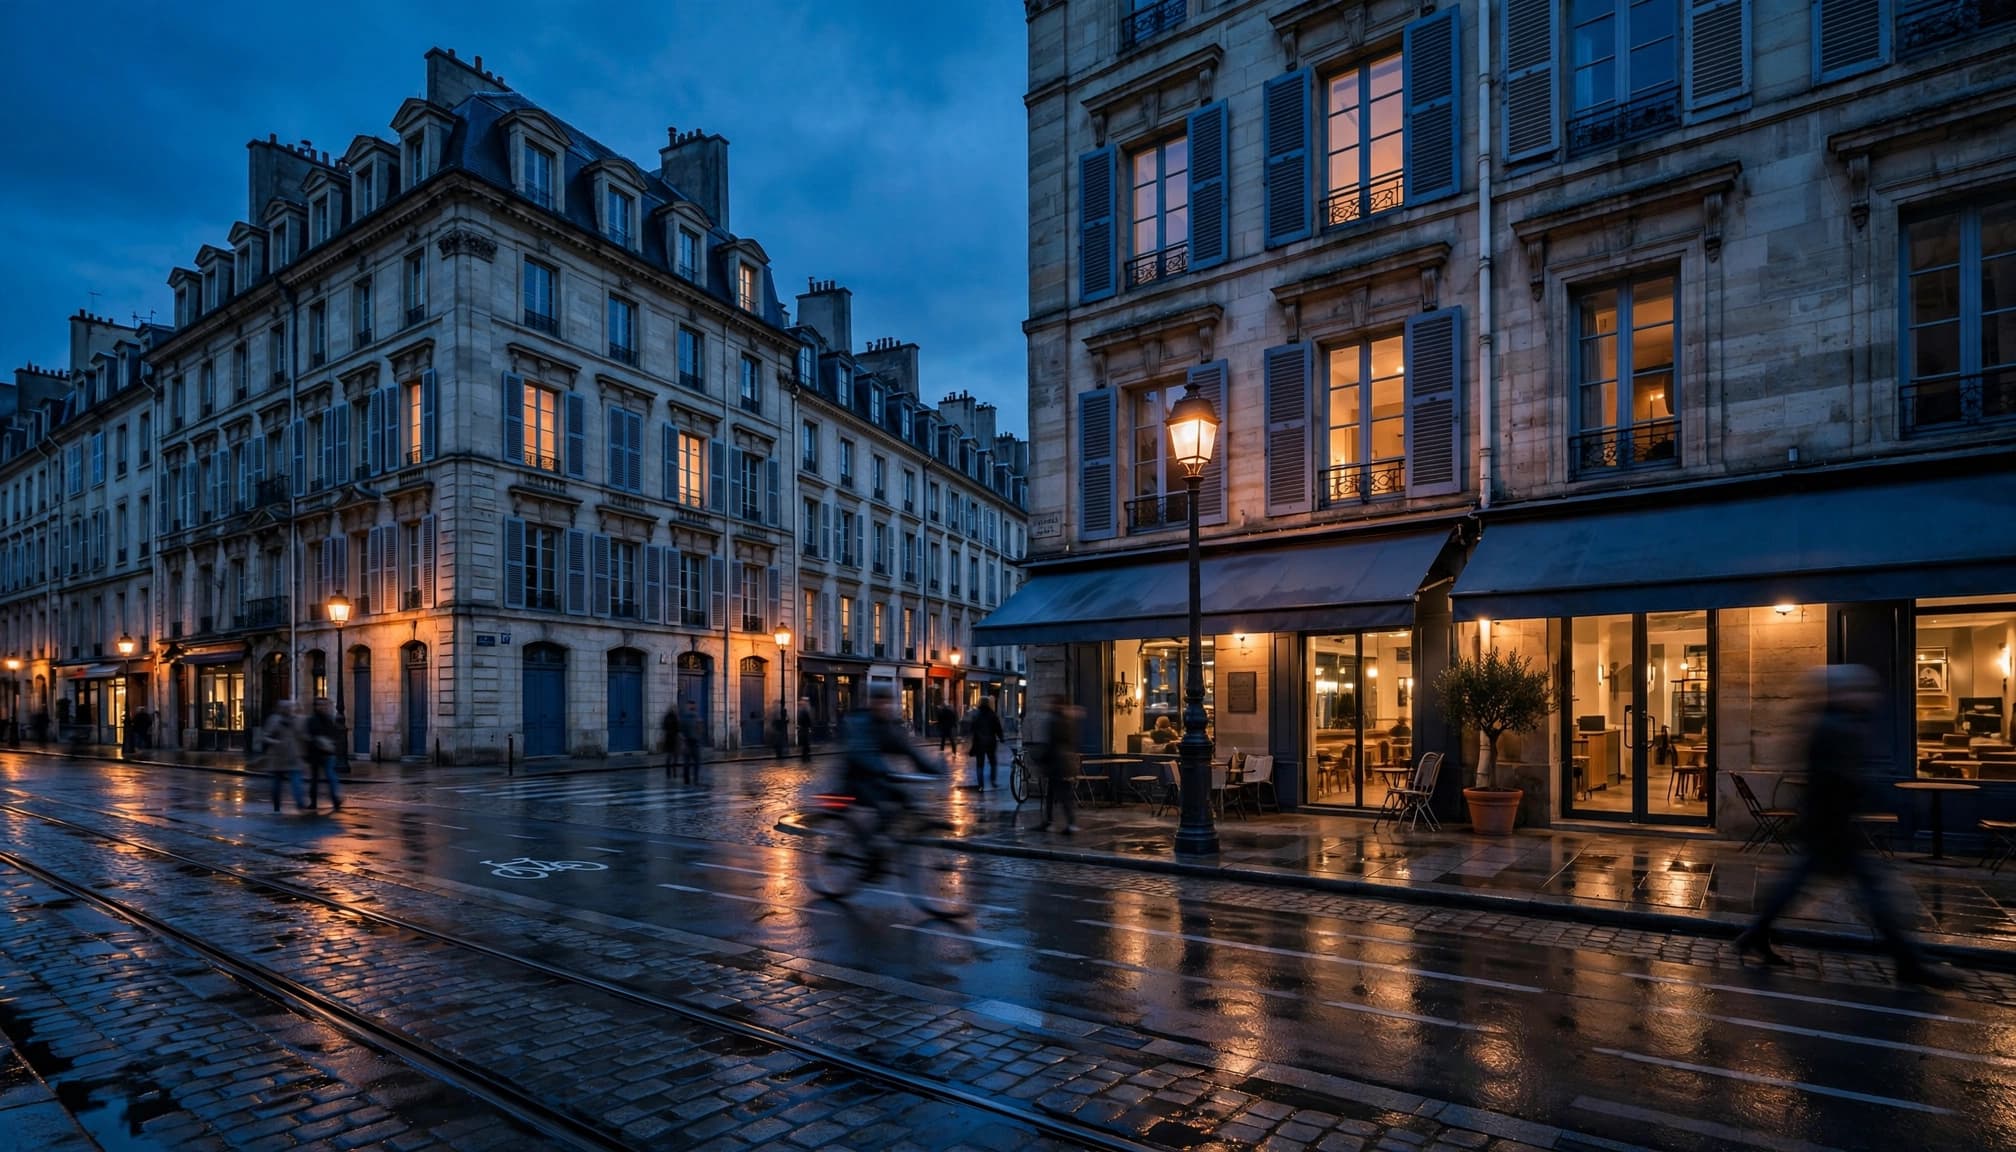
After rain, a polarizer lets you choose between a mirror-like street and visible paving texture. Use it for close details, too: painted shutters, olive leaves, weathered boat wood, or a market stall under a plastic awning.
Keep it clean. Sea spray and fingerprints show up quickly against bright European skies and pale stone.
Manage Light and Exposure
Most polarizing filters reduce exposure by about one to three stops of light. The exact loss varies by filter and rotation angle. That can help in bright sun, but it becomes a problem as daylight fades.
After fitting the filter, check the histogram and highlight warnings. In aperture priority, use modest positive exposure compensation if the preview stays underexposed. For moving subjects, raise ISO when you need a faster setting. The filter doesn’t change depth of field, since aperture still controls it. Lost light may force a wider aperture or higher ISO.
Protect shutter speed for people and trains
If you’re photographing a cyclist in Amsterdam or a moving tram in Lisbon, choose a fast exposure time first. A polarizer may require a higher ISO or wider aperture. Otherwise, motion blur can ruin a moment that looked sharp on the rear screen.
On the Bernina line’s approach to Landwasser Viaduct, one photographer found that aperture priority dropped to 1/160 second in a sunlit clearing. The next clear pass used 1/1000 second with a higher ISO, and the viaduct’s stone edges held much better.
Pairing an ND filter with a polarizer
A neutral-density filter and polarizer can work well at waterfalls and lakes. The polarizer reduces glare, while the ND filter allows a longer exposure. However, stacked filters add glass, light loss, and a higher risk of dark corners on wide lenses.
Use slim filter rings with an ultra-wide lens. Inspect the corners after mounting both filters, especially around 16mm. If the surface already looks clean, skip the polarizer and keep the setup simple.
Choosing a Filter That Fits Your Travel Kit
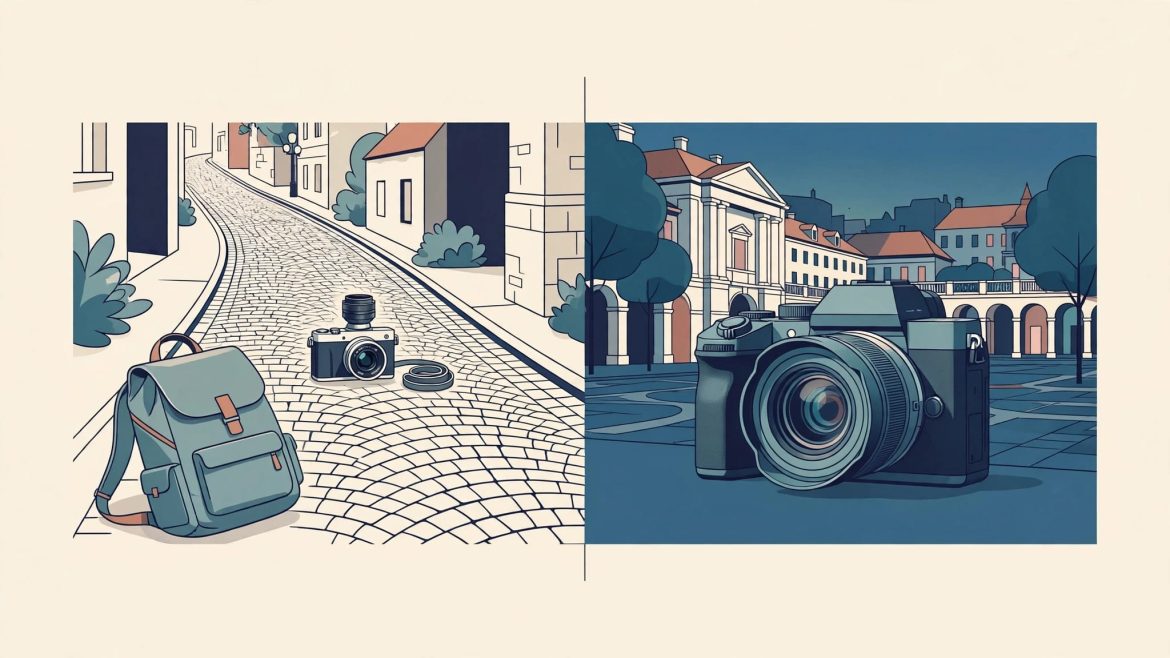
Buy a screw-on filter with the correct thread diameter for your lens, such as 67mm, 72mm, or 77mm. The size is printed on the lens barrel or inside the lens cap, so check the filter mount before ordering. A step-up ring can let one larger filter fit several smaller lenses, while slim rings keep the setup compact.
Why optical quality matters
Poor glass or coatings can soften fine architectural detail, add color casts, reduce contrast, and lower image quality. Better models use high-quality optical glass and multi-coatings that reduce reflections between the filter and front element.
The filter doesn’t alter aperture or depth of field, so choose the aperture for the intended visual effect. For occasional daylight travel shots, you don’t need the priciest option, but compare polarizing filters by coatings, compatibility, and brand reputation. A search for b w filters can help compare premium B+W filters with other reputable options. A bargain filter on a good lens can still soften fine detail around architectural lines, distant mountain ridges, and bright water.
Pack for the way you shoot
A screw-on filter is compact and fast. It suits city walks and hikes where you use one lens most of the day. If you own lenses with several thread sizes, buy for your widest lens first and add step-up rings.
For a practical first look at rotation and field use, this beginner polarizer walkthrough is useful. Keep a microfiber cloth in the same camera bag pocket as the filter case for quick cleaning.
When to Take the Polarizer Off
A polarizer is not an all-day default. Remove it when it costs more than it adds.
Night, flash, and dim interiors
At blue hour, losing several stops of light can turn a hand-held city scene into a blurred frame. Remove it during blue hour and for night photography, museum interiors, flash photography, dim restaurants, and train windows.
A polarizer also won’t solve every window photograph. Train glass often reflects the cabin, and the filter may create uneven dark patches while reducing available exposure time. Dim phone screens, turn off overhead lights where possible, and place the lens close to the window instead.
Direct sun, flare, and wide skies
With the sun near the frame’s edge, extra glass can increase lens flare. Use a lens hood and shade the front of the lens carefully with your hand, without letting it enter the photo.
Avoid maximum polarization across very wide skies. A dark band across a blue sky above a pale horizon is difficult to correct naturally. Take a second frame without the filter when the sky matters.
A polarizer can remove the reflection that makes a harbor scene feel connected. Treat water sheen as part of the composition, not automatically as a flaw.
Can Lightroom Replicate a Polarizing Filter?
Lightroom can darken a blue sky, lower highlights, add saturation, and reduce the look of glare. Those edits help, especially when you shoot RAW. However, they can’t reveal detail that a bright reflection concealed during exposure.
What post-processing can improve
Use selective masks to lower a bright sky and control local contrast on foliage. Lightroom can lower highlights, adjust local contrast, or tame remaining glare, but it can’t recreate detail lost behind a strong reflection. A restrained adjustment to color saturation can also help. Color adjustments can correct a mild filter cast, while color balance changes may affect skin tones or pale stone if pushed too far.
RAW files provide more room for post processing, including highlight and shadow recovery. Still, preserving those tones in-camera gives you a cleaner starting point.
What editing cannot recover
If window glare hid an interior fresco, or water glare obscured stones beneath a stream, the sensor never captured that detail clearly. A polarizer changes the light before it enters the camera lens. Lightroom only works with recorded pixels.
For that reason, this overview of polarizer effects is right to focus on rotating the filter while observing reflections. Capture the cleanest file first, then make modest edits.
FAQ
Do modern digital cameras need a polarizing filter?
Yes. Choose the circular design rather than a linear polarizer for mirrorless cameras and DSLRs. Its internal quarter wave plate helps it work properly with autofocus and through-the-lens metering systems.
How much light does a polarizer block?
Expect roughly one to three stops of light loss. Check shutter speed after fitting it, particularly in shade, at sunset, or when subjects move.
Does a polarizer work on metal?
Usually not in the same way. It is most effective on surfaces including water, glass, paint, leaves, and wet pavement. Polished metal reflections often remain strong.
Should I use it for portraits?
Use it sparingly. It can reduce glare on skin or glasses, but it also costs shutter speed and may make a natural background look too dark. A small adjustment is often enough.
Can I leave it on all day?
You can, but it is rarely the best choice. Remove it indoors, at night, near flash, and whenever flare or uneven skies appear.
Final Thoughts
The strongest travel photos often depend on controlling a single distraction, whether that is glare on a canal, white shine on wet cobbles, or a washed-out mountain lake. This filter lets you make that choice during capture, giving editing software a cleaner file for post processing.
Pack one that fits your widest lens, keep the glass clean, and rotate it with purpose. On your next lake or canal stop, make one frame with the shoreline stones visible and one with the water left reflective.