

You want better photos, but you don’t want a sore shoulder or a drained bank account. That’s the real travel problem. One small bag.
I felt it in Lisbon last spring, halfway up the Alfama steps, when a friend stopped to shift a heavy full-frame kit while I kept shooting with a light setup and still caught the yellow tram turning the corner in clean afternoon light. In 2026, smart budget picks from current buying guides include the Canon EOS R10, Nikon Z50 II, Canon EOS R50, Sony a6400, and Fujifilm X-M5, because they give you strong image quality, useful autofocus, and travel-friendly size without pushing your whole trip budget into one camera body.
Perfect gear can wait. Your trip can’t. And the best setup changes with the kind of travel you do, since a city-break kit, a day-hike kit, a family-travel setup, and a light video bag each ask for different trade-offs in weight, battery life, lens choice, and how fast you need the camera to react when the moment shows up. Start with the bag space you have, then picture one extra battery, a small zoom, and a camera that still feels easy at 6 a.m. in the airport line.
Start with a budget travel camera body that stays light and shoots fast
Your camera body sets the tone for the whole trip. If it feels heavy by lunch or slow when a moment flashes past, it stops being a tool and starts being baggage.
For budget travel photography in 2026, the sweet spot is a small APS-C mirrorless body with fast autofocus, solid burst speed, and a price that still leaves room for flights, museum tickets, and dinner. Keep it light. Keep it quick. Keep moving.
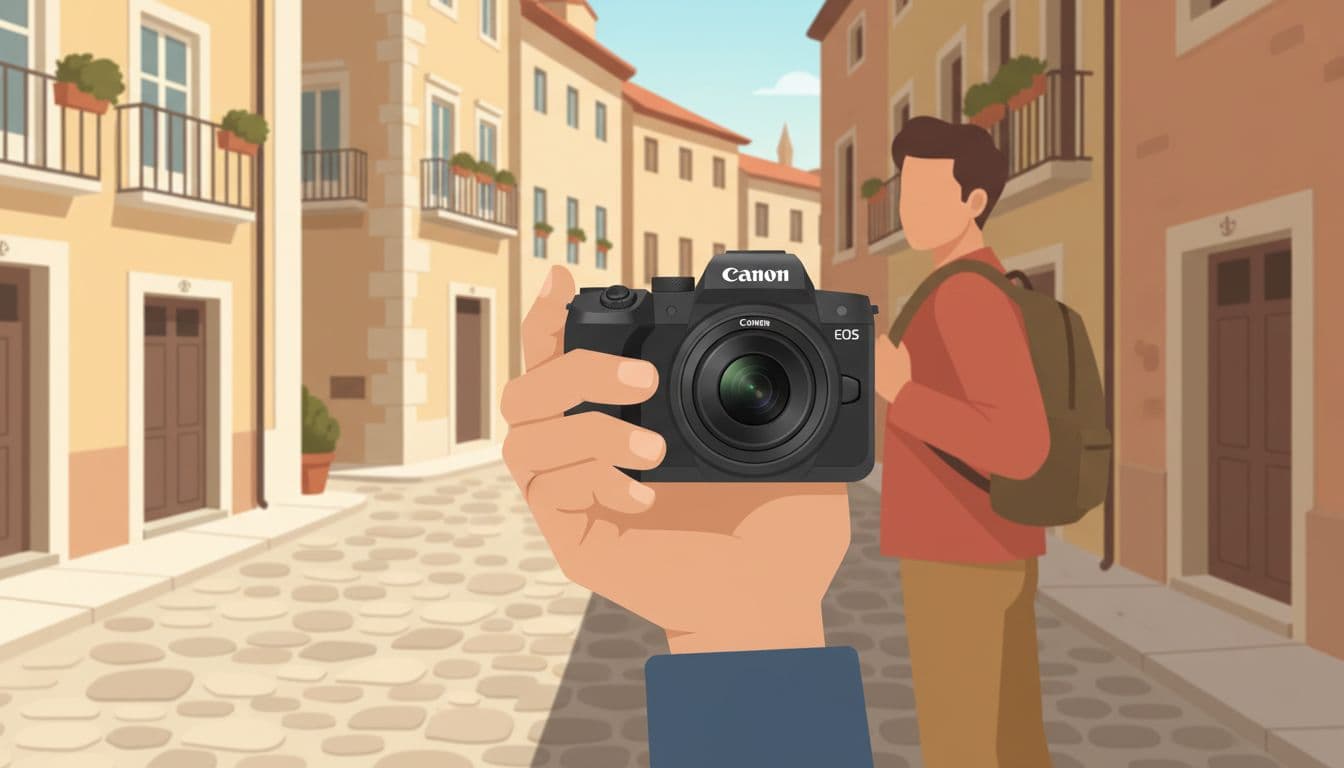
Canon EOS R10 is the best all-around buy for most travelers
For most people, the Canon EOS R10 is the easiest “yes” in this price range. It gives you a 24MP sensor, fast subject tracking, and burst shooting that feels ready for real travel, not just careful postcard shots in perfect light.
That matters more than spec-sheet bragging. On a trip, you might go from a dim coffee bar to a bright overlook, then catch a cyclist cutting across the frame before you even finish your sip. The R10 keeps up. Its autofocus is one of the biggest reasons it still makes sense in 2026, especially if you want one body that can handle street scenes, food, landscapes, and quick action without fuss.
The body is light enough that you’ll actually carry it. That’s the point. A camera in your bag takes no pictures.
I felt that in Porto one morning at Sao Bento station, when a boy chased pigeons across the tiled hall and my friend was still pulling a heavier camera from his backpack while the R10 was already at my eye and firing. One small beat, gone fast.
Price also keeps the R10 in the conversation. Canon’s current US pricing puts the body at $999, while the standard kit lands a bit above that, according to Canon’s EOS R10 listing. Street pricing and short sales can shift, so it often hovers right around the budget line many travelers set for a main camera body and starter setup.
If you want the travel camera that asks the fewest sacrifices, this is it. You get speed without bulk, enough resolution for large crops and prints, and a shape that still feels comfortable after a long day on foot. For many travelers, that balance is the whole battle.
For a deeper take on how it still holds up, this Canon EOS R10 review for 2026 is a useful second opinion.
Nikon Z50 II makes sense if photo quality and weather protection matter most
The Nikon Z50 II makes more sense when your trips lean outdoors and the forecast looks messy. It is compact, easy to pack, and better suited to dusty paths, light rain, and long days outside than many bargain bodies, even if you still need common sense and a dry bag when weather turns rough.
Its sensor is 20.9MP, which sounds lower on paper than some rivals, but image quality is still strong where it counts. Files look clean, color is pleasing, and the camera has enough dynamic range for sunrise ridges, cloudy coastlines, and portraits made in mixed light after a long day out. Landscapes benefit from the crisp detail, while portraits get a natural look that doesn’t feel harsh.
Fast focus helps here too. If you’re hiking, walking coastal trails, or moving through markets where people and motion overlap, the Z50 II reacts quickly enough that you don’t feel like you’re waiting for the camera to catch up. That’s a real comfort when your hands are cold or wet and you want the shot done in one motion.
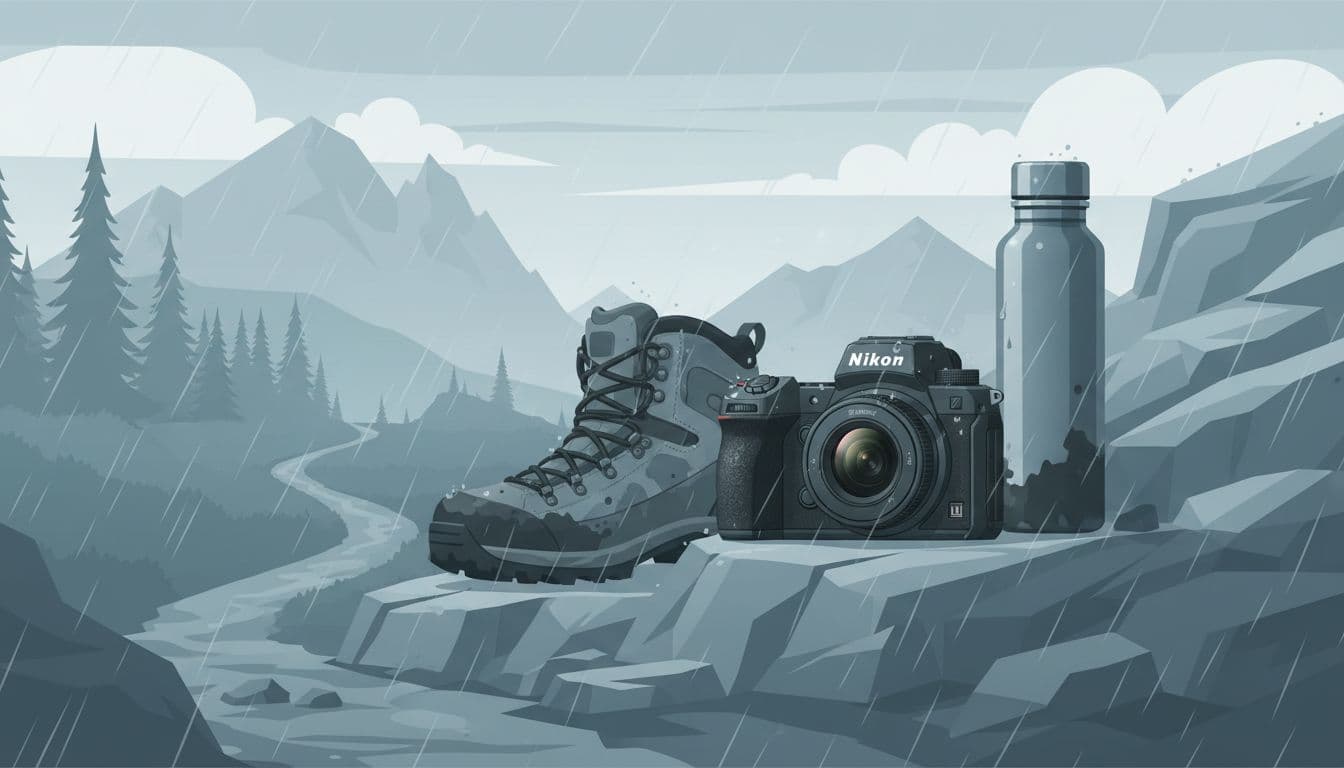
A small caution matters. Nikon does not market this as a fully pro-level sealed body, so think light weather resistance, not storm-proof armor. Still, that extra bit of confidence is useful when you’re on a windy trail, sand is in the air, and your hotel is still two buses away.
Pricing can also work in your favor. Current listings put the body right around the edge of the budget mark, and deals can shift the kit close enough to make it tempting, especially if you catch a retailer promo or bundle discount. If you want more context, B&H’s Z50 II product page and this bikepacking-focused Z50 II review show why outdoor travelers keep looking at it.
This is the pick for the traveler who values sturdy feel, attractive files, and a camera that won’t complain when the trail gets damp and the sky turns silver over red rock.
Canon EOS R50 and Sony a6400 are great when the budget is tighter
If you need to spend less, don’t panic. You still have good options.
The Canon EOS R50 is the friendliest entry point here. It’s tiny, simple to learn, and often lands around $700 to $800 depending on the deal and kit. For first-time buyers, that’s a big win because the camera feels modern and responsive without asking you to wrestle with menus all afternoon. It’s the kind of body you can toss in a sling bag and forget until the light gets good.
That small size pays off on real trips. Airport lines. Day trips. Museum steps.
The Sony a6400 is older, but age doesn’t erase what made it popular. It is still a strong travel and video body, with dependable autofocus, a compact shape, and a huge used market that can make it one of the smartest low-cost buys if you find a clean copy under budget. In other words, the a6400 is less about novelty and more about value that has already proved itself.
A quick side-by-side helps:
| Camera | Best for | Typical 2026 budget angle | | | | | | Canon EOS R50 | Beginners, light packing, easy travel use | Often the easiest new buy around $700 to $800 | | Sony a6400 | Travelers open to used gear, photo plus video | Strong value if found used or discounted under budget | | Fujifilm X-M5 | Travelers who care about color and style | Worth a look if you want great JPEG color straight out of camera |
The R50 is easier for beginners to like right away. The a6400 has the appeal of a mature system and proven travel chops. If you want a handy comparison, RTINGS’ R50 vs a6400 comparison lays out the trade-offs clearly.
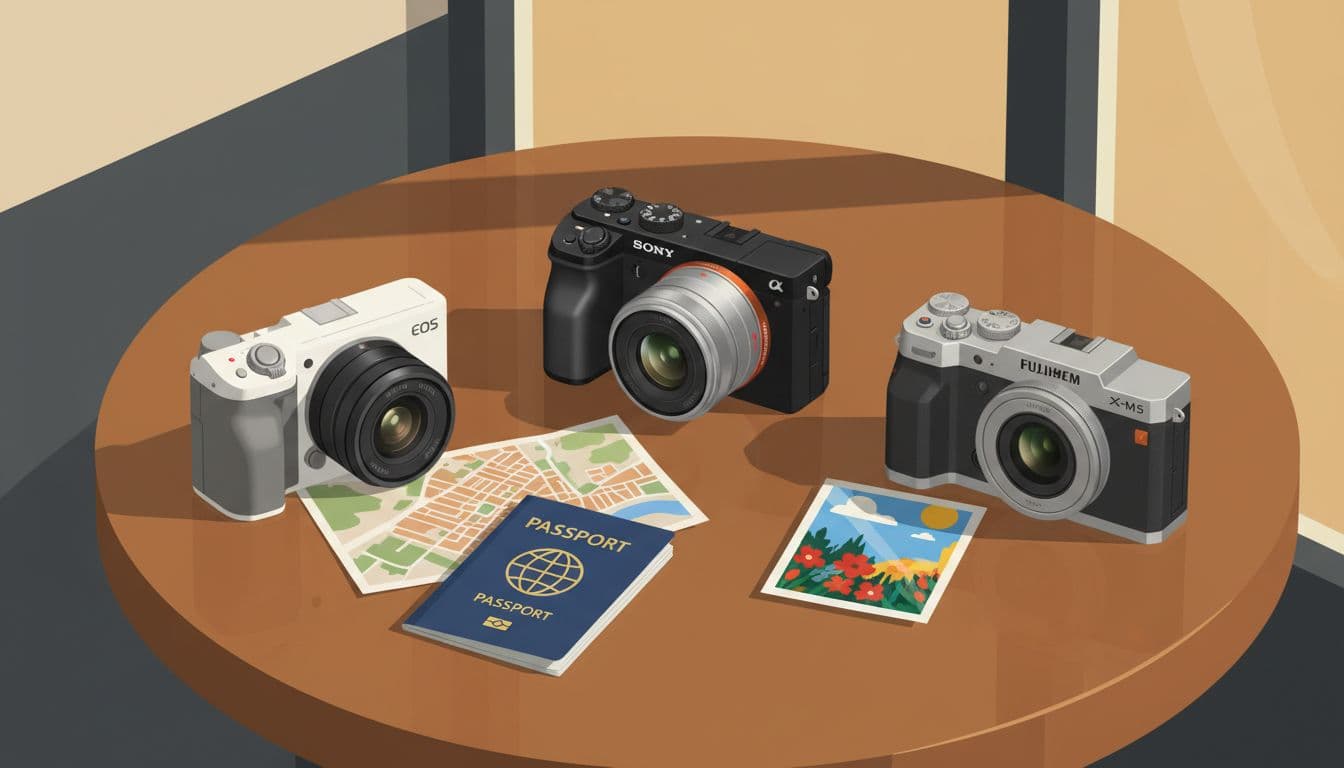
Then there’s the Fujifilm X-M5. A fun option. If you love rich color straight out of camera and want photos that already look polished before you touch an edit, Fujifilm has real charm. That matters on travel days when you want to send a shot to friends from a cafe table and move on before the espresso cools.
Each of these bodies can get the job done. The better pick depends on how you travel, how much you want to spend, and whether you care more about ease, autofocus trust, or that little hit of joy when the JPEGs already look good on the train ride back to your hotel. Which one would you rather pull out on a rainy morning in Seattle, the R50 or the a6400?
Pick one lens that can handle most of the trip
If you’re trying to keep a travel kit cheap and light, the lens matters as much as the camera body. One smart lens can cover breakfast-table snapshots, bright plazas, indoor museums, and the view from a train window without making you stop to swap glass every hour.
That matters on real trips. Fast. Tired. In crowds.
A flexible lens also helps you stay present, because you spend less time digging through a bag and more time watching the light change on a street corner.
A mid-range zoom is the easiest choice for city walks, day trips, and family travel
For most travelers, a mid-range zoom is the easiest answer. Lenses like the Sony 18-135mm and Panasonic 14-140mm work so well because they cover the shots people actually take on trips, not just the shots they imagine before leaving home.
At the wide end, you can fit a church facade, a narrow alley, or a hotel room balcony view into the frame. Then, a quick twist gets you to a natural portrait length for your travel partner at lunch. Push farther, and you can isolate rooftop details, a market vendor’s hands, or a child on a carousel without walking into the scene and changing it.
That range is the whole appeal, especially when you’re moving through a city all day, riding buses between stops, or traveling with family members who will not wait while you change lenses on a windy sidewalk next to a stroller and a half-melted ice cream cone.
The Sony 18-135mm has stayed popular for a reason, and PCMag’s Sony 18-135mm review helps explain why people still treat it as a travel staple. It gives APS-C shooters a useful one-lens setup that feels broad without getting huge. On Micro Four Thirds, the Panasonic 14-140mm does the same job with even more reach, and this Panasonic 14-140mm review shows why so many travel photographers keep it on the camera all day.
I felt the value of that range in Chicago one wet October afternoon. I was under the tracks near Wabash, shooting a wide frame of the street and the steel beams above, then turned half a block later and zoomed in on steam rising from a food cart at the curb, all before the light rain turned into a real downpour. No lens swap. No missed beat.
Kit lenses are fine at first. They really are.
But a better zoom often makes travel easier because it cuts down on lens changes, keeps dust off the sensor, and saves those small pockets of time that disappear on every trip. Those seconds matter when a pigeon lifts off, a tram rounds the bend, or your kid laughs once and never in quite the same way again.
If you want one lens to do most of the work, this is the safest place to spend.
A small prime lens is worth it if you love street shots and low light
A tiny prime lens changes the feel of your whole bag. The Canon EF-S 24mm f/2.8 STM is the classic example, because it is small, cheap, and so thin that the camera stops feeling like gear and starts feeling like something you can carry without debate.
Size changes behavior. You bring it more.
That matters for street photography, because a smaller setup draws less attention. People react differently to a compact camera. You can move through a market, a subway platform, or a side street with less of that “photographer incoming” feeling hanging in the air.
The other big gain is light. A lens like the 24mm f/2.8 lets in more light than many basic zooms, so your camera can use a faster shutter speed or a lower ISO after sunset, inside cafes, or in dim museums where flashes are useless and tripods are not welcome. You also get cleaner background blur, which helps a face, a coffee cup, or a neon-lit storefront stand out from the busy scene behind it.
The focal length also feels natural for travel. On an APS-C body, that 24mm gives a field of view close to what many people like for everyday shooting, wide enough for context, tight enough to keep subjects from looking tiny. PCMag’s EF-S 24mm review gets into why this little lens has stayed so loved for years.
Other mounts have similar budget primes, and that’s the bigger point. Sony shooters often look at affordable 24mm, 28mm, or 35mm options. Fujifilm, Nikon, and Micro Four Thirds users can find the same idea in small, low-cost primes that open wider than a travel zoom. If you shoot street scenes or night walks more than distant details, a prime like this can make more sense than another zoom.
Small trade-off, though. You lose flexibility. Your feet become the zoom ring, which is fun when you have time and annoying when you don’t.
An ultra-wide lens only makes sense for certain trips
An ultra-wide lens can be brilliant, but it is a special tool. The Canon EF-S 10-18mm is a good anchor example because it is light, affordable, and well-known as an easy entry point into very wide travel shots.
When it fits your trip, it really fits. Big western landscapes. Old cathedrals. Tight indoor spaces. Narrow European stairwells. Tiny rental apartments with one good window.
In those scenes, a normal zoom may feel like you’re backing into a wall. The 10-18mm fixes that. You can show the sweep of a canyon, the curve of a vaulted ceiling, or the geometry of a glass-and-steel lobby in a way that a standard lens simply cannot. For travel architecture and dramatic foreground-heavy landscapes, it earns its space in the bag. This Canon EF-S 10-18mm review is a helpful look at why it’s still relevant.
Still, many travelers buy an ultra-wide for one dream scenario, then leave it in the hotel most of the trip. That’s the catch. Ultra-wide lenses can make ordinary scenes feel empty, stretch people at the frame edges, and tempt you into taking photos that look dramatic but don’t actually say much.
So ask what your trip really looks like:
- Are you going somewhere known for landscapes or architecture?
- Will you spend time in tight interiors where stepping back isn’t possible?
- Do you already know you love wide compositions?
If the answer is no, skip it for now. Put that money toward the lens you’ll keep on the camera. A mid-range zoom or a small prime usually gets used far more often, and that’s what matters when you’re standing in a tiled station at 7:12 a.m. with one battery left and rain on the platform.
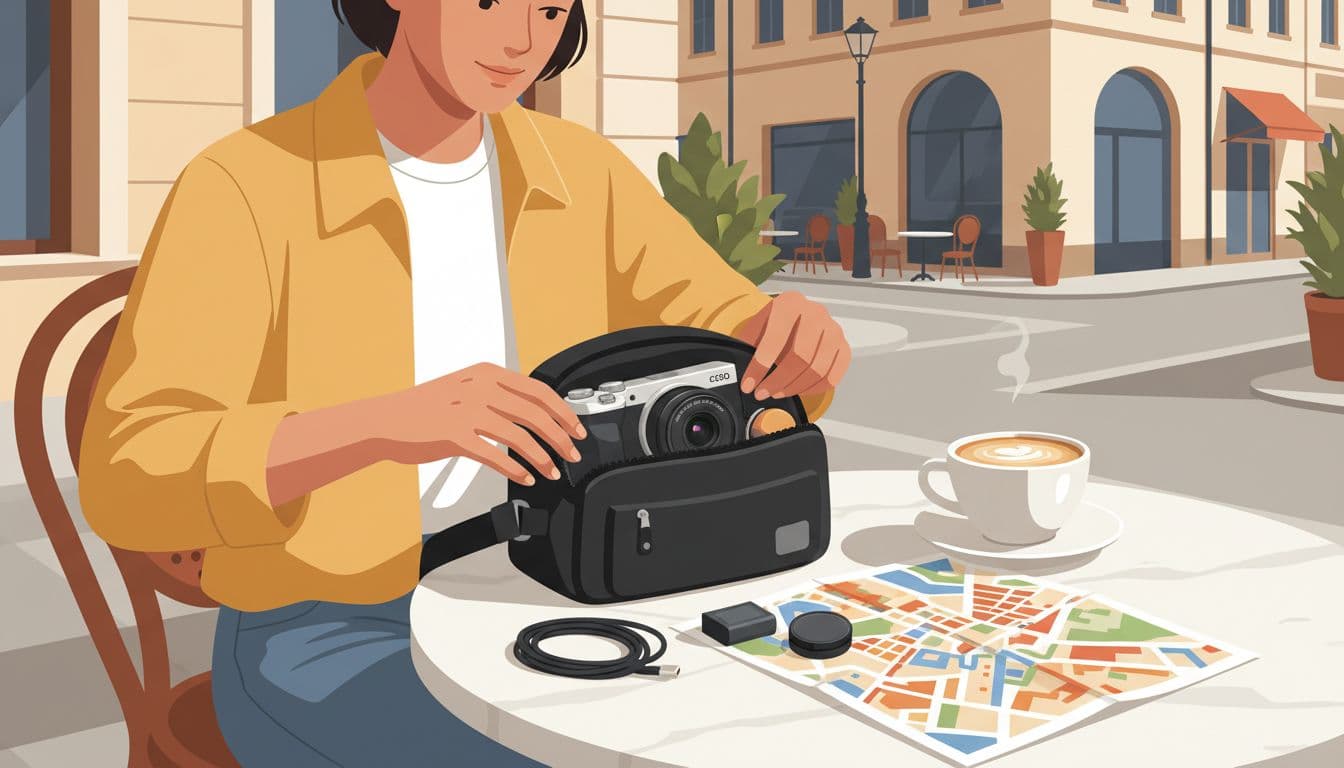
The small accessories that save a trip are often better than one more lens
A travel kit usually fails for boring reasons. Power dies, cards fill up, rain starts, or your bag turns every lens change into a public unpacking act.
That’s why small accessories often do more for your photos than one more piece of glass. They keep you shooting when the light gets good, when the bus stops for two minutes, or when dinner runs long and blue hour slips in over a wet street.
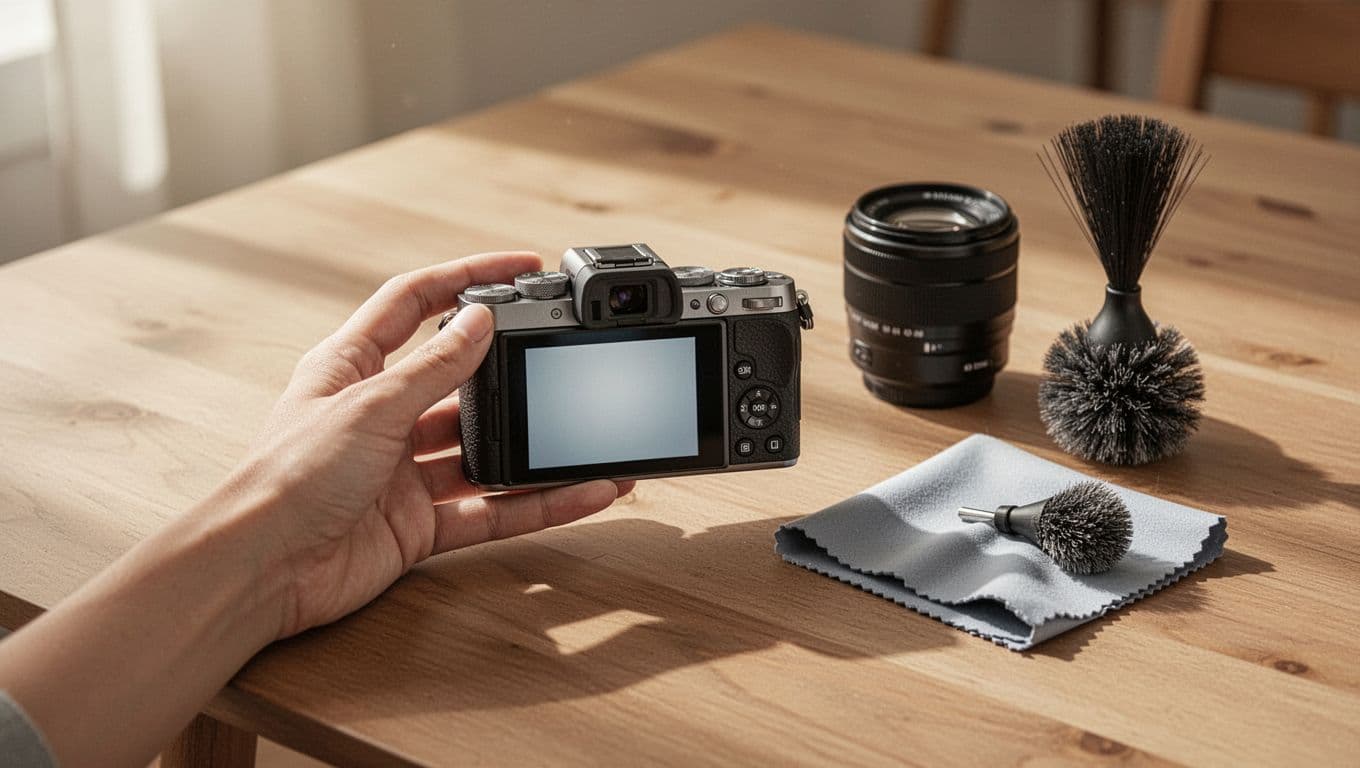
Buy extra batteries, fast memory cards, and a simple charger plan
Start with power, because a camera with no battery is just weight. Many mirrorless bodies can manage 300 or more shots, and that sounds fine until a travel day stretches from breakfast to midnight, with maps, menus, burst shooting, and a lot of screen checking in between.
Bring at least one spare battery, and two if you shoot often or use video. Small thing. Big relief. I learned that on a cold ferry ride in Seattle, when my main battery dropped faster than expected and the spare in my jacket pocket carried me through the skyline glow and the gulls wheeling over Elliott Bay.
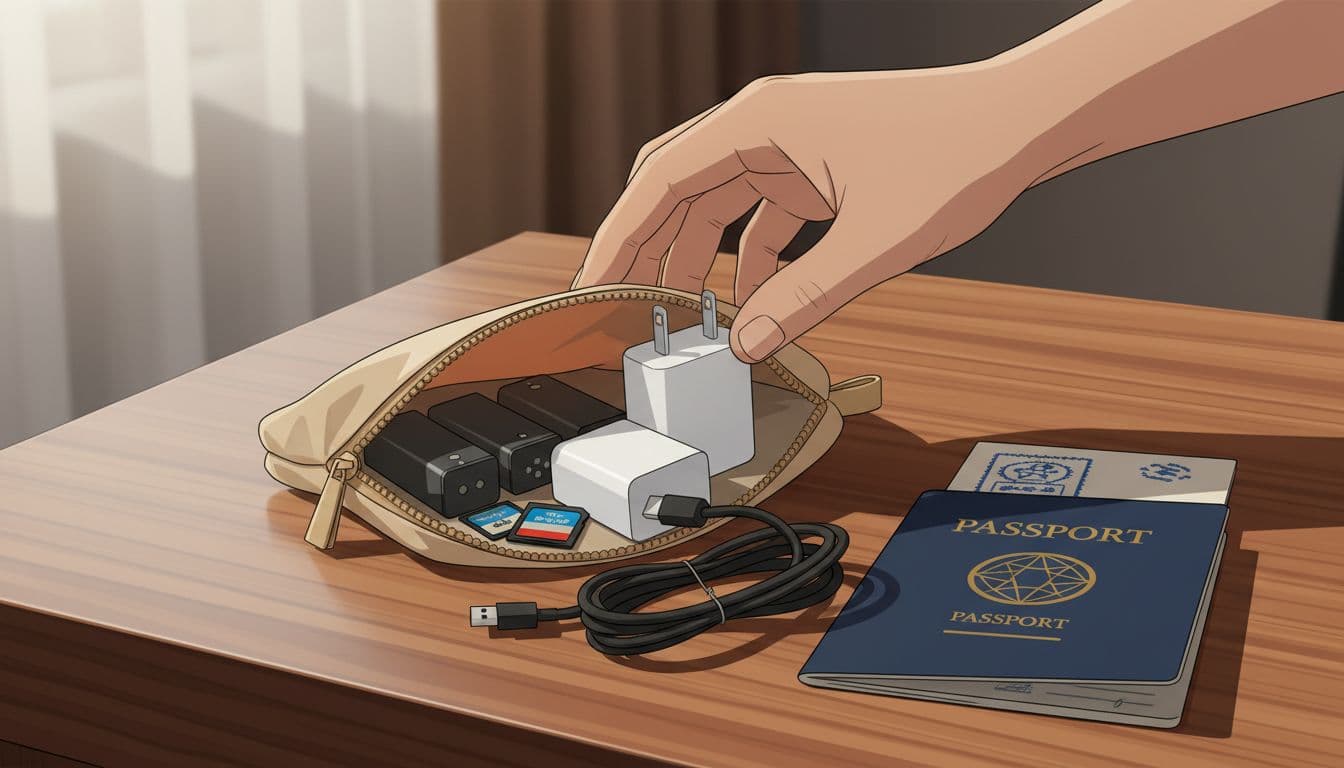
Storage matters just as much. Buy reliable, fast SD cards from a known seller, and avoid the temptation to trust one giant bargain card with your whole trip. A pair of modest cards is often smarter than one huge card, because if a card fails or goes missing, you don’t lose everything. A lost week of photos. Brutal.
If your camera supports USB charging, use it. That one feature can save space and stress, because you may be able to top up from a wall plug, power bank, train seat, or airport outlet without packing a bulky separate charger for every device, and that matters when you are already deciding whether your bag has room for a rain shell and a sandwich. Check your camera’s manual first, or look up the charging spec on the maker’s support page.
A simple charging plan works better than tossing cables into a pocket and hoping for the best:
- Pack batteries and cards in one small zip pouch, so you can find them by touch.
- Keep one fresh battery in your jacket or day bag, not buried in luggage.
- Label full and empty cards with a simple system, even if it’s just turning used cards upside down in the case.
- Charge every night, because travel mornings get messy fast.
For extra help on travel gear basics, Photography Life’s travel gear guide covers the same idea from a working photographer’s point of view.
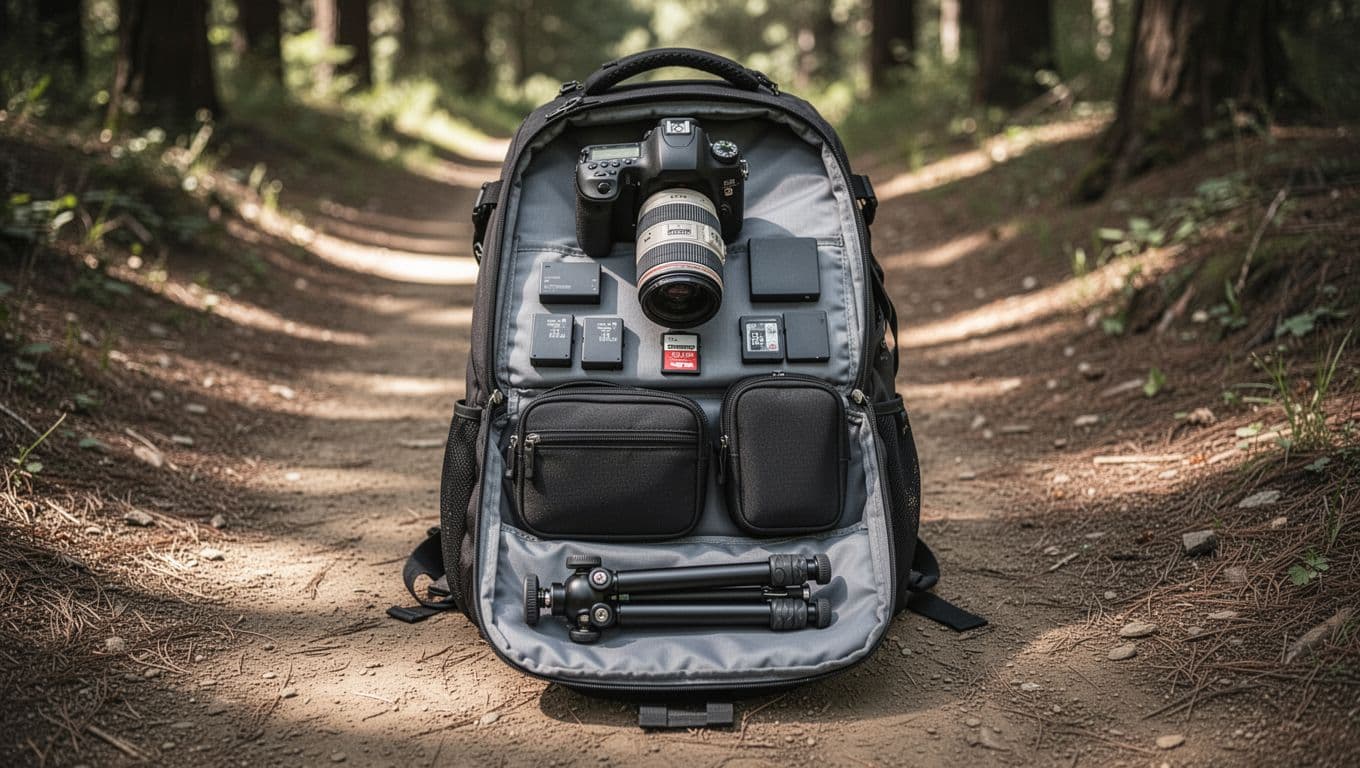
Choose a camera bag that protects gear without making you look overloaded
A good travel camera bag should feel almost boring. It shouldn’t shout “expensive gear inside,” and it shouldn’t swing around like a camping pack every time you step onto a bus or slide into a cafe chair.
Look for a small footprint first. If the bag is too big, you’ll fill it, and then you’ll carry things you never use. For most budget travel setups, you need room for one camera, one lens, batteries, cards, and a few personal items like a phone, wallet, passport, or snack. That’s enough for a real day out.
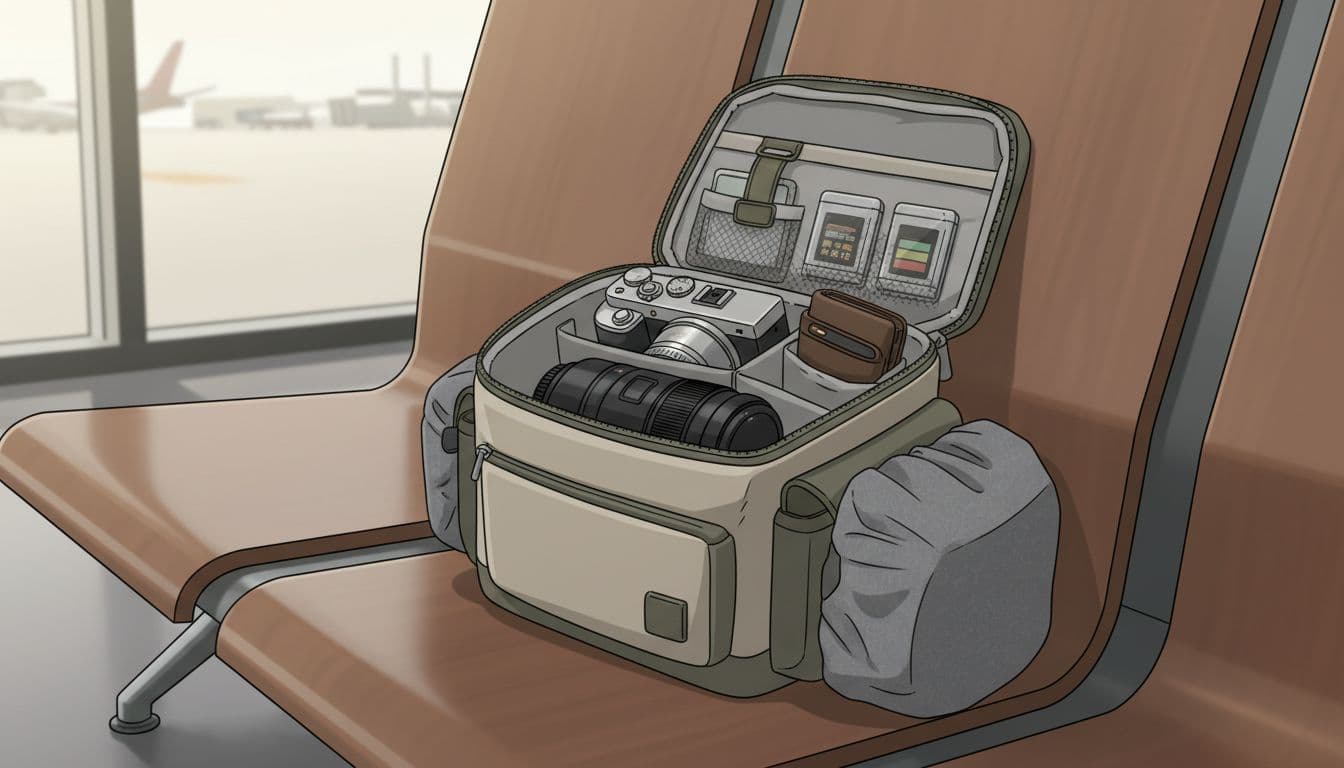
Inside, padded dividers matter more than fancy styling. They stop the camera from knocking into a charger brick or keys, and they let you shape the space around the gear you actually own. Quick access matters too, especially if you like street photos or family travel, because a bag that opens fast gets used, while a fiddly bag makes you miss the shot.
Weather protection counts, even if you don’t travel into storms on purpose. A water-resistant exterior or a simple rain cover is often enough for travel, since most people need protection from surprise drizzle, damp benches, or a bottle leaking inside the bag, not a week in the jungle. Pack Hacker’s camera kit guide is useful if you want more ideas on layout and packing logic.
The best travel bag usually has these traits:
- It stays close to your body in crowds.
- It opens fast without dumping everything.
- It has enough padding for the camera, but not so much bulk that it feels like luggage.
- It leaves a little room for normal life, because travel days are never only about photos.
A bag should help you disappear a bit. In other words, you want the camera ready, but you don’t want to look like you’re hauling half a studio through gate B12.
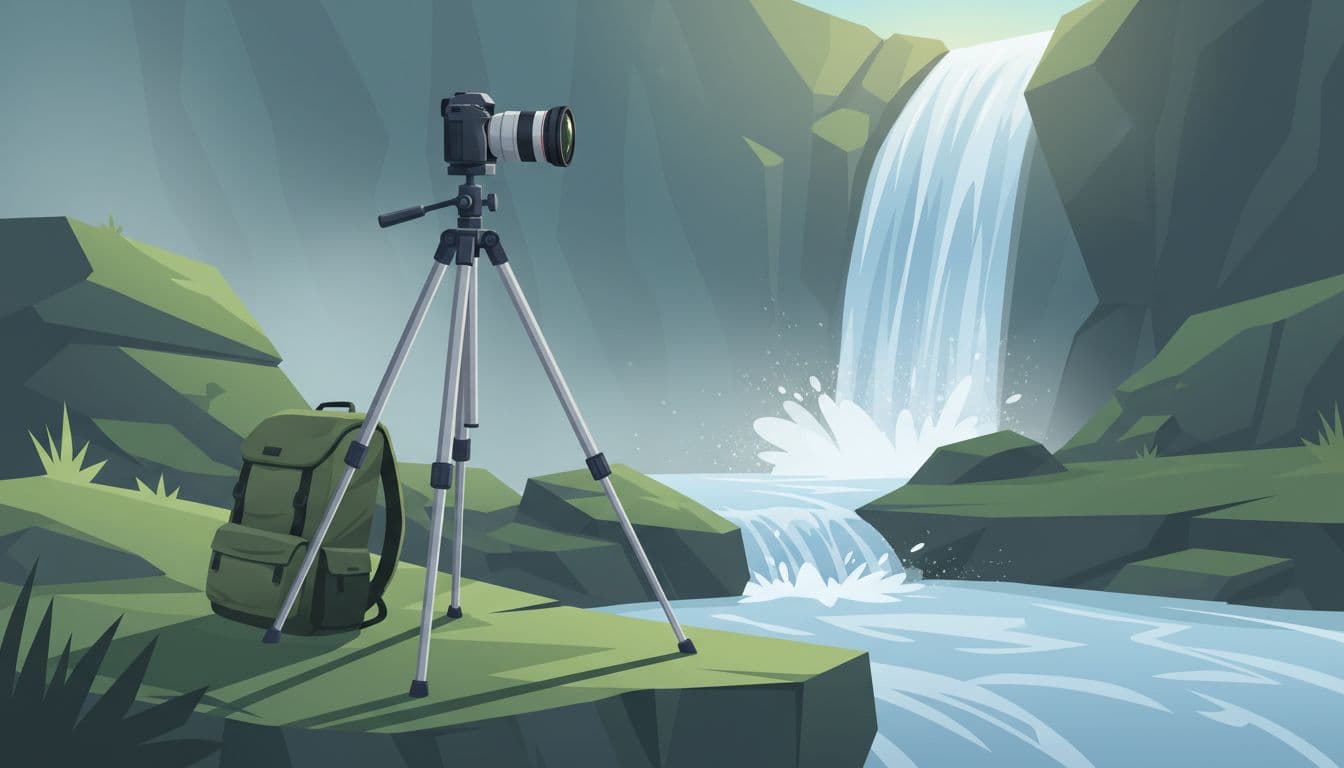
A cheap tripod helps more than most people expect
A budget tripod can earn its place faster than a second lens. If you actually carry it, it opens shots that handheld shooting simply won’t: night scenes, self-portraits, waterfalls, city lights, and group photos where you want to be in the frame instead of handing your camera to a stranger.
You don’t need a premium model to get that benefit. Budget options such as the K&F Concept T255A4, Zomei Z688, AmazonBasics 60-Inch Lightweight Tripod, Victiv 72-inch aluminum tripod, some entry-level Benro and Ulanzi models, and the Vanguard Vesta 203AP all point to the same truth. A useful tripod is one you’ll bring, set up fast, and trust enough to leave the shutter open for two seconds without holding your breath.
What makes a cheap tripod worth buying? Start with stable legs, because thin, shaky legs turn every gust of wind into blur. Then check the leg locks. They should feel solid and quick, not like little plastic promises waiting to crack. Weight matters too, but only up to a point. A tripod that is a bit heavier yet still easy to strap to a day bag is often smarter than an ultra-light model that wobbles on stone steps or boardwalk planks.
The sweet spot is simple:
- Light enough to carry for hours
- Strong enough to hold your camera without sagging
- Fast enough to set up before the light changes
Current buying guides still rate low-cost travel tripods by those same basics. For example, A Day Trip’s travel tripod roundup and Photoworkout’s beginner tripod guide both focus on stability, weight, and value rather than fancy extras. If you want a closer look at one affordable option, Digital Camera World’s Vanguard Vesta 203AP review shows why simple, inexpensive tripod kits still make sense.
I felt this on the Oregon coast one blue evening, when the wind had dropped for ten minutes and the foam on the black rocks turned silky in a two-second exposure, while the people next to me tried to brace their cameras on a damp railing with coffee cups and elbows. Same beach. Different result.
A cheap tripod won’t fix bad timing or flat light. Still, it gives you chances you didn’t have before, especially when your hotel room key is in one pocket, your gloves are in the other, and the shutter clicks at 1/4 second under a streetlamp in Pike Place.
Build the best budget travel photography kit for your trip style
A smart budget travel photography kit isn’t one fixed shopping list. It depends on how you move. A weekend in Boston, a family flight to Orlando, and a month hopping trains in Europe all ask for different trade-offs, because the best bag is the one you still want on your shoulder at 4 p.m.
Start with the kind of trip you actually take, then build around one body, one useful lens, and a couple of small extras that keep you shooting. Less friction. Better odds. More photos you keep.
Best kit for beginners who want easy photos and a light bag
For a first real travel setup, the Canon EOS R50 with the RF-S 18-45mm kit lens, one spare battery, and a small sling or shoulder bag is hard to beat. It stays light, the controls don’t feel hostile, and the lens covers the shots most casual travelers actually take, from family portraits at lunch to wide city scenes and quick snapshots in museums or markets.
Price matters here, and the R50 keeps the total spend within reach. Canon’s current US store pricing has the EOS R50 18-45mm lens kit at $799.99, which leaves room for a spare battery and a simple bag without the whole setup getting silly. If you want to spend even less, recent Canon refurb pricing has been unusually aggressive, and that can turn this into a very affordable first travel camera.
This kit works well for short trips, because you don’t need to think much. The lens starts wide enough for city streets and hotel-room views, then reaches far enough for a portrait across the table or a detail on a building facade. The spare battery covers the real weakness of small mirrorless bodies, which is that a long day of maps, menus, and bursts can drain power faster than you expect.
It also fits family travel. Fast autofocus helps with kids who never hold still, and Canon colors tend to look pleasing straight out of camera, which means less editing later. If you want more context on why beginners keep landing here, this Canon EOS R50 review for beginners lines up with that same easygoing appeal.
Last fall, I watched a parent in San Diego pull an R50 from a tiny crossbody bag near the carousel at Balboa Park, catch a laughing child mid-spin, then zip the whole kit away before the next stop on the day, and that little moment made the point better than any spec sheet could. Simple wins.
Best kit for serious travelers who still want to stay under budget
If you travel more often, shoot more on purpose, or want a camera you can grow into, move up to the Canon EOS R10 or Nikon Z50 II. Pair either body with the standard kit lens if you want to save money, or step up to a flexible travel zoom if you hate changing lenses in wind, dust, or crowded streets.
The R10 is the easier pick if you want speed and room to improve. It feels snappier than entry-level bodies, and its autofocus has enough headroom for busy streets, wildlife on a hike, or fast family moments that come and go in a blink. The Z50 II makes more sense if your trips lean outdoors and you care about a tougher feel in the hand, plus strong still-image quality for landscapes and travel portraits. For a closer take, PCMag’s Nikon Z50II review is useful reading before you buy.
This setup fits longer trips, because it handles more without becoming huge. If you’re gone for two weeks, shooting markets in the morning, trails in the afternoon, and blue-hour streets after dinner, a slightly more capable body pays off every day, especially when the light gets mixed, the weather turns, or you want to crop tighter later without the file falling apart.
One small choice depends on trip type:
- Bring an extra battery if you’ll be on the move all day, changing cities, using maps often, or shooting lots of clips.
- Bring a small tripod if the trip is about night streets, landscapes, waterfalls, or self-portraits where slow shutter speeds matter more than raw shooting time.
That trade-off matters more than people think, because a traveler on a three-city train route usually benefits from spare power, while someone driving the Utah parks at sunrise and sunset gets more value from a compact tripod tucked to the side of the bag, even if the rest of the setup stays lean and affordable.
Best kit for street photos and light video on the go
For travel that mixes stills with clips, start with the Sony a6400 or Fujifilm X-M5. The better choice depends on your style. Sony is the safer pick if you care most about autofocus and dependable video performance. Fujifilm is more appealing if you love color, like a camera with personality, and want JPEGs that already look rich before you touch an app.
The Sony a6400 still earns its place in 2026 because it stays compact, focuses fast, and works well for solo creators. Its flip-up screen helps when you’re filming yourself in a plaza or checking framing from a park bench, and the body is small enough that it doesn’t turn every walk into a gear haul. If you want a sense of current value, this 2026 guide to the Sony a6400 explains why it still makes sense for travel and vlogging.
Pair it with a small prime if you like street photos and low light, or a compact zoom if you want more flexibility. A small prime keeps the kit discreet and gives footage a cleaner look in cafes, train stations, or evening streets. A compact zoom is better when you don’t want to swap lenses while moving.
The Fujifilm X-M5 leans more toward feel. Color. Style. If your trip includes food, street scenes, shop windows, and short handheld clips for social posts, that matters. A flip screen and tiny body make it friendly for creators, but the bigger draw is that the camera invites use. You pick it up more often. That alone can change a trip.
For this kind of kit, keep the bag tight:
- One body
- One small lens
- One spare battery
- One small mic, if video matters
That’s enough for a walking day in Brooklyn, a night market in Taipei, or a tram ride across Lisbon with your camera resting against the window and the red STOP button glowing on the screen.
How to spend less and still come home with better travel photos
Travel photography gets expensive when you buy for fear. You don’t need that. You need a kit that earns its place in your bag and leaves enough money for the actual trip, because a great morning in a new city will do more for your photos than one more overpriced accessory sitting at home.
Use your budget where it changes the frame. Save where it doesn’t. Then keep walking.
Buy used when it lowers the price, not when it raises the risk
Used gear is often the easiest way to stretch a travel photography budget, especially with lenses and older mirrorless bodies that still shoot very well. The Sony a6400 is the perfect example, because it remains a strong travel camera in 2026 and current used listings in the US often land around $719 to $764 at MPB, with other market prices ranging from roughly $550 to the high $700s depending on condition and seller.
That gap matters. A lot.
If buying used saves you enough to add a better lens or an extra battery, it can improve your real-world results more than buying new ever would. A clean older body with a good lens is usually smarter than a shiny new body stuck with a weak kit setup.
Still, used only works when the risk stays low. Keep your checks basic:
- Look for shutter count when the seller provides it. Lower is usually better, though condition matters too.
- Inspect the sensor for scratches, stains, or marks that cleaning will not fix.
- Ask about battery health or plan to replace old batteries if the camera is several years old.
- Read the return policy before you pay, because a short testing window can save you from a bad buy.
- Stick with trusted sellers that grade gear, test it, and back it up.
A scratched sensor is a dealbreaker. Dust is normal. Big difference.
I once bought a used body the night before a train trip to New York, met the seller in a coffee shop near Union Square, and noticed the battery dropped from full to one bar while I checked the menu screen. The camera looked spotless. The battery was cooked. I passed, found another body from a dealer with a return window, and shot all weekend without a hitch.
For lenses, used is even easier to justify, because many lenses age better than camera bodies. Autofocus speed and coatings matter, of course, but a solid lens often has a longer useful life than the body behind it. That is why many photographers buy the camera used, then keep the lens for years.
When you want a safer path, buy from places that specialize in used gear or open-box stock, such as KEH’s used gear marketplace, MPB’s Sony a6400 listings, or retailers tracked in PetaPixel’s used camera seller guide. If you want a simple inspection checklist before you click “buy,” Alex Armitage’s used camera guide is practical and easy to follow.
Patience helps here. The best used buy is rarely the first listing you see at 11:47 p.m.
Spend money on the gear that changes your photos the most
A travel budget works better when you rank purchases by impact, not by hype. Start with the camera body and lens combo, because that pair shapes nearly every photo you take. After that, buy batteries and memory cards, then a bag, then a tripod, and only then look at extras.
That order saves money because it matches what actually affects your trip. A strong body and lens combo changes sharpness, low-light results, autofocus trust, framing options, and how often you bother to take the camera out in the first place, while a fancy strap or filter set usually changes very little unless you already know why you need it.
A quick ranking makes the trade-offs easier to see:
| Priority | Buy this first | Why it matters most | | | | | | 1 | Camera body and lens combo | This is where image quality, speed, and flexibility come from | | 2 | Batteries and cards | These keep you shooting when the light gets good | | 3 | Bag | Comfort and access matter on long walking days | | 4 | Tripod | Useful for certain trips, less important for many others | | 5 | Extras | Nice to have, easy to overbuy |
Spend for the trip you actually take. If most of your travel means cities, short flights, family weekends, and long days on foot, then a small body with one good lens and two batteries will help more than a tripod you leave in the closet because it feels annoying by lunchtime.
This is where people overspend. They buy for the dream trip.
Maybe you picture one future Iceland road trip with waterfalls, northern lights, and empty roads at dusk. Fair enough. But if your real year looks more like Chicago, San Diego, Atlanta, and two rushed weekend flights with carry-on luggage, then your money should go to gear that handles streets, food, people, changing light, and fast packing without complaint, because that setup will get used on twelve travel days instead of two.
A bag matters, but only after the camera can make the photo you want. A tripod matters, but only if your trips call for night work, self-portraits, or slow shutter scenes. Extras can wait. They usually should.
Keep the decision simple:
- Buy the best body and lens pair you can carry all day.
- Add enough power and storage to finish the day.
- Carry it in a bag that doesn’t fight you.
- Add a tripod only when your trip gives it real work.
That is how you spend less and still come home with better images, whether you’re walking the riverfront at sunrise or pulling an a6400 from a sling bag beside a rain-dark brick wall in Boston.
Conclusion
The best budget travel camera gear in 2026 is the kit you’ll still carry at sunrise, when a light body like the Canon EOS R10 or EOS R50, a dependable lens, and one spare battery feel easy instead of heavy. Small wins on the road.
Weight changes everything. I felt that on a narrow street in Porto, when a camera came out of a small sling in one quick motion and caught the first gold light on blue tile while someone with a larger bag was still unzipping pockets.
So the smartest buy is usually the one that keeps you present, whether that’s an R10 that reacts fast, an R50 that stays simple, or a used a6400 that still earns its place, because reliable gear beats the “better” setup left back at the hotel. One small bag, one camera ready, cold rail under your hand, and a train platform just starting to glow.