

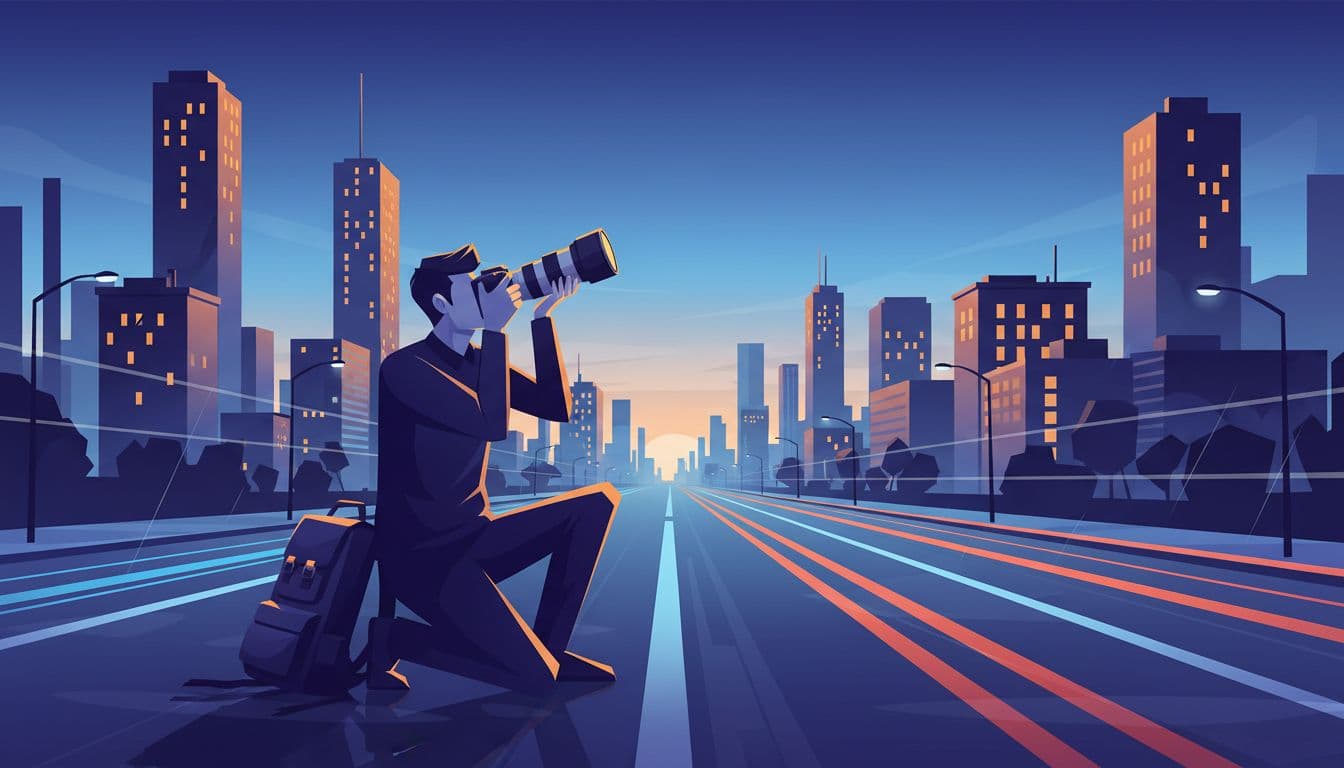
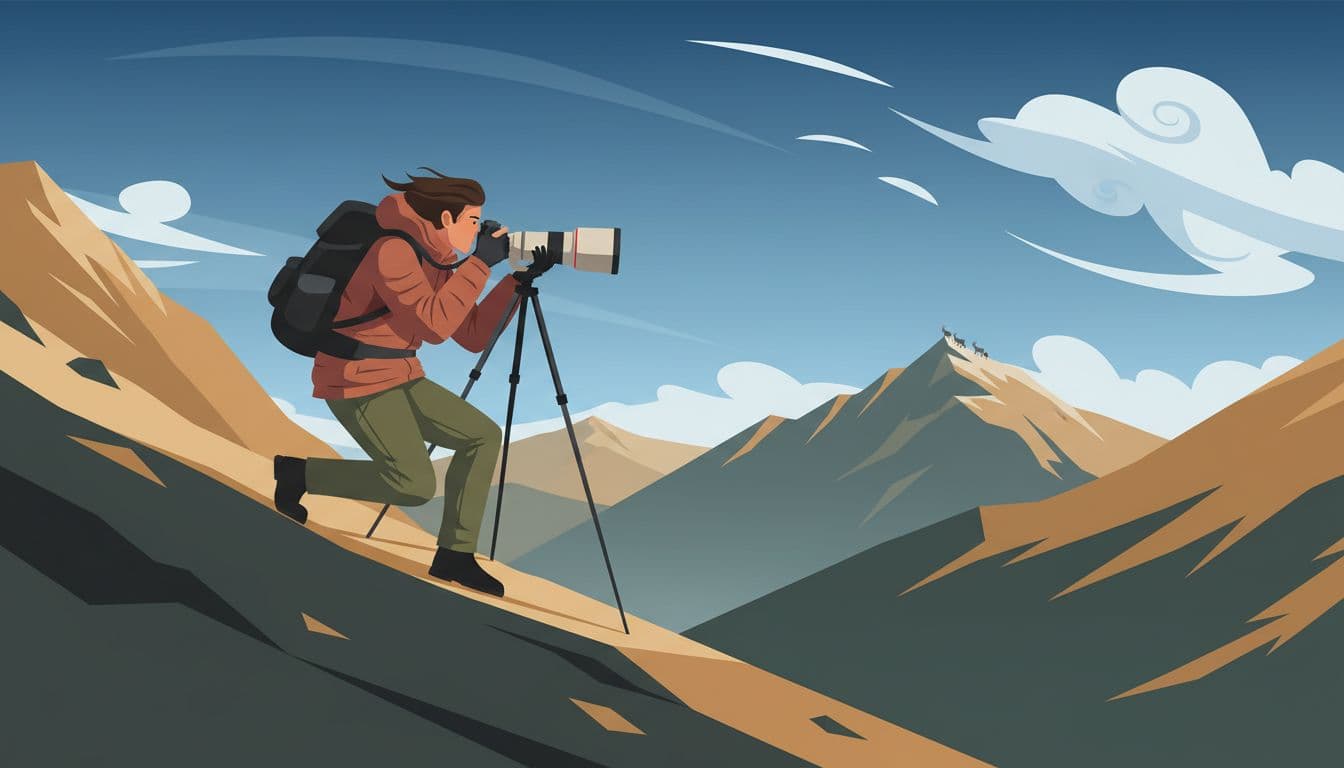
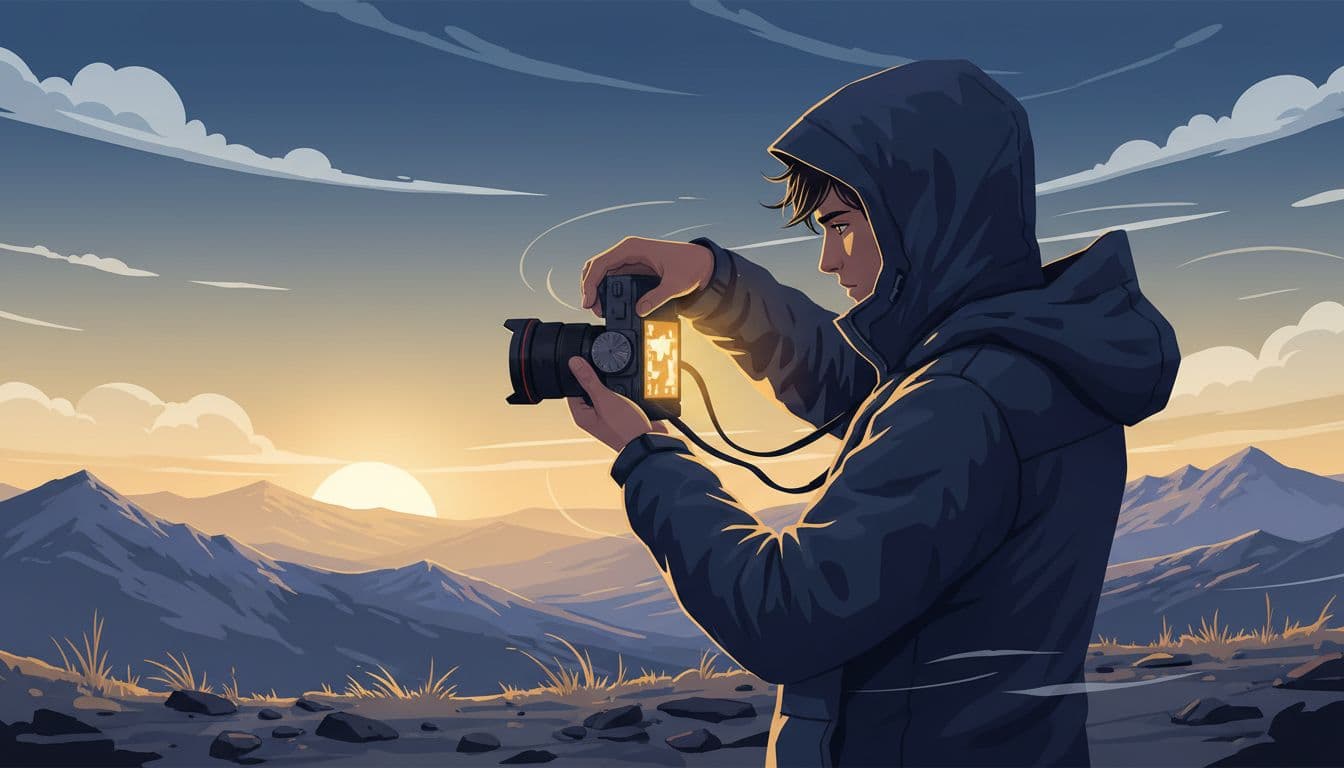
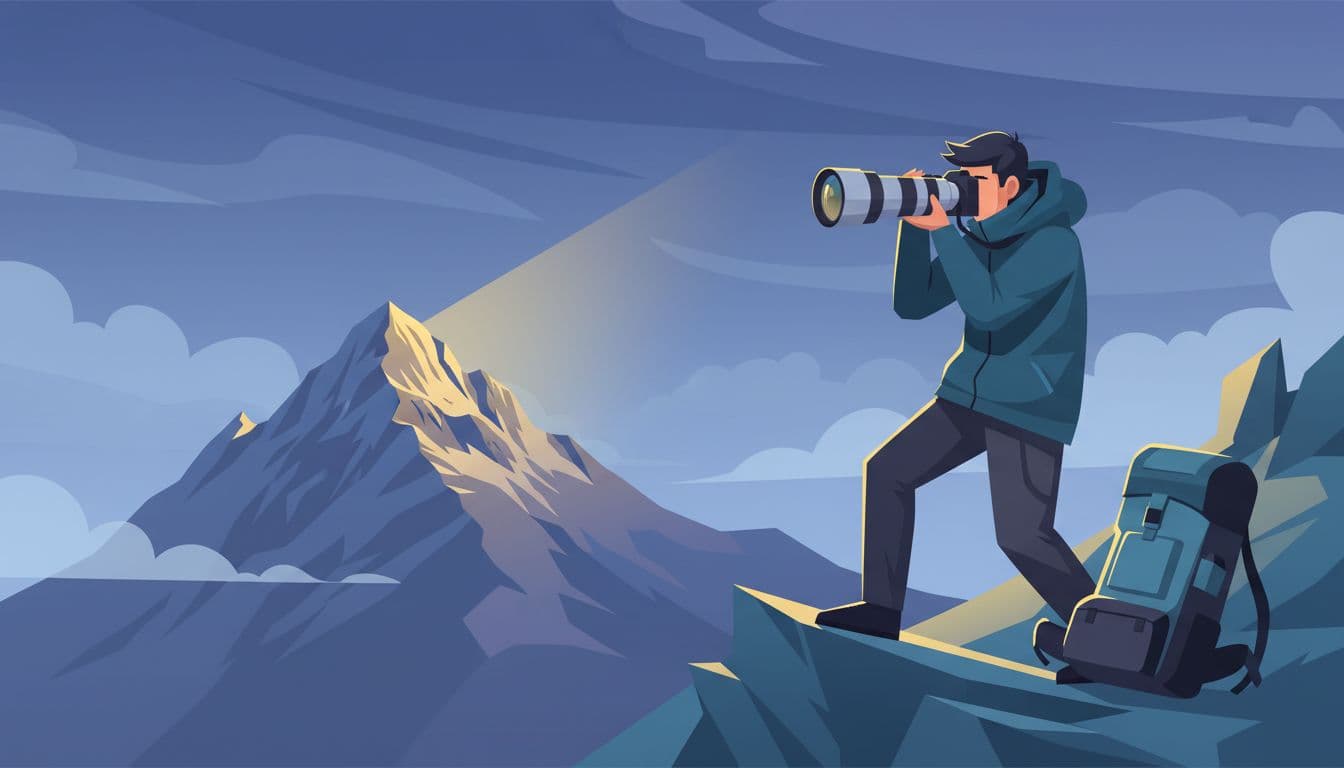
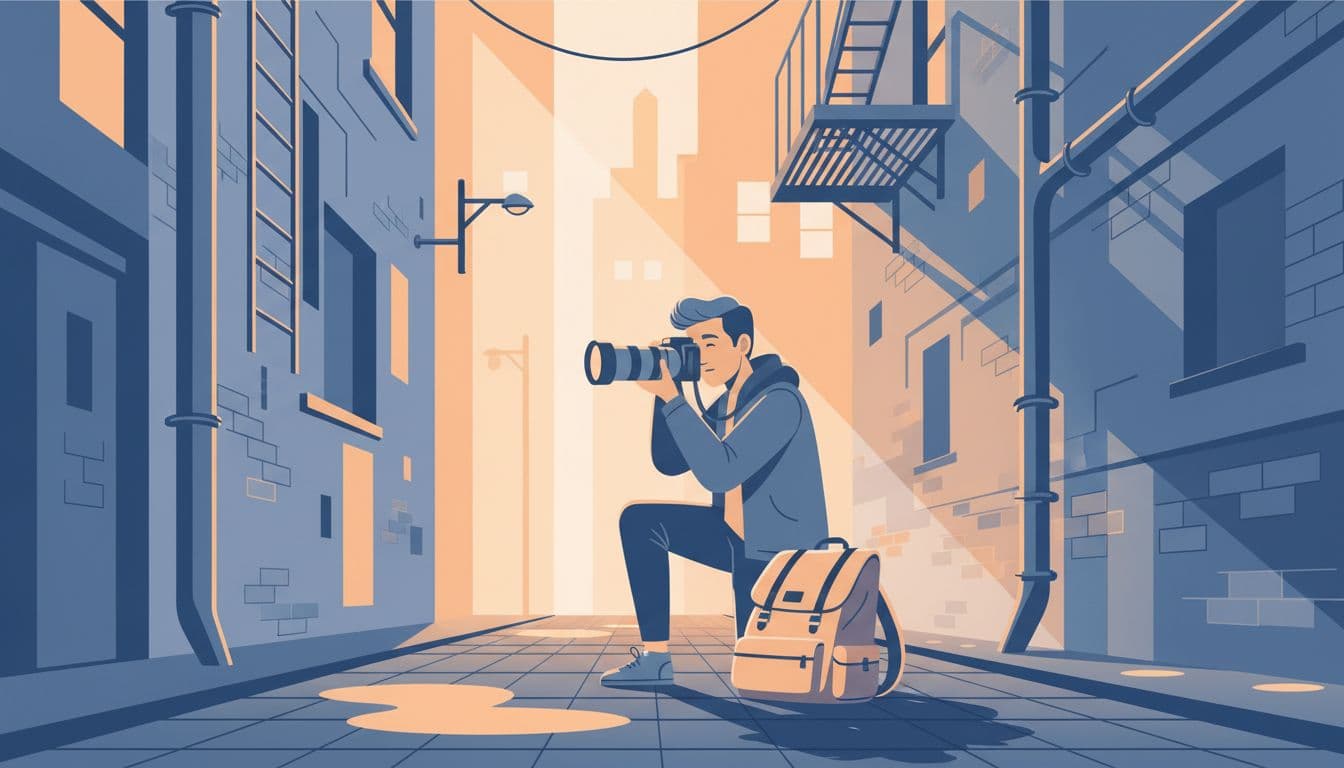
Blue hour closes in on a narrow city street, shop signs flicker on, and scooters slip past your shoulder; a few hours later, you’re on a windy mountain overlook, sun on the ridgeline, gloves off, trying to frame a fast-moving patch of light before it slides off the rock. Two places, one bag, no room for fuss. Hands cold, light fading.
Changing lenses sounds harmless until you’re kneeling on wet stone or backed against a wall while traffic and people keep moving, because every swap adds weight to your bag, slows your pace, and opens the door to dust on the sensor or the shot that disappears while the rear cap is still in your hand. I learned that in Lisbon, when I stopped to trade a 35mm for a wider lens as Tram 28 rounded a curve under a wash of blue dusk, and by the time I looked up, the car, the sparks, and the one passenger leaning into the window were gone.
A one-lens travel photography guide starts there, with the lens you can live with all day, the ways to use it well, and the tradeoffs you stop fighting once the trip gets real. Start with the focal length that can catch a crosswalk reflection at 24mm and still hold a far snow line after sunrise.
Choose the one lens that fits how you actually travel
Most one-lens mistakes start on paper. A lens looks perfect in a spec sheet, then feels wrong after six miles uphill or three hours in a crowded old town. The better choice is usually the one that matches your pace, your light, and the shots you chase when you’re tired.
Be honest with yourself. If you stop for portraits, details, and distant ridgelines, your lens needs reach. If you stay out after sunset and hate high ISO noise, a faster aperture matters more. Comfort counts too.
When a 24-70mm or 24-105mm gives you the best balance
For most trips, this is the sweet spot. You get 24mm for streets, plazas, interiors, and broad mountain views, then enough reach for faces, shop-window details, and tighter layers in the landscape. It feels natural fast, which matters when the light lasts two minutes and your hands are already cold.
A 24-70mm is often the better fit if you shoot people in low light, spend long evenings in cities, or want softer backgrounds without much effort. In plain terms, f/2.8 lets in more light than f/4, so your shutter speed can stay higher after dark, and your portraits get a bit more separation. Night markets. Rain-slick streets. Dim bars.
A 24-105mm shifts the tradeoff. You lose some low-light power, but you gain useful reach, and that extra 35mm shows up more often than many travelers expect, especially when you’re on a ridge looking across several layers of hills, or standing on the far side of a square and wanting a tighter frame without walking into traffic.
That extra reach is why the 24-105mm f/4 keeps getting picked as the practical travel choice in recent comparisons, because it covers more of the real-world moments that happen between “wide city scene” and “I wish I had a telephoto,” while usually staying lighter and cheaper than a 24-70mm f/2.8. If you want a side-by-side look, this comparison from The School of Photography lays out the tradeoffs clearly.
I felt that difference on a morning above Granada. I had a 24-70mm on the camera, and the Sierra Nevada picked up first light in thin pink bands, far beyond the rooftops and cypress trees. Seventy millimeters got me a decent frame, but 105mm would have pulled the ridgeline forward just enough to simplify the scene and hold the mountain against the haze.
If your trips lean this way, 105mm earns its place:
- You like compressed mountain views more than ultra-shallow blur.
- You shoot in daylight or golden hour most of the time.
- You want one lens that stays on the camera all day without feeling like a brick.
- You’d rather save money for the trip itself.
The 24-70mm still wins when light gets ugly. City travel often means narrow streets, old churches, train stations, and dinners that run late. In those places, one stop of extra light helps more than the spec sheet makes it sound. Yet for many travelers, especially hikers and all-day walkers, the 24-105mm is the better compromise, and recent 2026 travel kit recommendations have leaned that way for exactly that reason.
You can read one travel-focused take in Alex Lau’s 24-105mm review. The point isn’t the badge on the barrel. It’s the pattern: wide enough, long enough, light enough.
When a 28-200mm or 24-240mm is worth the compromise
A long-range zoom is the answer for people who value convenience first. One lens, one body, no swaps, less dust, less hesitation. On mountain trips, that matters more than forum arguments admit.
The strength here is reach. A 28-200mm or 24-240mm can frame a trail sign at one moment, then isolate a bright patch of aspens across a valley, then grab a deer at the tree line before it slips back into shadow. If you travel by bus, train, or cable car, and you shoot out of quick stops with no clean place to change lenses, this kind of zoom feels like a pocket knife you keep using because it’s there when you need it.
It also suits messy travel days, the kind with a pre-dawn shuttle, a windy summit, drizzle on the pack, and no chance to stop, kneel, and sort gear while everyone else keeps moving downhill and the weather turns at the same time. That range buys time.
Still, the compromise is real. Corners are often softer than a standard zoom, especially at the wide end. The aperture also gets slower as you zoom in, which means less light for the sensor and less room to blur the background at the long end. In low light, you’ll feel it. In bright mountain air, maybe not.
That makes this lens type easy to place. It’s great for:
- Travelers who hate lens changes
- Hikers who want distant ridges and trail-side wildlife
- Road trips where stops are short and conditions keep changing
The weak spots are just as clear. If your trip includes dim museums, blue-hour city scenes, or crisp architecture shot edge to edge, a superzoom asks more from the camera and from you. Some current superzooms are much better than older ones, as SLR Lounge’s Tamron 28-200 review points out, but physics still collects its fee.
Also, 28mm is not 24mm. That gap sounds small until you back into a wall in a tight alley or try to include the whole overlook. A 24-240mm solves that wide-end issue better, while a 28-200mm is often smaller or faster near the short end. Pick the pain you can live with.
When one prime lens still makes sense
A single prime still works if you travel light and shoot with intent. A 35mm or 40mm prime is small, fast, and easy to carry from breakfast to last call. Less bulk. More light. A steadier rhythm.
This choice makes sense when you value low-light ability, a smaller kit, and a consistent way of seeing more than flexibility. Many travelers love that discipline. You stop zooming with your fingers and start moving your feet. A good 35mm can handle food, street scenes, half-body portraits, and many landscapes with very little fuss, which is why so many people keep coming back to it, as shown in Digital Photography School’s 35mm travel guide.
The limits show up fast in the mountains and in tight rooms. You won’t reach a far ridge well, and some interiors will feel cramped. A 40mm is even tighter, though many people love its natural look. If your best travel shots happen after dark in cafes, side streets, and small guesthouses, a prime can still be the right stubborn little tool. If the marmot pops up fifty yards off the trail, will 35mm feel like enough?
Pack lighter, move faster, and set your camera up before the trip
A one-lens setup works best when the rest of your kit stops arguing with it. The goal is simple: less weight on your shoulder, fewer decisions in the field, and a camera that feels ready the second the light turns good. Small choices matter here, because a long city day and a steep trail both punish the same thing, extra gear you packed “just in case.”
Build a small kit around your lens, not around fear
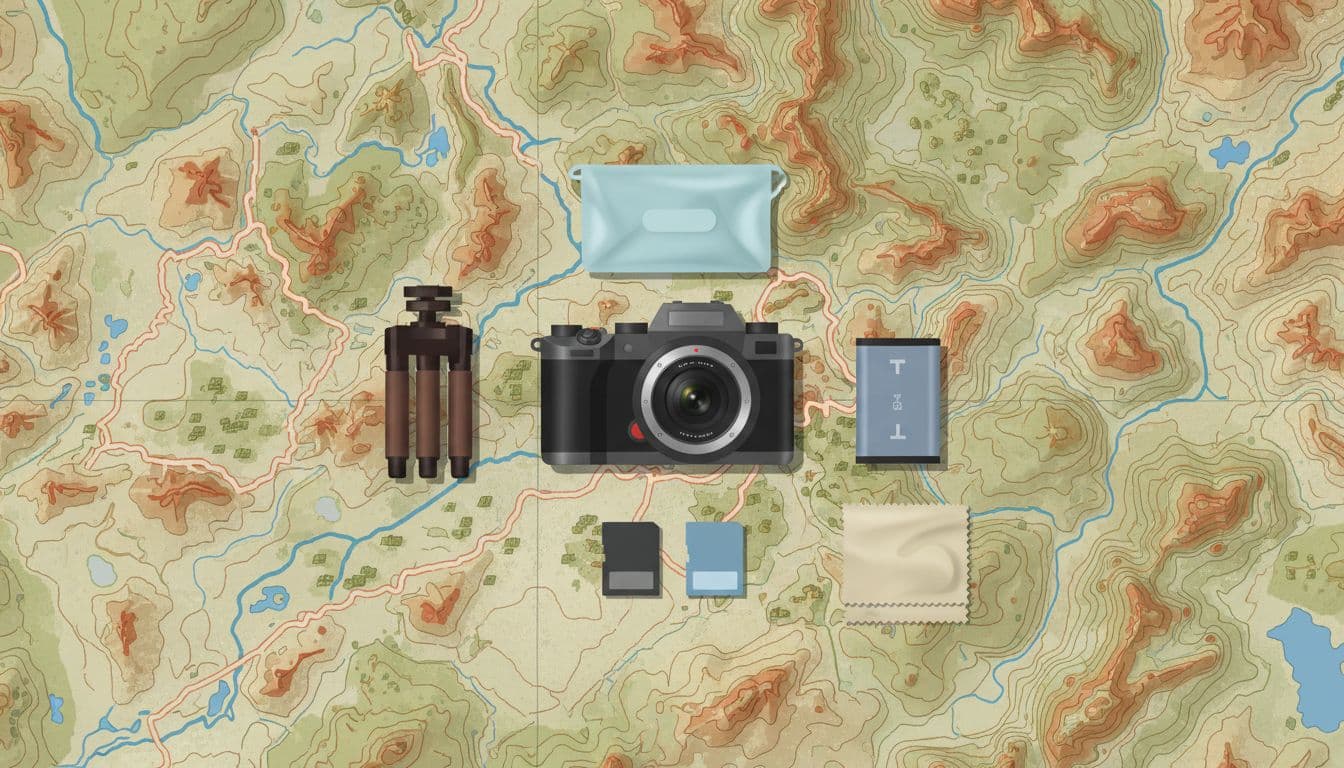
Start with the core pieces and keep them honest. One camera body. One lens. One spare battery. A couple of memory cards. A lens cloth. A compact rain cover. Then add a small travel tripod only if the trip truly asks for it, such as night scenes, self-portraits, or dawn landscapes where you know you’ll want slow shutter speeds.
That’s enough. Really enough.
Fear packs the rest. It adds the second body, the backup prime, the “maybe” filter pouch, and the charger brick you won’t touch until the hotel. After four hours on cobblestones, that extra weight stops feeling like insurance and starts feeling like a tax. On a climb, it steals more than comfort. It takes your breath, your patience, and sometimes your timing.
I felt this on a wet morning above Innsbruck. I had stuffed a second lens into my bag because the forecast looked strange, and by the third switchback I was already tired of the pack shifting on my shoulders. When a line of fog opened and one hiker stepped into a strip of sun near a red trail marker, I got the frame, but I also knew what had made the walk harder for no gain.
A lean kit keeps your mind sharp because every item has a job. If you want a good gut check, lay everything out and ask one question: Will I use this today, or am I packing my nerves? The idea behind one camera, one lens is freedom, not sacrifice.
The lighter your bag gets, the longer your attention lasts.
That matters in cities, where photographs often appear after your feet already hurt, and on mountain paths, where the best view may come ten minutes after you thought the day had peaked. If you need help trimming the extras, this guide to packing camera gear without overpacking is a useful reality check.
Use camera settings that help you react fast
Your settings should reduce friction. They shouldn’t turn every scene into a small exam. For most travel days, aperture priority is the best default because light changes fast and your framing matters more than constant manual tweaks. Set your aperture for the kind of shot you expect, then let the camera handle the shifting brightness.
A simple setup works well for most people:
- Use aperture priority for city streets, mountain overlooks, and mixed weather.
- Turn on Auto ISO and set a minimum shutter speed, such as
1/125for walking scenes and1/250if people or branches keep moving. - Keep single-point autofocus or a small flexible area active, so the camera doesn’t wander to the wrong subject.
- If you already use back-button focus, keep it on. If you don’t, don’t force it the night before a trip.
Also, save one or two custom modes if your camera allows it. One can be for city low light, with a wider aperture, higher Auto ISO ceiling, and a safer minimum shutter speed. The other can be for bright mountain scenes, with base ISO, a narrower aperture like f/8, and exposure compensation ready if snow or pale rock tricks the meter. Quick. Boring. Effective.
This prep pays off because travel light is rarely stable light. One minute you’re under an awning in drizzle, the next you’re in hard alpine sun bouncing off granite, and then you duck into a train station where your shutter speed falls fast unless the camera already knows your guardrails.
If you want a plain-English walkthrough, this travel camera settings guide covers the basics well, and this aperture priority breakdown shows why many travel photographers stick with it.
Before you leave, take ten minutes and test your defaults outside. Point the camera at shade, sky, and motion. Spin the dial with gloves on if you’ll need them. Check how fast the screen wakes up. Check where your thumb lands. Then you’ll be standing on a windy overlook with the camera already set to f/8, Auto ISO on, minimum shutter at 1/250, and one cold finger on the shutter button.
How to shoot strong city photos with just one lens
A single zoom works well in a city because the streets keep changing faster than your bag should. One block gives you glass towers, steam grates, bus stops, and a face in good light. Stay loose. Stay close.
Use the wide end for place, scale, and clean lines
At 24mm or 28mm, you can show where the moment lives, not just what it looks like. Streets feel bigger, stations feel busy, and skyline views hold more air around them, which is why the wide end is so useful for urban scenes with shape and rhythm. For extra ideas on working wide, these 24mm street photography tips are worth a look.

Keep the camera level when tall buildings matter, or the frame will start to lean and the walls will look like they’re falling backward. Also, check the edges before you press the shutter, because a clipped sign, bent pole, or half car can pull the eye off the photo fast. Then add one strong foreground subject, a cyclist, a trash can in hard light, a woman with a red umbrella, so the frame has a heartbeat.
Use the middle range for people, details, and honest travel moments
Between 35mm and 70mm, the city starts to feel more human. Food, doorways, shop windows, and travel portraits sit naturally here, and layered street scenes look richer because you can tighten the frame without losing context.
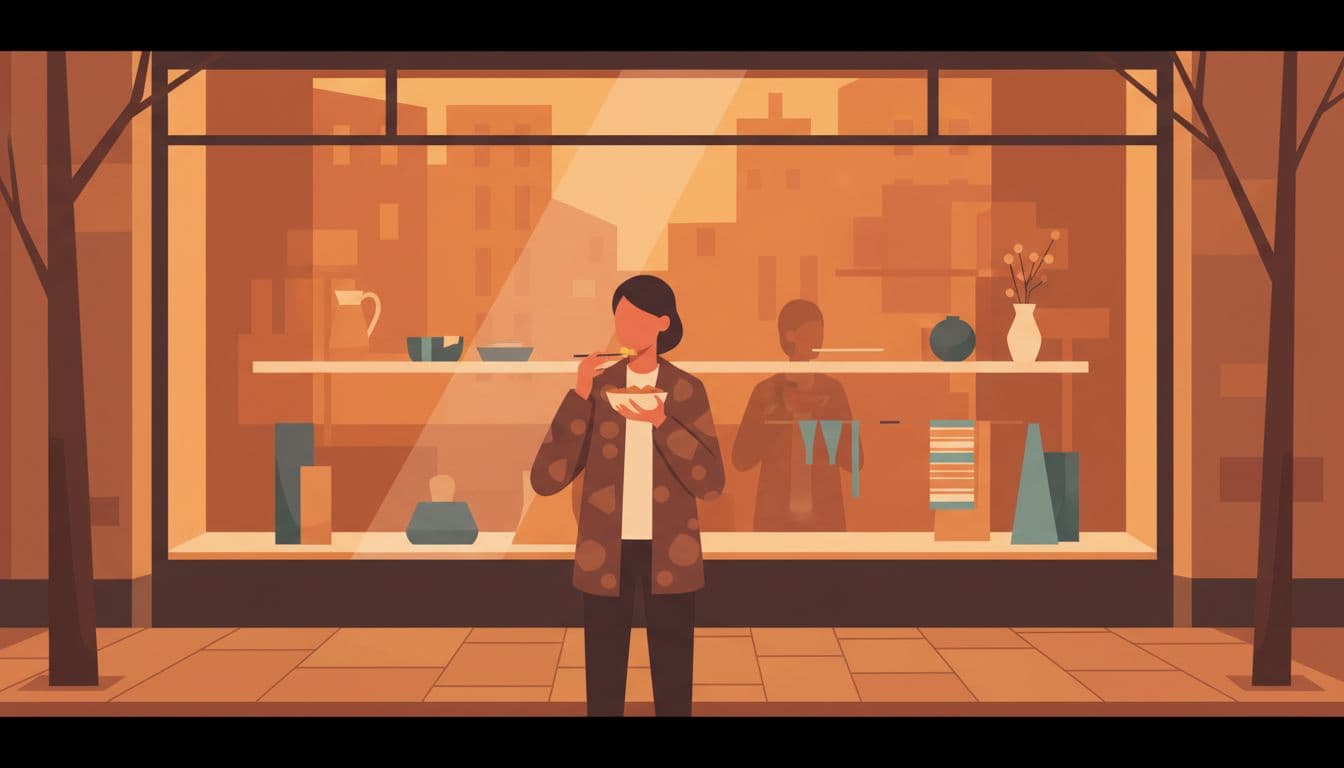
Move your feet first. Then wait for a gesture, a hand lifting coffee, a glance into a window, a friend laughing mid-step. In Chicago, I stayed at about 50mm outside a diner until a man in a navy coat paused under the neon and his reflection lined up with a passing bus, and that half-second gave the frame its whole story. Small things matter.
Handle low light without carrying more gear
City evenings reward simple habits. Brace against a wall, a pole, or a bench. Open the aperture, turn on stabilization if your lens or camera has it, and raise ISO without flinching, because a sharp photo with grain beats a blurry file every time. A plain-English guide from PetaPixel on low-light cityscapes covers the same idea well.
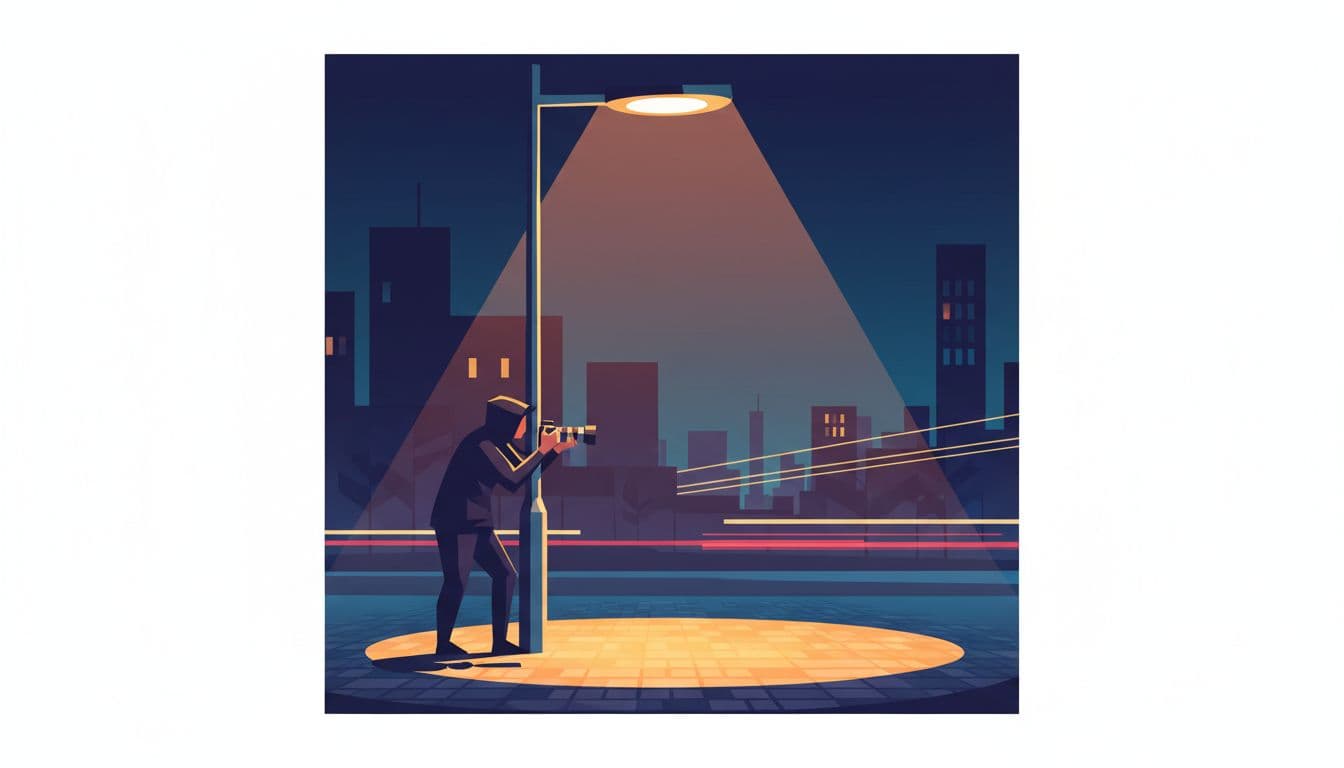
Look for pools of light instead of fighting the dark whole frame. A bus shelter, a cafe window, or one streetlamp on wet pavement can carry a scene, while the shadows do the editing for you. Blue hour helps. So does patience. Sometimes the shot is just one person stepping into a square of yellow light on the crosswalk.
How to make one lens work in the mountains
Mountains can make any lens feel too short, too wide, or too slow. That’s normal. The trick is to stop asking one lens to do everything the same way, and start using each part of its range for a different job.
A single zoom works well up high because the scene keeps changing while your footing, light, and weather do too. One minute you need the whole basin. Then a strip of sun lands on one far ridge and the best frame is suddenly tight and spare.
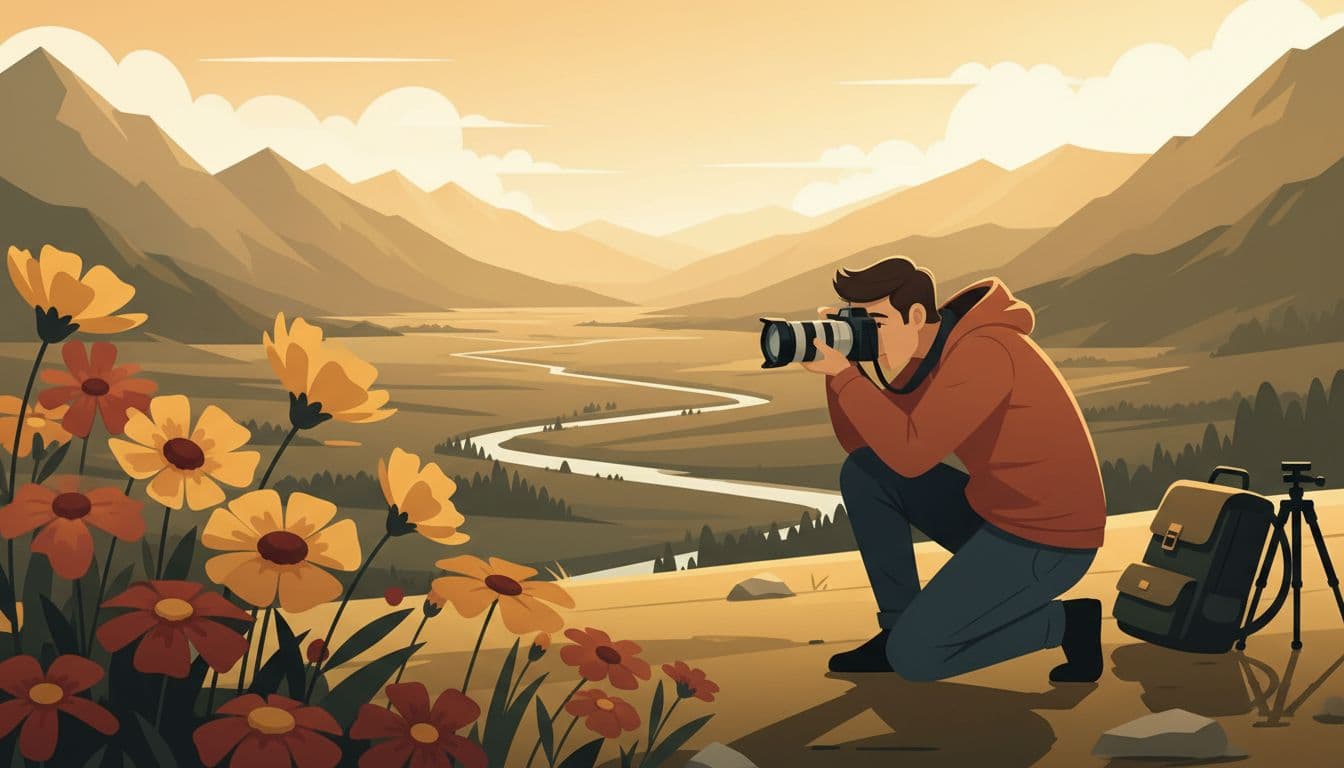
Go wide, but give the landscape a clear subject
Big views often look smaller in photos than they felt in person. The air was huge. The frame turns flat.
That happens because a wide shot can swallow the scene unless your eye has somewhere to land first. A trail in the bottom corner, a dark rock, a bent tree, a hiker near the edge, or a stream catching light can pull the viewer into the picture and carry them toward the peaks.
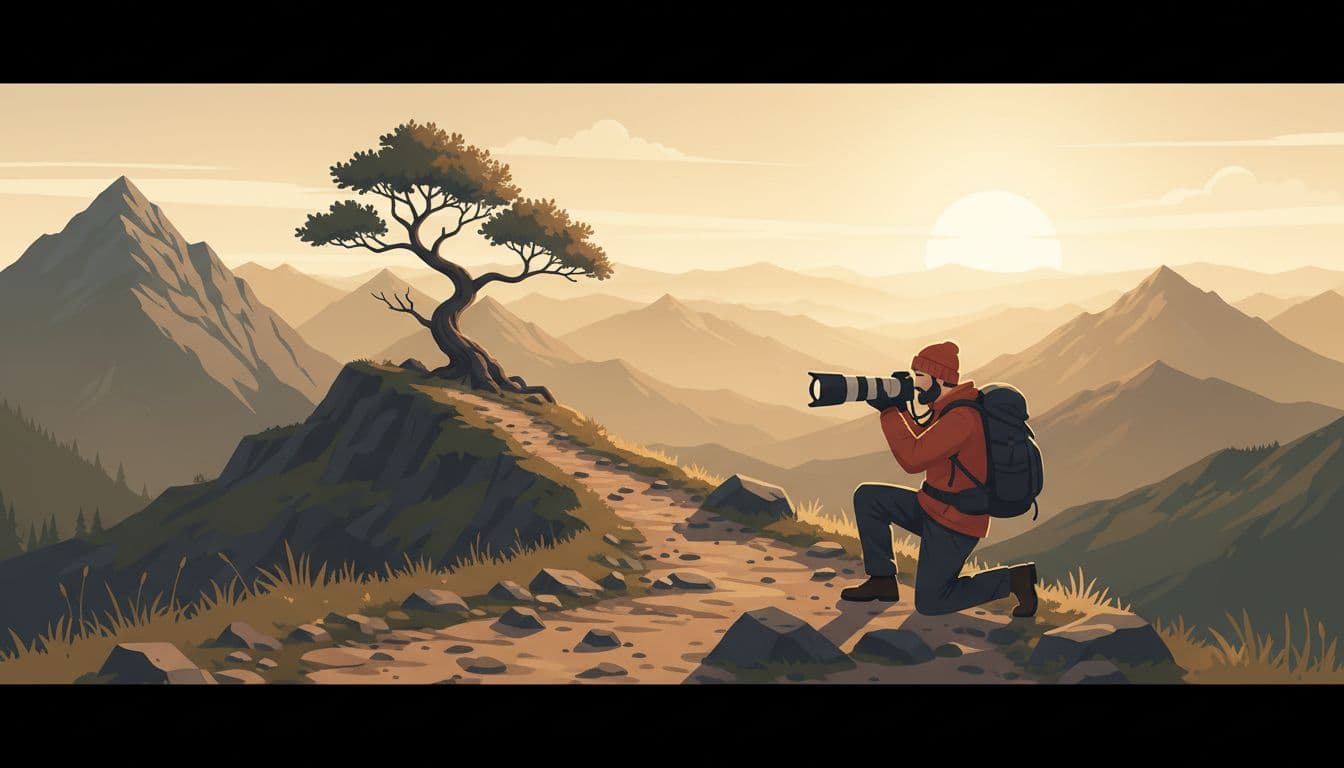
When you go wide, move your feet before you touch the zoom ring. Crouch lower if the trail has shape. Step left if a boulder can sit cleanly against open ground. Wait if a friend in a red jacket is about to cross the path. Small shifts matter more than people think.
Light does half the work. At dawn or late day, ridges cast long shadows, grass picks up rim light, and the folds in the land start to show. Mid-morning can still be useful, but the scene often loses shape because the light falls straight down and smooths out the texture.
I learned this above Telluride with a 24-105mm on a cold September morning. At 24mm, the whole valley looked broad but dull until I backed up and let a switchback of pale dirt enter the lower frame; suddenly the mountains had a path into them, and one patch of frosted grass near my boot made the photo feel close and far at once.
If you’re stuck with a wide scene that still feels empty, look for one anchor near you:
- A trail that curves inward
- A rock with strong shape
- A tree that breaks the skyline
- A hiker for scale
- Water that reflects the sky
For more ideas on keeping a hike kit simple while still getting strong landscape frames, this Fstoppers piece on hiking with one lens is useful.
Use longer focal lengths to simplify distant scenes
Wide views tell the whole story. Longer focal lengths edit it.
At 70mm, 105mm, or 200mm, you can cut away dead space and hold onto what actually matters: a bright slope, a stack of ridges, a snowfield with one shadow line, or a far cabin sitting under a wall of stone. This is where one lens starts to feel less like a compromise and more like a sharp little pocketknife.
Longer focal lengths are great when the sky is bland or the foreground is messy. Instead of including all that empty space, zoom in and compress the layers. Distant ridges start to stack like paper cutouts. Light patches become the subject. Snow lines turn graphic.
This is also where superzooms earn their place. A 24-200mm or 28-200mm lets you go from a broad overlook to one lit ridge in seconds, which matters when sun and cloud keep moving. Recent hiking advice has leaned toward flexible zooms for exactly that reason, especially when the climb is long and lens changes feel like wasted effort.
Holding steady takes a little care, though, because mountains are rarely still. Wind pushes your elbows. Cold hands shake more. Fatigue sneaks in after the climb. So plant your feet, tuck your elbows in, and exhale as you press the shutter. If there’s a rock, trekking pole, railing, or pack strap to brace against, use it.
Shutter speed matters more than it seems on the trail. A good rule is simple:
- Around 70mm, try to stay at
1/125or faster - Around 105mm, aim for
1/200 - Around 200mm,
1/400is safer, especially in wind
Image stabilization helps. It doesn’t stop a swaying body or moving brush. If gusts keep hitting, shoot a short burst of two or three frames. One is often sharper than the rest.
Also, watch the edges when you zoom in. A telephoto frame is less forgiving, and a clipped ridge or half tree can feel cramped fast. For a broader look at useful zoom ranges for mountain scenes, this guide to landscape zoom lenses gives solid context.
Work with weather instead of fighting it
Mountain weather changes the mood before it changes the forecast. Fog erases the background and leaves you with cleaner shapes. Clouds break up hard light and paint moving shadows on the slopes. Snow simplifies the frame because it strips color and clutter away.
Fog is especially good for one-lens travel photography because it hides the parts of the scene that don’t help. A lone tree, one hiker, or a dark ridgeline can carry the whole frame when the rest fades into white. Snow does something similar. Harsh midday sun can still work, too, if you stop trying to make it soft and use contrast instead, bright granite, deep shadows, and hard lines on the trail.
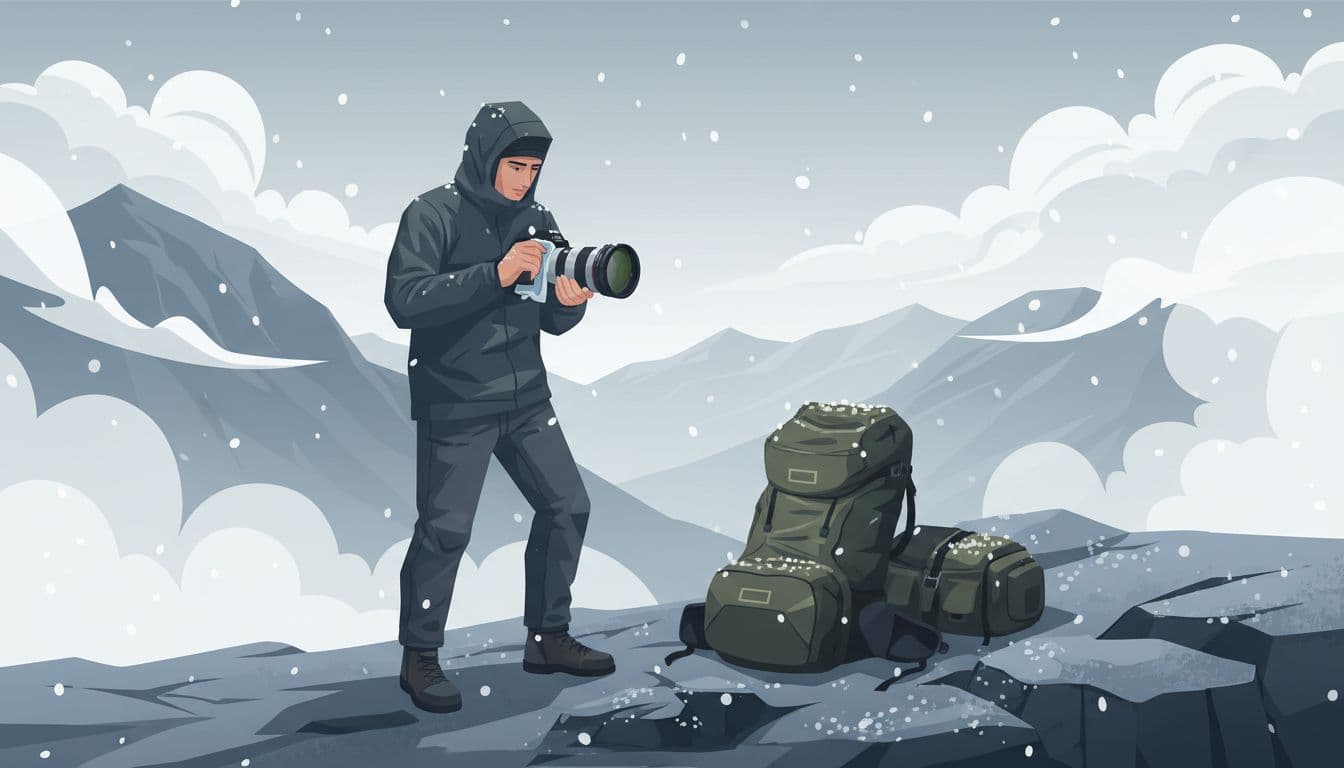
Keep your gear ready for fast shifts. Carry a lens cloth where you can reach it without taking off the pack. Keep a simple rain cover or even a light shell handy for quick showers. If sleet starts, turn your body into a shield while you tuck the camera under your jacket or pack flap. Fast hands help.
A few habits go a long way:
- Wipe the front element often in mist or blowing snow
- Check for droplets before every burst of shooting
- Keep a dry cloth in a separate pocket
- Let the camera stay cold outside, if you’re moving in and out quickly, so it doesn’t fog up
Midday glare on pale rock or snow can fool your meter, so glance at your highlights and add a little exposure only if the snow turns gray. Then watch the weather for small openings. A cloud break on one ridge. Steam lifting off wet ground. Fresh flakes sticking to a black glove. That’s where the picture often is.
Know the limits of a one-lens setup, and still come home with better photos
A one-lens kit works because it cuts noise. It also cuts options. That tension is the whole deal, and accepting it early usually leads to better choices once the day gets messy, the weather turns, or the light slips away faster than expected.
Some limits are plain physics. Others are creative limits that show up only after you’ve walked two miles uphill or backed into a wall in a tight street. Still, a calm read on those tradeoffs helps more than wishful packing.
The tradeoffs you can’t escape
A 24-70mm gives you a lot, but it doesn’t give you much reach. On a mountain pass, 70mm can leave a distant ridge small and flat, and in a city it may not pull in the face, sign, or balcony detail you saw with your eyes. Honest lens. No tricks.
A superzoom fixes that reach problem, but it asks for payment elsewhere. At the long end, many 24-240mm or 28-200mm lenses get slower, which means less light hitting the sensor and less freedom to keep shutter speed high when a deer steps out at dusk or a person turns into a patch of blue-hour light. Low light gets expensive fast.
Background blur is another place where expectations drift from reality. A travel zoom can soften a background, yes, but it rarely melts it away unless your subject is close, your background is far, and your focal length is working in your favor. If you’re hoping every cafe portrait looks like it came from an 85mm f/1.8, a one-lens setup will feel more modest than the ads suggest.
Then there are the jobs one lens simply won’t do well enough. Wildlife, astro, and ultra-wide scenes each ask for something special, and one middle-range lens cannot turn into all three just because you want it to. A marmot on a far rock shelf wants more reach. The Milky Way wants a much wider, faster lens. A canyon overlook with big foreground lines may want 16mm, not 24mm or 28mm.
That is why a one-lens choice is often an honest one, as Fstoppers’ take on the 24-70mm puts it. You get a useful middle, but the edges of the map stay out of reach.
I felt that hard near Estes Park one cold evening, when I had only a 24-105mm and a bull elk appeared beyond a meadow lit by the last thin strip of sun; the frame was clean, the light was perfect, and the animal still looked too small, like a note scribbled at the edge of the page.
Some photos will get away. That’s normal.
Simple ways to work around those limits on the road
The best fix is often time, not gear. If your lens gets weak in low light, arrive earlier, when the street is still soft and open, or stay a little later, when the mountain loses its harsh midday glare and the scene starts to separate into shape and shadow. Better light covers a lot of lens sins.
Cropping helps too, if you treat it like a trim, not a rescue. Modern files can handle a careful crop, especially when the moment matters more than edge-to-edge perfection, but the cleaner move is to frame with purpose in the field so you’re not asking a small central subject to carry the whole image later. Leave yourself room. Not too much.
For wide scenes, stitch when the lens isn’t wide enough. Shoot two or three overlapping frames, keep your exposure steady, and pan with care. This works especially well for city squares, ridgelines, and lookout views where the scene is broad but not moving fast. If you use a one-lens kit often, this habit is worth learning.
When reach falls short, step closer and simplify. A stronger foreground subject often beats a weak distant one, and a tighter relationship between camera and subject can make a 24-70mm feel more alive than a longer lens used from the wrong spot. Feet first. Zoom second.
Viewpoint matters more than people admit, because the same lens can feel cramped from one spot and perfect from another, especially in cities where a doorway, staircase, or second-floor window changes the geometry, or in the mountains where moving ten yards can line up a trail, a peak, and a patch of light.
A few workarounds pay off again and again:
- Arrive early when light is softer and streets or overlooks are less crowded.
- Crop with care when the moment is strong but your reach falls a bit short.
- Stitch panoramas for plazas, skylines, and broad alpine scenes.
- Move closer when the subject can handle it, because nearness adds energy.
- Pick a viewpoint that suits the lens you brought, not the dream lens at home.
Recent travel kit trends lean even harder toward this kind of choice-driven shooting, because lighter one-lens setups make more sense with stricter carry-on limits and long walking days, while the missing focal lengths get covered by timing, cropping, and better scene selection rather than a bigger bag. The popularity of modern superzooms also reflects that shift, and this Fstoppers look at current superzooms captures why more travelers accept the compromise now.
Choice beats excess. Timing beats panic.
On the road, the lens you brought is the one that has to work. So stand where the frame gets cleaner, wait for the light to move across the stone, and press the shutter when the red jacket reaches the bend in the trail.
Conclusion
Tired feet change choices. Weather never waits. Neither does light.
So pick the lens that fits the way you actually move through a place, because the best one-lens travel setup is the one you’ll still trust after six city miles, a wet stair climb, and a cold overlook when the light breaks for only a breath. Comfort matters more than forum perfection, and your keeper rate usually follows the lens that stays on the camera instead of the one that wins arguments online.
I felt that in Queenstown, when sleet hit the trail, my hands went numb, and I got one clean frame of sunlight sliding across the Remarkables only because I wasn’t digging through my bag for something “better.” Later, after the train back and one last walk through town, the camera sat on a cafe table beside a chipped cup, and a dusty lens cap left a pale ring in the sugar.