

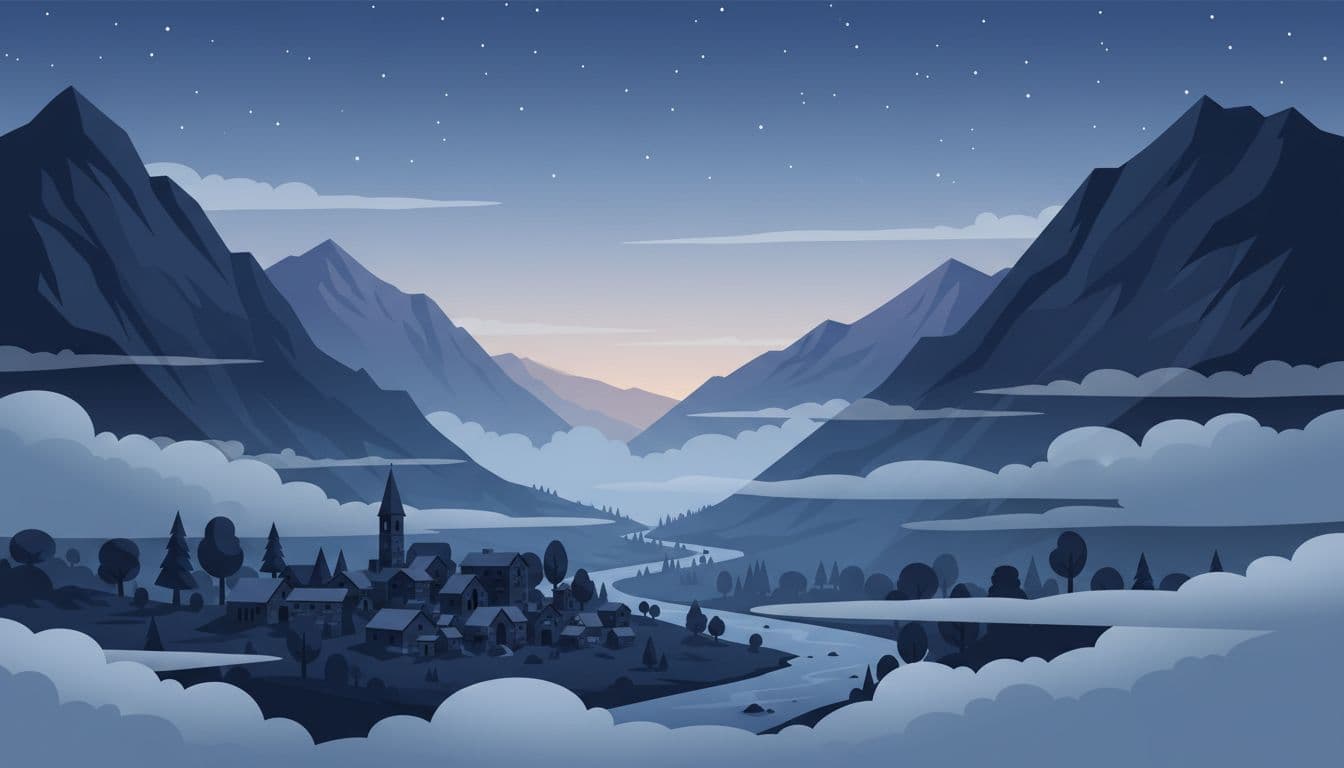
First light slips over wet stone lanes while wood smoke hangs low, and fog drifts between slate roofs as if the village is still half asleep, which is exactly why learning how to photograph foggy mornings in mountain villages can turn an ordinary scene into one that feels timeless. First light changes everything. In fog, mountain villages often look better because the mist hides parked cars, wires, and rough edges, softens contrast across steep streets and old walls, and gives the frame a calm, lived-in mood that clear skies often strip away.
Fog forgives busy places. One fall morning in northern New Mexico, I watched a woman sweep her doorstep while the church bell rang somewhere above the square, and by the time the sun touched the chimney pots, the whole street had changed, which is why timing matters so much in these places. This guide moves with that hour, from timing and gear to camera settings, composition, weather sense, and safety, before the blue shutter over the bakery swings open.
Plan the morning before the first rooster call
Fog rewards the photographer who plans before the village wakes. You are chasing a short window, and small choices made at night often decide whether you come home with layered, moody frames or a flat wall of white. Set out your gear, check the forecast, and know where the valley floor, river bend, and first light all meet.
Watch the weather that actually shapes fog
Good fog usually starts with a cool night, some moisture in the air, and light wind. If the night is clear or partly clear, the ground loses heat faster, so the air near it cools down too. Then cold air slides downhill and settles in low places, which is why valleys and hollows often fill first. Rivers, streams, damp fields, and wet roads can add the moisture that helps the fog form.
The National Weather Service explains why valley fog occurs in simple terms, and its page on mountain and valley fog is useful if you’re trying to read a forecast the night before. You don’t need heavy weather talk. You just need the pattern.
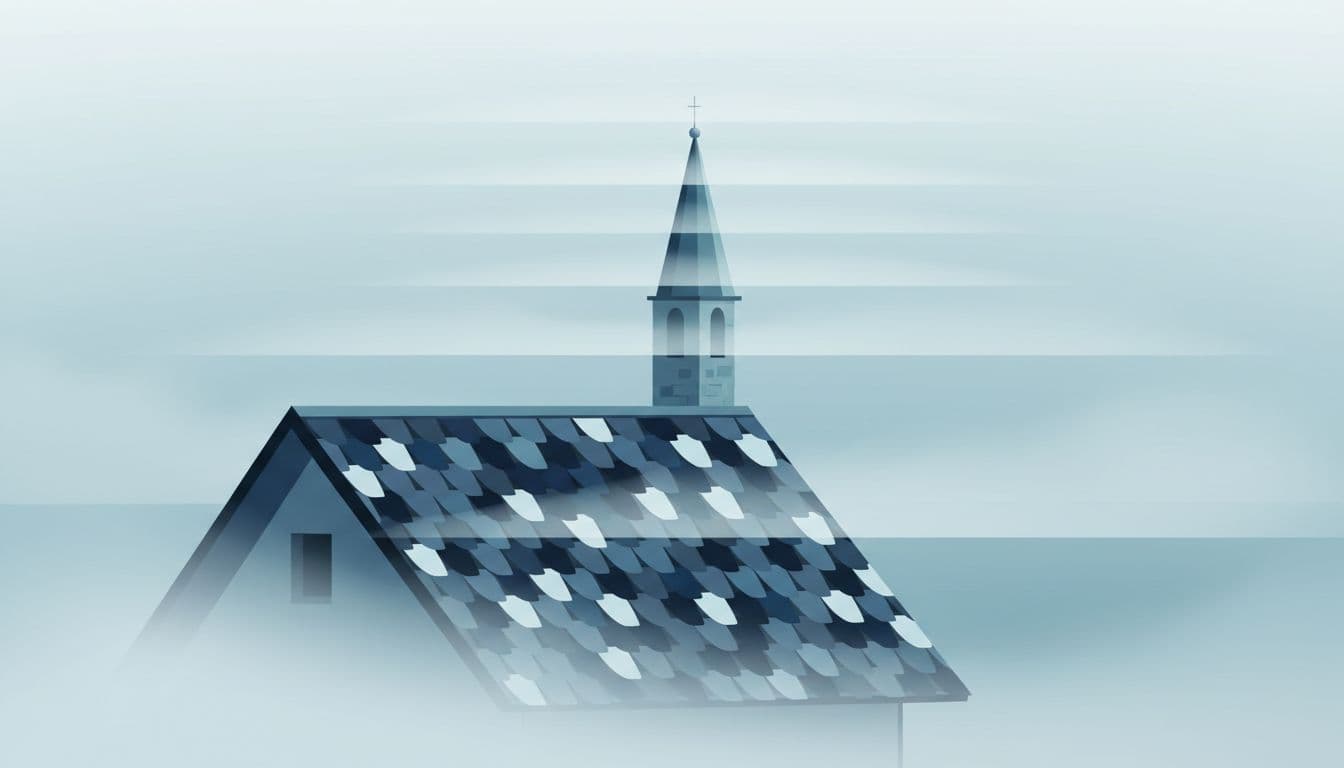
Medium fog is often the sweet spot. Very thick fog can erase the village. A church tower disappears. Rooflines vanish. However, lighter to medium fog still lets you see layers, chimneys, lanes, and the shape of buildings, which gives your photos depth instead of a blank gray sheet.
I learned this in Taos one October, after a cold evening followed a light rain. The wind stayed low, stars showed through broken cloud, and by dawn the river flats held a waist-high fog that left the adobe roofs and bell tower floating above it, while the upper road stayed clear enough for one clean frame from the hillside.
Pack light, but bring the things that save the shot
Travel light. Cold changes everything. When the path is dark and slick, extra gear feels heavy fast.
Bring only what helps:
- Camera, because this is no morning for phone compromises.
- Spare battery, because cold air drains batteries faster and a full one at home can die early on a ridge.
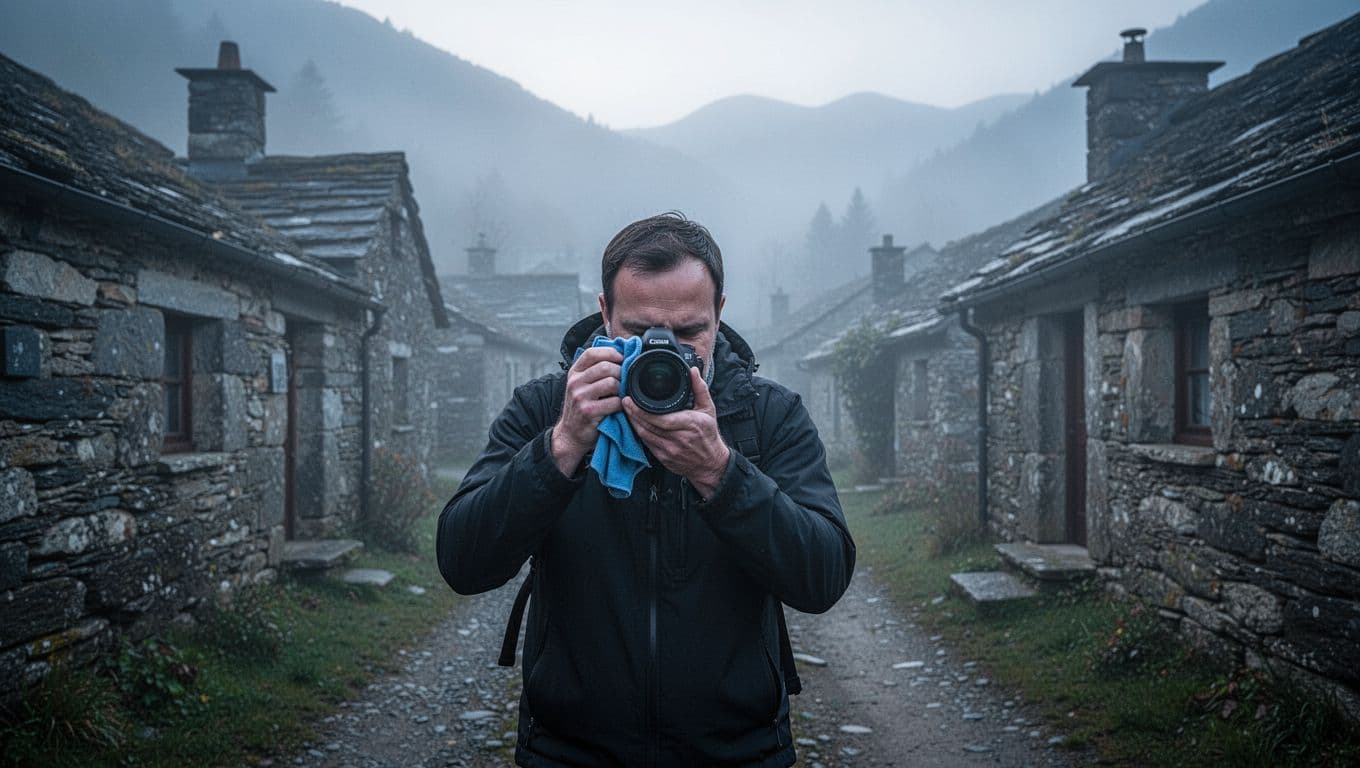
- Microfiber cloth, because moisture lands on lenses, screens, and viewfinders when fog thickens or your warm breath hits cold glass.
- Tripod, for slower shutter speeds before sunrise and for careful framing in dim lanes.
- Weather cover, because fog beads up like a fine mist and can cling longer than light rain.
- Headlamp, so you can walk, adjust settings, and keep both hands free.
- Warm layers, because standing still at dawn feels colder than the forecast suggests.
- Sturdy shoes, since wet stone, mud, and steep village roads get slippery.
Skip lens filters if you can. They often collect moisture first, and one more wet surface in front of your lens can soften contrast when you need a clean file. Also, a short telephoto or telephoto lens helps more than many people expect. It lets you isolate a house on a slope, a church tower above the mist, one lit window, or a lone person moving through a narrow lane.
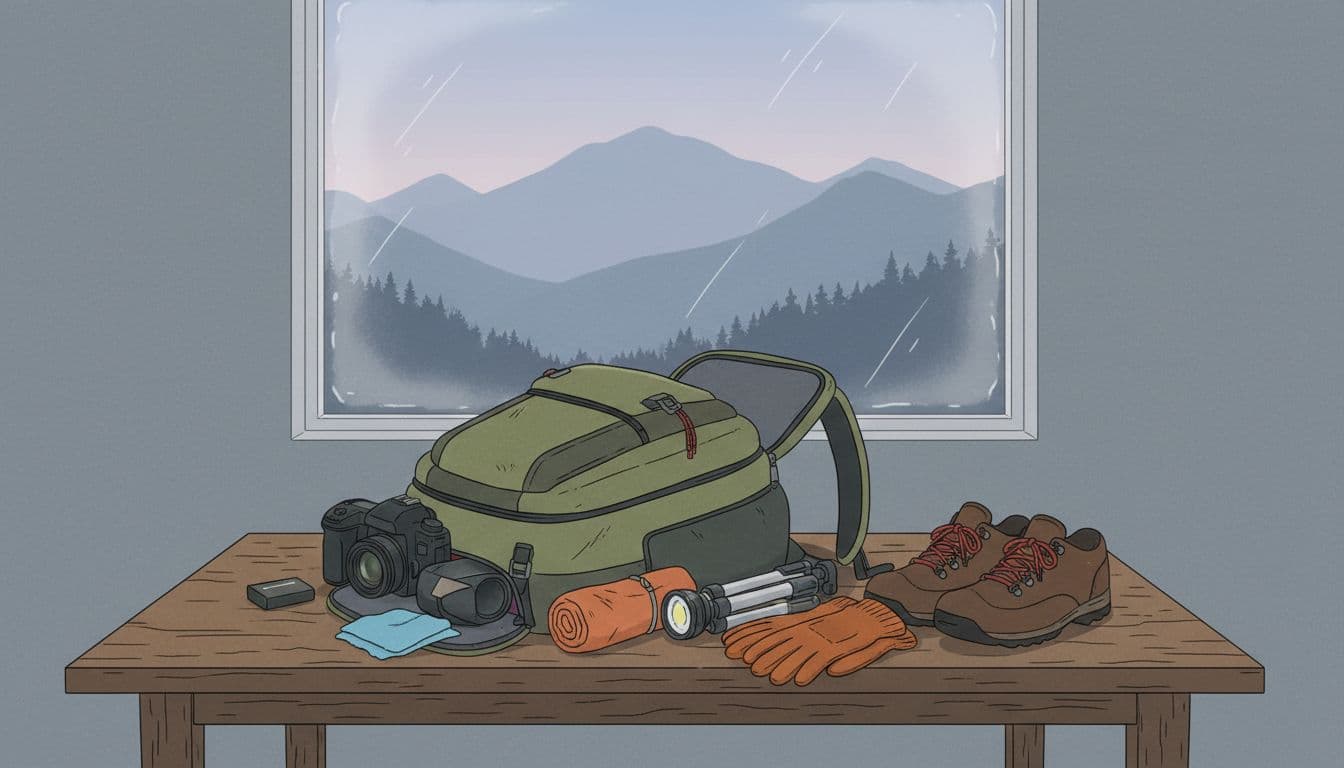
Pack the bag where it’s warm, then leave it by the door. In the morning, you should be stepping outside, not hunting for the microfiber cloth on a pine table at 5:12 a.m.
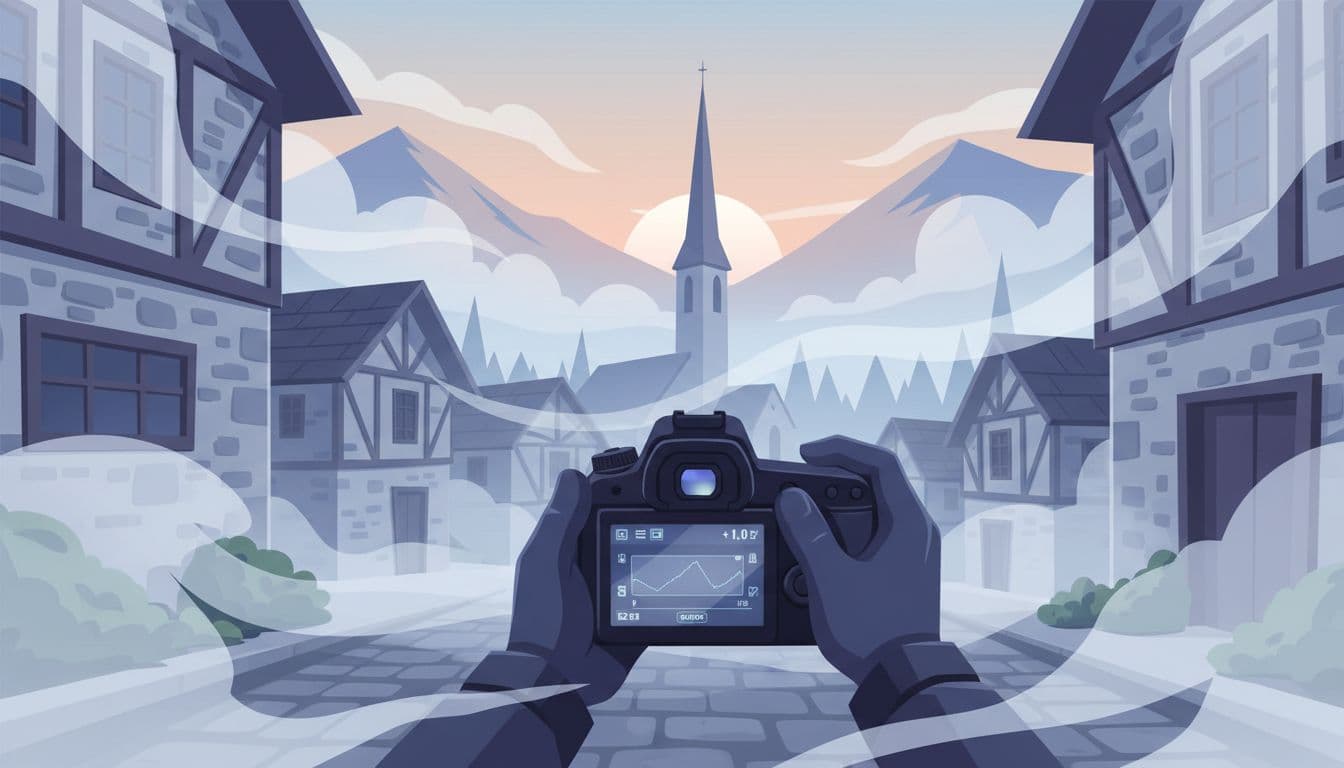
Use camera settings that keep the fog soft, not flat
Fog is bright, but your camera often treats it like a mistake. It sees all that pale tone, then pulls exposure down until the mist looks dull and dirty. In a mountain village, that can turn a glowing lane into wet cement.
Good fog should feel airy. It should hold shape, light, and a little mystery. The goal is simple, keep the mist bright enough to stay soft, while still holding the roofs, windows, and stone walls underneath it.
Brighten the frame so the mist stays bright
Most meters want to average the scene toward gray. Fog fools them fast. So if you trust the first reading without checking it, the file often comes back darker than what your eyes saw.
Start by adding +2/3 EV. If the fog is thick and the scene is mostly pale, push to +1 or even +1 2/3 EV. Then check your histogram, not just the screen, because dawn light and fog can make the preview lie. The right side should climb high, but not smash into the wall.
That balance matters. You want the mist to glow, yet you still need the village to stay present. A white church tower should keep its edge. A dark roofline should not sink into mud. If bright patches start clipping, pull back a little and shoot again.
One cold morning near Red River, I photographed a row of cabins half hidden by fog. My first frame at zero compensation looked lifeless, almost brown. I bumped it to +1 EV, checked the histogram, then took one more at +1 1/3, and the fog turned bright again while the porch rails and window trim still held detail.
For a simple explanation of why fog scenes need extra exposure, this short tip on giving fog more exposure lines up with what most photographers see in the field.
Choose shutter speed, ISO, and aperture for the scene in front of you
Fog changes fast. Settings should follow the subject, not a fixed recipe. A wide village view, a woman at a doorway, and a mule crossing the lane all ask for different choices.
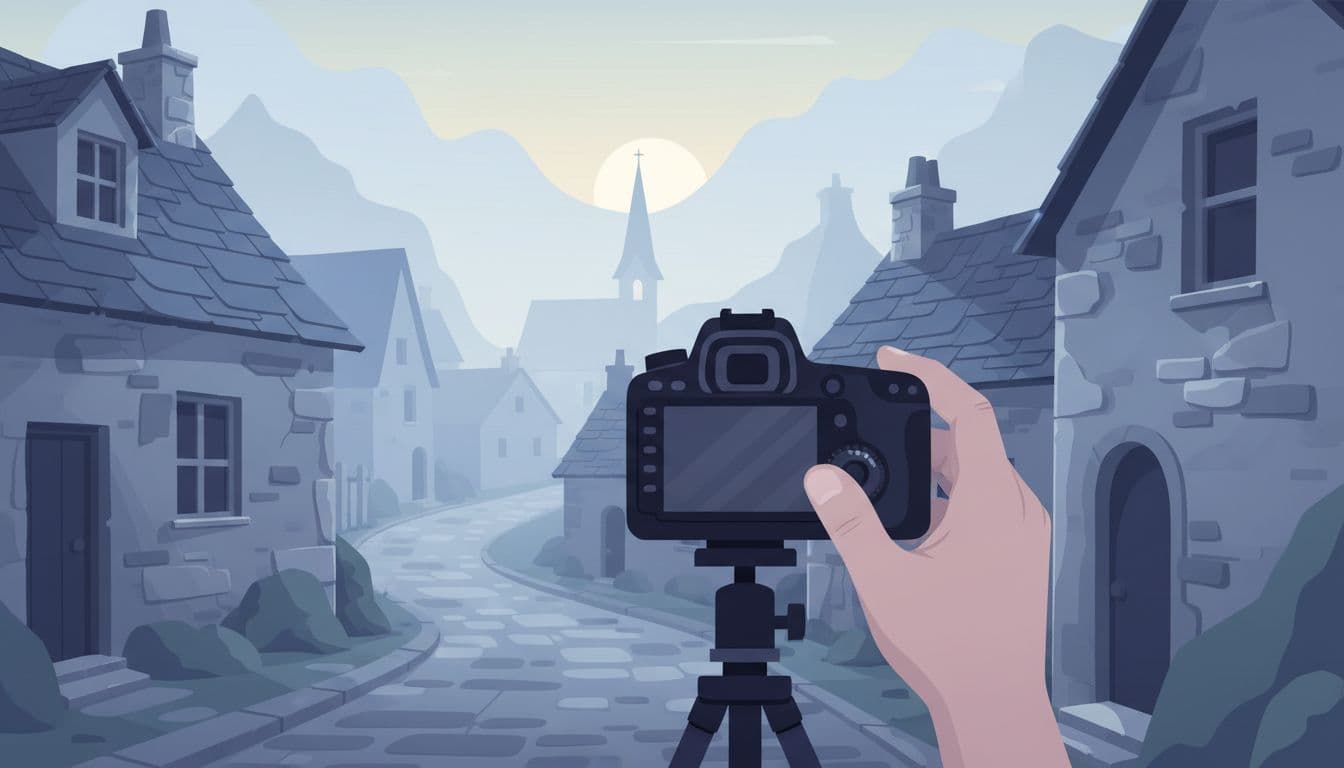
When the fog is still and the buildings aren’t moving, a tripod gives you room to work with slow shutter speeds. You can stay at ISO 100 or 200, keep the file clean, and use f/8 to f/11 for a landscape frame that holds detail from the cobbles to the bell tower. Slow is fine here. The mist won’t mind.
If the light drops and you’re handholding, raise your ISO without guilt. ISO 400 is often the sweet spot at dawn, and ISO 800 is better than blur. Grain is easier to forgive than a soft frame, especially when fog already lowers contrast. Small trade, good result.
Aperture depends on what you want sharp. For a full street scene, stop down so the lane, roofs, and ridge all stay clear. For a detail shot, a lantern, a rain-dark window, steam near a bakery door, open up to f/2.8 to f/5.6 and let the background fade into the mist. Different frame, different mood.
This quick guide to fog camera settings and techniques is useful if you want a second reference for the basic ranges.
Still fog gives you time. People, dogs, chickens, and smoke moving across the frame do not.
If someone steps into the street, or a dog trots through the square, your shutter speed has to rise with them. Aim for 1/125 or faster for a slow walk, and go higher for animals or quick gestures. That one change may force ISO 400 or 800, or a wider aperture, but a sharp subject inside soft fog is often the frame you remember.
Focus with care when contrast is low
Autofocus needs edges. Fog erases edges. That’s why your lens can rack back and forth while the scene in front of you looks perfectly calm.
Give the camera something solid to grab. Use single-point AF and place that point on a roofline, a window frame, a street lamp, or the outline of a person against the mist. Even a dark chimney edge can work if the fog behind it is bright enough. Tiny targets matter.
A little patience helps. So does restraint.
If you already use back-button focus, this is a good place for it, because you can lock focus once and reframe without the camera hunting again every time you press the shutter. If that setup feels unfamiliar, skip it. Single-point autofocus is enough for most foggy village scenes.
When the camera still can’t settle, switch to manual focus. Use magnified live view if you have it, then fine-tune on the clearest edge in the frame. PictureCorrect’s fog and mist guide also recommends manual focus when autofocus keeps missing, and that advice holds up in real dawn conditions.

Last October, I stood above a narrow lane where one lamp, one gutter line, and one pale doorway floated through thick mist. Autofocus kept slipping past the house, so I switched to manual, zoomed in on the lamp bracket, and watched the metal edge snap into place beside a bead of water.
Build stronger photos by using fog as a design tool
Fog does more than add mood. It edits the village for you, strips away clutter, softens hard edges, and leaves behind shapes that read fast in a frame. If you treat it like part of the composition, not just weather, your photos get cleaner and more memorable.
This is where many foggy morning photos either click or fall apart. The mist already brings atmosphere, so your job is simpler than on a clear day: find order, keep the frame calm, and give the eye a place to land.
Look for layers, shapes, and one clear subject
Fog is a natural separator. It can pull the foreground, middle ground, and background apart without any heavy-handed editing, which is why scenes that looked flat in dry air can suddenly feel deep and quiet once the mist starts stacking between houses and lanes.
Start by asking yourself what sits in each layer. Maybe a wet stone wall holds the foreground, a narrow lane and a few roofs sit in the middle, and a church tower fades in the distance. Then choose one anchor subject that keeps the frame from drifting, such as a bell tower, a red door, a narrow path, chimney smoke, or a villager in a dark coat.

Simple scenes win here. Fog already does enough.
A crowded square with signs, parked cars, and scattered details often turns muddy in mist, but a plain wall, one door, and a sliver of road can feel far stronger because the fog gives the empty space weight and lets the subject breathe. That same idea shows up in using fog as a compositional element and in this useful note on separation of layers in landscapes.
Last November, I stood in a mountain hamlet just after sunrise, trying to fit a whole cluster of houses into one frame, and nothing worked until I stepped left, cut out half the street, and let a single blue-gray bell tower rise behind a red gate shining with rain. The photo got better the moment I stopped asking the fog to show everything.
Shapes matter more than detail. A roof edge. A chimney. A coat hem in pale mist. Those forms read fast, and they still hold when the fog thickens.
Fog rewards restraint. One strong subject usually says more than five weak ones.
Use roads, steps, and rooftops to lead the eye
Village streets are full of lines. In fog, those lines matter even more because they tell the viewer where to look when contrast is low and distant detail has thinned out. A curving road, a run of stone steps, a terrace wall, or a row of rooftops can pull the eye into the photo and hold it there.
Look for paths that start near the edge of the frame and move inward. Stone stairs climbing uphill work well because they create rhythm. So do fences and low walls that disappear into the mist. If the lane bends toward your main subject, even better.

Change your height on purpose. If you climb a few safe steps or photograph from a higher terrace, rooftops and walls often stack into clean diagonals. Drop lower, and the fog can fill the background behind those same lines, which makes the street or stairs stand out with more force. Both views can work, but each tells a different story.
Keep it visual. Keep it clean.
If you want a quick refresher on spotting these paths through a frame, this guide to leading lines is a solid reference. Still, the best practice is local and simple: walk ten yards, stop, crouch, then look again. A roofline that looked messy at eye level can suddenly point straight toward a chimney or tower once you shift your feet.
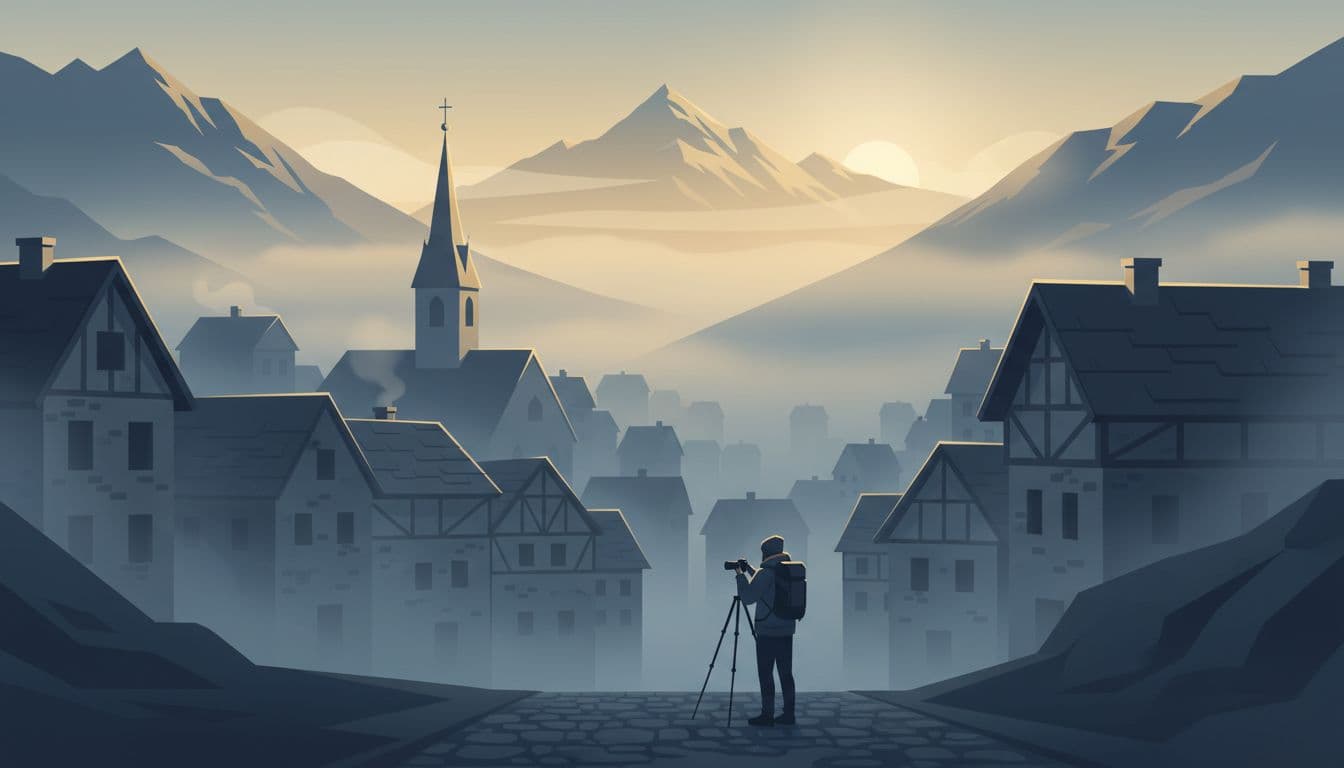
Try a longer lens when the whole scene feels messy
Sometimes the wide view is a jumble. Too many roofs overlap. Power lines creep in. The street feels busy, and the fog can’t simplify it enough. That’s when a longer lens helps.
A telephoto lens lets you crop with your feet still planted. More importantly, it compresses distance, so layers of roofs, walls, trees, and fog feel closer together, and that squeeze can make a weak scene feel ordered. One small house half lost in mist, repeating slate rooftops, or a church tower pushing through a pale band of fog often looks stronger at a longer focal length than it ever did in a broad village overview.
This is where detail hides. A single window glowing. Two chimneys. One house on the slope.
That approach also matches current advice around fog photography, where elevated views, simpler shapes, and stronger storytelling have become more common in recent guidance on mountain scenes. For more on how mist and focal length can work together, Canon’s composition tips for making mist pop and this piece on a telephoto-compressed foggy sunrise are worth a look.
Wide shots still earn their place. They work best when you have a strong foreground, clear spacing between layers, and enough empty fog to keep distant buildings from tangling together. If the frame feels crowded, zoom in until only the church tower and three wet rooftops remain. Would you miss anything outside that frame except the satellite dish on the left?
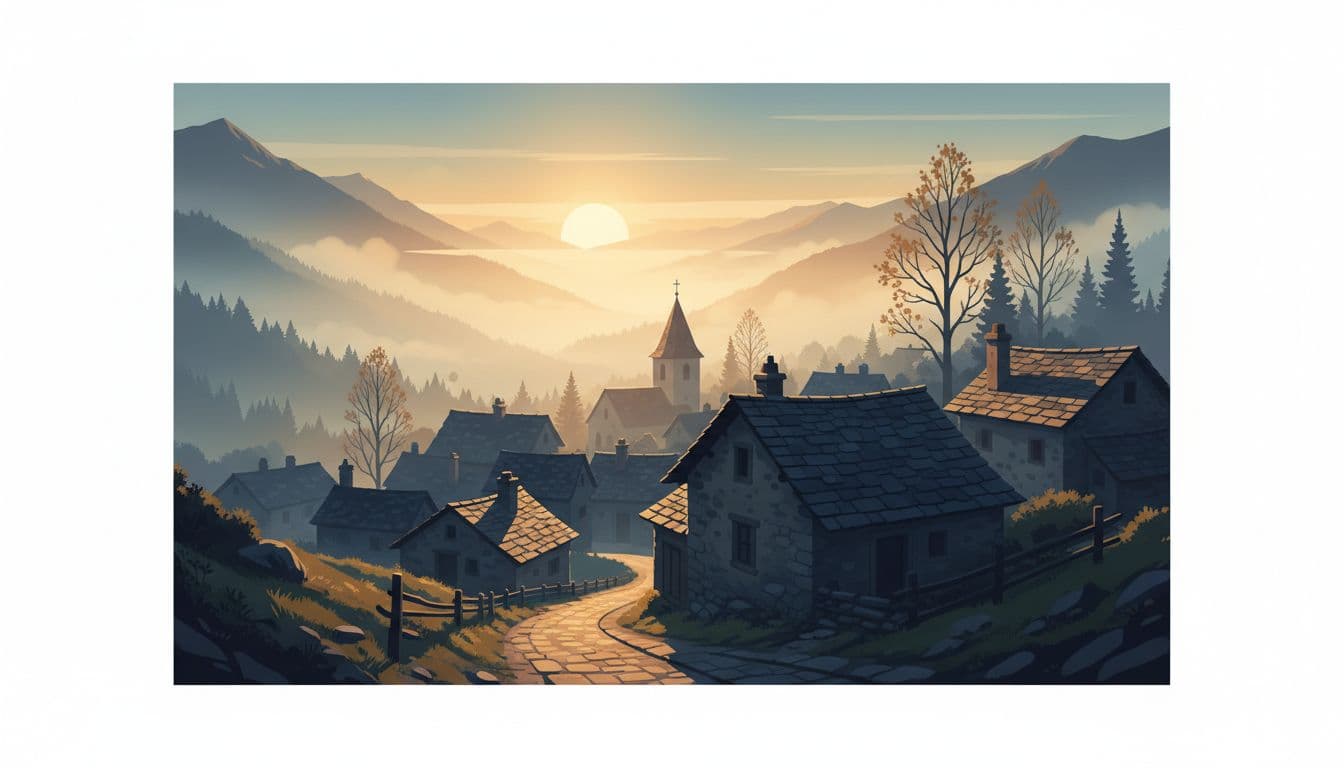
Work with the changing light after sunrise
Fog rarely stays the same once the sun comes up. The mood you saw at dawn can thin out in minutes, then return in streaks as light slides over a ridge or slips between houses. That is why this part of the morning asks for patience more than speed.
Stay put a little longer. Watch the light move. Small shifts matter.
Start before sunrise, then stay for the first breaks in light
Some of the best frames happen before the sun appears at all. The village feels softer then, and the fog often holds its shape longer because the air is still cool and the contrast is low. Roofs, lanes, and church walls sit in a quieter balance, which gives you room to compose without the scene breaking apart.
Then the next phase starts. Once the sun clears the ridge, even by a little, the mist can gain depth fast because the new light begins to cut through it in bands and pockets. A flat view can suddenly show layers, with one line of rooftops glowing and another sinking back into gray. Michael Frye’s fog examples are a good reminder that higher sun can sometimes improve the pattern instead of ruining it.
Don’t rush downhill because the first light hit one chimney. Stay with your subject, take a frame, then move a few steps left or right and check how the fog opens around it, because in mountain villages the useful change is often small and local, not broad across the whole scene.
Last fall in Chimayo, I stood above a lane for nearly twenty minutes without changing spots. At first, the frame was all haze and wet adobe. Then one narrow shaft of light reached a tin roof behind a cottonwood, and the whole picture gained distance. I only moved two paces to clear a utility pole from the edge.
A little waiting pays. Often, a lot.
Use side light and backlight when the sun starts to show
Once the sun shows, direction matters more than brightness. Side light is often the most useful because it reveals shape without flattening the fog. You start to see the edge of slate roofs, the rough face of stone walls, and the form of bare trees against pale mist. Texture comes back.
Backlight does something different. It turns fog into a glowing layer, which can separate buildings and make a simple lane feel deeper than it looked a minute earlier. If the sun is just off-frame, the mist may light up around rooflines or chimney smoke. That’s where a plain scene can wake up. This side-lighting guide explains why light from the side gives subjects more shape, and Nature TTL’s backlighting tips are useful when you want that glowing fog effect.
Be careful, though. Bright direct light can burn out highlights fast, especially on white walls, wet cobbles, and thin fog near the sun. Recheck your exposure often. Then check again. A scene that needed extra exposure five minutes ago may now need less, because the mist is brighter and the shadows are opening at the same time.
A simple routine helps:
- Take one frame.
- Check the histogram, not just the screen.
- Pull exposure back if the bright fog is piling into the right edge.
- Recompose only after the file looks clean.
Short pause. New reading. Another frame.
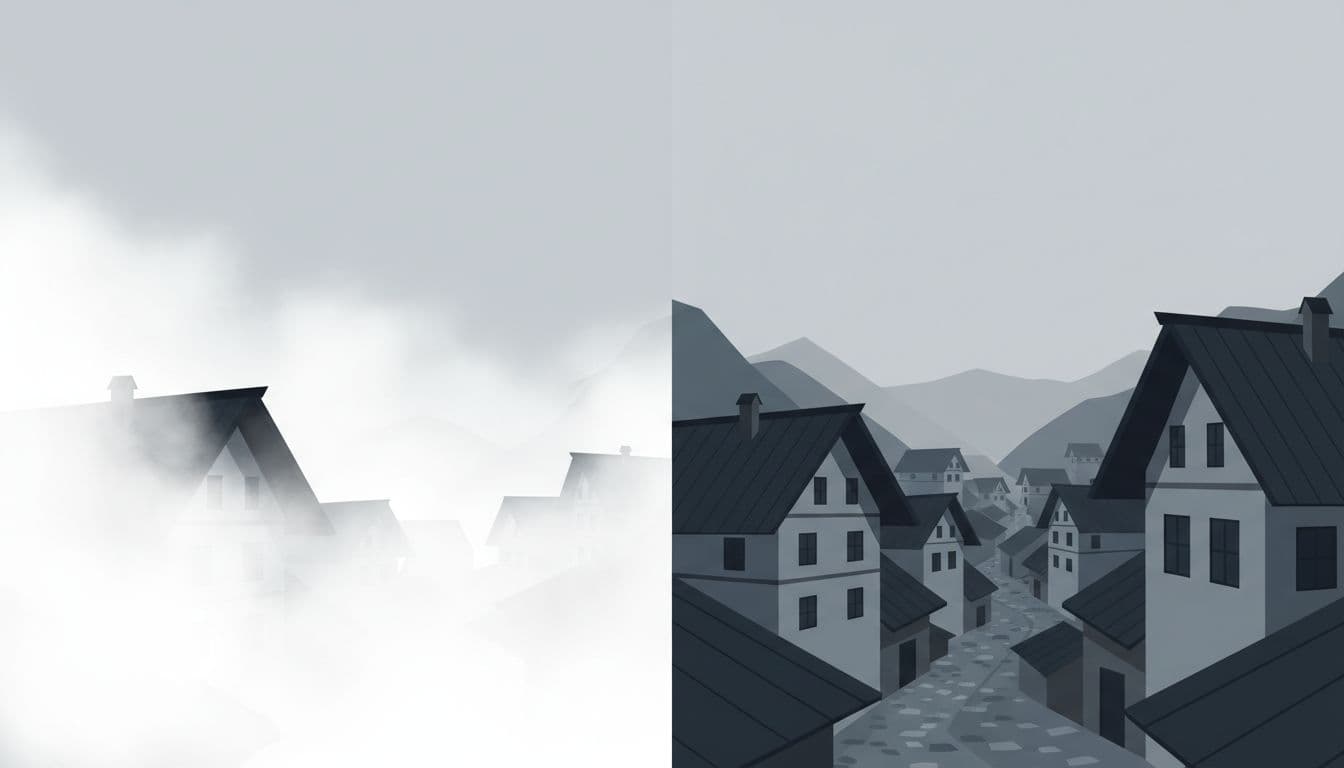
Know when the fog is too thick, or already gone
Some mornings never open up. If the fog is so dense that every house melts into the same white tone, the scene may have no depth at all. When that happens, stop forcing a wide view. Look for one near subject instead, such as a doorway, a lamp, a fence post with beads of water, or a person crossing a narrow street. Dense fog works better when you simplify hard. Mikko Lagerstedt’s fog photography notes make this point well: fog can clean up a frame, but only if you give it something clear to hold.
On the other hand, fog can lift too far and leave a dull gray morning with weak light and no separation. That is when many village scenes go flat. The church tower is fully visible, the valley is empty, and the sky looks like wet paper. If you feel the scene losing shape, change your subject before the light gets worse.
You have a few good options:
- Move uphill, where leftover mist may still sit in folds below you.
- Turn to tighter scenes, like windows, smoke, shutters, and wet steps.
- Watch the streets, because people, dogs, and bicycles can add life when the atmosphere fades.
If mountains block the sun for a while, climbing a little higher can also help you catch the first useful light sooner, as noted in current sunrise field advice from Akari mountain photography tips. Sometimes the better frame is not in the square at all, but one terrace above it where the last ribbon of fog still hangs between two poplars.
And sometimes the fog is finished. Accept that quickly. Turn toward the bakery window, the wet blue door, the broom leaning against black volcanic stone. Would you keep chasing the vanished mist, or photograph the copper kettle steaming behind the glass?
Protect your gear, respect the village, and come home with better images
Fog gives a mountain village its hush, but it also tests your habits. Good photos come from small choices made in cold air, on wet stone, and around people who are starting their day. Protect the camera, move with care, and keep the final edit honest, because the mood is already there if you don’t smother it.
Keep moisture off the lens and avoid fogging your camera
Mist gets everywhere. Front elements bead up fast. Cold glass, warm room, instant trouble.
The easiest fix is slow adjustment. If you move from a heated car or inn into chilly, wet air, give the camera time to match the temperature before you start shooting. A sealed bag helps too, because condensation forms on the bag first, not inside the lens or on the sensor. If you want a simple refresher, this guide on keeping a camera lens from fogging up covers the same basic idea.
Wipe the front element often, but do it gently. Use a clean microfiber cloth, keep one in an easy pocket, and check the lens every few minutes when the fog thickens. One damp smear can soften every frame and make you think your focus missed when the real problem is just water on the glass.
A light weather cover is worth carrying, even if it feels fussy at first. In heavy mist or a faint drizzle, it keeps water off the buttons, the zoom ring, and the top plate where droplets like to sit. A lens hood helps as well, since it blocks some of the moisture before it lands.
Try not to swap lenses outside unless you have to. Every lens change invites damp air into the camera body, and those quick changes rarely feel quick with cold fingers anyway. Pick one lens for the lane, one for the overlook, and live with that choice for a while. Be patient here.
Photograph village life without being intrusive
The village is not a set. People still need to open doors, carry wood, sweep steps, and get to work before the fog burns off. Your best habit is simple, stay on public paths and make yourself easy to ignore.
Keep clear of doorways and narrow lanes. If a tractor, dog walker, or baker needs the street, step aside before they have to ask. Dawn also carries sound farther than you think, so lower your voice, silence the burst mode chatter if possible, and avoid turning a still morning into a performance.
Ask first. Always.
Close portraits need consent, especially in small places where one person can feel watched fast. A nod, a smile, or a short request goes a long way. If the answer is no, accept it and move on. For a broader take, AFAR’s piece on photographing people respectfully while traveling matches what works in real villages: permission, distance, and dignity.
You often don’t need a close face at all. A distant figure in a lane, a person crossing under one lamp, or someone opening shutters across the square can add scale and life without turning the whole morning into street photography. That bit of human presence often says more than a tight portrait, because the fog still gets room to breathe.
One October morning in a high village above Taos, I watched an older man step out with a broom while the mist hung below the church. I stayed across the lane, near a public wall, and framed him small in the doorway rather than walking in for a close shot; the photo worked because the wet threshold, the pale fog, and his red knit cap all stayed in balance.
Edit for mood, but keep the fog believable
Fog already lowers contrast and mutes color, so your edit should guide the file, not wrestle it. Start by lifting exposure if the frame came in a bit dark, then protect the highlights so white fog doesn’t turn into a flat blank patch. Most of the time, modest contrast works better than punchy contrast, because heavy blacks can make a soft morning look harsh and fake.
Go easy on saturation. Mountain fog usually softens color, and that restraint is part of the mood. If you push greens, reds, and blues too far, the scene stops feeling cold and damp and starts looking processed. Subtle, muted color often fits these villages better than a dramatic grade.
If the color is weak or distracting, black-and-white can work well. It strips the frame down to tone, shape, and light, which suits fog. Still, don’t force monochrome just because the morning was gray. A faded blue shutter, warm lamp glow, or rust-colored roof can be enough to hold the image in color.
For editing fog and mist, PictureCorrect’s processing tips are a helpful second opinion, especially on keeping the mood soft instead of over-corrected.

One small writing prompt belongs here because it tells the truth about these mornings: you wipe a wet lens in a silent alpine lane, miss the first clean frame, and feel the shot slipping away, but a minute later the church bell rings, one woman appears under an umbrella, and the better picture arrives anyway. That memory is worth saving in the draft because it captures the rhythm of fog photography better than any slider list can.
Keep the edit light enough that the air still feels wet. Keep the street a little dim. Keep one corner soft if that’s how it looked when the bell sounded and the water shone on the black stones by the bakery door.
Conclusion
Timing matters most. Patience matters, too. On a foggy village morning, the best frame usually comes to the photographer who arrives early, keeps the settings simple, watches the light with care, and lets seeing lead before gear or speed does.
Last October, I almost packed up in Chimayo when the mist turned dull, but I stayed five more minutes, kept the tripod low, and watched one roofline clear just enough for a bell tower to drift back into view above the lane. Then wait. Cold hands, wet stone, one clean frame.
That’s why these mornings stay with you, because fog gives very little to the hurried eye, yet it opens slowly for the person willing to stand still long enough to notice one lamp, one doorway, one shape holding in the white, and one lit window above a damp stone street.