

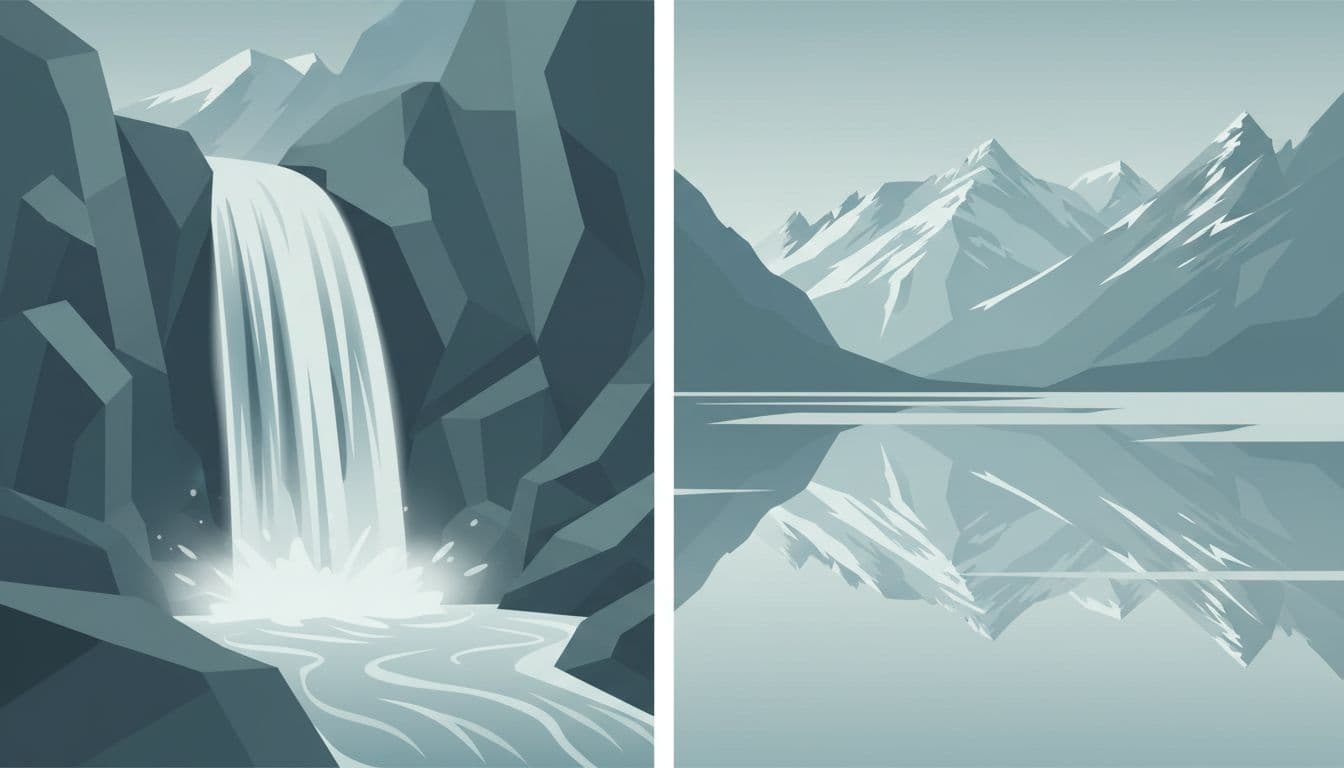
Cold spray hits your face. Blue light skims the lake. At sunrise, above timberline.
An ND filter is a dark piece of glass that cuts light, so you can keep the shutter open longer and turn rushing water silky or smooth a wind-rippled alpine lake, even when harsh mountain sun would normally force a fast exposure. Last September, on a dawn stop above Telluride, I watched a bright blue lake turn from choppy silver to clean glass after sliding on a 6-stop filter, and that single change saved the frame.
That matters even more in 2026, because today’s high-resolution sensors show every bad color cast, soft edge, and flare, so the right filter matters as much as the strength you choose. For most waterfall and alpine lake work, 6-stop and 10-stop ND filters are the sweet spot, and the picks ahead focus on the models that hold color, stay sharp, and make long exposures easier in bright mountain light, right down to the icy rocks at the waterline.
What kind of ND filter works best in mountain light
Mountain light changes fast, and that is why filter strength matters as much as filter quality. A bright ridge can flare white while the lake below stays dark green, and a waterfall in open sun can jump from soft shade to hard glare in one step down the trail. In most alpine scenes, the best choice is not the darkest filter you can buy, but the one that gives you enough time to shape the water without losing control of the rest of the frame.
Small shifts matter here. So does timing. Cold, thin air.
Why 6-stop filters are the everyday choice for alpine lakes
A 6-stop ND filter is the one many mountain photographers end up using most, because it slows the shutter enough to calm the surface of an alpine lake without dragging the exposure into awkward territory. You can smooth the little wind marks, tame bright glare on the water, and still keep texture in the clouds and sharp detail in the peaks.
That balance is the key. On a calm morning, a 6-stop filter often turns tiny ripples into soft brushstrokes instead of wiping the lake into a blank sheet. You still get a sense of real water, just quieter and cleaner.

It also plays well with mountain hours that photographers love most. At sunrise, it buys enough time to soften the lake while keeping color in the sky. At sunset, it helps hold those last bands of pink and gold before the light falls away. And during overcast mid-day, when the clouds act like a giant softbox, a 6-stop filter is often just right for turning choppy reflections into something more readable and less messy.
I learned that on a cold morning above Twin Lakes, Colorado, when the wind kept stitching silver lines across the surface and ruining each reflection. I swapped a lighter filter for a 6-stop, stretched the shutter just enough, and the next frame held the ridge line, the cloud detail, and the lake’s blue-green tone instead of a scatter of bright glare.
If you want one mountain ND strength to carry most often, start here. As a practical rule, many long-exposure guides point to ND64, the 6-stop option, as the most flexible filter for landscape work, especially around moving water and changing outdoor light, as noted in this ND buying guide.
When a 10-stop filter gives waterfalls that soft, misty look
A 10-stop ND filter is what you reach for when daylight is still strong but you want that waterfall to lose its edges and turn silky. More light gets blocked, so your shutter can stay open much longer, and rushing water changes from chopped white streaks into a smooth veil that looks almost like fog sliding over stone.
This is where the dreamy waterfall look comes from, especially in bright mountain canyons where even shade can be more intense than it seems, because pale rock, wet surfaces, and open sky keep bouncing light back into the scene long after your eyes say it feels dim.
Used well, a 10-stop filter can push you from fractions of a second into several seconds, or longer. That extra time matters. Fast cascades look softer. Foam blends together. The whole scene gets calmer, while the rocks and moss stay crisp if your tripod is planted well.
There is a tradeoff, though. A dark filter makes focusing harder, especially before dawn, in forest shade, or near a deep gorge where the light is already weak. Most people focus first, switch to manual focus, then mount the filter. And because longer exposures magnify every tremor, your tripod setup needs to be solid, your hands need to stay off the camera, and a timer or remote release helps a lot.
A few mountain habits make a 10-stop easier to use:
- Set composition and focus before attaching the filter.
- Hang some weight from the tripod if the wind is gusting.
- Shield the lens from spray and side light.
- Check the histogram, because bright water fools the meter.
If you are working in daylight and want that misty waterfall look, a 10-stop filter is often the shortest path there. This waterfall ND filter guide gives a useful real-world explanation of when a 6-stop is enough and when a 10-stop makes more sense.
Square vs circular ND filters, which setup makes more sense
The best setup depends on how you shoot and how far you hike. If you use several lenses, especially lenses with different filter thread sizes, a square filter system usually gives you more room to grow. If you want less fuss on the trail, circular ND filters are often the better call.
Square systems are flexible because one filter can work across multiple lenses with the right adapter rings. That can save money over time, and it is handy if you shoot wide one moment and switch to a short telephoto the next. They also pair well with graduated filters if you like balancing bright skies over dark lakes or cliffs. More parts, though. More bulk. More chance to fumble a filter in cold wind with numb fingers.
Circular filters feel simpler because they screw straight onto the lens. For hiking, that matters more than people admit. You stop, thread it on, shoot, and keep moving. They take less space in the pack, they are easier to protect, and they make a lot of sense when you mostly use one or two lenses on alpine days.
Here is the quick split:
| Setup | Best for | Main upside | Main drawback | | | | | | | Square ND system | Multi-lens kits, mixed filter use | One system fits several lenses | Bulkier and slower | | Circular ND filter | Hiking light, fast setup | Compact and easy to use | You may need different sizes |
If your pack is already stuffed with layers, water, spikes, and a rain shell, circular filters are hard to argue against. Still, if you switch lenses often and want one filter kit to cover the whole bag, square systems earn their place. This comparison of square and circular ND filters lines up well with what most landscape shooters find in the field.
One more thing matters in the mountains: cold hands. Fine threads on a circular filter can be annoying with gloves, while a square holder can catch wind like a tiny sail on an exposed ledge. That choice gets very real at 12,000 feet, with spray freezing on your tripod legs and granite grit stuck in the filter ring.
The best ND filters for waterfalls and alpine lakes in 2026
The right ND filter should disappear in use. You want the water to turn soft, the lake to calm down, and the rocks to stay true in color. In mountain light, that is harder than it sounds, because bright water, pale granite, and high sun can push weak filters into ugly casts fast.
Some filters feel built for the trail. Others feel built for the print. A few manage both.
Best overall, Lee Filters 100×100 ProGlass IRND
If you want the premium pick, this is it. The Lee Filters 100×100 ProGlass IRND is the filter serious landscape shooters buy when they are tired of fixing color in post.
Its big strength is IR control, which matters more than many people expect during long exposures over bright water and rock. Cheap or older filters can drift toward brown, magenta, or muddy blacks when exposure times stretch, while the ProGlass line keeps whites cleaner and shadow tones more stable. That is a huge deal when a waterfall runs over pale stone or an alpine lake reflects a cold blue sky and you need both to stay believable in the same frame.
Reviews from Amateur Photographer’s ProGlass IRND review and Digital Camera World’s Lee review both point to the same reasons people keep paying for it: sharp detail, neutral color, and dependable results. Price is the catch, with most filters landing around $150 to $250 each in the US. Still, if you shoot often, print large, or stack filters in rough light, this is the kind of glass that stops you from second-guessing every frame.
Cold water. Bright stone. Long shutter.
Best budget pick, Cokin Nuances Extreme Z-Pro ND
The Cokin Nuances Extreme Z-Pro ND is the smart buy if you want solid image quality without stepping into premium pricing. For many photographers, that middle ground is the sweet spot.
Color neutrality is the reason it earns a spot here. You still want greens to stay green and snowmelt water to hold that clean silver-blue tone, and this line usually does a better job than bargain-bin square filters that tilt warm or purple once the shutter gets long. That makes it a good fit for waterfalls in mixed sun and shade, where weak filters often fall apart.
Cost helps, too. Expect a typical range around $50 to $100 per filter, which makes it a very reasonable entry point for beginners building a square system. You get room to learn holder setups, adapter rings, and field handling without paying top-tier money on day one. The system also leaves space to grow into grads later, which matters if alpine skies are part of your usual frame. For a broad look at the Z-Pro line, Digital Camera World’s Cokin review is useful background.
Best for wet trail days, Breakthrough Photography ND
Some filters perform well in clean studio-like conditions, then turn annoying the minute waterfall spray hits them. Breakthrough Photography ND filters make more sense when the trail is wet, dusty, and a little chaotic.
Their appeal is less about hype and more about daily use. The coatings are easy to wipe clean, which matters when mist keeps spotting the glass every few seconds or when grit from a dry switchback lands on the front element while you change lenses near camp. That extra ease adds up over a long day, because you spend less time babying the filter and more time watching the water.
I learned that on a slick morning near Bridal Veil Falls, where every other shot had fresh droplets on the glass and my gloves were already damp; a well-coated filter let me wipe, recompose, and shoot again before the sun cleared the canyon wall and changed the whole scene. For alpine lakes, the 6-stop version is the one I would grab first, especially for sunset or blue-hour work when you want to smooth wind texture without pushing exposures too far. Breakthrough’s own ND buying guide also backs the 6-stop as the most flexible choice for landscape use. Expect pricing around $100 to $200, depending on size and line.
Spray happens fast.
Best low-cost magnetic option, K&F Concept ND kits
The big draw of K&F Concept ND kits in 2026 is speed. Magnetic systems are popular because they make filter swaps feel almost instant, which is a real advantage when the light is moving across a lake basin and you do not want to fumble with threads.
That ease makes them great for travel, too. A small kit can cover a lot of ground without filling half your pack, and many bundles include the strengths most people actually use, usually 3-stop, 6-stop, and 10-stop options for about $30 to $80. If you are flying with one lens, hiking light, or building a starter setup for mountain trips, that is hard to ignore.
There is a tradeoff, and it is fair to say it plainly: these kits are more value-focused than premium glass. You may not get the same consistency, edge performance, or color control as the pricier options above, especially in very bright scenes with reflective water and snow nearby. Even so, the convenience is real, and real-world users keep praising how fast the system is in the field, as shown in this K&F magnetic kit field review. On a windy shoreline, with cold fingers and a 77mm ring already mounted, that quick snap-on change can feel pretty perfect.
How to pick the right ND filter for your shooting style
The best ND filter is the one that fits how you actually shoot. A lake at dawn asks for one kind of restraint, while a hard-charging waterfall in bright sun asks for another. Buy for the scenes you chase most, because the wrong filter can feel like hiking boots a size too small, usable, but annoying every mile.
Choose your strength based on the water you want to show
Fast water usually handles stronger glass well. In many waterfall scenes, a 6-stop or 10-stop ND filter gives you enough shutter time to turn broken white streaks into smooth flow without blowing the highlights. By contrast, calmer alpine lakes often look best with a 6-stop filter, because it smooths ripples while keeping the surface believable.
Still, don’t chase the longest exposure just because you can. Too much blur can wipe away the little currents, foam trails, and wind marks that give water its shape and mood. Texture matters.
Last summer near Mount Rainier, I watched a narrow chute of snowmelt slam over black rock in full afternoon light. A 10-stop filter made the water look like pale smoke, which was pretty, but a 6-stop kept a touch of muscle in the flow, and that frame felt more honest. That small change made the scene breathe.
A quick rule helps:
- For fast waterfalls, start with 6-stop, then move to 10-stop if the light is bright or you want more softness.
- For calm alpine lakes, start with 6-stop and stop there unless the sun is harsh and the surface still looks busy.
- For mixed scenes, keep asking what you want the water to say.
If you want a broader reference on strengths, this practical ND filter guide is a useful companion.
Check for color cast, sharpness, and coatings before price
Price grabs attention first, but image quality should win. Cheap ND filters often push files toward magenta or green, and that tint shows up fast in snow, granite, and blue water. You can fix some of it later, sure, but heavy correction steals time and can muddy the clean mountain color you went there to photograph.
Sharpness matters just as much. A weak filter can lower contrast and soften fine detail in pine needles, wet rock, and distant ridges, especially on today’s high-resolution bodies. One sheet of bad glass can make a crisp lens look tired. For side-by-side examples, this ND filter color and sharpness comparison shows why quality differences aren’t just marketing.
Then there are coatings. At spray-heavy waterfalls, a water-repellent coating is worth real money because droplets lift off faster and wipe away with less smearing. Less cleaning. Fewer ruined frames. More time watching the light instead of polishing glass with a damp sleeve.
Near heavy spray, coatings aren’t a luxury. They buy you usable seconds before the front of the filter spots up again.
Match the filter system to your lenses and pack weight
Start with your widest lens. If a filter setup works there, it will usually work on your longer lenses too. If it doesn’t, you may see dark corners, especially when you stack filters or use a thick ring on an ultra-wide lens. That’s vignetting, and it’s a rude surprise after a long climb.
Square systems make sense if you swap lenses often or want one filter size for several thread diameters. Circular filters make more sense if you value speed, low bulk, and simple handling with cold hands. The tradeoff is plain. A holder system adds parts, edges, and weight to your pack, and that extra kit feels heavier on the last switchback above treeline than it did in the parking lot.

If you’re torn, keep it simple:
- Buy for your widest lens first.
- Check whether the ring or holder causes vignetting at the widest focal length.
- Decide if one shared square system is worth the extra bulk on long hikes to alpine lakes.
This short guide on square or circular filters for landscapes is helpful if you’re comparing setups before buying. On a cold morning above tree line, with one hand on a tripod and the other digging a filter from a side pocket, which system will you still enjoy using at 13,000 feet?
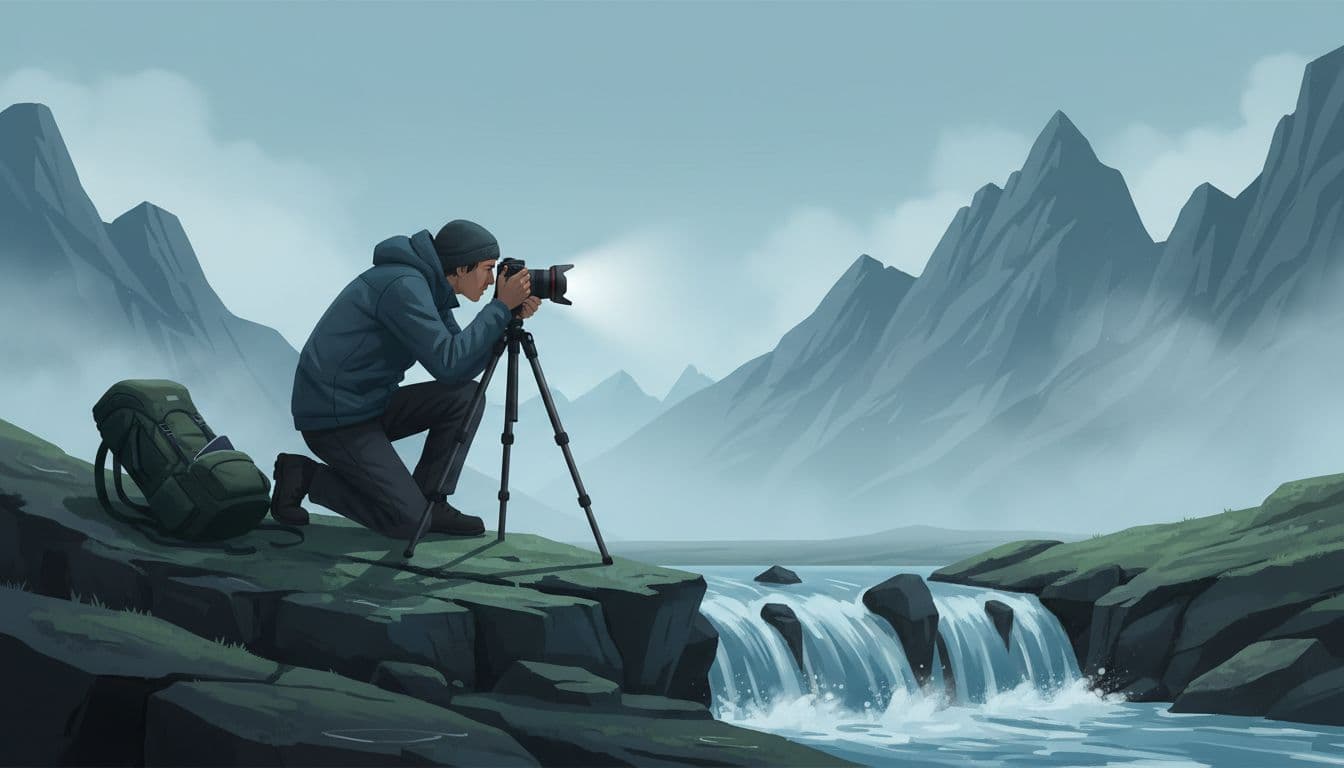
Field tips that help ND filters work better by waterfalls and lakes
A good ND filter can slow the light, but the field still decides the shot. Waterfall spray, gusts off the lake, and fading mountain light can turn a clean plan into a muddy frame fast.
Small habits matter here. They save time. They save files.
Set focus and composition before the filter goes on
Dark ND filters can make autofocus hunt, stall, or grab the wrong thing, especially in shade near a gorge or at first light above an alpine lake. So get your frame where you want it first, focus on the part of the scene that must stay sharp, and only then mount the filter.
That simple order keeps the process calm when your hands are cold and the light is changing by the minute, because once a 10-stop filter is on, the camera may see less than your eye does and start guessing badly. If your lens has a physical AF/MF switch, flip to manual after focus locks so nothing shifts when you thread the filter on.
Live view helps too, since you can magnify a rock edge, a shoreline, or a patch of moss and check focus with more confidence before the glass goes dark. If you want a deeper walkthrough on waterfall setup, this waterfall gear guide lines up with what works in the field.
One cold June morning near Bear Lake, I framed a small cascade feeding the outlet stream while the sun still hid behind the ridge, nailed focus on a wet granite ledge, switched to manual, and then added the 6-stop filter. The next three frames were sharp. The fourth wasn’t, because I bumped the focus ring with my glove while wiping spray off the front.
Awkward, but common.
Use a tripod, watch the wind, and protect the front element
Long exposures forgive moving water, not moving cameras. A light travel tripod that feels fine in the parking lot can start trembling once wind rolls across an open lakeshore or a waterfall sends gusts back at you off the rock wall.
So plant the legs wide, keep the center column down, and add weight if the tripod still feels nervous. A pack clipped low can help, but only if it doesn’t swing. If it swings, it becomes a pendulum and makes things worse.
Spray is the other thief. One tiny droplet on the filter can smear highlights, soften contrast, and leave a pale blotch right where the water should look clean, which is why a dry lens cloth often matters more than one more stop of density when you’re working close to falling water.

Keep one cloth for the filter and another for the rest of the kit, because a grit-loaded cloth can do more harm than the spray. Also check the front element before every exposure, not every few minutes. The spot that ruins the frame usually lands right after you stop paying attention. For extra field reminders, this practical waterfall ND guide has solid real-world advice on shutter speeds and setup.
A few habits make rough conditions easier:
- Use a 2-second timer or remote release, so you don’t shake the camera at the start of the exposure.
- Turn your body into a wind block when gusts pick up from one side.
- Wipe, wait a second, then shoot, because fresh spray often lands right after you clean the glass.
Wet stone. Cold fingers. Fast checks.
Pair an ND with a polarizer carefully
A polarizer can be a great match for waterfall and lake photos because it cuts glare from wet rock, helps you see into shallow water, and often gives alpine lakes a richer blue-green tone. In bright conditions, that combo can make water look clearer and less metallic.
Still, stacking a polarizer with an ND adds more glass and more light loss, and that can push exposures longer than you want when evening light is slipping away or clouds keep dimming the scene between frames. On a wide lens, the extra thickness can also darken the corners, especially if you’re near the widest focal length and using standard filter rings instead of slim ones.
A stacked setup can look great, but it asks for more checking at the edges and more patience with exposure.
Keep it simple: add the polarizer when glare is the problem, skip it when the scene already looks clean, and always inspect the corners after you mount both filters. If you want a plain-English take on stacking, this short Q&A on ND and polarizer use together covers the main tradeoffs well.
At lakes, rotate the polarizer slowly. The effect can change a lot with a small turn. Near waterfalls, use a lighter touch, because too much polarization can make wet rock look oddly flat while your shutter stretches past the sweet spot. If the light is fading and your exposure jumps from two seconds to eight, do you still like what the water looks like at f/11 and ISO 100?
Conclusion
Most people should start with a 6-stop ND and learn its pace first, because it handles alpine lakes beautifully and still gives waterfalls enough blur without turning every outing into a tripod math exercise under bright, cold mountain light.
Then add a 10-stop if waterfalls keep pulling you back. If image quality is the priority, the Lee ProGlass IRND is still the one to trust. If price matters more, Cokin is the sensible place to begin.
I learned that on a frosty dawn above Independence Pass, when I packed only a 6-stop, reached the shore with numb fingers, and came home with a lake that held both the blue ice light and just enough ripple to feel real.
One filter first. Keep it simple. Pack the 6-stop before sunrise.