
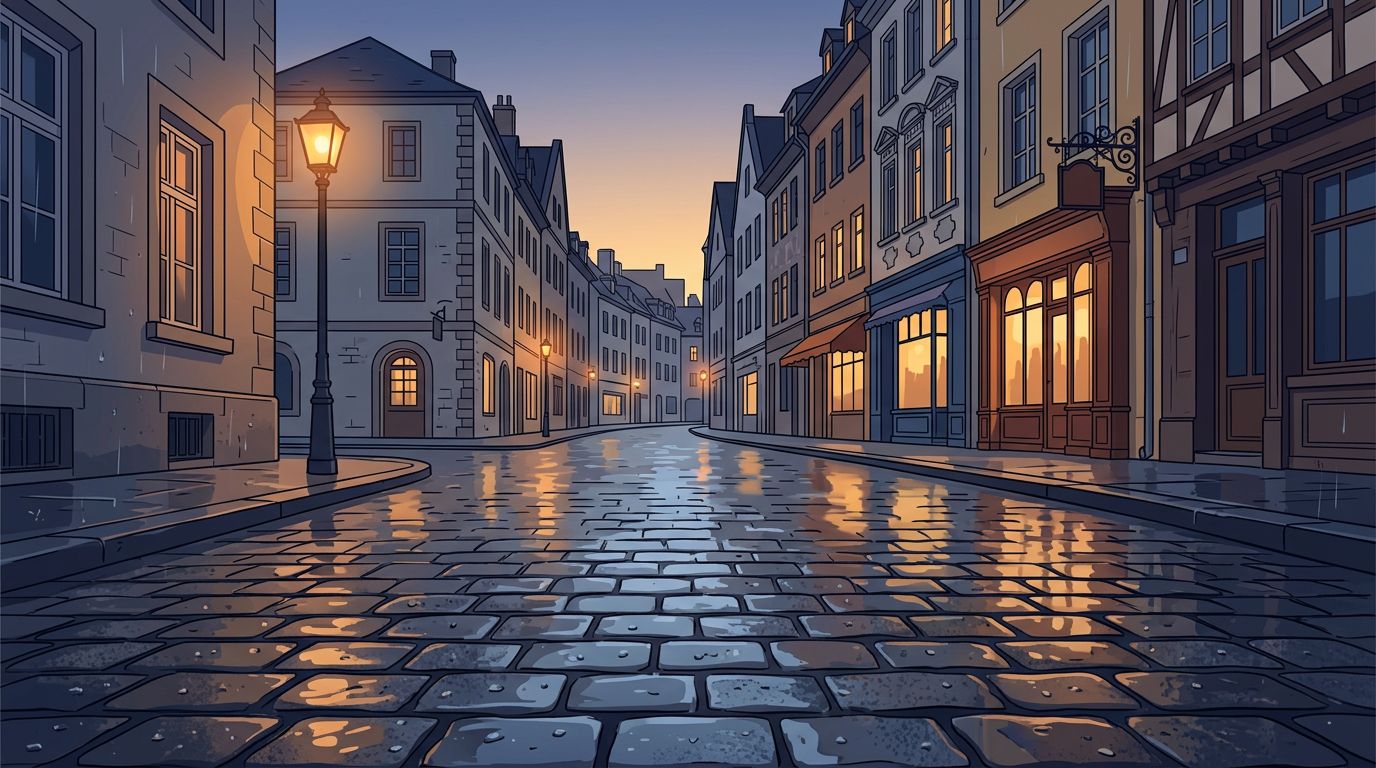
Rain changes a European city faster than any filter can. Cobblestones darken, shop lights stretch across puddles, and familiar streets gain a softer, more private mood and atmosphere.
For those interested in rain photography, you do not need a storm or expensive kit. You need alert eyes, a protected camera, and enough patience to wait for the pavement to become part of the frame. The strongest images often appear in the quiet minutes after a shower.
Key Takeaways
- Wet pavement turns streets into canvases for reflections of color, shape, and light. When applying various composition tips to your street photography, remember to look down at the ground as often as you look ahead.
- Shoot during a light drizzle or immediately after the rain stops, when the streets shine and water droplets cling to nearby surfaces while visibility remains clear.
- Use a low angle and a simple background to make your puddle reflections feel intentional and sharp.
- Protect your camera gear and yourself, especially when navigating heavy traffic, tram lines, and slick stone steps.
- Edit your images with restraint so the rain-soaked atmosphere remains authentic and moody.
Find the Right European Street After Rain
A wet street needs light before it needs rain. Old stone lanes, tram corridors, neon shopfronts, bus stops, and glassy modern plazas all offer useful surfaces. However, each scene behaves differently once water arrives.
In cities such as Paris, Prague, Lisbon, Amsterdam, and Copenhagen, rain often gathers in shallow puddles between paving stones. Much like in traditional landscape photography, these urban compositions rely on light and texture to define the space. Those small puddles can hold a complete upside-down scene if you shoot low enough. A large body of water may look dramatic, yet a palm-sized area of water can produce a cleaner image.
These temporary mirrors capture vibrant reflections that bring the architecture to life. Look for locations where one strong light source enters the water. A red traffic signal, a warm bakery window, or the pale glow of a tram can give the image a clear subject. Avoid streets with too many competing signs unless you want a crowded, abstract frame.
Before leaving, check a local radar rather than relying on a weather icon. The Met Office rainfall radar can help you judge whether a passing shower is likely to clear soon. For travel across borders, MeteoAlarm’s live warnings flag serious weather conditions in participating European countries. Sometimes, these showers bring heavy fog and mist that add depth and mood to your street shots.
A useful routine is to arrive before rain stops. During a shower, people carry umbrellas and move with purpose. Ten minutes later, the umbrellas disappear, but the pavement still glows. Both scenes work, although they tell different stories.
The wettest-looking streets often appear after the rain has ended, when reflected lights remain but raindrops no longer blur the scene.
Pay attention to street cleaning schedules, too. In many historic centres, water from cleaning vehicles can leave photogenic surfaces even on dry days. Still, natural rain creates irregular surfaces and a more convincing atmosphere for your photography.
Camera Settings for Rain Photography
You can capture stunning European rain photography with a phone, compact camera, or interchangeable-lens camera. What matters most is controlling your camera settings, including shutter speed, aperture, and focus, before your fingers become cold.
Start in aperture priority mode if you want a quick setup. Choose f/4 to f/5.6 for a portrait with a reflected street behind it. Use f/8 when architecture and pavement both require sharp detail. At night, manual exposure provides more consistent results because bright signs and dark streets can confuse automatic metering. When managing your shutter speed during low-light sessions, manual mode allows you to prevent underexposure while maintaining the atmospheric mood of the scene.
Always keep your lens hood on, as it effectively blocks stray drops.
Rainy scenes often fool a camera into making the frame too bright. Wet asphalt is dark, while shop windows and headlights are bright. Check your highlights, then reduce exposure by about one-third to one stop if signs turn into white blocks. To ensure your images remain crisp, you may need to adjust your ISO to accommodate the lower light levels common in rainy weather.
These settings offer a practical starting point:
| Scene | Shutter speed | Aperture | ISO |
|---|---|---|---|
| Walking people in daylight rain | 1/250 sec | f/4 to f/5.6 | 400 to 800 |
| Umbrellas under streetlights | 1/125 sec | f/2 to f/4 | 800 to 3200 |
| Static reflection at blue hour | 1/30 sec or slower | f/5.6 to f/8 | 100 to 800 |
| Intentional rain streaks | 1/30 to 1/60 sec | f/2.8 to f/5.6 | 400 to 1600 |
A slower shutter speed can show falling rain as fine lines, but it also records camera shake and moving pedestrians as blur. To capture sharp, moving pedestrians, use a fast shutter speed to freeze the action. Brace against a wall, use image stabilization, or carry a small tripod when the street is quiet to maintain stability.
Autofocus may hunt through rain, glass, or steam. Focus on a high-contrast edge, such as a coat collar, road marking, or lit doorway, then recompose. With a phone, tap the key subject and lower exposure before pressing the shutter.
If you use a camera with interchangeable lenses, a 35mm or 50mm equivalent lens is an excellent starting point. A 35mm view holds enough street context, while a 50mm view simplifies reflections and isolates people across the road.
Compose Wet-Street Reflections With Intention
When you are out capturing European street photography, applying intentional composition tips can transform a simple puddle into a compelling narrative. A reflection should support the image rather than merely filling empty space. First, find the reflected subject, then decide what belongs above the waterline. A cyclist, umbrella, tram, or doorway provides the viewer with a clear visual anchor.
Get low without blocking foot traffic. Crouch near the edge of a puddle, hold the camera close to ground level, and tilt it slightly upward. This makes a shallow puddle appear deeper than it is, placing reflected buildings alongside the real street. At eye level, a puddle can look like a stain; however, from ten centimetres above the pavement, it can hold an entire facade, a passing figure, and the pale sky between rooftops.
Use the edge of the water as a boundary. When a clean line separates dry stone from reflection, the composition feels more deliberate. Curbs, tram tracks, and painted crossings can lead the eye into that mirrored area.
A person walking through the frame adds scale, especially when their reflection remains intact for a moment before their shoes disturb the water. Wait for their stride to align with the brightest patch. Much like the patience required for successful wildlife photography, timing matters far more than rapid shutter bursts.
In 1953, Saul Leiter made Rainy Day, an image viewed through glass covered in water droplets, where umbrellas and colour appear partly hidden rather than sharply described. His work is a useful reminder that rain does not need perfect clarity, as a veil of raindrops can become an essential part of the picture.
For more documentary-style street work, leave room around people. A wide composition can show the relationship between a lone figure, a glowing crossing signal, and the sheen of a long boulevard. On the other hand, a tight frame of shoes, reflections, and rippling water can feel more graphic, particularly if you choose a high-contrast black and white aesthetic.
Fragmented colour. Broken symmetry. Moving feet.
Do not force a perfect mirror every time. Wind, raindrops, and footsteps create distortions that can give an ordinary street scene its unique character.
Work Safely in Rainy European Cities
Rain photography asks you to pay attention to your surroundings as much as your settings. Slick limestone, metal drain covers, and polished tram platforms can be unexpectedly slippery, especially after a dry spell when oil rises to the surface.
Wear shoes with grip and keep one hand free. A compact umbrella can protect you, but it makes camera handling awkward in crowded streets. Many photographers prefer wearing waterproof gear, such as a jacket with a peaked hood, paired with a reliable rain cover for their camera. If you are shooting with a weather-sealed camera, you will have more peace of mind, though you should still keep your gear dry when possible.
Keep a microfiber cloth in a sealed pocket to maintain your lens. Wipe the front element often, but do not rub grit across it. A few droplets near the edge may add atmosphere; a large drop over the subject will soften the entire image. To manage glare and control reflections on wet cobblestones or metallic surfaces, consider using a polarizing filter.
Traffic requires extra care. European streets can be narrow, and cyclists often travel close to parked cars. Never step backward into a road while looking through the viewfinder. Watch for trams, which can approach more quietly than buses.
Lightning changes the plan. If thunderstorms develop, put the camera away and seek proper shelter. The Met Office’s lightning safety advice explains why open spaces, isolated trees, and metal railings are poor places to wait.
Anecdotes from travel photographers often begin with a missed train or soaked bag, but the more useful habit is boring: check zips, cards, batteries, and weather seals before you leave the hotel. Rain exposes every weak point in a rushed setup.
Edit Rain Photos Without Losing Their Mood
Rain already builds a natural tension between warm lights and cool streets, creating a specific mood and atmosphere that defines European cities. Heavy editing can quickly turn that nuance into an artificial glow, so start by correcting exposure and white balance before inspecting the brightest reflected areas.
Lower highlights if shop signs look flat. Lift shadows carefully so the black pavement retains its rich texture. Adding too much clarity makes wet stone look brittle, while too much dehaze can erase the soft air that prompted you to take the shot in the first place. You might even choose to keep stray raindrops on the lens if they add a stylistic, tactile effect to your composition.
If you are aiming for a timeless look, converting your images to black and white is a fantastic way to emphasize the contrast of the wet environment. Black and white processing helps highlight the interplay of light on slick surfaces without the distraction of competing colors.
Crop distractions at the frame edges. A bright parked car or a half-visible sign can pull attention away from a beautiful reflection. However, do not crop so tightly that the viewer loses the context of where the reflected light originated.
Color often carries the scene. Keep the amber of sodium streetlights, the green cast of tram signals, or the blue-grey tones of a rainy afternoon if they appeared in real life. Lightroom’s Tone Curve controls can add gentle contrast without crushing detail in the shadows.
Finally, check the image at a small size before exporting. If the reflection still reads clearly on a phone screen, the frame is effectively capturing the essence of the rain.
Frequently Asked Questions
Do I need a weather-sealed camera to photograph in the rain?
While a weather-sealed camera provides peace of mind, you do not strictly need one to capture quality rain imagery. Using a simple camera rain cover or even a plastic bag with a hole for the lens is sufficient protection. The most important thing is to keep your gear dry and wipe off any stray droplets immediately with a microfiber cloth.
What is the best way to keep my lens clear during a downpour?
Always keep your lens hood attached, as it acts as a physical barrier against wind-blown spray and rain. If droplets land on the glass, gently dab them with a microfiber cloth rather than rubbing, which can smear oils or scratch the coating. Avoid wiping the lens while it is excessively wet to prevent water from being pushed into the lens barrel.
Should I use a circular polarizer for wet street photography?
A polarizer is highly effective at controlling reflections on wet surfaces, allowing you to choose how much of the underlying pavement texture or the reflected light you want to see. By rotating the filter, you can either deepen the reflection or cut through the glare to reveal the stones beneath the water. However, be mindful that it will also reduce the amount of light entering your lens, which may require a higher ISO in dim conditions.
Final Thoughts
Rain asks you to slow down and look at surfaces most people avoid. Mastering rain photography allows you to capture the way light interacts with textures, from glistening cobblestones to the subtle patterns of raindrops. A low viewpoint, controlled exposure, and one clear source of light can turn a routine walk through a European city into a memorable photograph.
Leave space for chance, but prepare for it. The best frame may arrive when a yellow umbrella crosses the red tram line, creating vibrant and evocative reflections.
