

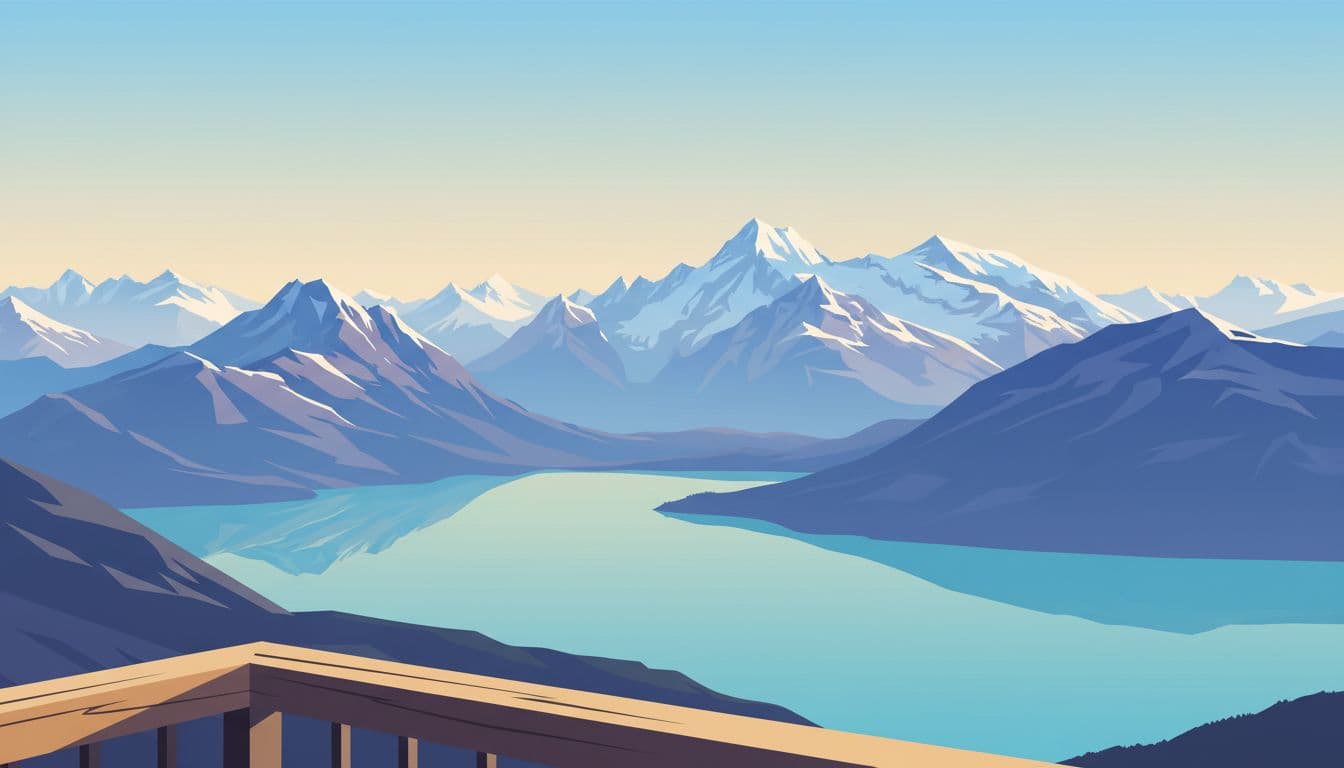
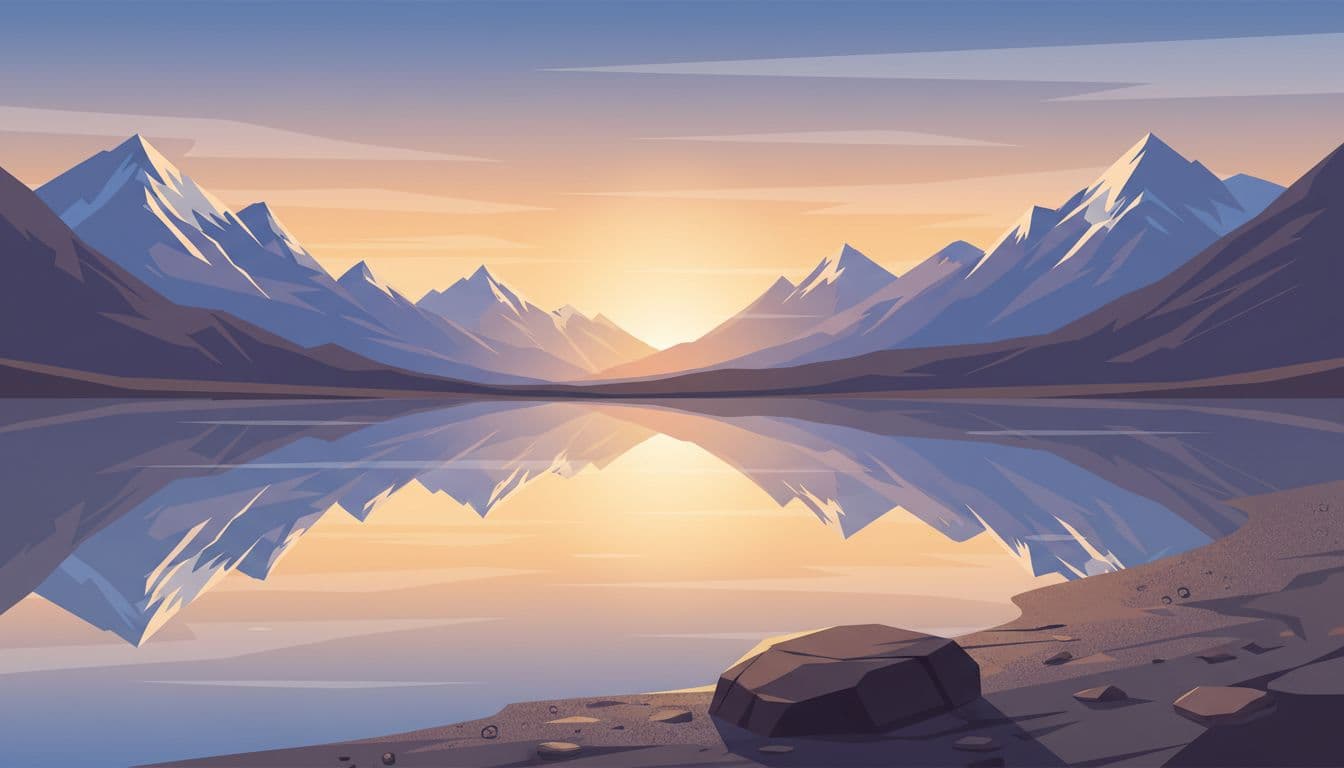
At first light, a still alpine lake can look like polished glass, with pale peaks and dark pines doubled in the water. That early hush is one reason Switzerland stays high on every landscape photographer’s list, because so much beauty sits close together and changes fast with the light.
You don’t have to chase one perfect corner of the country for days. Switzerland packs turquoise lakes, jagged mountains, waterfalls, ridgelines, and easy train links into a small space, so you can reach big views without wasting half your trip in transit. That also makes planning harder, because famous icons pull crowds while quieter spots often stay hidden behind better-known names.
This guide helps you sort through both. You’ll find classic places like mirror-still mountain lakes and postcard peaks, along with calmer locations where you can shoot with more space and less noise. From sunrise reflections to easy-access lookouts, the next sections will help you choose the best photo spots for the kind of lake and mountain images you want to bring home.
The classic Switzerland photo spots that always deliver
Some places stay famous because they earn it every clear morning. If you want the postcard version of Switzerland, the one with still lakes, sharp peaks, and easy-to-love compositions, start with these three. They draw crowds, yes, but they also give you some of the most reliable lake and mountain photos in the country when you time your visit well.
These are the locations readers usually expect to see in any guide to the best photo spots in Switzerland. That makes them popular for a reason. Access is fairly straightforward, the views are strong without much guesswork, and each one gives you a different kind of image, from a clean reflection to a dramatic cliff-ringed lake.
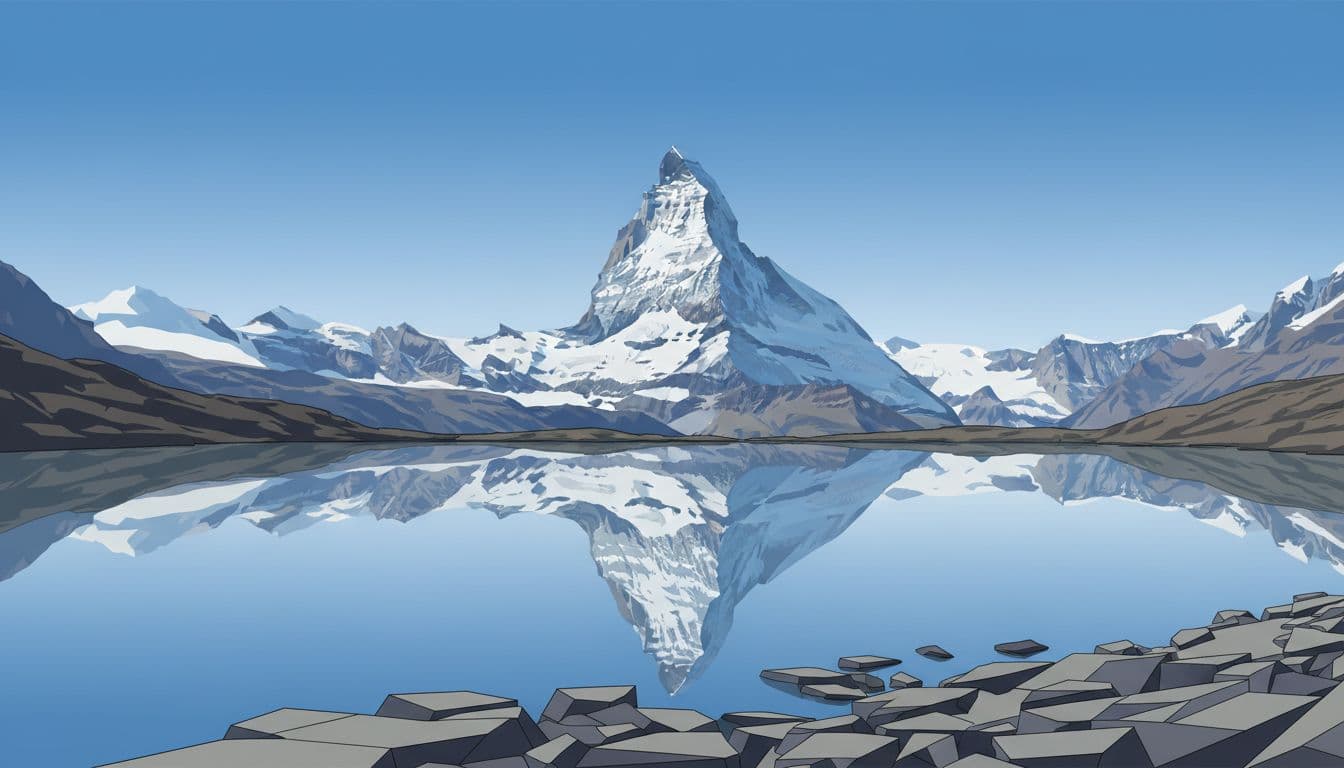
Riffelsee and the Matterhorn give you Switzerland’s most famous reflection shot
Riffelsee is the image many photographers carry in their head before they even arrive in Zermatt. On a calm morning, the Matterhorn rises above the lake like a blade, and the water can mirror it with startling clarity. When that reflection appears, it feels almost too neat to be real.
Getting there is part of why it stays so popular. You can ride up to Gornergrat and walk down, or take the Gornergrat Railway route that drops you close to the lake. From Rotenboden, the walk is short, and from Gornergrat the hike is still very manageable. The official Riffelsee lake overview is useful if you want station details before you go.
Timing matters more here than almost anywhere else in Switzerland. Midday often brings ripples, harsher light, and a line of people trying to claim the same shoreline angle. If you arrive early, usually before 9 a.m., you have a much better shot at still water, soft light, and fewer strangers in your frame. That early window is what turns a nice stop into the iconic shot.
Summer and early fall usually work best because the trail is clear, the lake is open, and conditions are more reliable. Spring can still bring ice or patchy snow, which may look beautiful but can also spoil the clean reflection many people came for. Just as important, save Riffelsee for your clearest forecast, because if clouds hide the Matterhorn, the whole scene loses its punch.
A few practical notes help here:
- Walk a little beyond the first obvious viewpoint, because a slightly different edge of the lake can give you cleaner water and fewer people.
- Keep a wide composition in mind, since the power of this spot comes from the full mountain-and-reflection pairing.
- Stay patient, because a brief drop in wind can smooth the water for a minute or two.
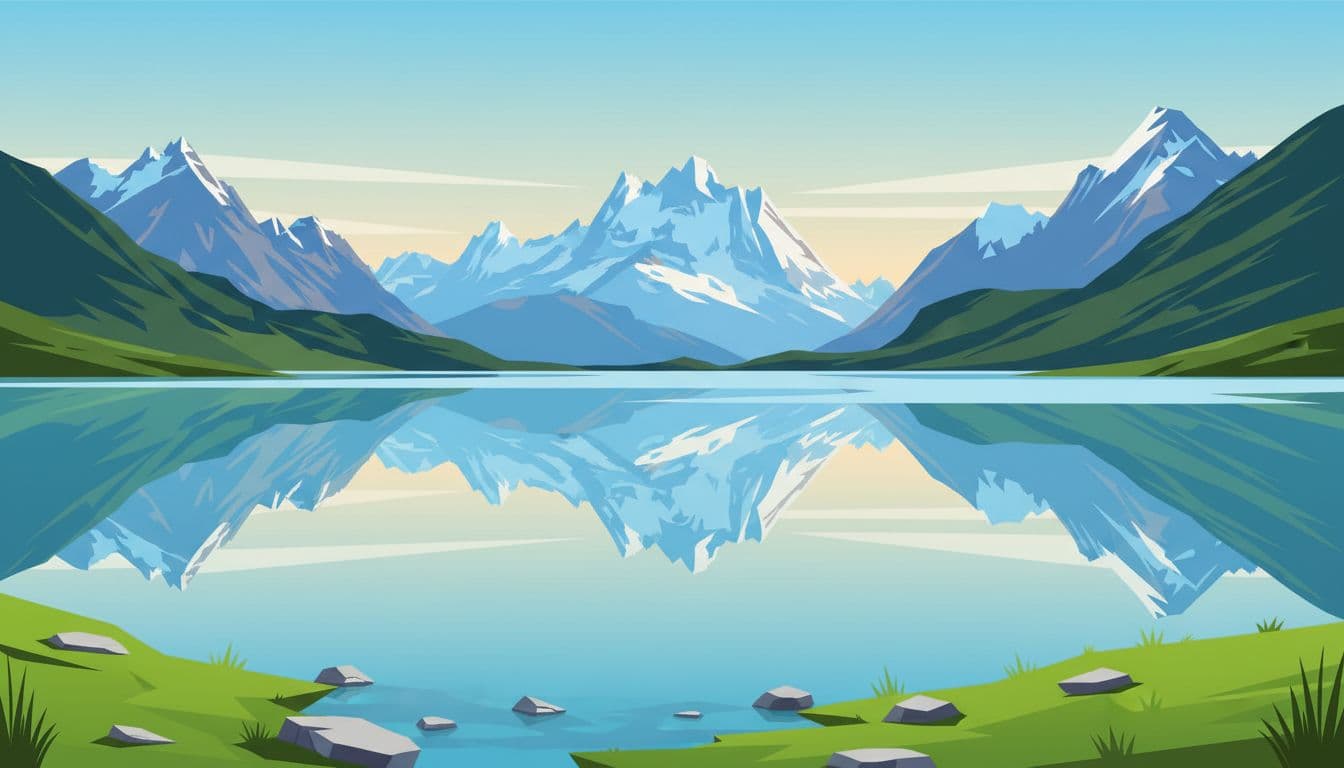
Bachalpsee rewards an early start with bright water and big alpine views
Bachalpsee has a softer look than Riffelsee, but it still feels unmistakably Swiss. Near Grindelwald First, this lake holds bright water, rough-edged peaks, and open alpine space that gives your photos room to breathe. On a still morning, the reflected mountains look painted into the lake surface.
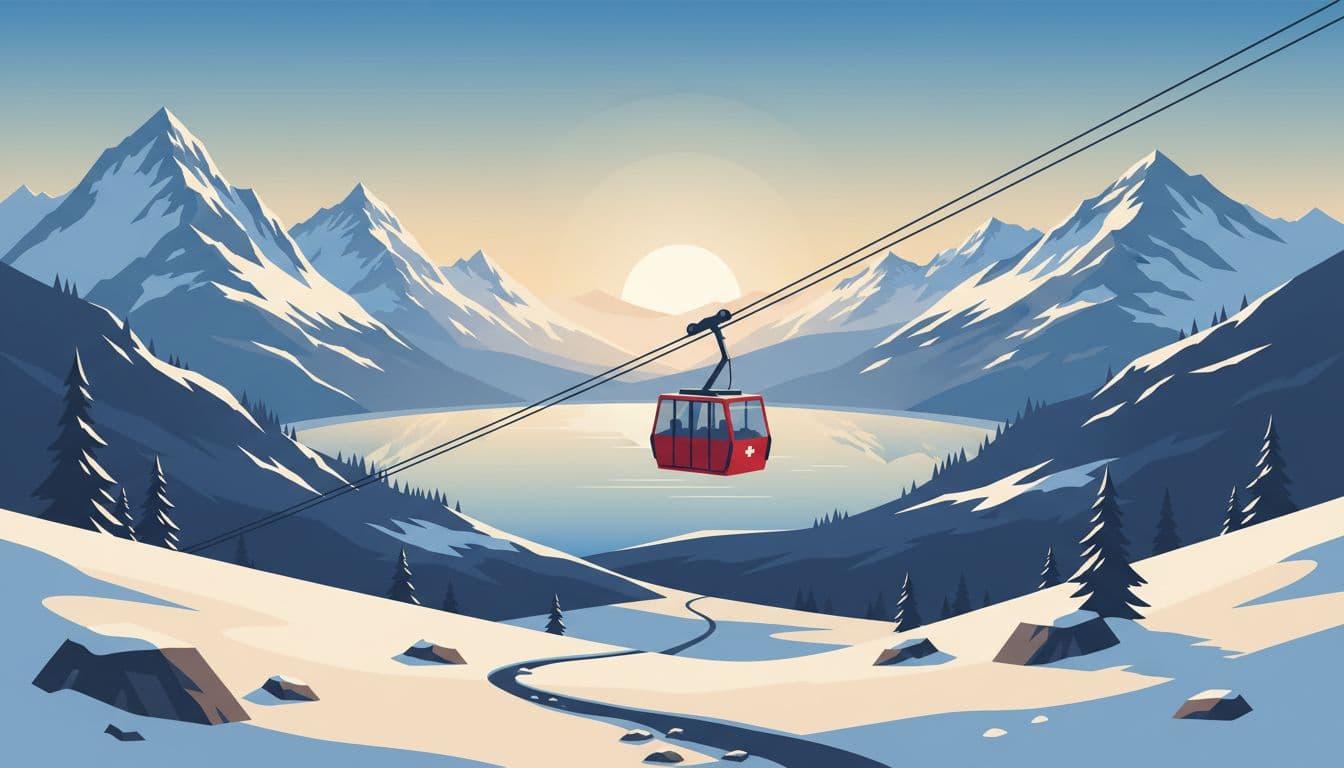
Access is one reason Bachalpsee stays near the top of so many lists. After the cable car to First, the hike usually takes about 30 to 45 minutes. It’s not hard, and that means many visitors can reach a scene that looks far more remote than it really is. You get the reward of a high-alpine lake without a long grind uphill.
Sunrise is the real draw for photographers. Early light adds warmth to the peaks, and the water is more likely to stay smooth before the breeze picks up. By midday, the trail gets busy and the light flattens out. If you’re planning around seasons, summer and fall are your safest bets, because the trail is easier and the lake is usually free of ice. For access basics and seasonal notes, the Bachalpsee lake guide can help.
This is also a flexible place to shoot. If you want a classic frame, go wide and include the full lake with the reflected peaks. If you want more depth, use the grasses and rocks near the shore as foreground. You can also let a hiker remain small in the frame on the trail, which adds scale and shows how large the landscape feels without taking over the image.
A simple way to vary your shots is to work in layers:
- Start with a clean wide shot while the lake is calm.
- Move lower and pull grasses or stones into the foreground.
- Then step back and use the trail or a distant person to show scale.
Because Bachalpsee is so well known, expect company in peak season. Still, an early start changes the mood completely. The lake feels open, the sound drops away, and the whole place looks fresh rather than crowded.
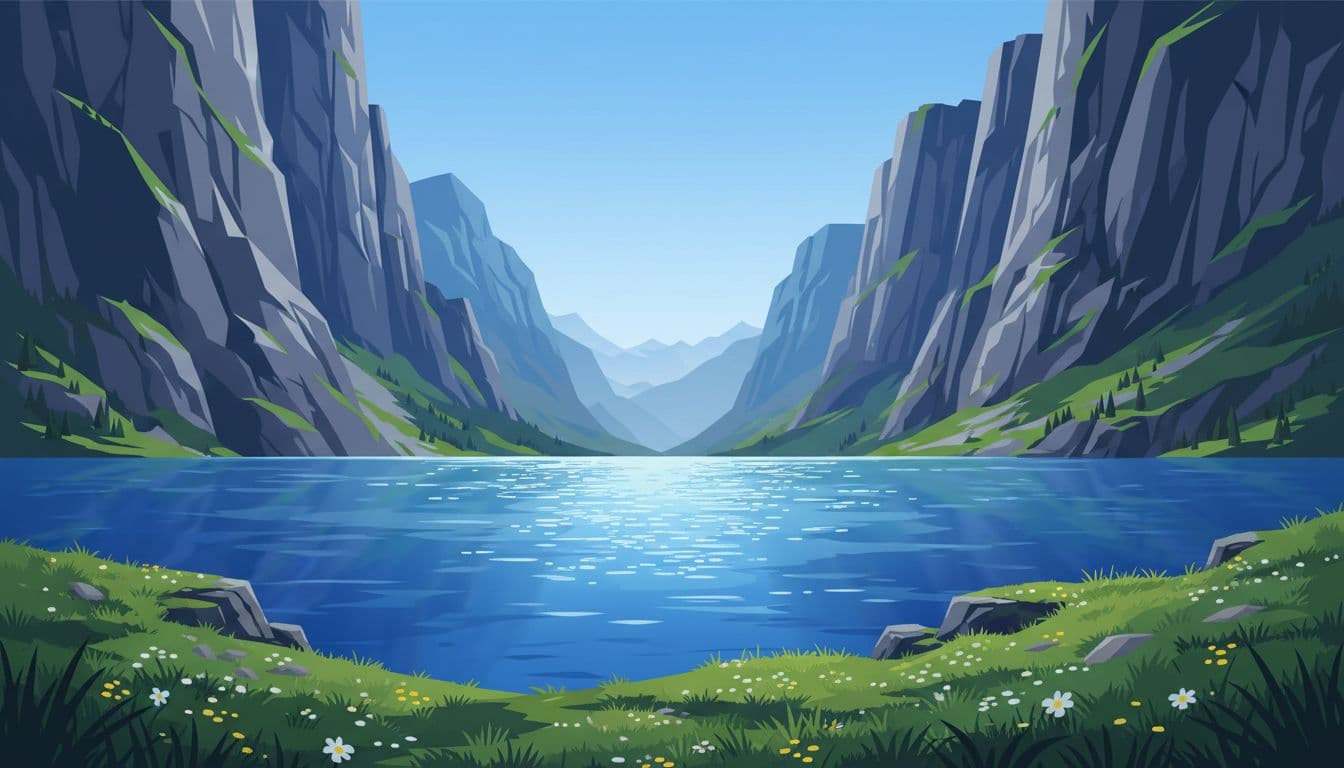
Oeschinensee pairs deep blue water with steep mountain walls
Oeschinensee has more drama than polish. The lake is a deep, rich blue, and the mountain walls around it rise hard and steep, which gives your photos instant weight. While some Swiss lakes feel gentle, this one feels carved out of stone.
It is also easier to reach than the scenery suggests. Most visitors take the cable car from Kandersteg and then continue on a short hike to the lake. That combination makes Oeschinensee one of the best high-impact photo spots for travelers who want a big view without committing to a long mountain day. The official visitor information for Oeschinensee is worth checking, especially because busy days can fill up fast.
Mid-summer is excellent if your main goal is color. When the sun hits the water and the lake is fully thawed, the blue can look almost unreal. Early light, however, is better if you want gentler contrast and softer shadows on the cliffs. Later in the day, the scene can become more crowded and the light more severe, especially in summer.
Two angles work especially well here. First, shoot from the shoreline if you want to emphasize the lake color and the scale of the walls above it. That view keeps the water dominant and gives you strong leading lines along the shore. Second, head for a higher overlook if you want the classic broad view, where the lake sits below the cliffs like a bright stone set in dark rock. For route ideas and current trail context, the Oeschinensee travel guide is a helpful extra reference.
Crowds are part of the trade-off here, especially on fine summer weekends. Go early, and the lake feels calmer in every sense. The color still sings, the shadows stay softer, and you get more space to work the scene from both the shore and above.
Less crowded lake and mountain views that feel calm on camera
Some of Switzerland’s best photos come from places that don’t shout for attention. These spots feel softer and slower, with room for still water, meadow detail, and the kind of quiet that actually shows up in a frame.
If you want images with fewer elbows at the shoreline, this is where the mood shifts. Reflections hold longer, village corners feel lived-in, and the landscape gives you space to shoot both the grand view and the small human moment.
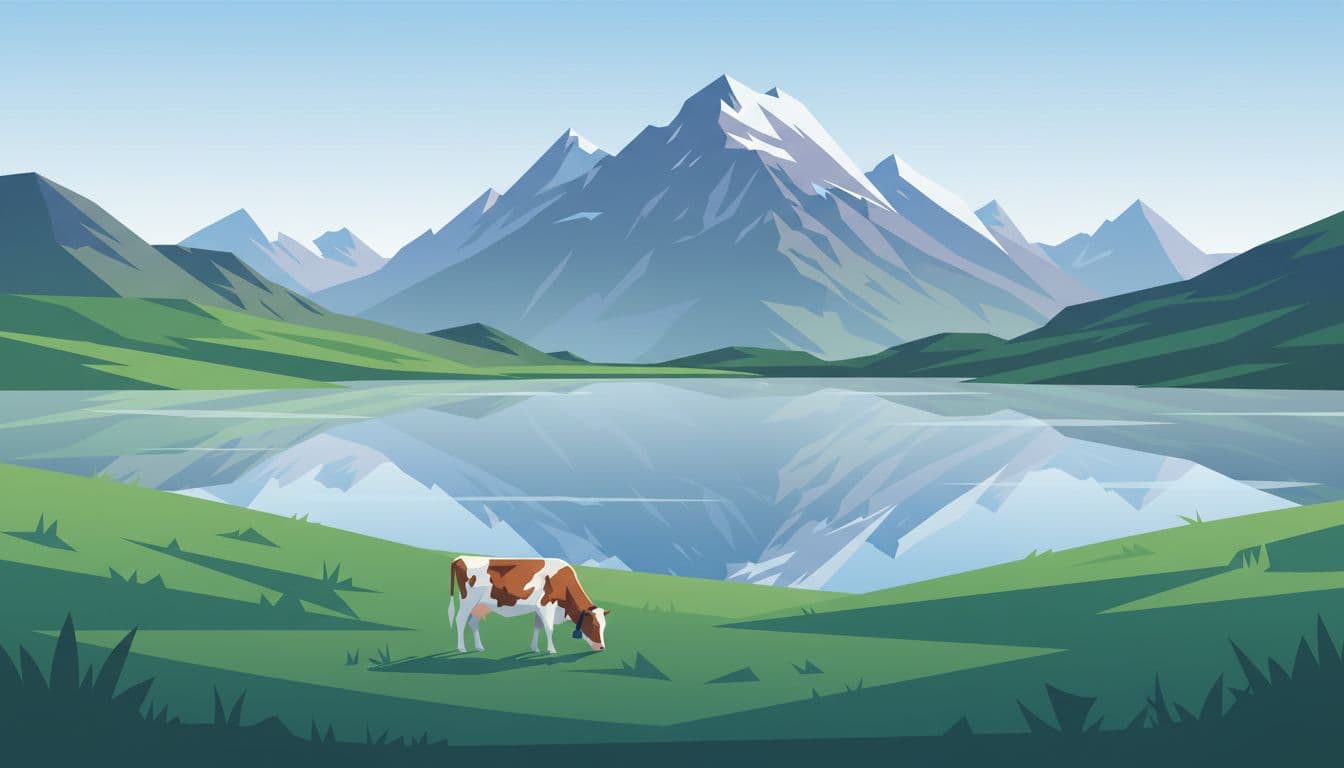
Seealpsee mixes still water, green meadows, and classic Swiss mountain charm
Seealpsee has a gentler look than the headline Swiss lakes. The water sits low beneath grassy slopes, cows graze nearby, and the peaks behind the lake rise with just enough drama to keep the scene from feeling too sweet. On camera, it feels balanced, like a postcard that still has air in it.
The hike is part of the appeal. From Wasserauen, expect about an hour on foot, depending on your pace and route, which is just enough effort to thin the crowds without turning the outing into a full mountain mission. For a route overview, this Seealpsee hiking guide is a useful planning reference.
Weekdays are your friend here, especially in warmer months. Weekend traffic can flatten the mood, while a weekday morning lets the lake keep its hush. In fall, the light gets even better, and both early morning and golden hour bring the kind of warm edge light that makes the meadows glow without blowing out the water.
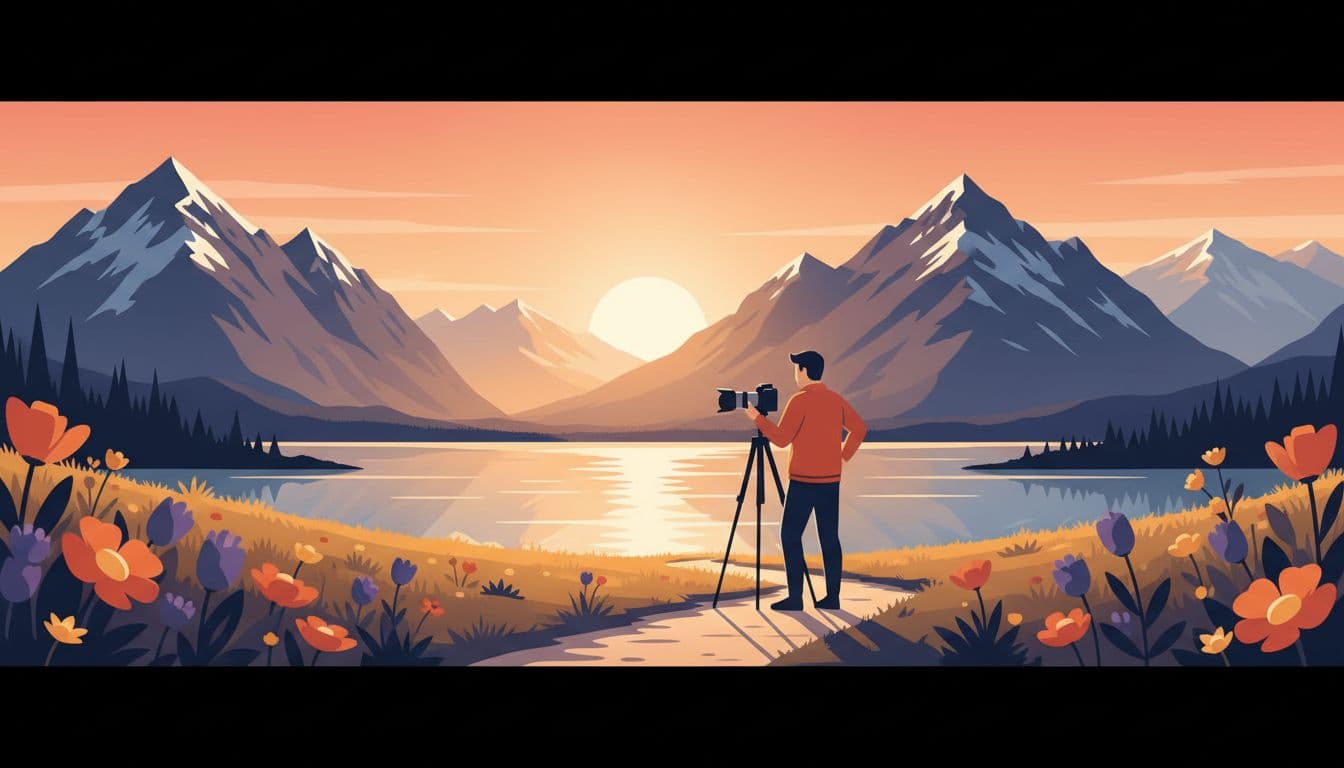
This is also one of the easier places to shoot in two styles at once. Go wide, and you can frame the full lake with peaks and reflection for a classic landscape. Step closer to the meadow edge, and suddenly you have a lifestyle-style travel image, with a path, boots in the grass, or a lakeside pause that feels personal rather than posed.
Seealpsee works best when you let the calm lead the composition, instead of chasing only the biggest mountain.
Iseltwald turns Lake Brienz into a quiet postcard scene
Iseltwald feels small in the best way. The village sits beside Lake Brienz with wooden houses, sloping roofs, and green hills rising behind the water, so almost every angle looks settled and complete. The scene doesn’t need much help from you, because the shapes already fit together.
The lakeside dock and the path beside it are the stars for photographers. From there, the emerald water becomes the frame’s anchor, while the houses and wooded slopes add depth without clutter. Because the village stays compact, your photos often feel intimate, as if you found a private corner instead of a major stop on a travel loop.
Early morning is usually the sweet spot. The water is calmer, reflections come out cleaner, and the whole place has that just-woke-up stillness that reads beautifully on camera. Later in the day, the light gets harsher and the mood becomes more social, which can work for travel snaps, but it loses some of the softness that makes Iseltwald special.
There is also a nice shift here from grand scenery to detail. One frame can hold the lake and hills, while the next can focus on flower boxes, timber facades, or a moored boat along the shore. If you want a quick look at angles people love, this Iseltwald photo spot guide can help before you go.
Lac Bleu stands out when you want color that looks almost unreal
Lac Bleu has the kind of blue that can stop you mid-step. The water is so bright that it almost looks edited before you’ve touched a file, and that is exactly why the setting matters. The rocky ground around the lake keeps the composition simple, so the color has space to speak without competition from too much greenery or visual noise.
Many lake spots beg for sunrise or sunset, but Lac Bleu can still look excellent in summer daylight. When the sun is high enough to light the water cleanly, the blue stays vivid and sharp, and the pale rocks around the shore make the color feel even richer. That gives you a rare bit of freedom if your day doesn’t line up with dawn.
The key here is restraint in editing. Push saturation too far, and the image starts to look fake fast. A lighter hand usually wins, because the real color already does most of the work. Keep the contrast honest, protect detail in the highlights, and let the lake stay bright without turning electric.
If you’re planning a visit, this Lac Bleu trail and photo guide gives a solid feel for the area. Just keep seasonal conditions in mind, because spring can still bring snow or mud on alpine paths. Once summer settles in, though, Lac Bleu is one of the easiest places to get a bold color shot that still feels believable.
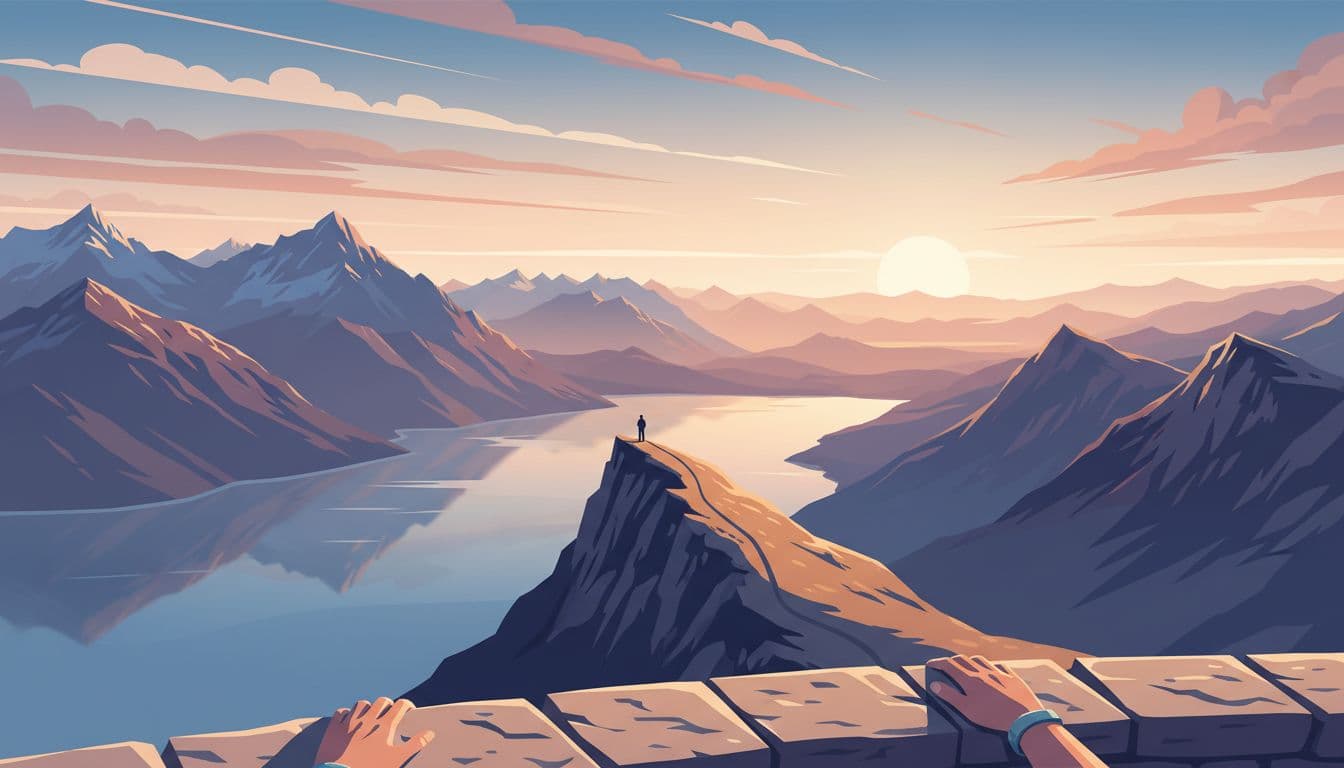
Big viewpoints where you can capture lakes, peaks, and wide-open scale
When you want sweeping Switzerland photos, elevated viewpoints change everything. Instead of one quiet shoreline, you get whole valleys, layered ridges, shifting light, and lakes that read like bright pieces of glass far below.
These spots work best when your goal is scale. They also reward patience, because clouds, haze, and late-day color can reshape the frame in minutes. If you like panoramas, broad mountain scenes, and images that show how small a village or boat feels under the Alps, start here.
Harder Kulm frames Lakes Thun and Brienz with high peaks beyond
Harder Kulm is one of the easiest places to get a big Interlaken panorama without a long climb. From the top, Lakes Thun and Brienz pull away on either side, while the Bernese peaks rise in the distance and give the whole view real depth. It feels wide at first glance, then wider once you start looking into the layers.
The funicular is the reason this stop works for so many travelers. You can be in town, then high above it soon after, with very little effort. That makes Harder Kulm a smart pick if you want a dramatic frame on a tight schedule. For practical details, check a current Harder Kulm visitor guide.
Clear weather matters here more than at close lake spots. If haze sits in the valley or cloud wraps the peaks, the magic drops fast. On a crisp day, though, the view opens like a map. Sunset is especially strong, because warm light can brush the high peaks while the lakes stay cool and blue.
For shooting, bring both a wide lens and a medium zoom. Go wide to hold both lakes and the full sweep of the valley. Then tighten in to isolate the Jungfrau side, lake curves, or stacked ridgelines. Harder Kulm is one of those places where one overlook can give you several very different final images.
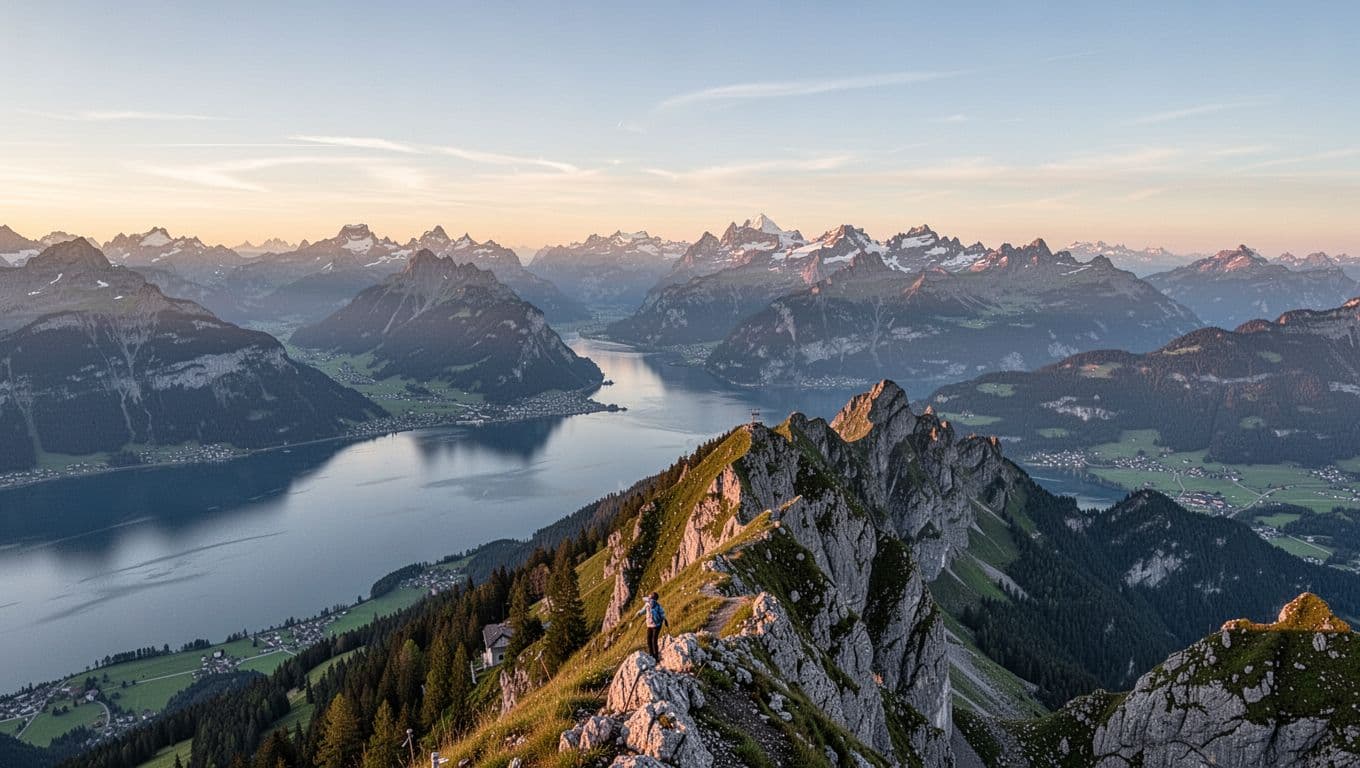
Fronalpstock gives you one of the best ridge views in the country
Fronalpstock feels high in a way that shows up in every photo. The ridge drops away, the sky seems larger than usual, and the lakes below sit far enough down that the whole scene gains a clean, airy look. If you want a view with real breathing room, this is one of Switzerland’s best.
Getting there is simple by Swiss mountain standards. You ride up through Stoos, then continue by cable car to the summit area, which keeps the effort low and the payoff high. The official Fronalpstock overview and this Stoos panorama trail guide are useful if you want route ideas before you go.
Golden hour works very well here because the ridge catches warm side light so nicely. As the sun drops, the slopes and peaks gain shape, while the lakes soften into pale silver or blue. That mix gives your photos more tone and more mood than flat midday light.
A little prep helps. Wind can be strong on exposed sections, so keep your stance steady and don’t expect perfect tripod conditions. Wear proper walking shoes too, because even easy summit paths can feel rough near the edges. If your lens is not wide enough, shoot a series of overlapping frames and stitch a panorama later. Fronalpstock is made for that format.
Mount Pilatus adds sharp ridges, lake views, and easy access from Lucerne
Mount Pilatus is ideal if you want dramatic mountain lines without committing to a full backcountry day. The ridges are sharp, the drop-offs feel bold, and Lake Lucerne spreads out below in bright, twisting sections that give the scene shape. It looks rugged, but access is much easier than the view suggests.
From Lucerne, you can reach the summit area by mountain transport rather than a long hike, which is a huge plus for travelers carrying camera gear. Once you’re up top, short walks open up layered views over the lake and the Alps. The Oberhaupt viewpoint page and the Esel viewpoint details help you choose where to head first.
Sunrise is one of Pilatus’s best moments, especially if you stay near the summit hotel. Sleeping up high lets you get out before day visitors arrive, and that can mean clearer air, softer color, and quieter terraces. The first light often pulls a clean edge across the ridges, while the lake stays muted below.
For photos, look for layers rather than one single subject. Use the dark ridge in front, Lake Lucerne in the middle, and pale Alps in the back. That structure gives the frame depth right away. Pilatus is practical, visual, and high-impact, which is exactly why it works so well for travelers who want bold mountain shots without an all-day hike.
A few dramatic wild-card spots if you want more than perfect reflections
Some of the best Switzerland photos don’t depend on glassy water at all. If your trip brings wind, cloud, rain, or fast-changing light, these places can still give you strong frames. Instead of neat symmetry, you get cliffs, ice, spray, texture, and weather that adds mood rather than spoils it.
Lauterbrunnen Valley is hard to beat for cliffs, waterfalls, and shifting weather
Lauterbrunnen is one of those valleys that looks built for drama. The rock walls rise almost straight up, waterfalls drop from impossible heights, and low cloud can turn the whole place into a stage set. In spring, that effect gets even better because snowmelt feeds the falls and mist often hangs in the air.
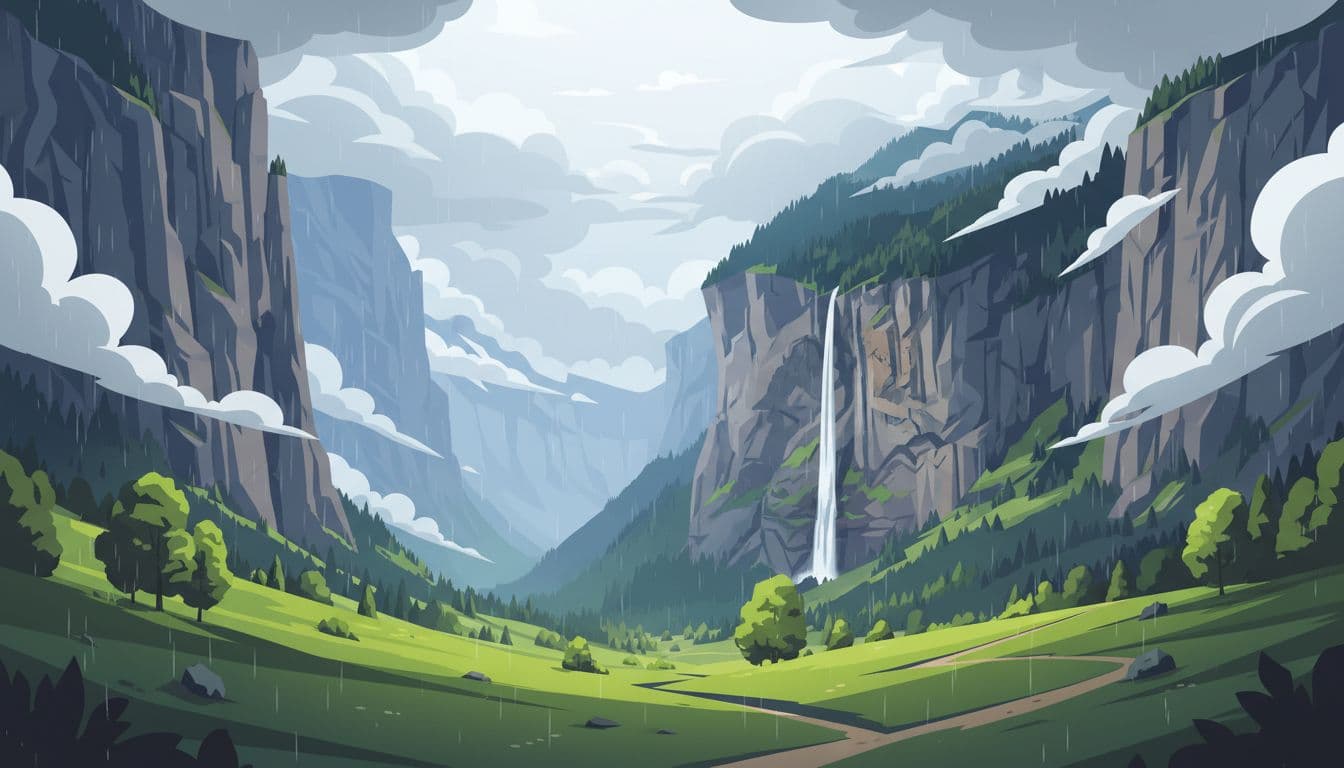
Staubbach Falls is the obvious draw, and for good reason. It drops beside the village like a white ribbon, and even a simple roadside angle can look huge. If you want more room in the frame, wider valley viewpoints above town or along the flat path toward Stechelberg help show the full scale of the cliffs. This Lauterbrunnen viewpoint guide is handy if you want to map a few angles before you go.
Cloudy weather works in your favor here. Soft light holds detail in the rock, and light rain can make the waterfalls brighter and fuller. According to current spring access notes, the Staubbach area and valley paths are generally easy to reach, while some higher routes can shift with transport changes, so it’s smart to check local updates before heading up.
Lauterbrunnen is one of the rare Swiss photo spots where bad weather can make the scene look better.
Aletsch Glacier and its nearby lakes give your photos a raw alpine feel
If you want something bigger and rougher than a classic lake reflection, head toward the Aletsch area. The Great Aletsch Glacier is Europe’s longest glacier, and that scale shows up right away. Ice bends through the mountains like a frozen river, while nearby ponds and small lakes soften the frame and add contrast.
The most useful compositions mix hard and soft elements. A foreground tarn, a patch of grass, or a rocky overlook can keep the glacier from feeling flat in a photo. Spots around Eggishorn and the Panoramaweg are especially good for that layered look, and the official Aletsch Panoramaweg overview gives a clear idea of what the route offers, including views near Märjelensee.
Late summer is usually the easiest time to work this area because trails and overlooks are more accessible, snow cover is lower, and more of the glacier’s texture is visible. Bring a zoom lens if you can. Wide shots show the full sweep, but a longer focal length helps you isolate crevasses, dark moraine lines, and the curves of the ice. For a practical look at one of the best viewpoints, this Eggishorn photo guide is a useful reference.
Rosenlaui Valley offers rushing water, rock texture, and moody light
Rosenlaui is a strong pick when you want movement in the frame. Instead of waiting for still water, you’re working with fast runoff, wet stone, and narrow channels that push the eye through the image. In spring, the meltwater gives the gorge and nearby falls more force, so the whole valley feels alive.
The Rosenlaui Gorge is the main subject, with churning water cutting through tight rock walls, but the wider valley also has waterfalls and heavy stone textures that look great in gray light. This is where overcast weather helps again, because it keeps highlights under control and brings out detail in the rock. If you want a quick sense of the gorge itself, the Rosenlauischlucht waterfall overview shows why photographers like the area.
A few practical habits matter here:
- Use a tripod or stable support for long exposures if you want soft water.
- Expect wet paths and slick stone, especially near spray.
- Keep your footing solid and don’t edge too close for a lower angle.
Rosenlaui works best when you treat it as a texture-and-motion location, not a postcard stop. The reward is a moodier kind of Swiss mountain image, one with more force and less polish.
How to plan your photo days in Switzerland so the light works in your favor
Great Swiss photos usually come from better timing, not better luck. Lakes, peaks, and valleys can look completely different within an hour, so a loose plan helps you use each place at its best.
The good news is that you do not need a huge production. You need a smart order for the day, a quick look at transport times, and the patience to wait when the scene is almost there.
Choose sunrise for calm lakes, and use soft weather when mountains hide in cloud
If lakes are your priority, start early. In summer, sunrise in the Swiss Alps often lands before 6:00 a.m., and that first window is pure gold for reflections. The air is cooler, the wind is lighter, and the water often stays smooth enough to mirror the peaks.
That matters at spots like Riffelsee, Bachalpsee, and Seealpsee, where the whole frame can hinge on still water. By mid-morning, even a small breeze can wrinkle the surface and break the clean symmetry you came for. A calm dawn at a lake can feel like someone pressed pause on the whole valley.
Cloud is not the enemy, either. If the big peaks vanish, shift your plan instead of writing the day off. Valleys, forests, waterfalls, and gorges often look better in soft light because overcast skies cut harsh contrast and bring out detail in wet rock, grass, and spray. Lauterbrunnen and Rosenlaui are good examples of places that often gain mood when the weather turns gentle.
Blue sky is nice, but soft weather often makes a stronger photo.
If you want one practical rule, use it like this:
- Go for sunrise when reflections are the goal.
- Keep overcast or mixed weather for waterfalls, valleys, and moody mountain scenes.
- Save your clearest forecast for peaks that need full visibility.
For a little visual proof of how strong dawn light can be, this misty lakeside sunrise photo shows why early starts pay off.
Plan around trains, cable cars, and short hikes to reach the best angles
Many of the best photo spots in Switzerland are easier to reach than they look. That is one of the country’s biggest strengths. A train, a cable car, and a short walk can put you in front of a world-class scene without a full-day trek.
Still, timing around transport matters. Some classic shots depend on getting the first lift of the day, or at least arriving before the late-morning crowd. In summer, first rides for major mountain access points often begin around 7:00 to 8:00 a.m., which works well for places like Bachalpsee, Oeschinensee, and Riffelsee, even if true sunrise starts earlier lower down.
A short uphill walk is often part of the deal, and that is usually a good thing. Ten to forty minutes on foot can move you past the first obvious platform and into a cleaner angle. That is often where the better foreground, quieter shoreline, or wider view appears.
Before you head out, check two things only:
- Seasonal opening times for the lift, train, or funicular.
- The last ride down, especially if you want evening light.
These schedules shift by season and maintenance period, so a quick check on official pages helps. For example, Rigi timetables and Aletsch Arena season times show how much access can change through the year.
Bring a simple kit, then focus on timing, patience, and composition
You do not need a huge camera bag for Swiss lakes and mountains. A phone or a basic camera is enough if the light is good and the composition is clear. If you carry interchangeable lenses, a wide lens or standard zoom covers most scenes well.
A small tripod helps at dawn, dusk, and in soft weather. It also slows you down in a good way. When you stop rushing, you start to notice the dock in the corner, the path that leads the eye, or the small hiker who gives the whole mountain scale.
Keep your setup simple:
- A phone or camera you know well
- One wide lens or standard zoom
- A tripod for low light, if you have one
- A light layer, because dawn in the Alps stays cool even in summer
Then put most of your attention on what matters more than gear. Wait for the water to settle. Stay when the cloud lifts for thirty seconds. Move a few steps left if a dock, flowers, rocks, or a winding trail can anchor the foreground. If a person walks into the frame at the right distance, let them stay, because scale can turn a pleasant view into a photo with real shape.
A simple kit also makes travel easier on trains, cable cars, and short hikes. That matters more than people admit. You are far more likely to catch the light if your bag does not feel like a punishment by 6:30 a.m. For a practical take on packing light in the Alps, this Swiss Alps photography gear guide is a useful extra read.
When you build each day, keep the order simple. Shoot lakes at first light, use mixed weather for valleys and falls, confirm transport hours the night before, and carry only what you will actually use. That plan gives you more keeper images than a bigger lens ever will.
Conclusion
The best photo spots in Switzerland depend on the image you want to bring home. If you want the classic mirror shot, start with Riffelsee or Bachalpsee. If you prefer calm charm and softer detail, Seealpsee or Iseltwald will likely stay with you longer. For big scale and open sky, Harder Kulm and Fronalpstock give you the broad sweep that makes the Alps feel endless.
Still, the strongest photos usually come from patience, not from trying to collect every famous stop in one trip. Slow down, watch the light, and give one good place time to change in front of you.
A lake can turn to glass for two quiet minutes. A ridge can catch the last warm glow and shift the whole mood of the frame. That’s often when Switzerland gives you your best shot.