
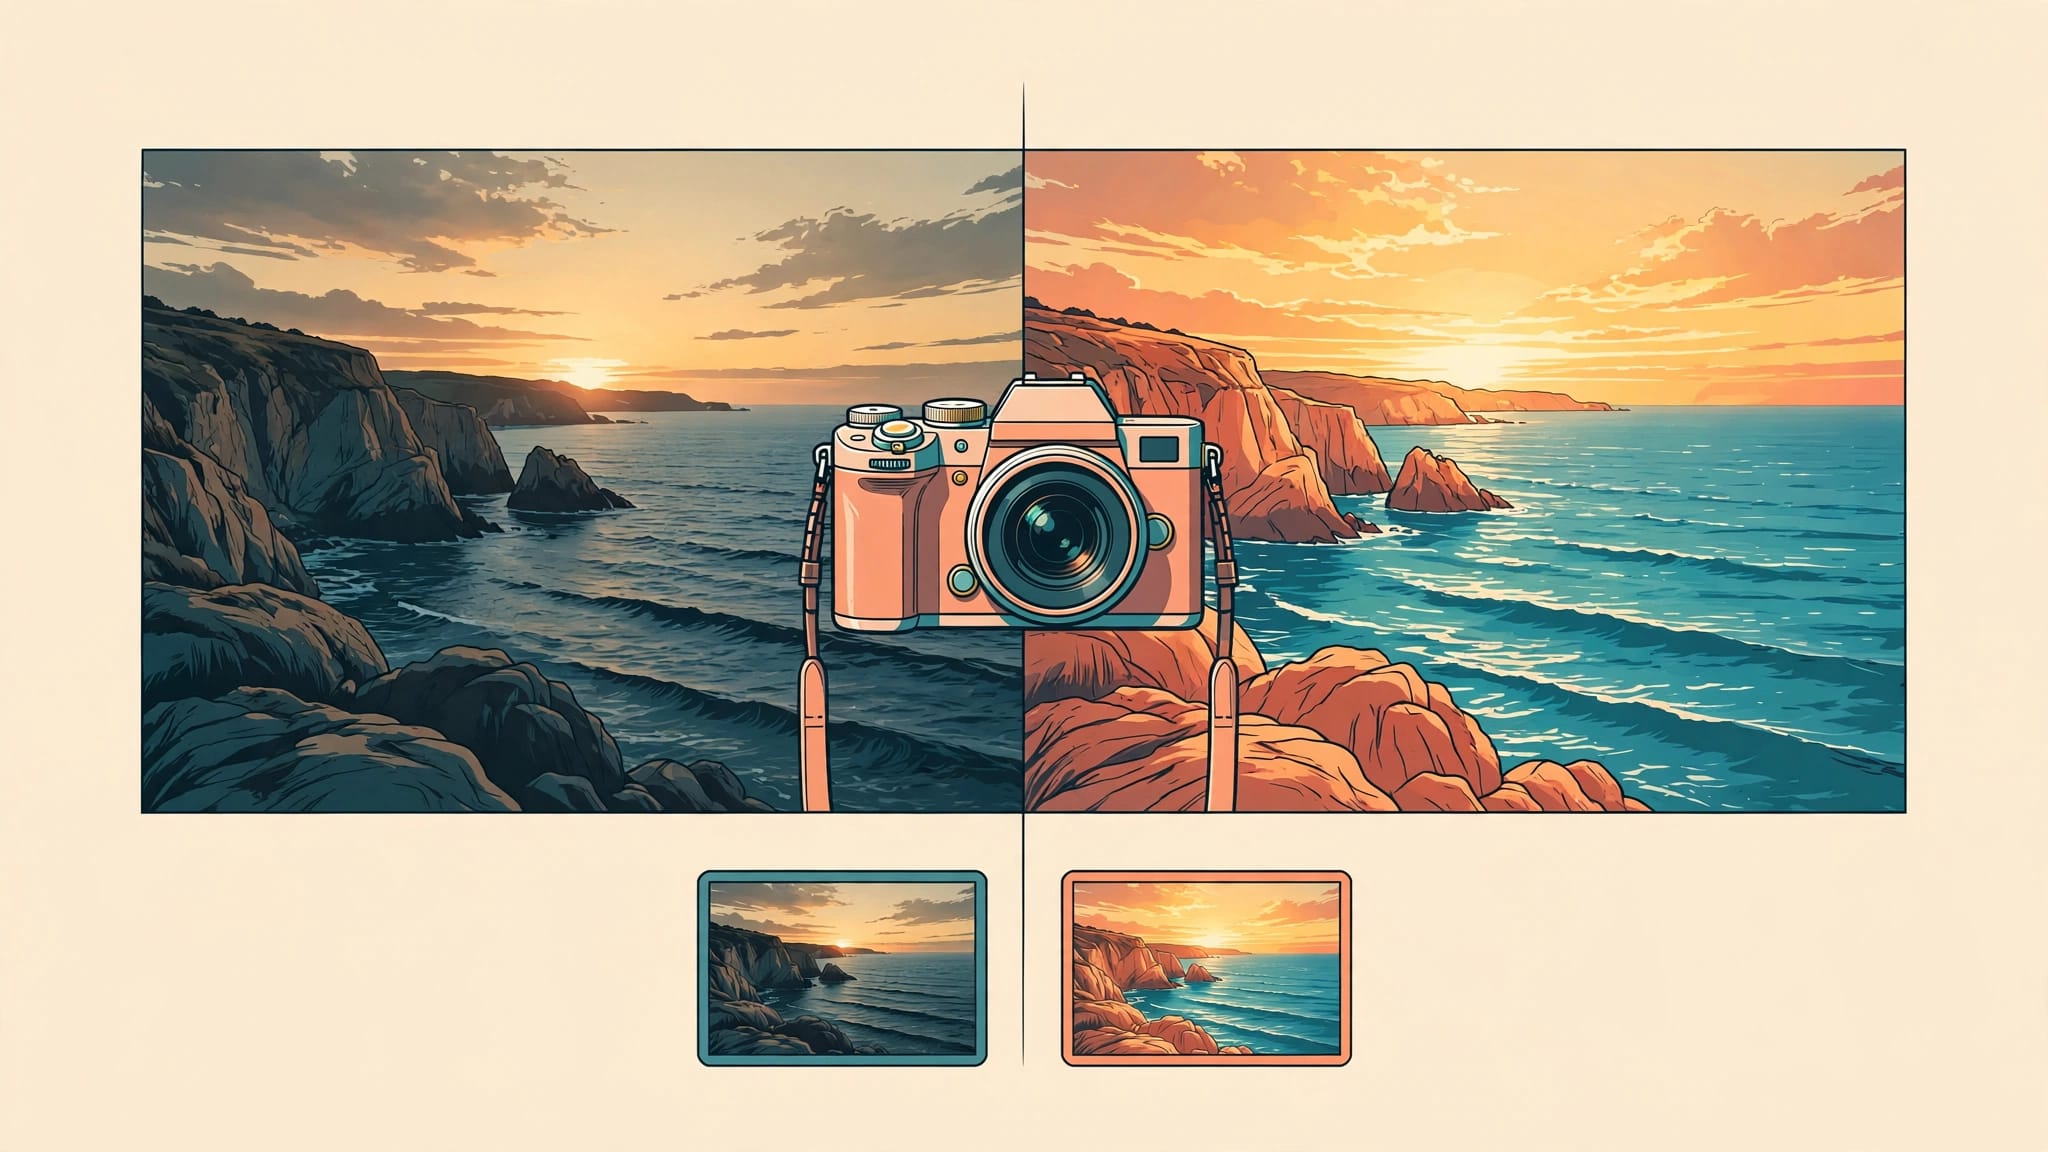
You can photograph a sunset perfectly and still regret the file setting when you get home. Choosing between RAW and JPEG depends on what you’ll do after pressing the shutter, not on which format sounds more professional.
RAW gives you more room to edit difficult light. JPEG gives you a finished, smaller file that’s easy to share. Your travel routine matters: the format you can store, back up, and enjoy using is the one to choose.
RAW vs JPEG photography: what changes inside the file
Your camera starts with data collected by its sensor. The file format determines how much processing the camera does before saving the photo, and how much control remains afterward.
RAW leaves more decisions for later
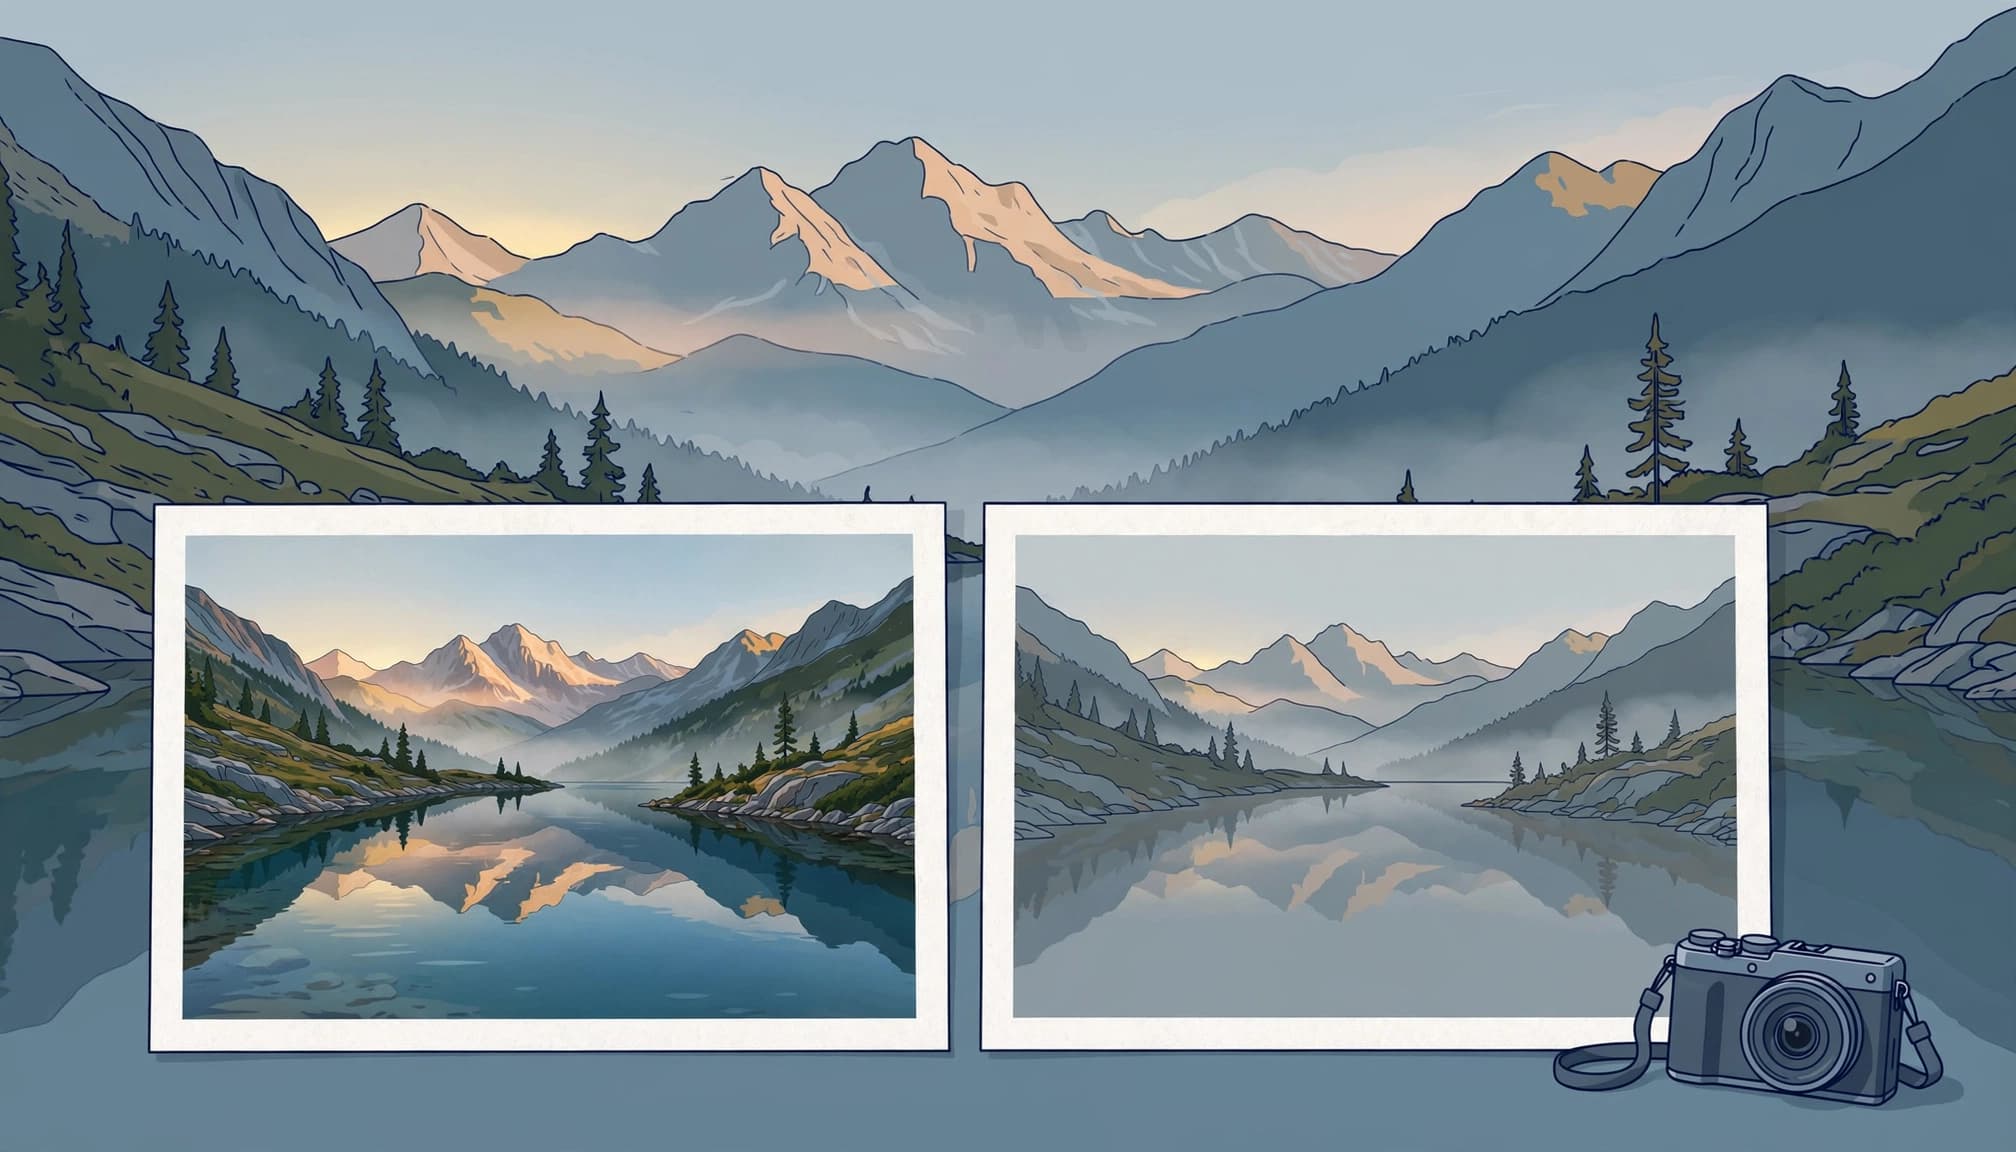
A RAW file preserves more of the sensor’s captured information for editing. You can adjust color, contrast, and brightness before exporting a finished image. Camera makers use different formats: Nikon calls its RAW files NEF, while Canon commonly uses CR3.
RAW photos often need an edit before they’re ready to send. They also take more storage space, although size varies by camera and compression setting. Nikon’s RAW and JPEG comparison describes that practical trade-off.
JPEG finishes the photo in-camera
For a JPEG, the camera applies settings such as white balance, contrast, sharpening, and noise reduction. It then compresses the result into a smaller, widely compatible file.
That doesn’t make JPEG low quality. A well-exposed, full-resolution JPEG can look excellent. But if the camera makes a color or tonal choice you dislike, you have less flexibility to change it later without visible damage.
What editing can and cannot fix
The biggest difference appears when the light fights you: bright skies above shaded streets, mixed lighting in a station, or a white building at noon. Both formats benefit from careful exposure in the field.
RAW helps with color and tonal adjustments
Picture a blue-hour canal scene in Trieste. Warm lamps illuminate the buildings, but auto white balance makes the water look too cool. A RAW file lets you reconsider the color temperature during editing with less loss of quality.
RAW can also give you more useful detail when you lift shadows or pull back bright areas. Adobe’s RAW versus JPEG guide explains why white balance is easier to revisit in RAW. The amount of recoverable detail still depends on your camera and the original exposure.
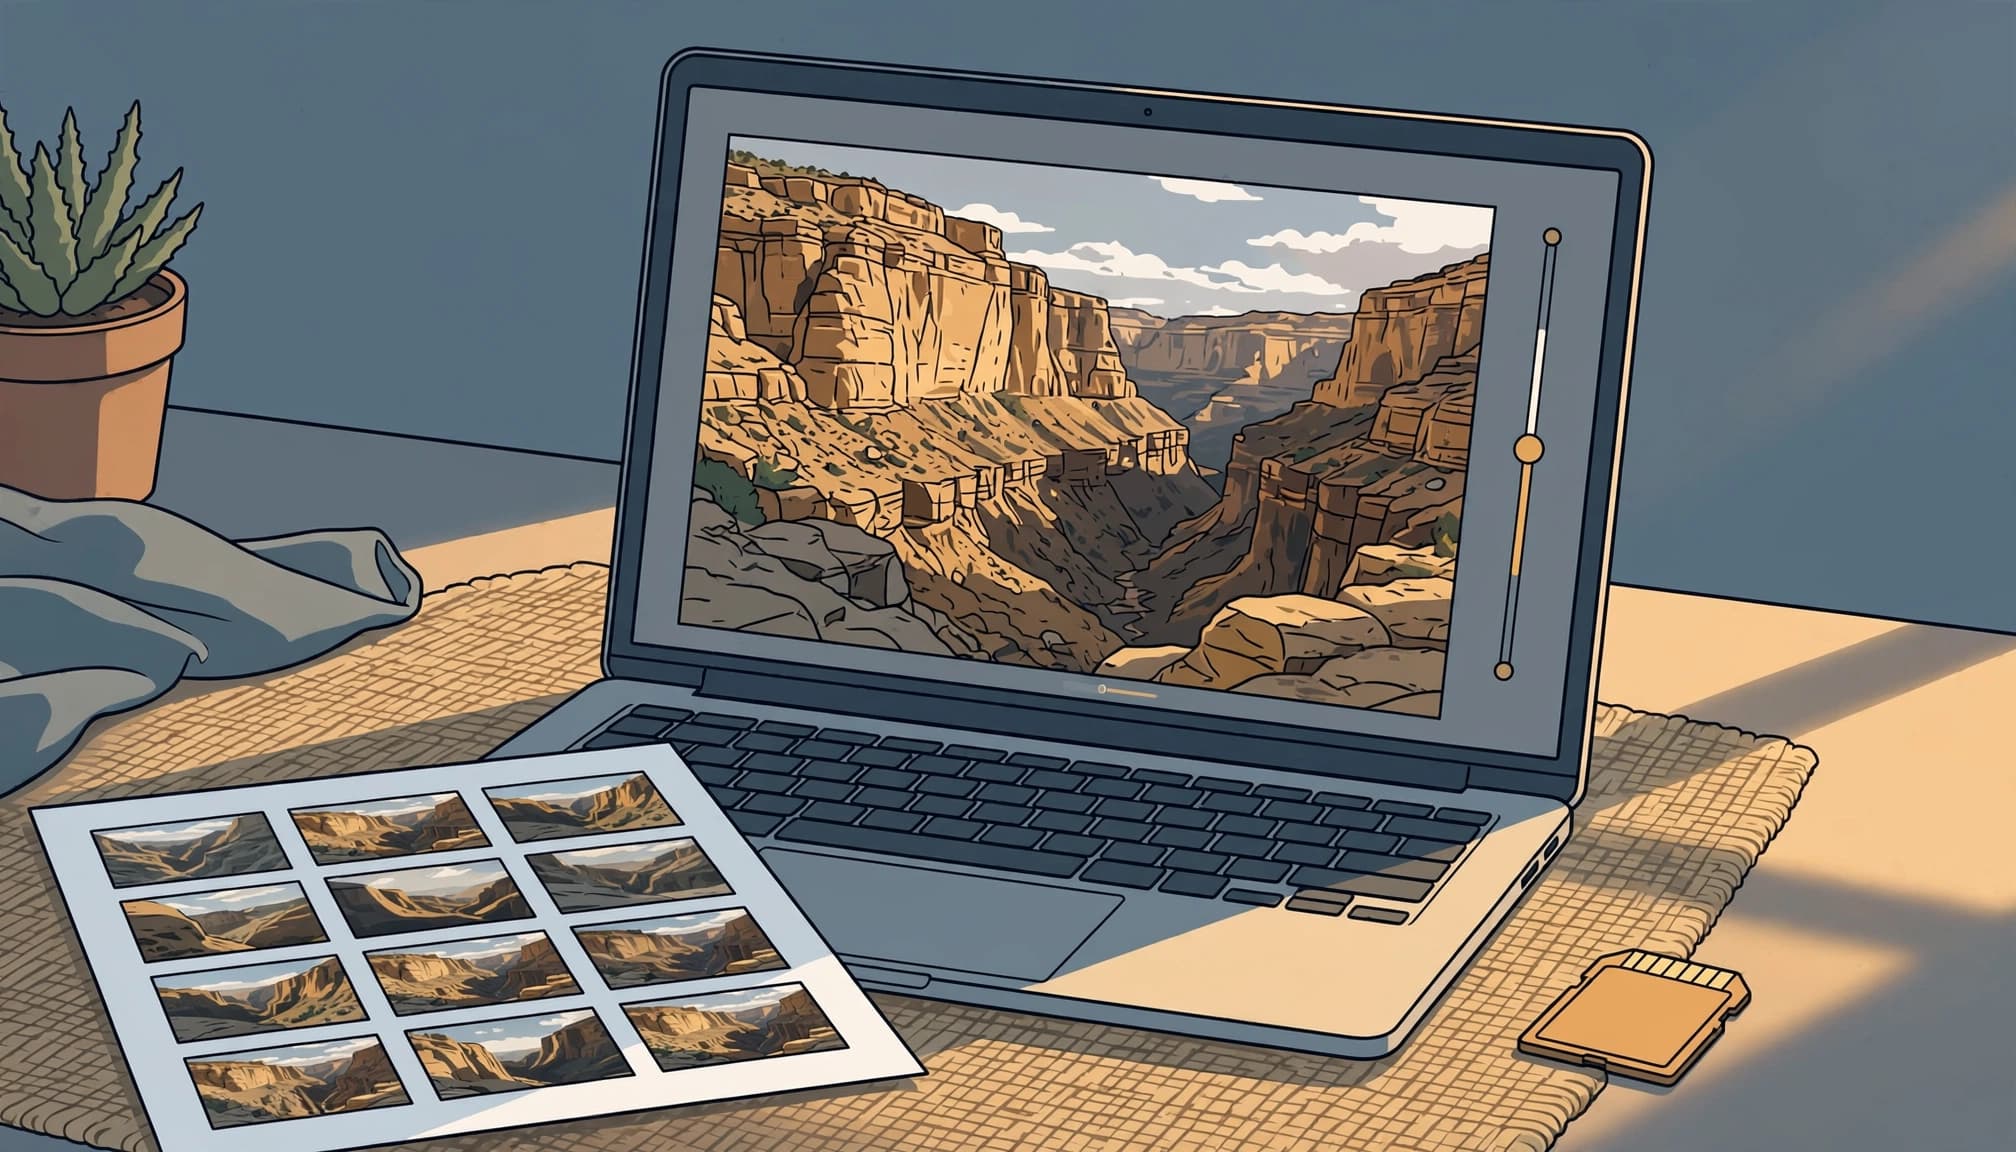
Neither format rescues every mistake
RAW cannot restore detail the sensor never recorded. A completely blown-out sky stays blank. Raising very dark shadows can reveal noise, particularly in photos taken at high ISO.
Check the histogram or highlight warning after photographing pale stone, clouds, or snow. Lower the exposure if important highlights are clipping, then check whether the subject remains usable. Similarly, motion blur and missed focus require a better capture, not a different file extension.
RAW gives you editing room after a difficult exposure, but it cannot replace a sharp, well-timed photograph.
When JPEG fits a travel day
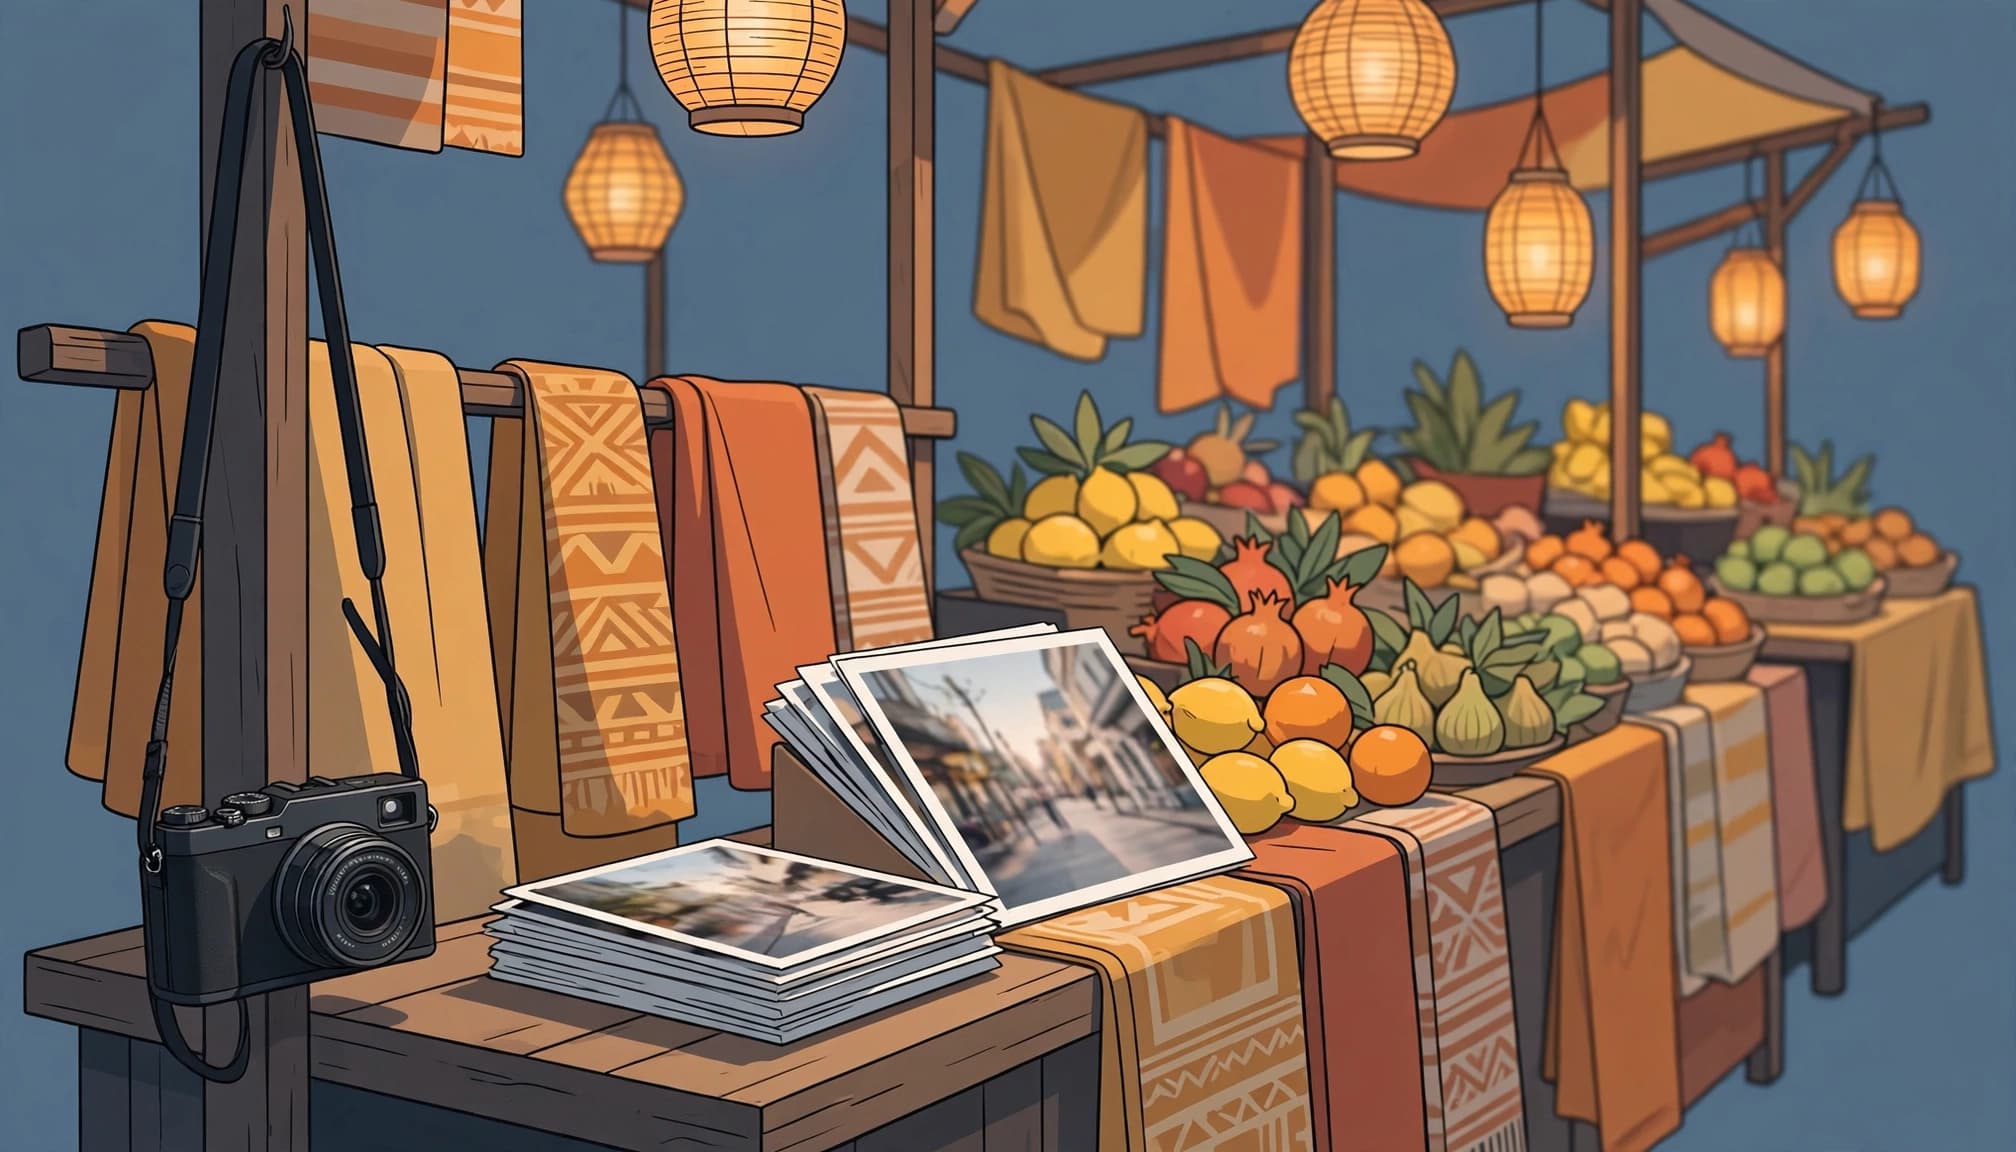
JPEG works well when you like the camera’s color and want to spend your evenings somewhere other than an editing app. A finished file can move to your phone and reach family or friends without an export step.
Choose it when speed matters
Photographer Thomas Berger recalls climbing Lisbon’s Alfama steps while a friend stopped to adjust a heavy full-frame kit. Berger kept moving with a lighter camera and caught a yellow tram turning into afternoon light. File settings create a similar practical choice: they should support the way you actually travel.
For a family trip or a packed city break, JPEG can keep the routine manageable. Set the highest useful JPEG quality, review the camera’s color profile before leaving, and photograph a familiar scene at home. If the results please you, there’s little reason to add mandatory editing to every day.
Know when convenience has a cost
Mixed indoor lighting and harsh contrast are harder to correct in a JPEG. Large changes to white balance or shadow brightness can expose artifacts sooner than they would in a RAW file.
That matters most for images you cannot repeat. If a particular portrait, performance, or dawn view is the reason for your trip, saving a RAW alongside the JPEG may be a sensible precaution.
When RAW earns its extra storage
RAW suits travelers who enjoy editing or regularly face challenging light. It also helps when you want a consistent look across images made in changing conditions, such as a rainy morning followed by bright mountain sun.
Use it for difficult, important scenes
A bright coastal crossing can put white clouds above dark cliffs. RAW offers more latitude to balance those tones afterward, provided you’ve protected the highlights while shooting. The same applies to shaded streets with sunlit façades and interiors lit by both windows and lamps.
If you intend to make substantial prints or edit a carefully chosen portfolio, keeping the RAW originals gives you room to revisit your decisions. Your taste and editing software may change long after the trip ends.
Account for the work afterward
RAW files need compatible software and an export before they’re ready for many sharing tasks. Lightroom is one option; you should test your preferred editor with files from your camera before departure.
Don’t assume every RAW file is the same size. Some cameras offer compressed or smaller RAW options. Canon’s guide to image file types also describes in-camera RAW processing on compatible EOS models, which can let you create a shareable JPEG without opening a laptop.
RAW plus JPEG gives you two ways home
Many cameras can save both formats for each exposure. You get an immediately usable JPEG and a RAW file for images that deserve more attention later.
This setting is useful for a trip with unpredictable light and limited editing time. You can send a market photo from the train, then work on a backlit portrait after returning home. The cost is simple: each shutter press creates two files.
Before relying on dual capture, check how your camera handles two card slots. Some bodies can put RAW on one card and JPEG on another; others can duplicate files across cards. Those arrangements solve different problems. Separating formats does not give you two complete backups if either card goes missing.
Also check transfer behavior. Your phone app may import the JPEG, a preview, or a converted version rather than the original RAW. Open one transferred file at home and inspect its format before building a travel routine around the app.
Storage and backup matter more with RAW
Larger files make planning necessary, especially when a trip includes video, panoramas, or long shooting days. Don’t estimate capacity from a card’s advertised photo count alone.
Measure your own shooting volume
Photograph a normal hour at home. Divide the resulting folder size by the number of images, then multiply by a realistic daily shot count and the length of your trip. Leave extra room for unusually busy days.
For example, a photographer who averages 30 MB per capture and takes 300 photos a day creates about 9 GB daily before video or duplicate JPEGs. Over ten days, that’s about 90 GB. Your camera’s actual files, not this example, should guide the cards and drive you pack.
Keep copies you can verify
At night, copy the card to a dated trip folder, such as 2026-09-14_Paris, and make another copy on a separate drive. Open several full-size files from the copy before treating the transfer as complete. When possible, keep the original card until you have two confirmed copies.
Separate those copies in transit. Two cards inside one stolen camera bag share the same risk. Cloud storage can help, but hotel Wi-Fi may be slow, and a visible photo preview doesn’t prove the full RAW original uploaded. Check what the service actually stores.
Set up your camera before departure
Choose settings based on the photographs you expect to make, then test the whole path from shutter to finished file. One evening at home can reveal a file compatibility problem that would be frustrating on the road.
If you’re undecided, try RAW plus JPEG for a weekend. Photograph daylight streets, an indoor scene, and a high-contrast view. Compare the camera JPEGs with edited RAW exports at normal viewing size, then note how long the edits took. The answer should come from your own pictures.
Keep the rest of the setup familiar. If aperture priority and Auto ISO already help you react to changing light, retain them. A usable shutter speed matters more than extra editing latitude when someone steps into the frame. Likewise, a white-balance preset can preserve the warmth of evening lamps when you’re shooting JPEG.
Key takeaways for choosing a format
- Shoot JPEG when you like your camera’s finished look and want small, shareable files with little editing.
- Pick RAW for difficult light, planned edits, or photographs you may want to reinterpret later.
- Save both when you need quick sharing now and an editable original for selected frames.
- Whichever setting you choose, test transfers and backup capacity before your first travel day.
FAQ
Does RAW always produce a better travel photo?
No. RAW gives you more editing latitude, but a well-exposed JPEG can look better than an untouched RAW export. Timing, focus, light, and your camera’s processing all affect the finished image. If you rarely edit, shooting RAW alone may leave you with files you never turn into photos you share.
Can I edit a JPEG in Lightroom?
Yes. You can adjust exposure, color, cropping, and other settings. The limitation is how far you can push those changes before the image looks degraded. Small adjustments often work well. For large white-balance corrections or extensive shadow recovery, a RAW original is generally more forgiving.
Should I shoot RAW on my phone when traveling?
Try it if your phone offers a RAW option and you plan to edit the result. Expect larger files and check whether your backup service stores the original. For quick messages, maps, and everyday snapshots, the phone’s processed image is usually easier to use. Test both on a scene with bright sky and dark foreground.
Make the choice before the light changes
A file format should fit the evenings you’ll have after the photographs are taken. Choose the editing room you need, then make sure you have space and a reliable way to keep the files.
Before packing, photograph one bright window and one shaded street near home. Save both formats, open the files on your usual device, and keep the setting whose results you’ll want to work with after a long travel day.
