
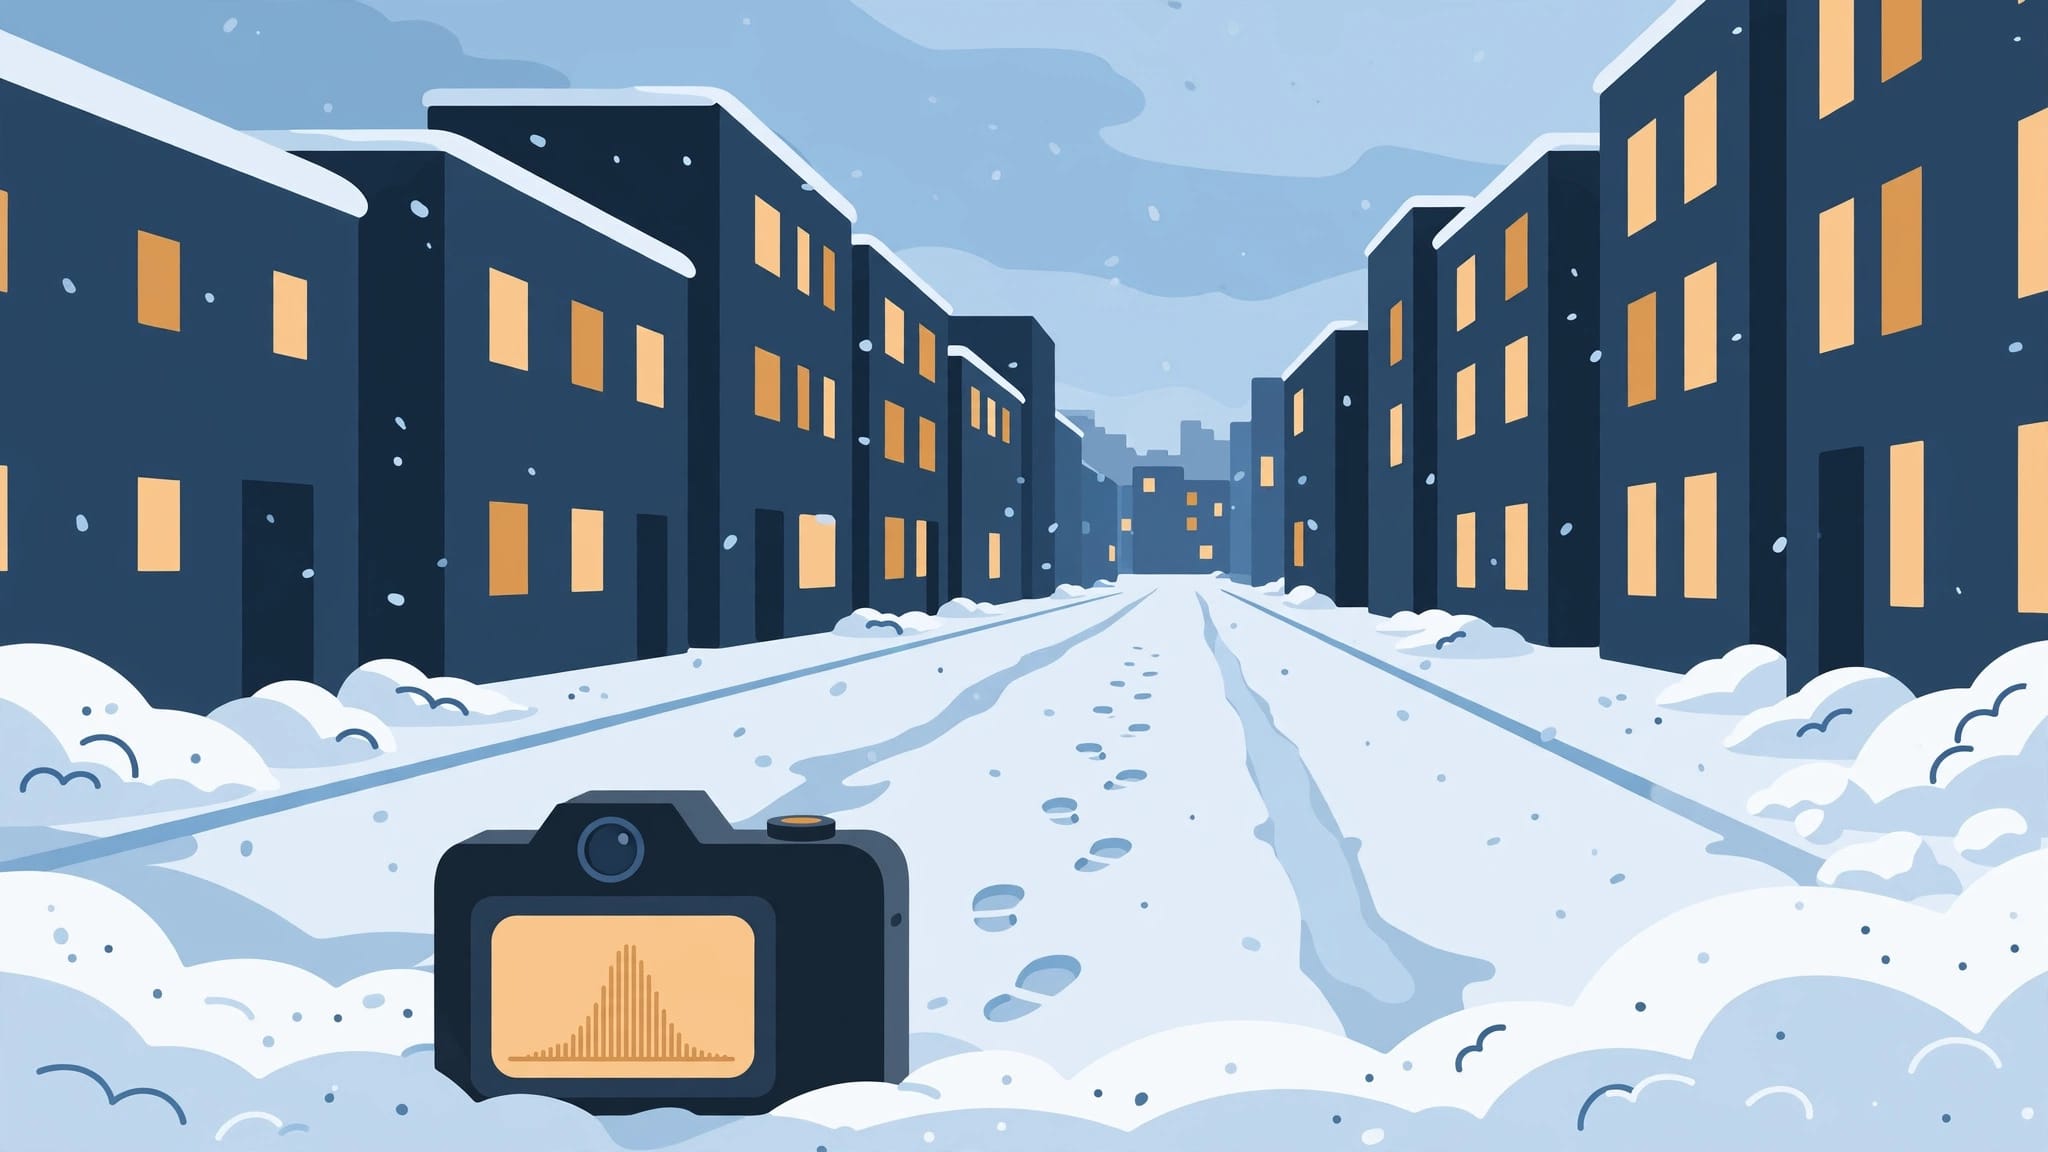
Snow can turn a familiar street into a photograph, then disappear into blank white patches in your file. Good snow photography depends on keeping highlight detail while giving the scene enough exposure to feel bright.
Your camera’s meter offers a starting point, but dark buildings can push its recommendation in the wrong direction. A histogram helps you judge the result before the moment passes.
Start by separating snow that should hold texture from bright reflections you can afford to lose.
Why Snow Photography Confuses Your Camera Meter
Why white snow sometimes looks gray
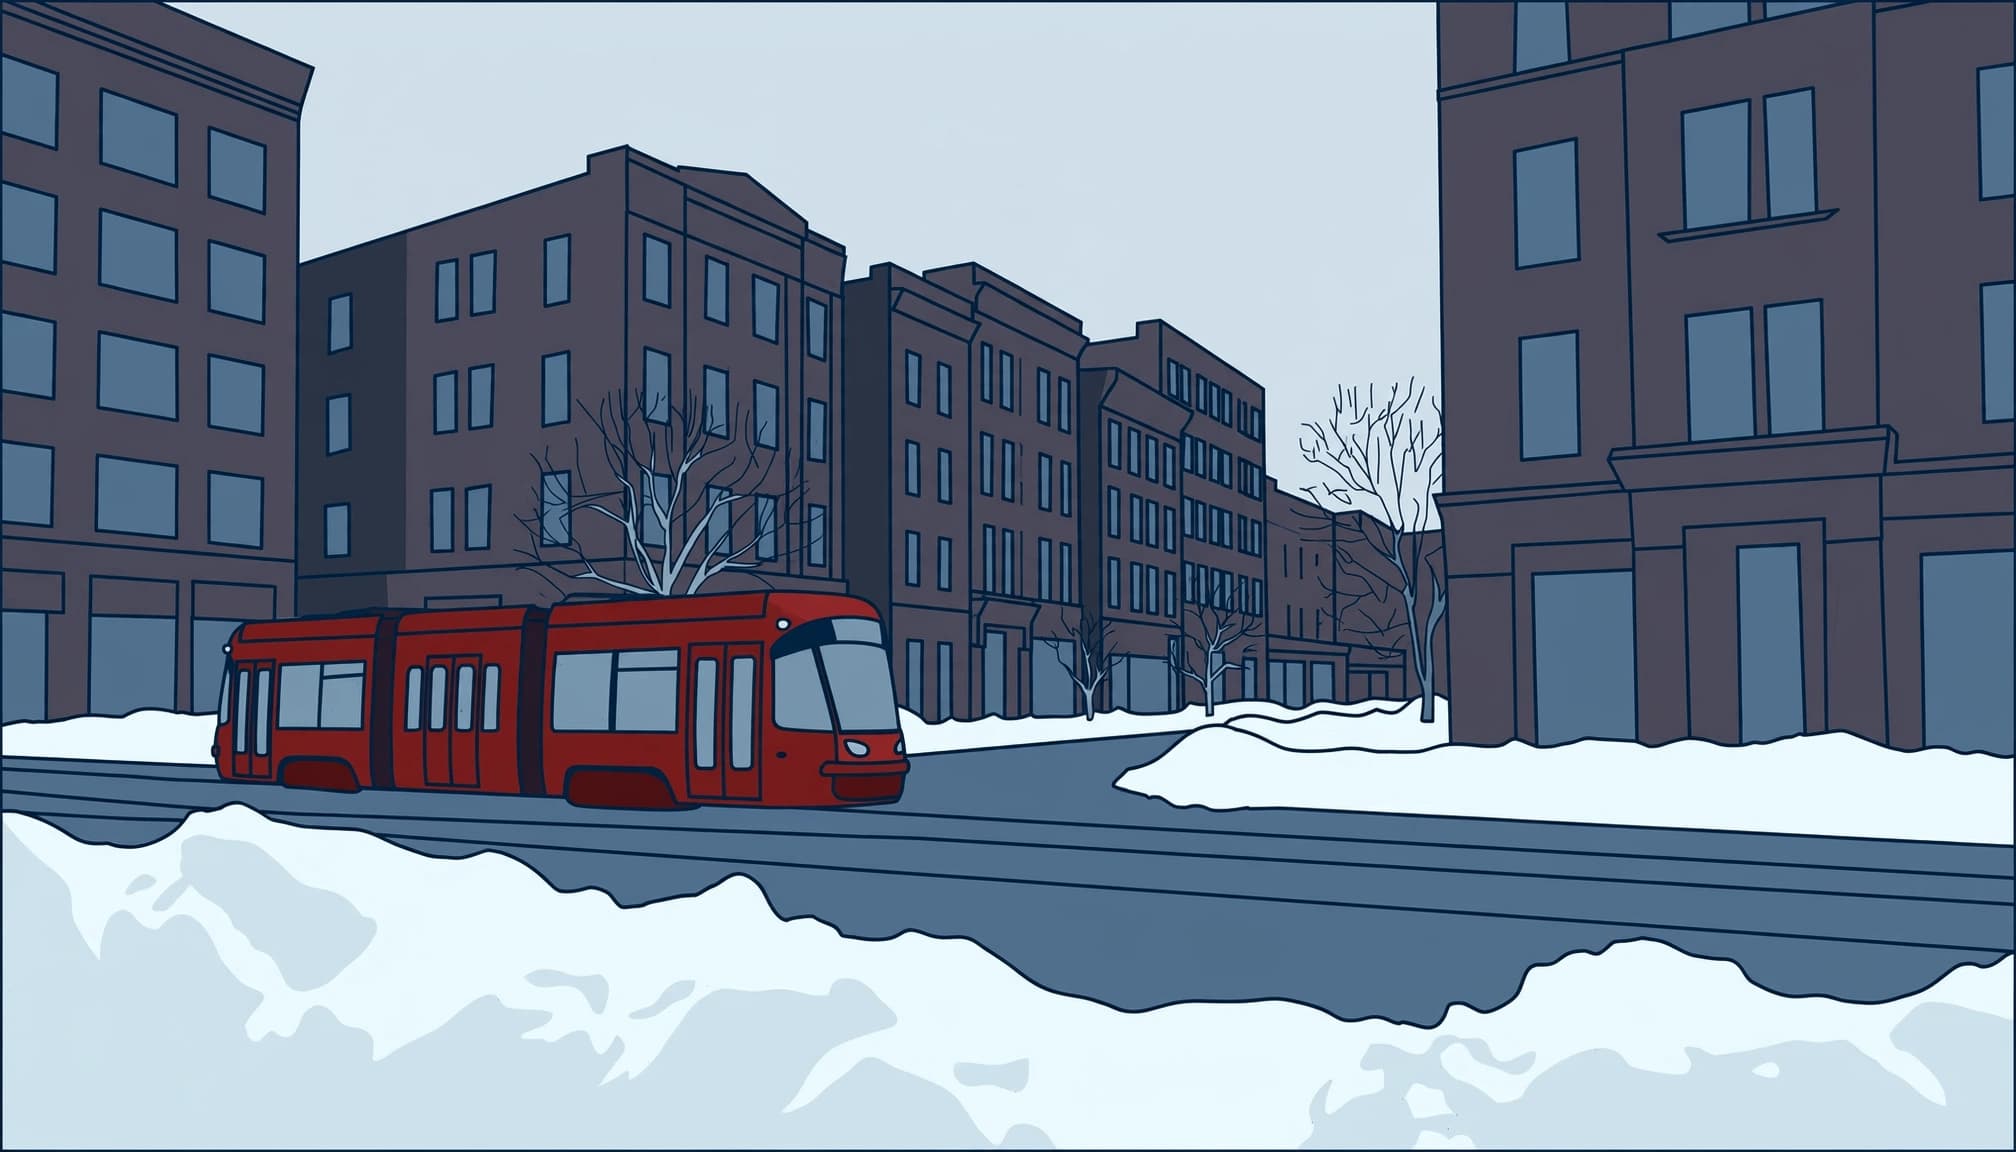
Your camera measures reflected light without knowing that the pavement is covered in white snow. When snow dominates the frame, automatic exposure often makes it darker than you intended.
That explains the familiar dull-gray winter photograph. Adding exposure can restore the brightness, provided you haven’t already clipped the lightest areas.
White snow still needs texture. Look for shallow footprints or wind-shaped ridges rather than judging brightness alone.
Why city buildings can reverse the problem
Urban scenes complicate the usual advice to increase exposure for snow. A dark facade occupying most of your composition may persuade the meter to brighten everything.
When you frame a snow-covered sidewalk beneath a dark brick facade, the camera can brighten the picture to suit the building and erase the delicate ridges left by footsteps along the curb.
As a result, the same street may need positive compensation in one composition and negative compensation in another. Recheck exposure whenever you change the proportion of snow to buildings.
The important measurement is the brightness of the snow you want to preserve, not whether the meter reads zero.
Start With Settings That Leave Room to Adjust
Use exposure compensation deliberately
Aperture priority is a practical starting mode for daylight city scenes. Choose roughly f/8 when you want buildings and the street reasonably sharp.
If snow fills most of the frame and looks too dark, try +2/3 to +1 stop of exposure compensation. Then inspect the histogram instead of treating that adjustment as a rule.
Conversely, reduce exposure if textured snow starts flashing in the highlight warning. Work in 1/3-stop steps.
Canon’s exposure compensation guide explains how this control changes the camera’s automatic exposure. In manual mode with fixed ISO, adjust shutter speed or aperture directly; compensation generally won’t change the captured brightness.
Keep moving subjects sharp
For walking pedestrians, start around 1/250 second. Faster trams or cyclists may need 1/500 second or faster, depending on their speed and direction.
Image stabilization reduces camera shake, but it doesn’t freeze a moving person. Raise ISO when necessary rather than accepting accidental motion blur.
These starting settings cover common winter street situations.
| Scene | Starting setup | Main adjustment |
|---|---|---|
| Daylight architecture | ISO 100, f/8, aperture priority | Adjust exposure for snow texture |
| Walking pedestrians | f/5.6, 1/250 second, Auto ISO | Increase shutter speed if needed |
| Static blue-hour scene | ISO 100, f/8, tripod | Set shutter speed from the histogram |
The exposure check matters more than copying the numbers. Also, confirm your camera supports exposure compensation with your chosen Auto ISO mode.
Read the Histogram Where the Snow Matters
Look for meaningful highlight clipping
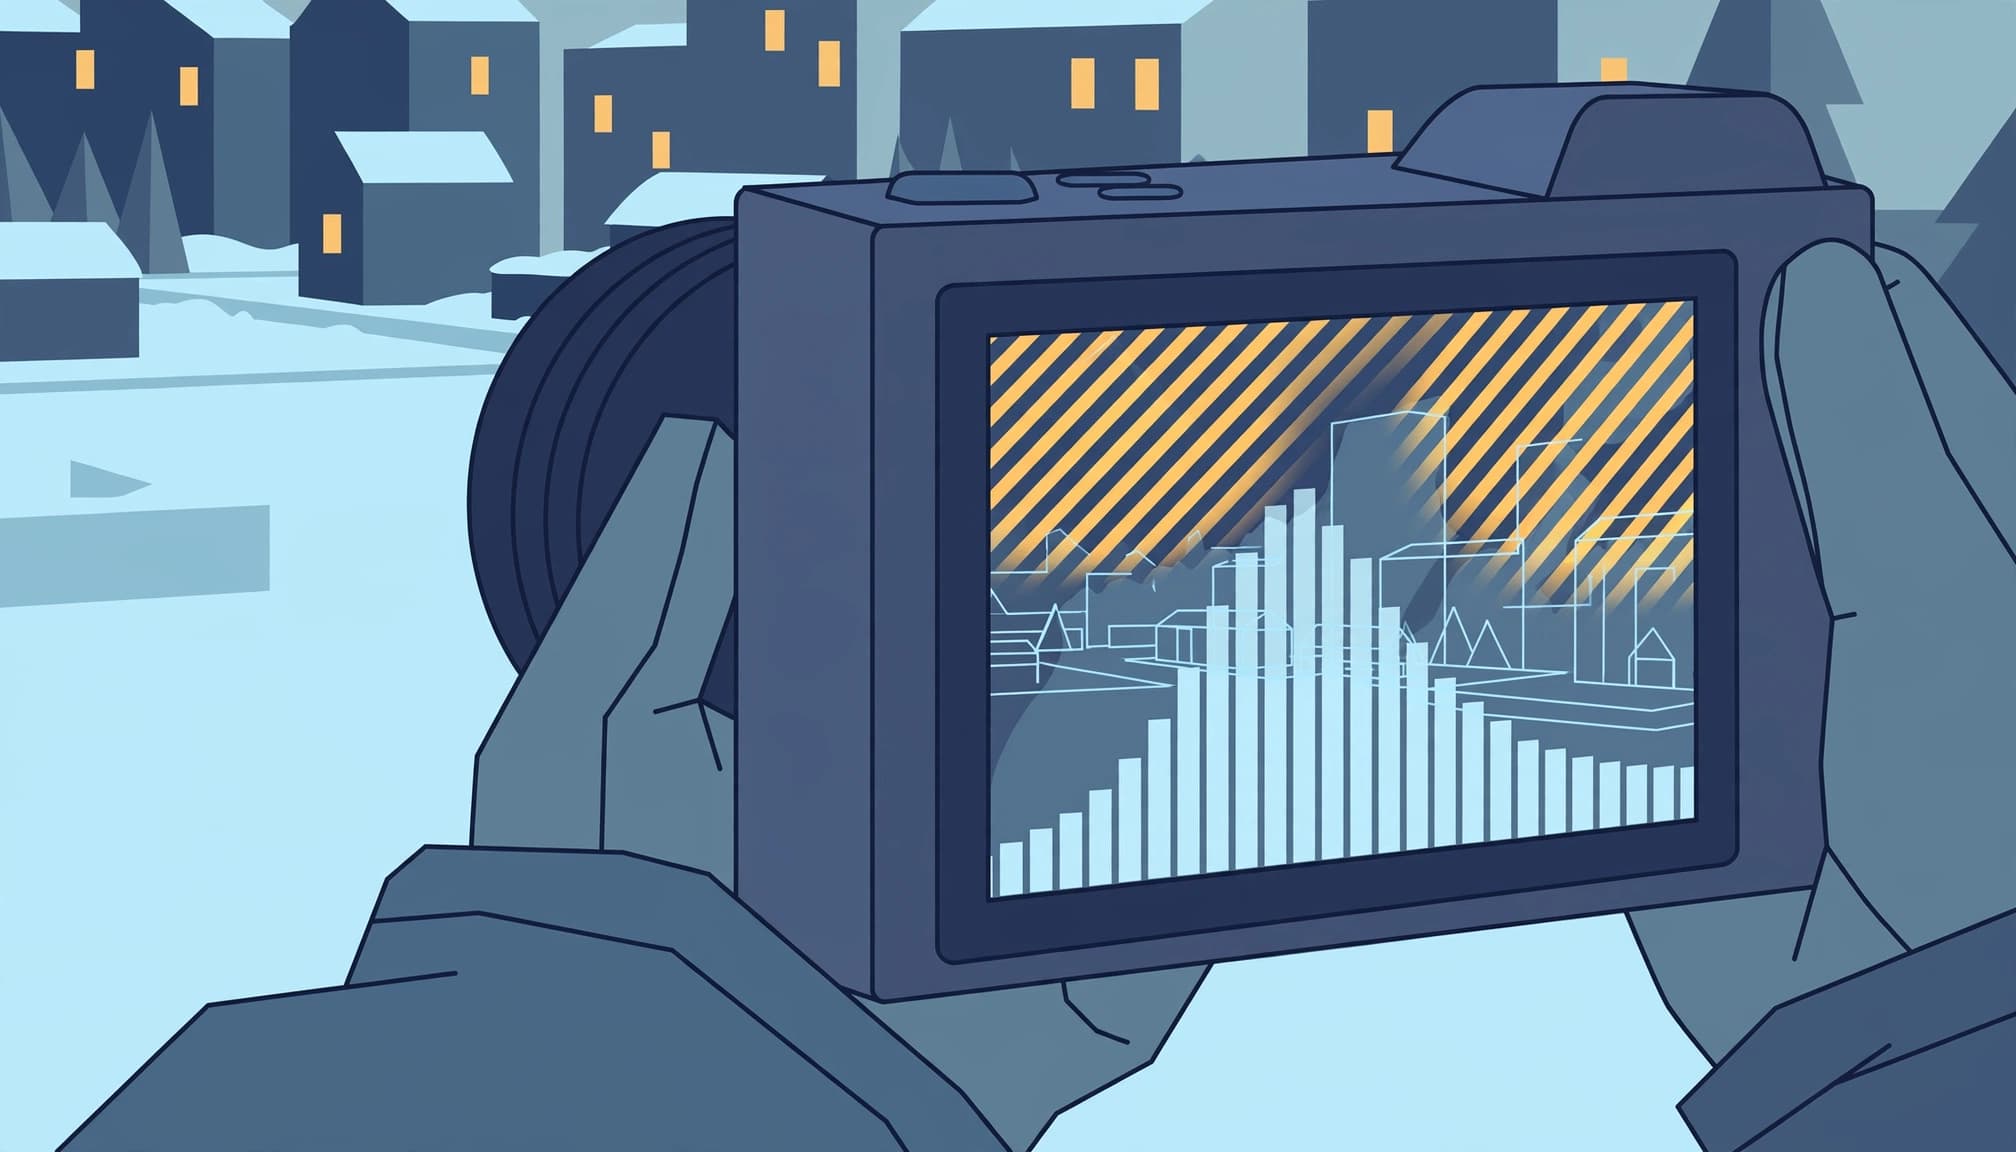
A histogram places dark tones on the left and bright tones on the right. Bright snow should usually occupy the right-hand portion, although its exact position depends on the light.
A heavy pileup against the right edge can indicate clipped highlights. However, the graph doesn’t tell you where those pixels sit.
Turn on playback highlight warnings, sometimes called blinkies, and locate the flashing areas. Canon’s guide to camera histograms covers brightness and RGB displays.
Use the RGB histogram when available because a single color channel can clip before the combined brightness display makes the problem obvious.
Accept small reflections when necessary
A tiny glint on ice or the center of a streetlamp may reasonably clip. A broad snowbank containing your foreground detail deserves more protection.
Expose for textured snow you want to keep. Saving every lamp filament can leave the street unnecessarily dark.
Camera histograms normally describe the processed preview rather than the untouched RAW data. Picture styles and white balance can therefore affect the warning.
A neutral picture style makes the preview easier to judge, but it doesn’t create a precise RAW clipping meter. Leave a little safety margin when you can’t repeat the shot.
Check again after reframing. Zoom into the brightest meaningful snow and confirm that its surface still has shape.
Handle Sunlit Snow and Mixed Urban Light
Direct sun can create a difficult gap between a bright snowbank and a shaded doorway. First, decide which part of the scene carries the photograph.
If the snow matters most, expose to preserve its texture and accept a darker doorway. For a pedestrian crossing a bright pavement, a clean silhouette can work better than heavily recovered clothing.
Let the coat stay dark.
At dusk, the challenge changes. A narrow band of usable light. Snow may reflect blue skylight while nearby shop windows cast warm patches across it.
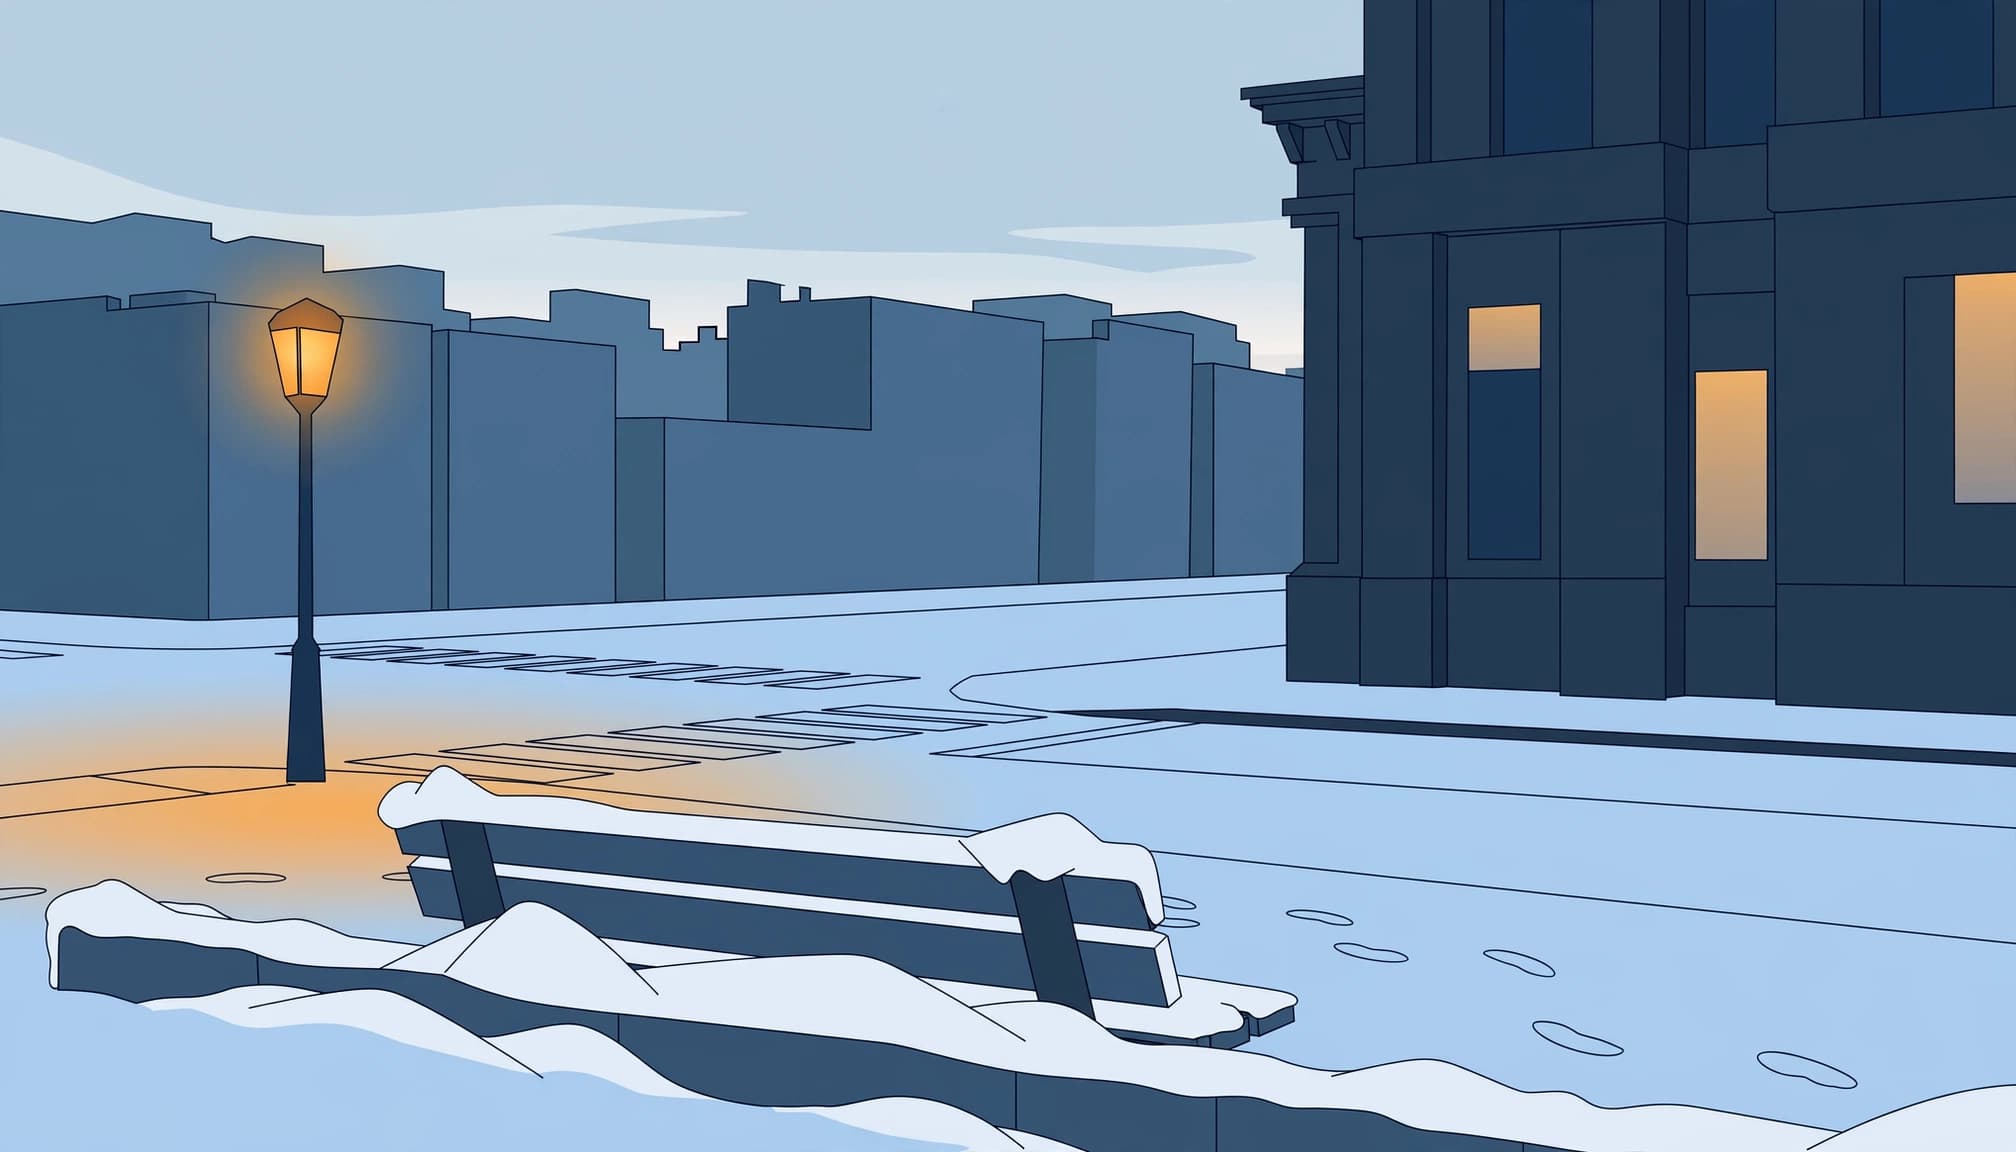
Expose for the snow or illuminated facade that needs detail, rather than insisting on retaining every light source. Also, watch wet pavement because reflections can become brighter than the surrounding snow.
For a static composition with extreme contrast, bracket a darker and brighter exposure alongside your main frame. A tripod keeps them aligned.
Nikon’s HDR photography guidance describes combining exposures when one frame can’t contain the brightness range. However, moving pedestrians can produce ghosting, so a well-exposed single frame is often simpler for street photography.
Compose First, Then Wait for the Moment
Give bright snow a clear purpose
Fresh snow hides some street clutter, but dirty plowed piles become conspicuous against a clean sidewalk. Move a few steps before committing to the frame.
A dark railing can give a broad white foreground a useful boundary. Side lighting also reveals texture through small shadows, making exposure easier to judge.
Avoid including a bright snow patch solely because it’s there. If it contributes nothing and forces the rest of the picture too dark, tighten the composition.
A 24-70mm zoom is useful here because you can adjust framing without changing lenses in falling snow. Nevertheless, check the histogram after zooming.
Set exposure before the action arrives
For Winter, Fifth Avenue (1893), Alfred Stieglitz waited three hours in a New York snowstorm before making his photograph of a horse-drawn carriage.
That patience has a practical modern equivalent: compose the street and test exposure before a tram or pedestrian enters. You can then watch the subject instead of adjusting settings during the useful second.
If the light remains steady, manual exposure keeps a passing dark coat from changing the camera’s decision. Alternatively, use exposure lock for a short sequence.
Keep the pavement clear while waiting. If someone objects to being photographed, lower the camera and move on.
Edit Snow Without Flattening Its Texture
Check recovery before adding contrast
Shoot RAW when your camera allows it. RAW files offer more flexibility for tonal adjustments than JPEGs, but they can’t restore fully saturated sensor data.
Begin with exposure, then reduce Highlights only enough to bring back meaningful snow detail. Adobe’s Camera Raw adjustment guidance explains the histogram’s highlight and shadow clipping indicators.
When you lower the Highlights slider and the snow remains a smooth white patch with no ridges or footprints, check the original exposure because editing can’t restore detail that every color channel failed to record.
Compare the brightest area with the surrounding snow. Excessive highlight reduction can turn a sunny scene into a dull gray sheet.
If necessary, use a local mask on the snowbank instead of darkening the entire photograph.
Preserve believable winter color
Snow in open shade often looks blue because it reflects skylight. Near a warm shop window, it may look yellow or orange.
Don’t force every patch to neutral white. Choose a white balance that suits the dominant light, then correct distracting casts locally.
For a blue-hour sequence, a fixed setting around 3,600K to 4,200K can be a useful starting point. Adjust it for the actual lamps; that range isn’t a daylight prescription.
Also, avoid using colored slush as your neutral reference. Clean snow under the main light is more useful.
Finally, inspect the photograph at 100 percent. Strong clarity or sharpening can exaggerate gritty snow and create halos along dark rooflines.
Keep the Camera Ready in Cold Weather
Cold reduces usable battery performance, so keep a spare in an inner pocket. Swap batteries before the camera becomes unreliable during a passing subject.
Carry a dry lens cloth separately from anything damp. Check the front element after blowing snow because droplets can create flare around bright lamps.
Before entering a heated cafe, put the camera in a sealed bag while you’re still outside. Leave it closed until the equipment warms toward room temperature to reduce condensation.
A bag with a simple flap also helps you shelter the camera quickly between frames. Weather resistance has limits, so follow your equipment’s guidance rather than treating it as waterproof.
Practice changing exposure compensation with your gloves on before leaving home. On icy streets, secure footing matters more than getting one step closer to a snowbank.
Make a Test Frame Before the Street Gets Busy
On your next snowy walk, choose one composition with a bright sidewalk beside a dark building. Make a test frame, inspect the highlight warning, and adjust exposure until the important snow holds detail.
Then keep that framing steady while you wait for someone to pass. Before lowering the camera, magnify the foreground and check the shallow footprints beside the curb.
