
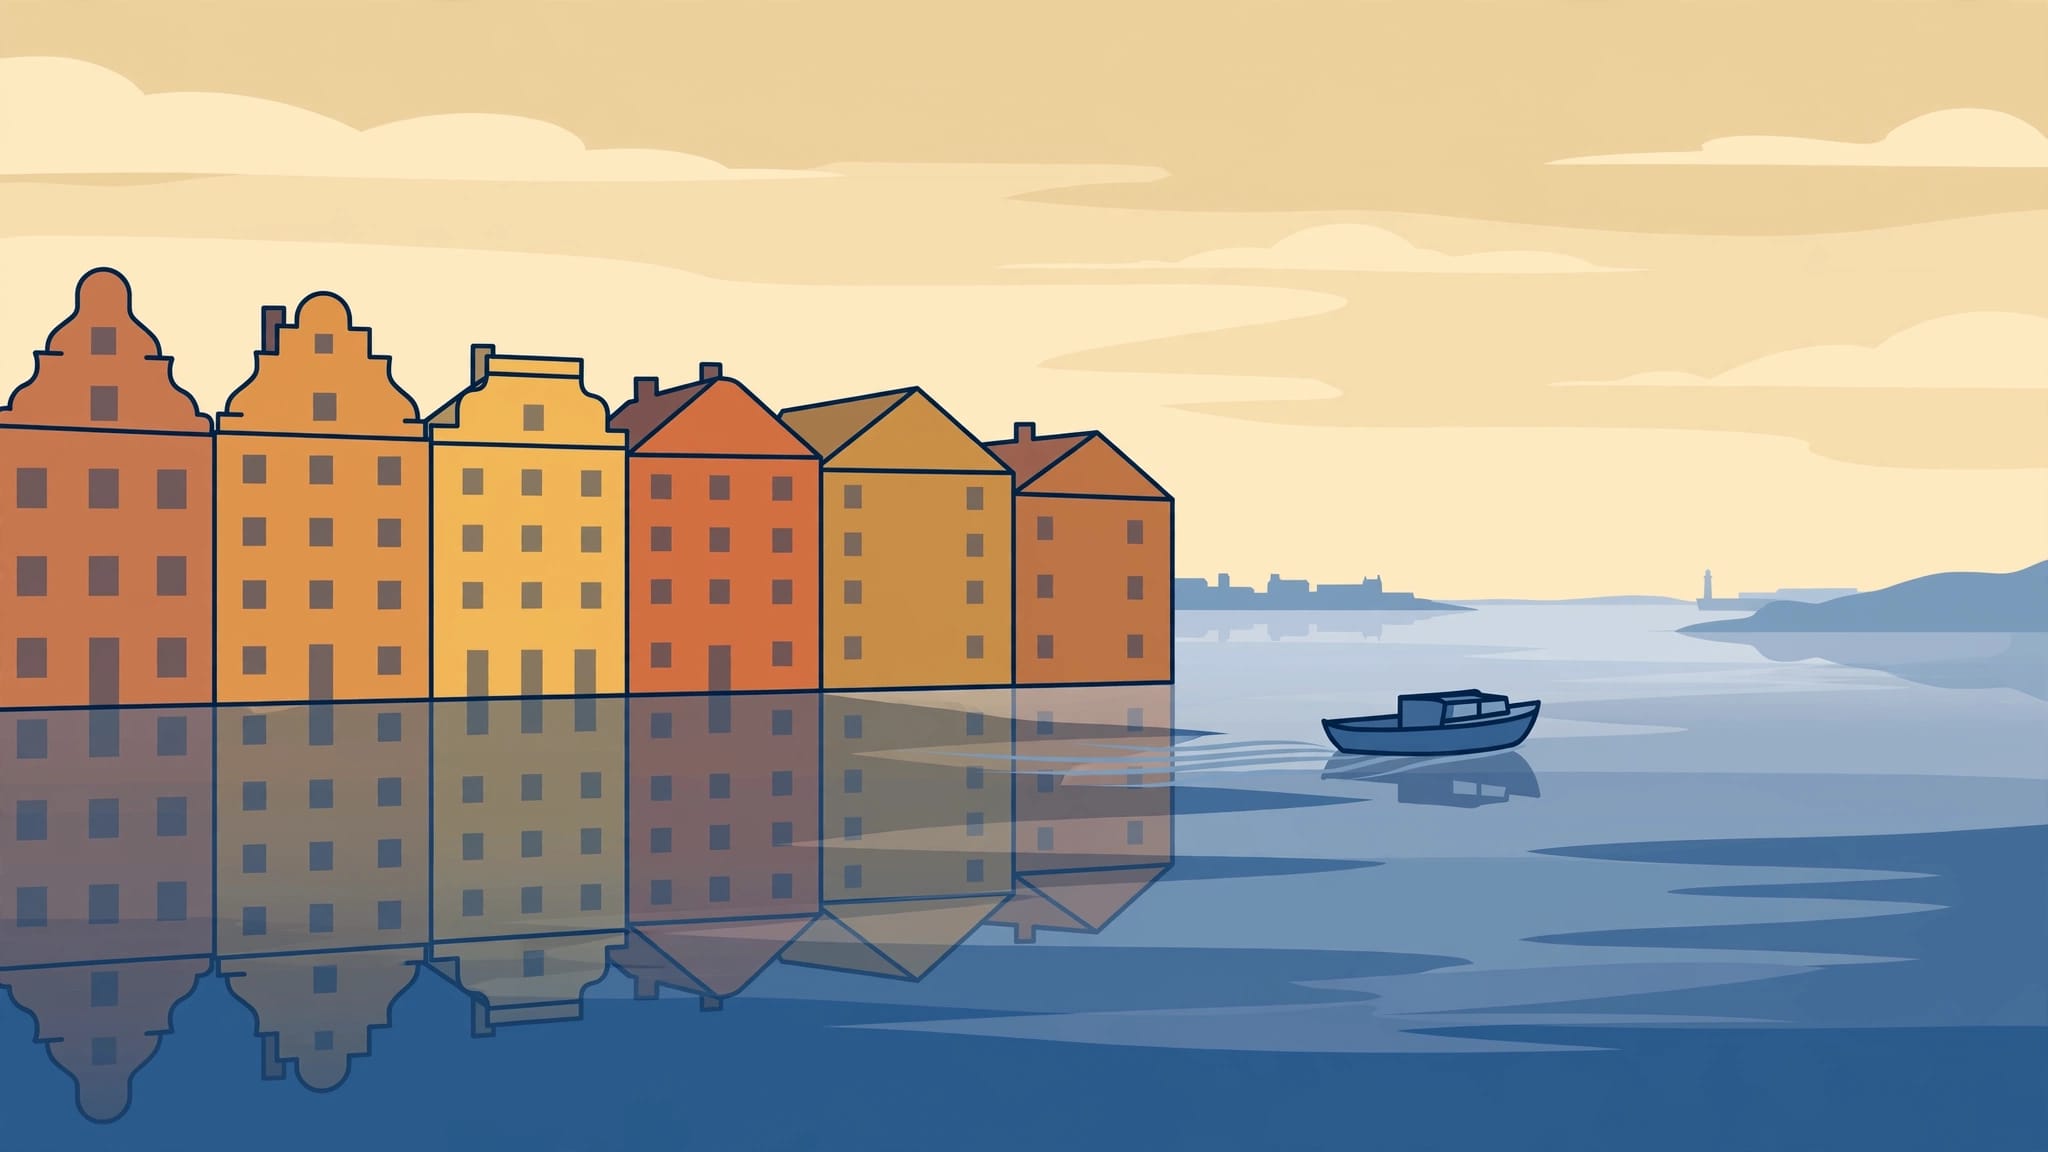
A beautiful Stockholm skyline can disappear into glare if you reach the waterfront at the wrong time. For Stockholm photography, give yourself time to work through Gamla Stan’s shaded lanes, then move toward open water as the light softens.
You don’t need to carry heavy equipment, but you do need room to wait when clouds or passing boats change the scene. Start by choosing the light you want, then build your walk around it.
Plan Stockholm photography around seasonal light
Stockholm’s northern latitude makes timing unusually important. Summer evenings stretch late, while winter gives you a much shorter working day. Check sunrise and sunset for your travel date rather than borrowing a schedule from another season.
Morning light and quieter streets
Go early for uncluttered compositions. Stortorget and the main shopping streets become busier as the day develops, although deliveries can still interrupt an early session.
Morning also gives you space to photograph doorways without standing in someone’s path. However, narrow lanes may remain shaded after sunrise because nearby buildings block the sun.
Before committing to a sunrise location, check where the sun will rise on your travel date, because a waterfront that receives direct light in June may look quite different during an October visit.
Don’t leave immediately when a square looks flat. Reflected light from a pale wall can brighten the opposite facade without producing harsh shadows.
Long summer evenings and shorter winter days
Around midsummer, Stockholm has roughly 18 hours of daylight. That makes dawn photography an early start, while an evening session can run well beyond dinner.
Winter daylight falls to roughly six hours near the solstice. Low sun can give buildings strong shape, but exposed waterfronts become uncomfortable in wind.
Golden hour isn’t a fixed hour. Cloud cover and street orientation decide how much useful warm light reaches your subject. Carry thin gloves in colder months so you can adjust settings without leaving your fingers exposed.
Photograph Gamla Stan beyond the postcard view
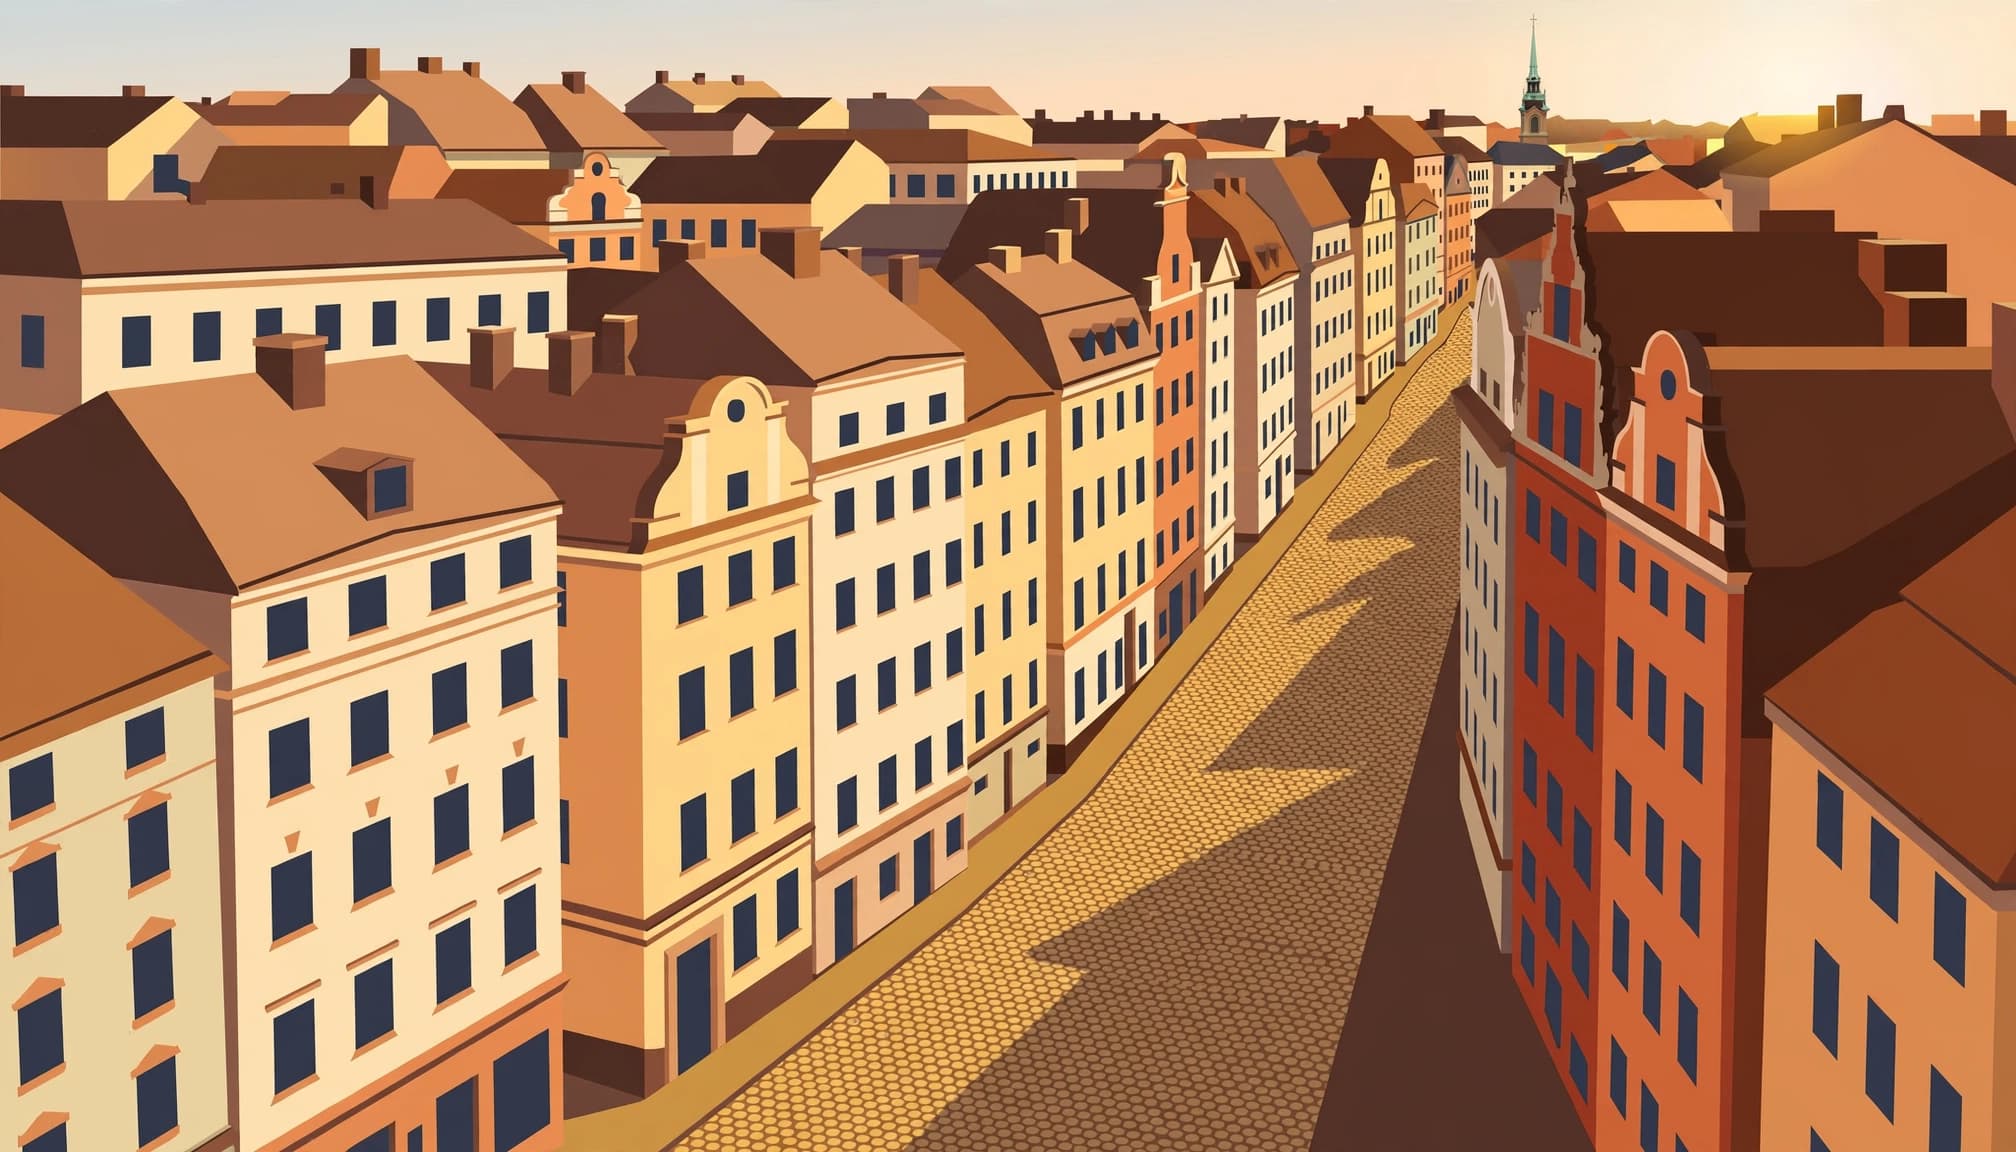
Gamla Stan rewards both wide architectural pictures and close observation. Visit Stockholm’s guide to Gamla Stan attractions helps place its major landmarks within a compact walking area.
Stortorget: separate the facades
At Stortorget, photograph the red and yellow buildings straight on before trying a wider square view. A moderate focal length reduces the stretched edges that appear when you stand close with an ultrawide lens.
Keep the camera level. If the roofline doesn’t fit, step back when space allows rather than tilting sharply upward.
The square has a grim story beneath its cheerful colors. In November 1520, King Christian II’s coronation celebrations were followed by executions remembered as the Stockholm Bloodbath. Spend a moment observing the square before photographing it as a colorful backdrop.
Prästgatan and Mårten Trotzigs gränd
Prästgatan offers close-set walls and cobbles that work well under soft cloud. Use the street’s bend to suggest depth, then check that signs don’t crowd the edges.
Mårten Trotzigs gränd is famously narrow. Photograph its steps and converging walls when the passage is clear, but move aside immediately for anyone using it.
A 35mm-equivalent view often gives enough context without exaggerating the space. For details, tighten toward 50mm and look for worn stone or changing plaster color.
Wet cobbles can become a second subject. A church tower in a shallow puddle. Lower the camera carefully, keeping the reflected shape separate from busy paving.
Choose waterfront views by direction

Stockholm photography changes when you cross to another shore. Open water gives you room to isolate towers, but the same freedom also exposes your lens to glare.
Skeppsholmen and Strandvägen
From Skeppsholmen’s western waterfront, look back toward Gamla Stan across the water. Walk along the shore until the towers separate instead of overlapping.
Skeppsholmsbron offers foreground lines, although bridge traffic can interrupt a carefully arranged frame. Avoid placing a decorative railing so prominently that it competes with the skyline.
Strandvägen gives you a different subject: waterfront facades and moored vessels. Walk beyond the first obvious viewpoint. A modest telephoto can isolate a building, while a wider view can include a boat as a foreground anchor.
Monteliusvägen and Riddarholmen
Monteliusvägen, on Södermalm, overlooks Riddarfjärden toward City Hall and Riddarholmen. It works well when you want height without entering a tower.
Visit Stockholm’s guide to scenic viewpoints includes elevated locations for planning a skyline session. At Monteliusvägen, avoid trying to fit every landmark into one photograph. Give one tower enough sky around it to read clearly.
For a lower viewpoint, explore Riddarholmen’s waterfront. Position City Hall across the water, then decide whether a quay edge adds depth or simply fills the foreground.
Check wind before committing to reflections. A sheltered position may have calmer water, but passing vessels can still break the surface.
Let reflections keep their texture
Perfectly still water is useful, but it isn’t essential. Small ripples stretch window light into broken bands that can be more expressive than a precise mirror image.
Start with a composition that works without a reflection. Then include enough water to show how the building interacts with the surface.
For a symmetrical image, place the horizon near the middle deliberately. Otherwise, shift it away from the center so either the skyline or the reflection has more space.
A polarizing filter can remove the reflection you came to photograph. Rotate it slowly before deciding whether reduced glare improves the picture.
When a ferry passes, keep watching after it leaves. Its wake may create a stronger pattern than the boat itself.
You can also vary shutter speed. A short exposure preserves ripples, while several seconds soften them. Very long exposures can erase the movement that made the harbor interesting.
After rain, smaller reflections offer an alternative to open water. Look along the cobbles near a building’s base, but avoid kneeling in doorways or stepping into the road for a lower angle.
Camera settings for shade and blue hour
A familiar camera matters more than an elaborate kit. One standard zoom, such as a 24-70mm, covers most street compositions and waterfront views.
A phone works too, especially if you can lower exposure and hold it steady.
Keep people sharp in shaded lanes
For static architecture, start around f/5.6 to f/8 and adjust ISO to maintain a comfortable handheld shutter speed. These are starting points, not rules for every camera.
When people enter the frame, aim near 1/250 second if you want ordinary walking movement reasonably sharp. Image stabilization helps with camera shake, but it doesn’t freeze a pedestrian.
Shoot RAW when available, and check highlight warnings where bright sky appears beyond dark buildings. Expose to protect important highlights without pushing the street into unnecessary darkness.
Balance lamps with the evening sky
At blue hour, a tripod gives you more control over ISO and exposure length. Use a two-second timer so pressing the shutter doesn’t disturb the camera.
Because bridges can vibrate when people cross them, make a second exposure after the foot traffic clears, then compare the fine detail around distant windows rather than judging sharpness from the small preview alone.
Don’t force a long exposure when a boat is your main subject. Raise ISO instead.
For phone photography, brace against a stable support without leaning over a waterfront barrier. Night mode suits stationary buildings better than moving vessels.
Build a walk with time to stop
An afternoon route can connect the Old Town with open water without requiring a ferry. Visit Stockholm’s one-day walking itinerary gives broader sightseeing context, but photography needs a slower pace.
Use this sequence as a flexible route:
- Begin at Gamla Stan station, then walk toward Prästgatan for shaded street scenes.
- Continue to Stortorget, staying long enough to try both a facade study and a wider composition.
- Head toward Slottsbacken and Skeppsbron as the light begins to soften.
- Continue via Strömbron and the waterfront toward Skeppsholmsbron, then explore Skeppsholmen’s western shore.
Avoid assigning an exact shooting time to every stop. A cloud break or an unexpectedly quiet lane can justify staying longer.
If sunset approaches while you’re still in Gamla Stan, simplify the plan. Skeppsbron itself offers water-facing compositions, so you don’t have to reach another island to finish the session.
For Monteliusvägen, plan a separate outing rather than adding it to this route at the last minute. The viewpoint lies across the city center from Skeppsholmen, and rushing between them costs observation time.
Allow time to return before you put the camera away. Familiar streets often look different once shop lights appear.
Work respectfully, then edit with restraint
Gamla Stan is a lived-in neighborhood. Ask before making a close portrait, and don’t photograph through residential windows.
Wait for natural spacing in wider street scenes rather than directing strangers. Keep entrances clear, especially in narrow passages.
A tripod also needs room. Set it up where pedestrians can pass comfortably, and follow posted restrictions or staff directions inside churches and other attractions.
Bring a microfiber cloth. Rain droplets on the front element become obvious around bright lamps, while a simple rain cover helps during a sudden shower.
In cold weather, let your camera warm gradually inside a closed bag before using it in a heated café. That reduces condensation on cold equipment.
During editing, lower highlights before lifting shadows. Correct leaning verticals carefully, leaving enough room for the crop.
Blue-hour photographs don’t need electric-blue skies or intensely orange windows. Keep the color contrast close to what you saw, and resist removing every trace of darkness from the scene.
Finally, inspect reflective glass before sharing street photographs. A small face that went unnoticed on location may be identifiable on a larger screen.
Finish With One Waterfront Frame
Before leaving Skeppsholmen, choose one position and watch the water for a few minutes. Make a frame while the surface is broken, then another after the wake spreads out.
Keep the composition fixed so you can see what changed. Let the final photograph hold the thin reflection beneath Riddarholmen Church’s spire.
