
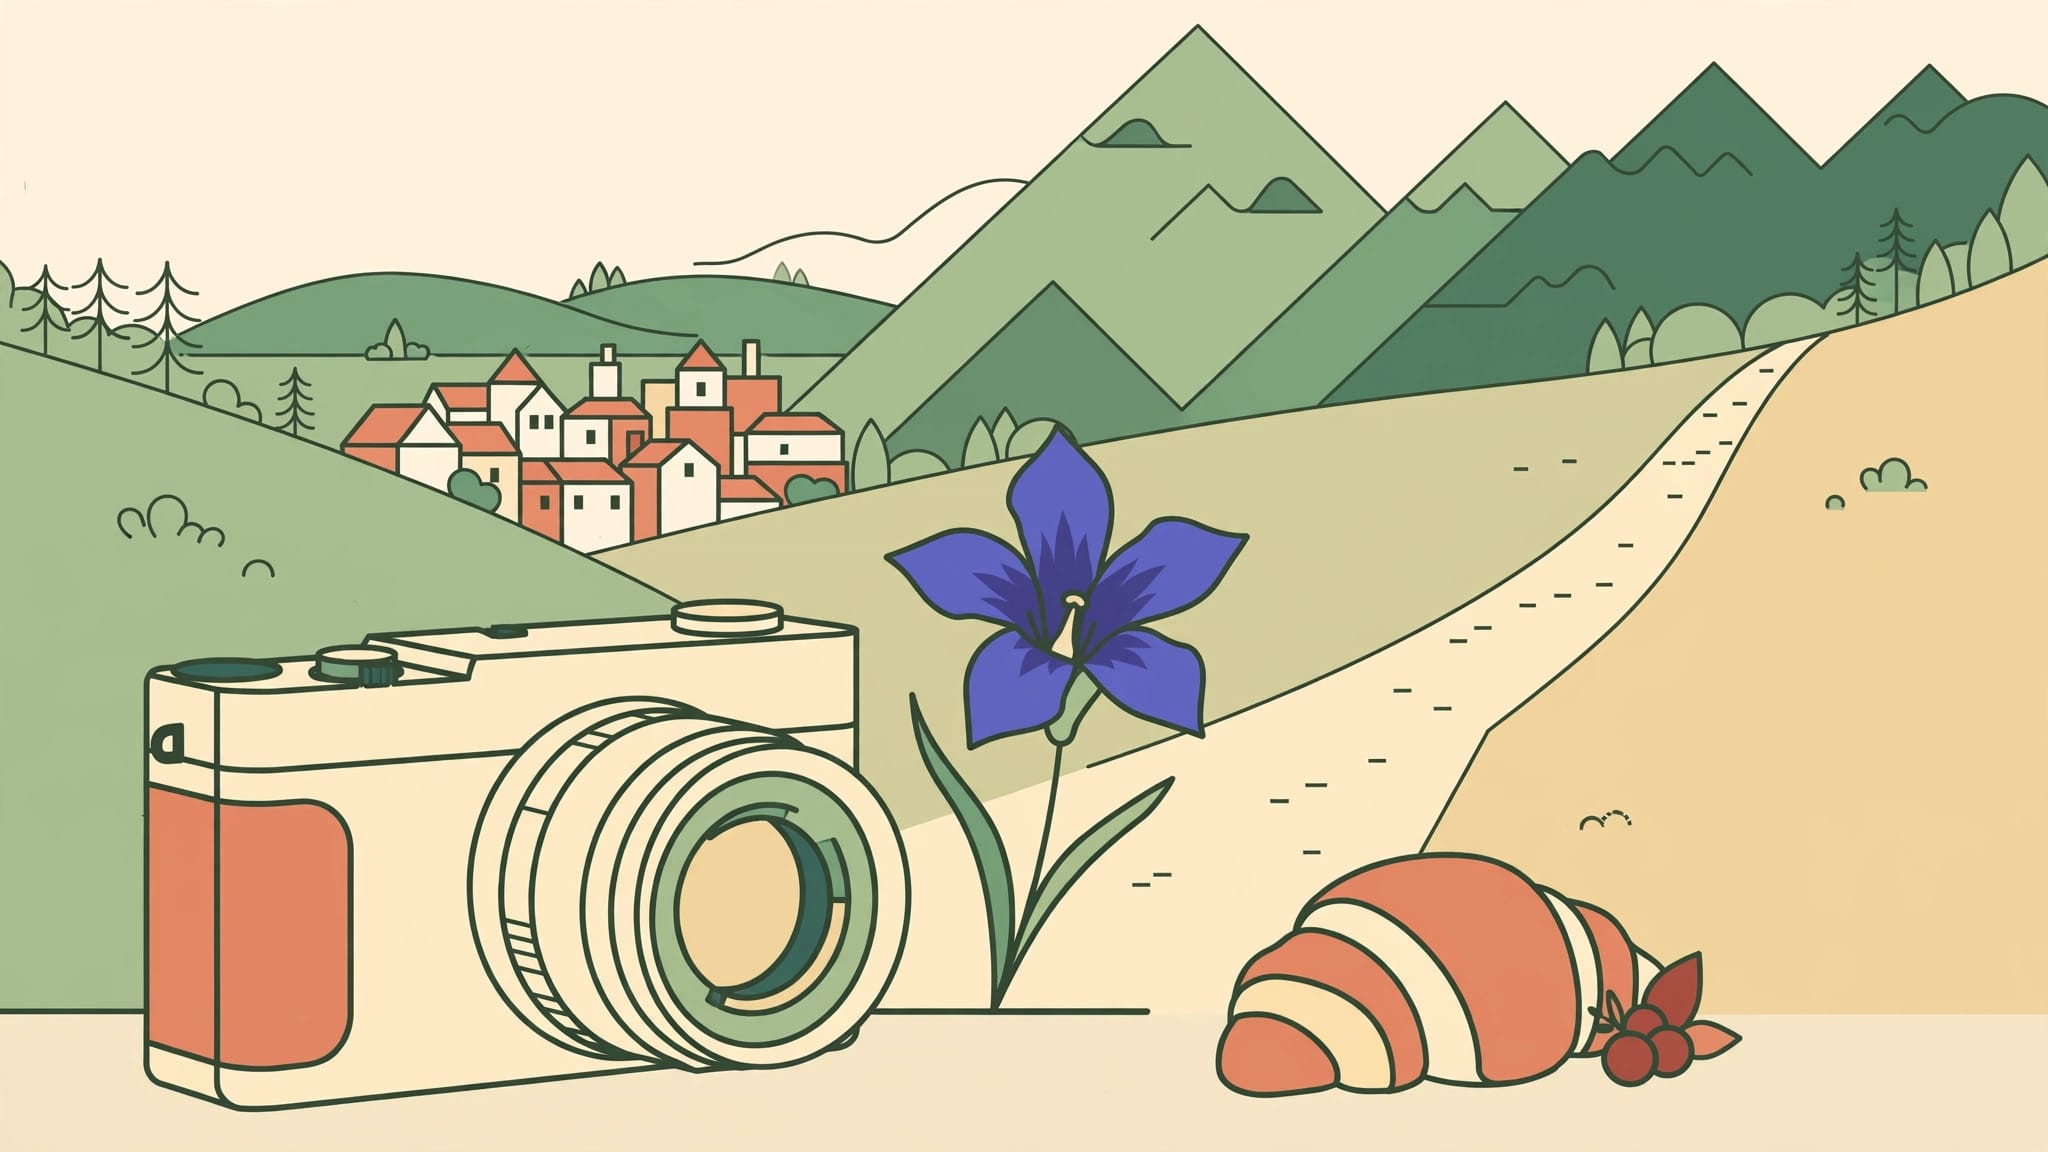
The macro lens you leave in your hotel won’t photograph the flower beside the trail. The best macro lenses for European travel photography balance carry weight with the close-up capability you’ll use.
Your camera mount narrows the choice first; your subjects decide whether you need life-size magnification or simply better close focusing. A compact lens can handle pastry details without earning a place on an insect-focused trip.
Start with how you’ll carry it.
Choosing Macro Lenses for European Travel
Match the mount before comparing weight
Mount compatibility comes first. Sony E, Nikon Z, Canon RF, Fujifilm X, and Micro Four Thirds lenses aren’t interchangeable without restrictions.
Also check sensor coverage. A Sony FE lens covers full-frame and works on Sony APS-C bodies, although its angle of view becomes narrower. Fujifilm’s XF 30mm is designed for X-mount APS-C cameras.
Don’t change systems to save a few grams on one lens. Compare the complete setup, including your camera and any necessary adapter. A compact native lens usually makes packing simpler.
Give the macro lens a clear job
If your itinerary mixes crowded city walks with occasional garden visits, keep a standard zoom as your main lens and add a compact macro only when those close-up photographs justify carrying a second lens all afternoon.
Thomas Berger’s April 2026 budget travel guide describes an Alfama climb in Lisbon: his companion paused to adjust a heavy full-frame kit while Berger, carrying a lighter setup, photographed a yellow tram rounding a corner.
That experience applies to macro equipment, too. Carry the specialist lens for planned close-up sessions, rather than changing lenses whenever a small detail appears.
Compact Macro Lenses Compared
These four options offer documented weights and close-up magnification.
| Lens | Camera mount | Weight | Maximum magnification |
|---|---|---|---|
| Sony FE 50mm f/2.8 Macro | Sony E | 236g | 1:1 |
| Fujifilm XF 30mm f/2.8 R LM WR Macro | Fujifilm X | 195g | 1:1 |
| Canon RF 35mm f/1.8 Macro IS STM | Canon RF | Approximately 305g | 0.5× |
| OM System M.Zuiko Digital ED 60mm f/2.8 Macro | Micro Four Thirds | 185g | 1:1 |
The Sony FE 50mm specifications confirm its 236g weight. However, the lightest lens isn’t automatically the best match for your subjects.
1:1 magnification means life-size reproduction on the sensor. Canon’s 0.5× maximum gives half life-size reproduction, which is often enough for food and larger flowers.
Sony and Nikon: Normal-Angle Macro Options
Sony FE 50mm f/2.8 Macro
For Sony travelers who want genuine macro capability without a heavy lens, the FE 50mm f/2.8 Macro is a sensible shortlist choice. Its 50mm view also works for everyday details on full-frame cameras.
Sony specifies life-size macro reproduction and a 0.16m minimum focusing distance. Remember that this distance starts at the sensor plane, not the front of the lens.
Choose it for deliberate close-ups and ordinary travel scenes. On APS-C, its tighter framing suits isolated details, but feels more restrictive across a small cafe table.
NIKKOR Z MC 50mm f/2.8
Nikon Z owners should consider the NIKKOR Z MC 50mm f/2.8 before adding an adapted DSLR macro. A native lens keeps the setup simpler.
Its normal-angle role makes it relevant for travelers who want to alternate between close details and broader everyday photographs. However, check Nikon’s current weight and magnification specifications before comparing it directly with the documented options above.
For insect photography, test the space between the lens and subject at your intended magnification. The focal-length label alone won’t tell you whether that distance feels comfortable.
Fujifilm and Micro Four Thirds: The Lightweight Picks
Fujifilm XF 30mm f/2.8 R LM WR Macro
At 195g, Fujifilm’s XF 30mm is appealing when bag space matters. It reaches 1:1 magnification while retaining a useful everyday angle of view on X-mount cameras.
The compromise appears at maximum magnification. Fujifilm gives a 0.1m minimum focusing distance from the focal plane, but only 1.2cm from the front element to the closest detail.
That’s extremely close. It can work for stationary subjects, but makes lighting awkward and leaves little room around an insect.
Choose it for flower details and tabletop textures when you can control your position. Don’t buy it for shy insects without trying that close working distance.
OM System M.Zuiko Digital ED 60mm f/2.8 Macro
The 185g M.Zuiko 60mm is the lightest lens in this comparison. It offers 1:1 magnification on Micro Four Thirds and a 0.19m minimum focusing distance.
Its narrower angle of view helps isolate small subjects without including much surrounding scenery. However, minimum focusing distance still doesn’t reveal the exact lens-to-subject clearance.
OM System describes the lens as dust- and splashproof. That protection is useful outdoors, although your camera body must also suit the conditions.
It’s a strong choice for Micro Four Thirds travelers planning dedicated flower or insect sessions, especially when a standard zoom already handles the rest of the trip.
Canon RF 35mm: Best for Food and Everyday Details
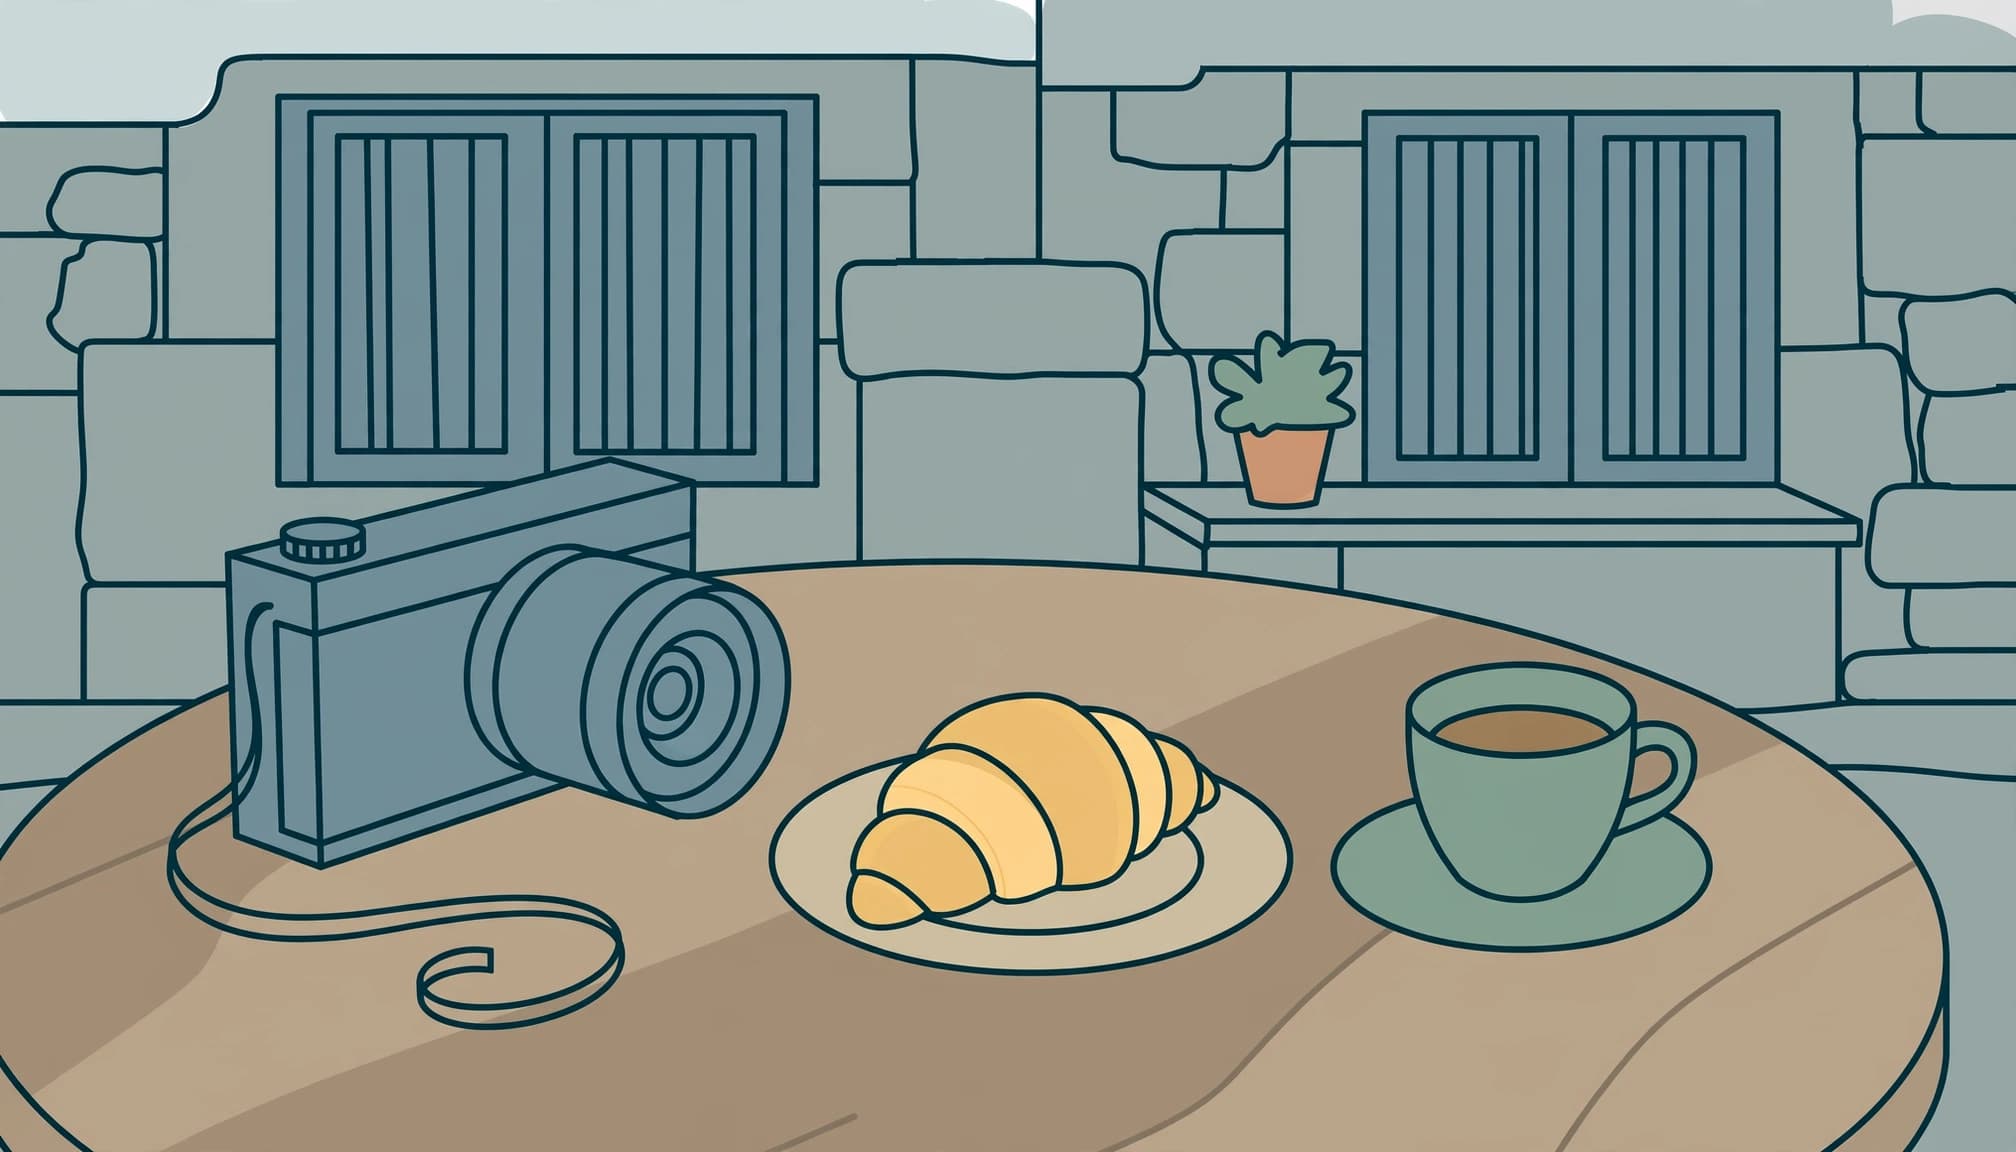
Breakfast crumbs in window light. They make an easy subject for Canon’s RF 35mm f/1.8 Macro IS STM.
At approximately 305g, it combines a useful full-frame street-photography view with 0.5× magnification. Its 0.17m minimum focusing distance lets you move close to food or decorative details.
The Canon RF 35mm product information describes its close-up and everyday uses. Its f/1.8 maximum aperture also makes it more useful after dark than an f/2.8 macro, although close-up depth of field remains thin.
Canon advertises optical stabilization of up to five stops. Treat that as a rated capability, not a promise at every magnification.
Choose this lens when close-ups share the itinerary with evening street photography. For tiny insects filling the frame, its half life-size limit makes a dedicated 1:1 macro more appropriate.
On Canon APS-C bodies, the view is tighter, so test your preferred food framing before departure.
Working Distance and Stabilization Matter More Up Close
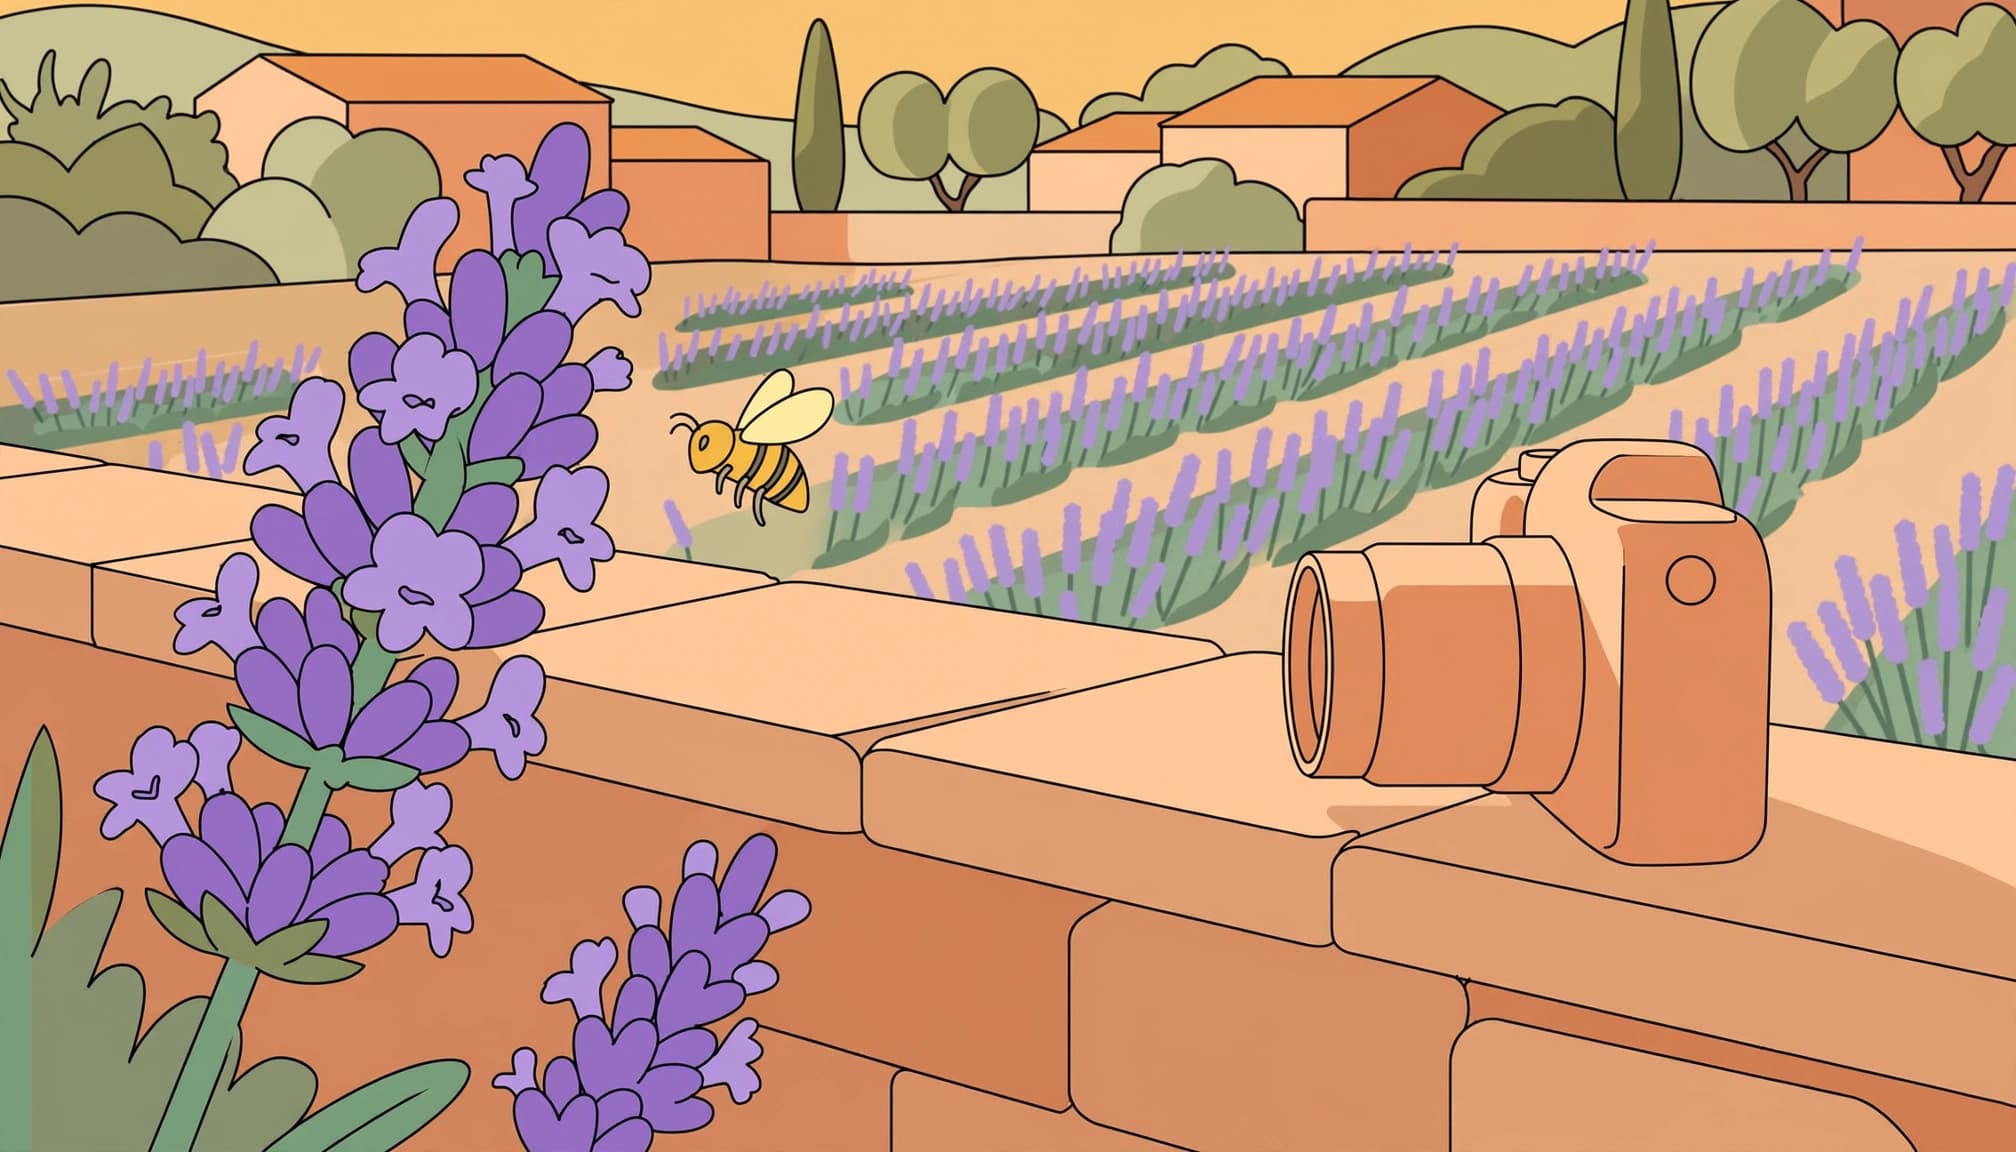
Measure the space in front of the lens
Minimum focusing distance measures the gap between the subject and the camera’s sensor plane. Working distance measures the usable space in front of the lens.
That distinction matters when a lens barrel blocks light or approaches an insect. Fujifilm’s 1.2cm front-element clearance demonstrates why a headline focusing distance can mislead.
A 0.1m minimum focusing distance doesn’t mean you have 10cm of space in front of the lens.
Test with the hood attached if you expect to use it. Also check whether the barrel extends during focusing. Longer focal lengths alone aren’t enough to calculate usable clearance.
Check stabilization on the whole setup
Check the camera, too. Some setups depend on in-body stabilization, while others combine body and lens systems.
For Sony and Fujifilm, confirm stabilization support for your exact camera-and-lens pairing rather than assuming it from the camera brand. Then test it at close range.
Stabilization reduces camera movement, but it doesn’t stop a flower swaying or a bee turning. Wind changes everything.
For moving subjects, prioritize shutter speed. Meanwhile, steady food photographs can benefit from support and slower exposures. At high magnification, tiny forward movements can shift focus even when the image looks steady.
Buying for Value Without Overpacking
Compare regional prices carefully
Fujifilm’s Finland e-shop listed the XF 30mm at €749 on a page updated October 2, 2026. OM System’s UK manufacturer listings showed the 60mm at £449, with one also stating a £499 recommended retail price.
Those are regional listings, not Europe-wide averages. Compare prices in your purchasing country, including any shipping charges.
Value also depends on overlap. A Canon RF 35mm can replace another everyday prime, whereas a dedicated macro may be an additional purchase. Count what stays home as well as what enters the bag.
Test used lenses at close range
Used equipment can reduce the cost of adding macro capability, but a distant test photograph isn’t enough. Examine the lens and confirm a usable return policy.
Next, photograph a coin or printed detail near the lens’s closest focusing distance. Check accurate focus, then repeat with a subject farther away.
Inspect the results at full size. Also confirm that controls and lens contacts work reliably.
For Sony E or Nikon Z, an older adapted macro may look cheaper initially. Include the adapter’s cost and bulk before deciding whether that saving suits a walking trip.
Make Close-Up Sessions Fit Your Itinerary
A macro lens earns its place when you give it time. Plan a short garden session rather than attempting insect photographs while companions wait on a crowded path.
For spring flowers, keep the route flexible. Bloom timing shifts with weather and elevation, so arriving on a fixed date doesn’t guarantee the subjects you expected.
At a cafe, begin with a wider photograph before moving close. You’ll often prefer a frame showing the plate rather than maximum magnification.
For stationary subjects, start around f/5.6 to f/8 and inspect the result. Adjust for the depth you need instead of assuming the smallest aperture will look sharpest.
Use magnified live view to place focus accurately. When an insect moves, a short burst can help catch the right plane of focus.
Stay on permitted paths, and leave flowers where they grow. Move the camera or wait for a calmer moment rather than handling the subject.
Choose Before You Pack
Try the lens on your camera before departure, with the bag you’ll carry on foot. Walk with it long enough to notice whether the extra weight changes your willingness to stop.
Then make a close-up under ordinary window light. Check the working distance with the hood fitted and focus on the ridged edge of a one-euro coin.
