

A cathedral facade can look perfect on your screen, then turn into a blank white patch in the saved photo. These camera settings help control exposure, protect bright detail, and keep shutter speed fast enough for street life.
For most city breaks, start with the main camera, default resolution, and automatic settings. Adjust only when the scene needs it. Menu names and features vary by phone model, so check your options before departure and spend less time opening menus beside a passing Lisbon tram.
Key Takeaways
- Start with the main camera at 1x, default resolution, and automatic settings. Use preset lenses when they suit the scene, and avoid arbitrary digital zoom.
- Choose 4:3 to use the full sensor, switch on gridlines and level guides, and leave extra space around tall buildings.
- Tap to focus and check bright surfaces for lost detail. Use exposure compensation when needed, HDR for high-contrast scenes, and night mode for still subjects.
- Use Pro mode when you need control over motion or consistent colour. Choose a fast enough shutter speed for moving people, and return to automatic mode after the shot.
- Use HEIC for everyday photos and RAW when you plan to edit difficult light. Practise the camera controls before your trip and check saved photos for highlight detail.
1. Start with the main camera and default resolution
Clean the lens first. Use a soft, lint-free microfibre cloth, especially after drizzle or sea spray, and don’t apply liquid cleaners directly to the phone.
Choose 1x before reaching for zoom
Open Camera in Photo mode and tap 1x. This usually selects the main camera, which has the strongest sensor and performs better after sunset than the ultra-wide camera.
Pinching often crops and enlarges the image, reducing detail. Instead, move closer where it’s safe, or use preset lens buttons. Choose 0.5x for a cramped courtyard and a genuine telephoto setting for distant architectural details.
However, a 2x button doesn’t always mean optical zoom. Some phones use a sensor crop, which can still outperform arbitrary digital enlargement.
Leave maximum megapixels for bright, static scenes
Keep the default resolution. The Nothing Phone (3a), for example, has a sensor with 50 megapixels but normally produces roughly 12MP images.
Although higher megapixels can record more detail in strong daylight, these modes often bypass the pixel binning that helps lower-resolution settings control noise. They aren’t a reliable upgrade for dim churches or evening streets.
On Samsung, the resolution selector sits among the camera controls. On supported iPhones, avoid enabling HEIF Max or RAW Max for every shot.
2. Choose HEIC for everyday photos, RAW format for editing
File format affects storage and editing flexibility. Neither a higher resolution nor a larger file automatically produces a better-looking photograph.
Use HEIC when convenience matters
On iPhone, open Settings > Camera > Formats > High Efficiency to use HEIF photos, generally saved with a .heic extension.
On supported Samsung phones, look under Camera > Settings > Advanced picture options > High efficiency pictures. Menu names vary by model and software version.
Standard JPEG images are usually 8-bit. HEIF supports 10-bit images and wider-gamut workflows, but a HEIC extension alone doesn’t guarantee either. Its everyday attraction is efficient storage while retaining good image quality.
Choose JPEG when compatibility with older software matters more.
Reserve RAW format for difficult light
The RAW format retains more image information for editing. It’s useful for pale stone against blue sky, or warm cafe interiors with cool window light.
Apple’s ProRAW setup instructions place the switch under Settings > Camera > Formats, on supported models. Enable Apple ProRAW or ProRAW & Resolution Control, then activate RAW in Camera.
On supported Samsung models, open Pro mode and enable RAW copies under its advanced picture settings.
RAW files take more space and usually need editing. Standard Photo mode can produce cleaner handheld results because it applies computational processing automatically.
3. Set 4:3 and switch on gridlines
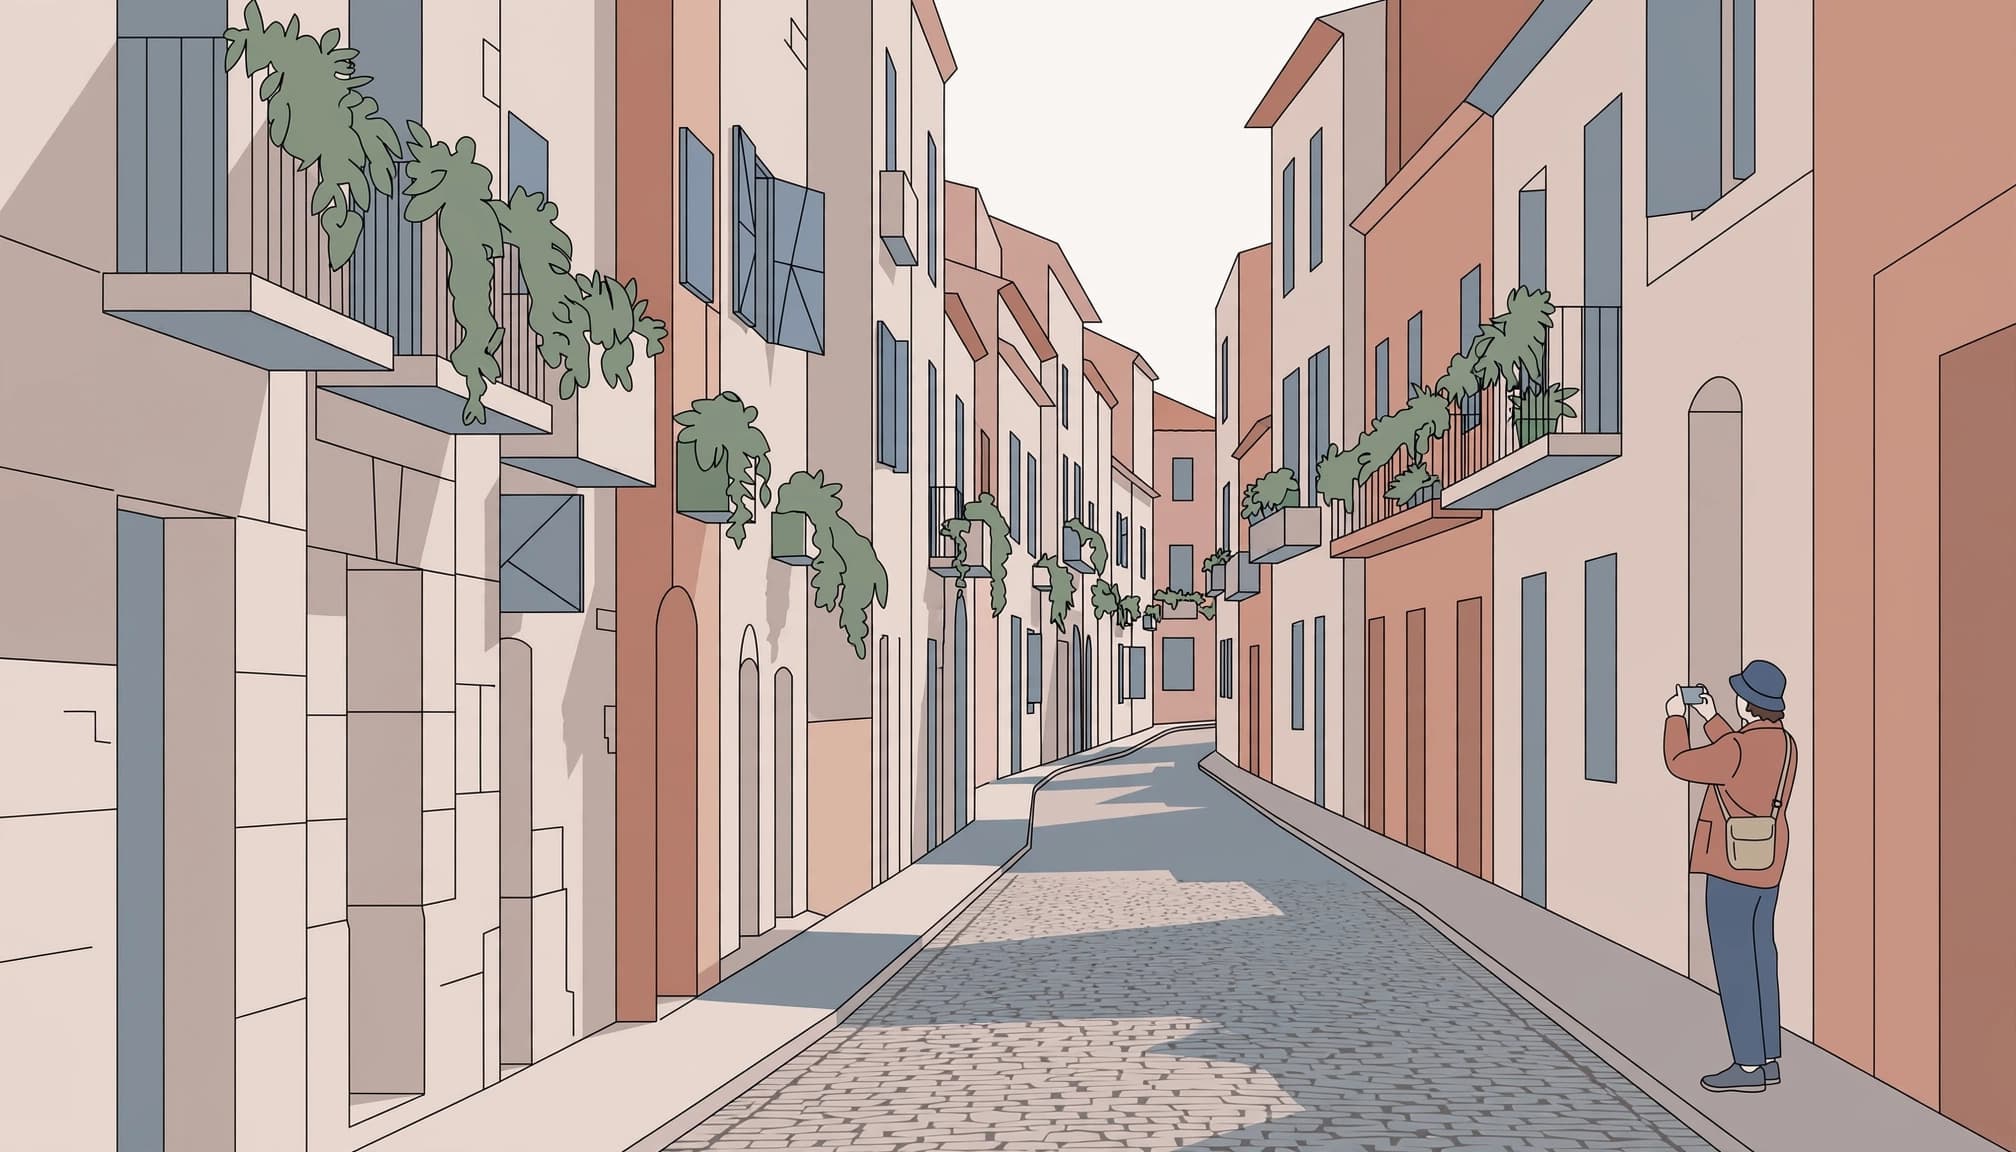
Keep the full frame
Choose 4:3 from the aspect-ratio control. On iPhone, expand the camera controls and tap the ratio button. On Samsung, tap the ratio selector above the viewfinder.
As DPReview’s camera settings guide explains, 4:3 normally uses the full sensor. A 16:9 image usually crops away part of it.
Leave extra space around towers because correcting tilted verticals later trims the frame. The extra room gives you more flexibility with your composition.
Turn on guides and keep the phone level
On iPhone, open Settings > Camera, then enable Grid and Level.
Samsung’s smartphone photography guidance gives the path Camera > Settings > Gridlines. Newer versions may group guides under a composition setting.
Use the guides to check composition and keep the phone level as you frame. Place an off-centre subject near a grid intersection, using the rule of thirds as one option. Symmetrical entrances often suit central framing.
Keep the phone upright rather than tilting sharply upward, and tap to focus on your subject. Check the background for poles appearing behind someone’s head.
4. Tap to focus and protect bright highlights
Tap the subject before shooting. For architecture, choose a detailed edge rather than an empty patch of sky.
On iPhone, drag the sun icon down to darken the photo or up to brighten it. Touch and hold to activate AE/AF Lock when you want consistent settings across several frames.
On Android, tap the viewfinder and adjust the brightness slider or +/- control. The symbol differs between camera apps.
For Brussels’ Grand-Place after rain, set exposure for the illuminated facade and preserve the texture in the sunlit stone. Avoid lifting the dark cobbles so far that noise becomes distracting.
If your app provides numerical exposure compensation, try -0.3 EV first. Move toward -1 EV only when bright surfaces still lose texture.
A bright screen can make an exposure look convincing even when white stone has lost all detail. Inspect the brightest surface, not just the overall image.
Don’t darken every photograph automatically. Deeply underexposed shadows can become noisy when you brighten them later.
5. Use HDR for contrast, night mode for still scenes

Let HDR handle bright skies and shaded streets
HDR combines frames at different exposures to retain detail in bright skies and shaded streets. Use it beneath arcades, at sunset, or for someone against a bright window, where exposure can vary sharply.
Leave automatic HDR enabled when your phone offers it. Controls vary by model, and recent iPhones handle HDR automatically without a separate photography switch.
Moving people can create blending errors, so take another Photo-mode shot if faces or hands look strange. Avoid edits that make historic stone look unnaturally bright.
Save night mode for subjects that stay still
It combines frames over time, so brace your phone and wait for the capture to finish. In low light, iPhone may activate it automatically; Samsung’s Camera > More > Night path can vary by model.
Use it for static buildings, not a cyclist crossing an Amsterdam bridge. A longer capture won’t freeze moving subjects.
For low-light architecture, use the main camera and a stable surface. On iPhone, adjust the available capture duration with the night-mode control.
Leave flash off. It won’t illuminate a distant cathedral and can create reflections in windows.
For a quick street shot or moving person, return to Photo mode or use manual controls with a faster shutter speed.
6. Fine-tune smartphone photography settings in Pro mode
Automatic mode suits most walking days. Use manual mode when you need predictable movement or consistent colour.
Choose shutter speed before forcing low ISO
On Samsung, open Camera > More > Pro. Controls include shutter speed and ISO, alongside white balance and manual focus. Labels and available controls vary by model, and iPhone manual controls depend on the model and camera app.
In bright light, begin around ISO 50 or 100, or the lowest native ISO setting your phone offers. For walking people, try 1/250 second; for a still building, 1/125 second is a reasonable handheld starting point.
When pedestrians matter more than perfectly clean shadows, increase ISO enough to maintain a fast shutter speed rather than forcing a low ISO and accepting blurred faces as people move through the frame.
With stable support, use a slower shutter speed to keep ISO low. Stabilisation can’t prevent subject movement.
Keep white balance consistent in mixed light
Auto white balance can change between frames as you turn toward a shop window or evening sky. Lock it when photographing the same scene repeatedly.
For blue-hour architecture, a daylight preset can retain warm lamps against cooler surroundings. Adjust it if white stone turns excessively orange.
Most phone lenses have fixed apertures, so camera advice involving f/8 usually doesn’t apply. Use exposure controls instead.
After a deliberate manual shot, return to automatic mode before continuing your walk.
7. Add support before buying extra accessories
Stabilise the phone without blocking the street
Hold the phone with both hands and brace your elbows. For static scenes, use a compact tripod or a stable ledge with a short self-timer.
Railings can vibrate when someone leans on them. Wait for the support to settle, especially beside busy canals.
Supported Samsung foldables can use Flex Mode for hands-free framing. Keep walking routes clear.
Thomas Berger’s travel-gear account describes a friend adjusting a heavy full-frame kit on Lisbon’s Alfama steps while Berger photographed a yellow tram with lighter equipment. Extra equipment can slow your response to street scenes.
For walking video, PCMag’s smartphone accessory recommendations include the DJI Osmo Mobile 7P and Insta360 Flow 2 Pro. A gimbal is less useful for ordinary still photographs. The DJI Mic Mini improves recorded audio, not image sharpness.
Install an app only for a missing control
On Android, Open Camera offers manual controls on compatible hardware; ProCam X and Camera FV-5 are other options. Hardware support limits what any app can unlock.
ProShot supports both major platforms. On iPhone, ProCamera and Halide Mark II offer manual shooting tools, while Adobe Project Indigo supports iPhone 13 Pro and newer compatible models.
VSCO is useful for editing and colour treatments. You don’t need several camera apps for one weekend.
Install your chosen app before departure and practise switching back to the native camera. Use it when you need a control the native camera lacks. Also, carry a compact power bank.
FAQ: Food photos and city panoramas
Should I use portrait mode for restaurant food?
Start with ordinary Photo mode, preferably near a window with indirect light. Portrait mode can misread glass rims or cutlery and blur them unevenly.
If the main camera won’t focus close enough, move back slightly. Use a suitable 2x option when there’s enough light. Avoid direct sunlight, which creates harsh shadows across the plate.
How do I stop panoramas bending buildings?
Keep the phone level and rotate slowly, following the on-screen guide. Moving traffic or pedestrians can confuse the stitching.
Take one ordinary photograph too. A panorama can distort a cathedral dome even when the preview looks fine. For a distant skyline, a tighter lens setting may show more architectural detail than an ultra-wide panorama.
Before Your Next City Walk
Give your camera a short practice session before departure. Open it quickly, adjust exposure, then return to your preferred defaults without searching through menus.
Make the final test a highlight test: photograph a sunlit white wall beside a shaded doorway. Enlarge the saved photograph and look for texture in the white paint.
