

A wasted shoot often starts at home. You show up to a “great viewpoint” and find a guardrail, a fence, or a packed parking lot where your foreground should be.
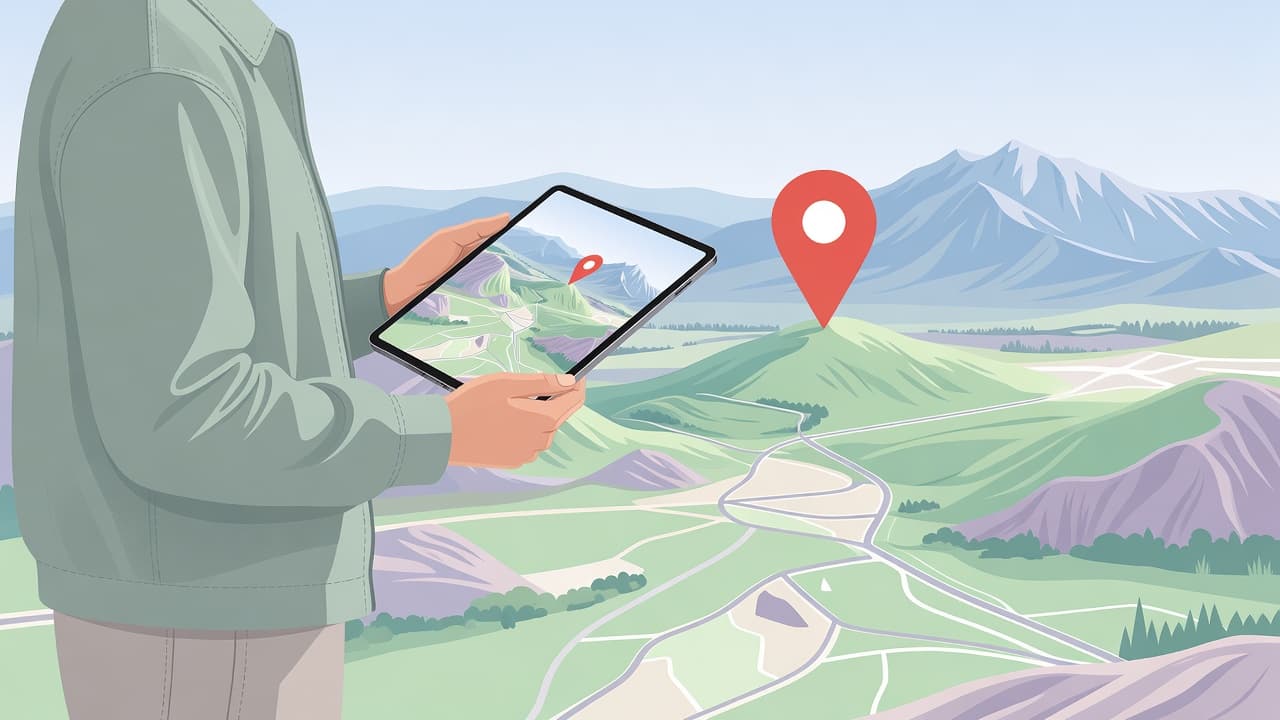
Good Google Maps photo scouting cuts that risk fast. Before you pack batteries or pick a lens, you can check access, angle, clutter, and whether the place still looks worth the drive. Start broad, then get picky.
Start wide, then narrow the map
When you scout photo spots with Google Maps, don’t begin at street level. Start high. Open the area on desktop, switch to satellite view, and look for structure first: coastlines, bends in rivers, ridge lines, trailheads, parking lots, and gaps in tree cover.
That first pass removes weak options fast. A scenic label means little if the road dead-ends at private land or the overlook faces away from the light you want. Maps lie sometimes.
On desktop, you can scan a whole valley in minutes, compare several pullouts on the same road, and notice open edges in forest cover that would be easy to miss while pinching around on a phone screen.
Each map view answers a different question.
| Map view | What to check | Why it matters |
|---|---|---|
| Default map | Roads, trailheads, hours, parking | Confirms basic access |
| Satellite | Shorelines, clearings, rooftops, pullouts | Shows shape and openness |
| Street View | Fences, signs, poles, sidewalk width | Tests the frame at eye level |
| User photos | Season, water level, crowd signs | Reveals current conditions |
Used together, those layers turn a vague region into a short list. If you want a deeper look at custom planning, Photo Cascadia has a practical guide to Google Maps for photographers.
Use Street View to test the frame
Once a pin survives satellite view, open Street View. Look at the place from eye level. Check for guardrails, signs, power lines, retaining walls, parked cars, and whether the foreground you liked from above is blocked by a fence.
Street View helps. A mountain turnout can look generous from overhead and turn out to be a narrow shoulder with no safe place to stand.
Last October, I was planning a sunrise stop above the Columbia River Gorge. Satellite view made one overlook look perfect. Then Street View showed a chest-high rail, tour buses, and trees blocking the east side. I shifted one mile down the road to a smaller pullout, arrived before dawn, and had room for a tripod and a clean view over the river.
Keep clicking forward. One bend in the road can change everything. In older city centers, a single block may add delivery bins, scaffolding, street signs, or parked vans that the overhead view hides.
If you can’t find a place to stand, park, and point the camera, treat the spot as a maybe, not a plan.
Also open the photos attached to the place. Visitor shots show how the location works in real use, not only on a clear day with a wide lens. That matters because a plaza that looks clean on the map can fill with cafe umbrellas, portable barriers, food trucks, and parked bikes, all of which change lens choice and make a simple composition harder.
Read access, light, and timing together
A strong location is more than a pretty shape on the map. Good Google Maps photo scouting also means reading access and light as one problem. The map won’t give exact sun angle, but it will show whether the view faces east or west, whether a ridge blocks sunrise, and whether tall buildings will kill the first light.
Then check the limits around the shot. Look at opening hours, trailhead placement, one-way roads, and recent reviews. Access changes fast. So do conditions.

A review from last week might mention mud, construction, low water, or a locked gate. User photos can show whether spring flowers are already gone or whether snow still covers the pullout. Reviews often mention crowds long before the map does. Crowds ruin clean frames.
Google Maps works better when you pair the visual clue with the travel clue. A cliff-side viewpoint may be beautiful, but if parking is half a mile away and sunset ends with a packed downhill walk in the dark, the shot carries a real cost.
Compare the map with your sunrise or sunset app before you commit. If the horizon is blocked by hills, you may want side light later instead of first light. No parking, no shot.
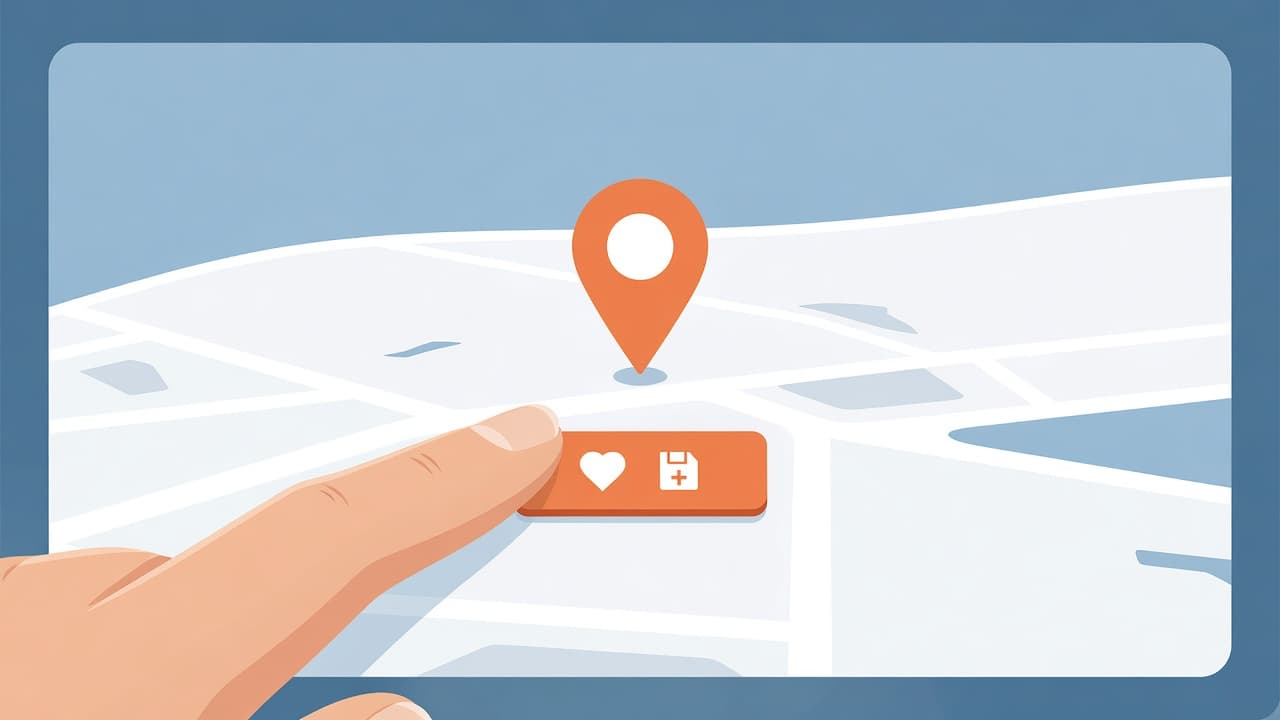
Save pins so good ideas survive the week
Good spots are easy to forget. Save everything early.
Use the built-in save feature for quick pins, then make the names useful. “Falls west trail, lower angle, morning only” is better than a plain star. After a few weeks, vague pins pile up and become dead weight.
For bigger trips, build a map in My Maps on desktop. Add notes, group locations by day or region, and mark backup options near your main stop. Then, if weather shifts or a gate is closed, you already have another place ten minutes away. Less guesswork, more shooting time.
That habit comes up in a Reddit discussion about scouting tools, where photographers talk about starring places and building lists before a trip.
Keep your notes short, but make them useful. Parking side, lens idea, sunrise direction, steep walk, no restroom, crowded by noon. I also like adding one hard detail to every saved spot, because that tiny note matters more than a clever title when you’re checking the map in a dark car at 5:10 a.m.
Build a scouting routine you can repeat
Scouting gets faster when the steps stay the same. You stop chasing random pins and start judging places by the same standard every time.
A simple routine works well:
- Search the area and switch to satellite.
- Mark likely viewpoints, roads, and parking.
- Open Street View and user photos.
- Check access, direction, and timing.
- Save the pin with a note you’ll understand later.
The day before the shoot, reopen the spot. Read the newest reviews, look for newer photos, and check the route again. If signal may be weak, download the area to your phone first. Plan on desktop, verify on phone.
This last check saves frustration. Roads close. Trailheads fill up. A location that looked perfect on Tuesday can feel useless by Saturday morning. If your old images are geotagged, your map history can also help you avoid repeating a frame you already made.
Before the next shoot
A map won’t make the photo for you. It will protect your best light from bad guesses, blocked views, and wasted miles.
After a while, your saved pins become a private atlas built around how you see, not around whatever spot got posted most last week. Tomorrow night, drop one pin and write one note that will still make sense before sunrise: “west-facing pullout, no guardrail, park by red barn.”