
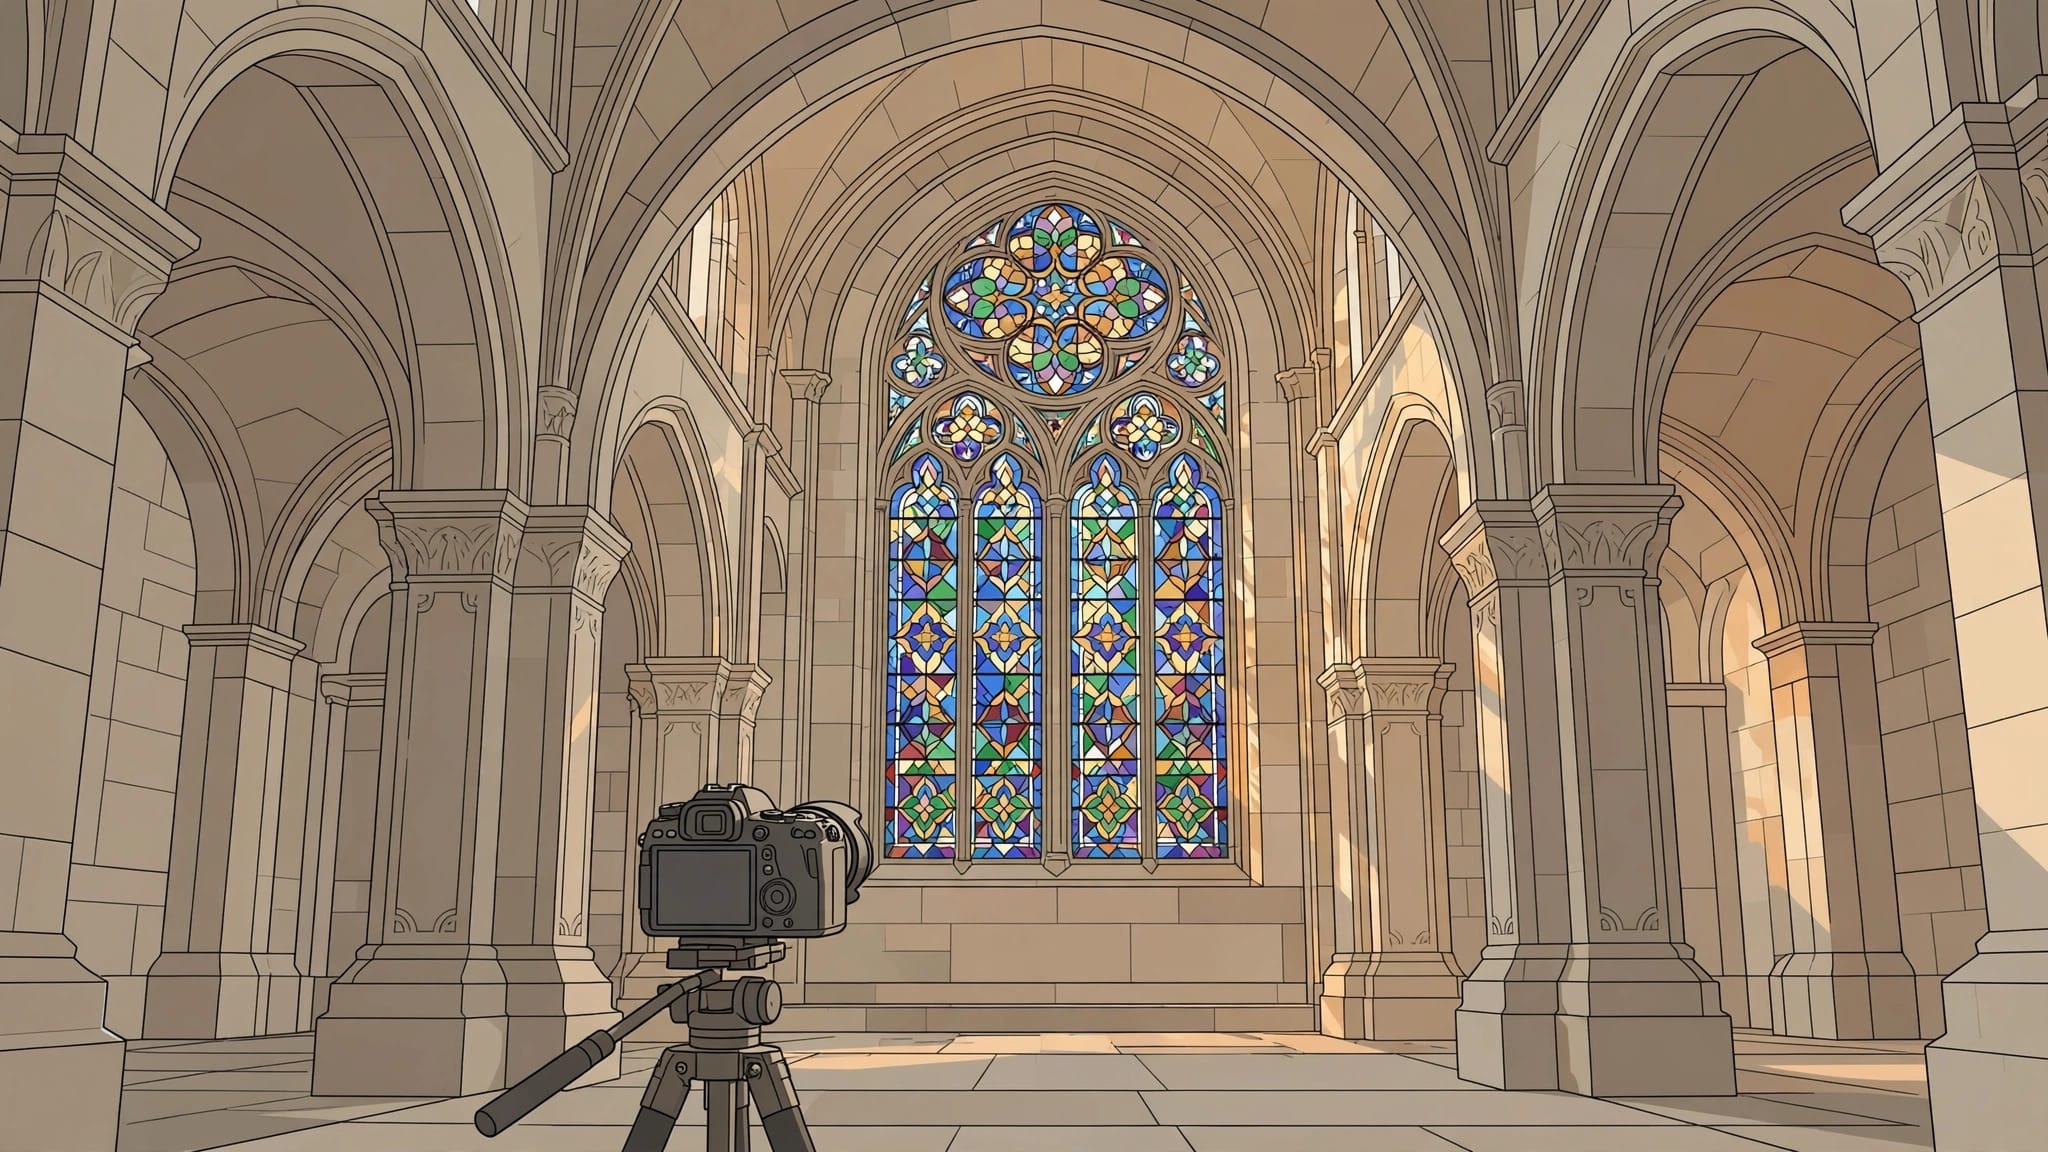
A bright cathedral window can turn the stone around it almost black in a single photo. If you expose for the stone, the stained glass may lose its color. Exposure bracketing gives you several versions of the same composition, each at a different brightness, so you can choose or combine the detail you need.
Architecture exposure bracketing is most useful when the building stays still but the light doesn’t fit comfortably into one frame. The first decision happens before you touch the camera: which parts of the scene deserve detail?
When architecture exposure bracketing is worth using
Bracketing means taking several photos at different exposures. An HDR merge combines them into one file, but you can also keep the best single frame. The distinction matters because a bracket isn’t a commitment to an HDR look. OM SYSTEM’s exposure-bracketing guide explains the basic capture method.
Look for a meaningful difference between the brightest and darkest important parts of your composition. A sunlit Lisbon facade above a shaded doorway is a candidate. So is a church interior with visible stained glass. If a soft, cloudy sky already lets you hold detail in both areas, one RAW file may be enough.
Bracketing also has limits. It won’t improve a dull composition, and it can’t freeze pedestrians who change position between frames. Before setting a sequence, ask what would be lost in one exposure: the sky, the window, or stonework that matters to the picture.
Compose the building before setting the bracket
Changing exposure is easy compared with fixing a cramped frame. Settle your viewpoint first, especially in narrow streets where stepping back may be impossible.
Keep the lines under control
Hold the camera level when you want vertical walls to look straight. Tilting upward makes parallel edges converge, which can be striking when intentional but awkward when it comes from trying to squeeze a roof into the frame. Step back if you can, or include less pavement and leave extra space above the roofline for a later crop.
An ultra-wide lens can fit an entire facade, yet objects near the frame edges may stretch. A standard zoom often gives you a cleaner view of a doorway, balcony, or repeating windows. If you plan to correct perspective in editing, leave breathing room around the cornice.
Decide where the eye should go
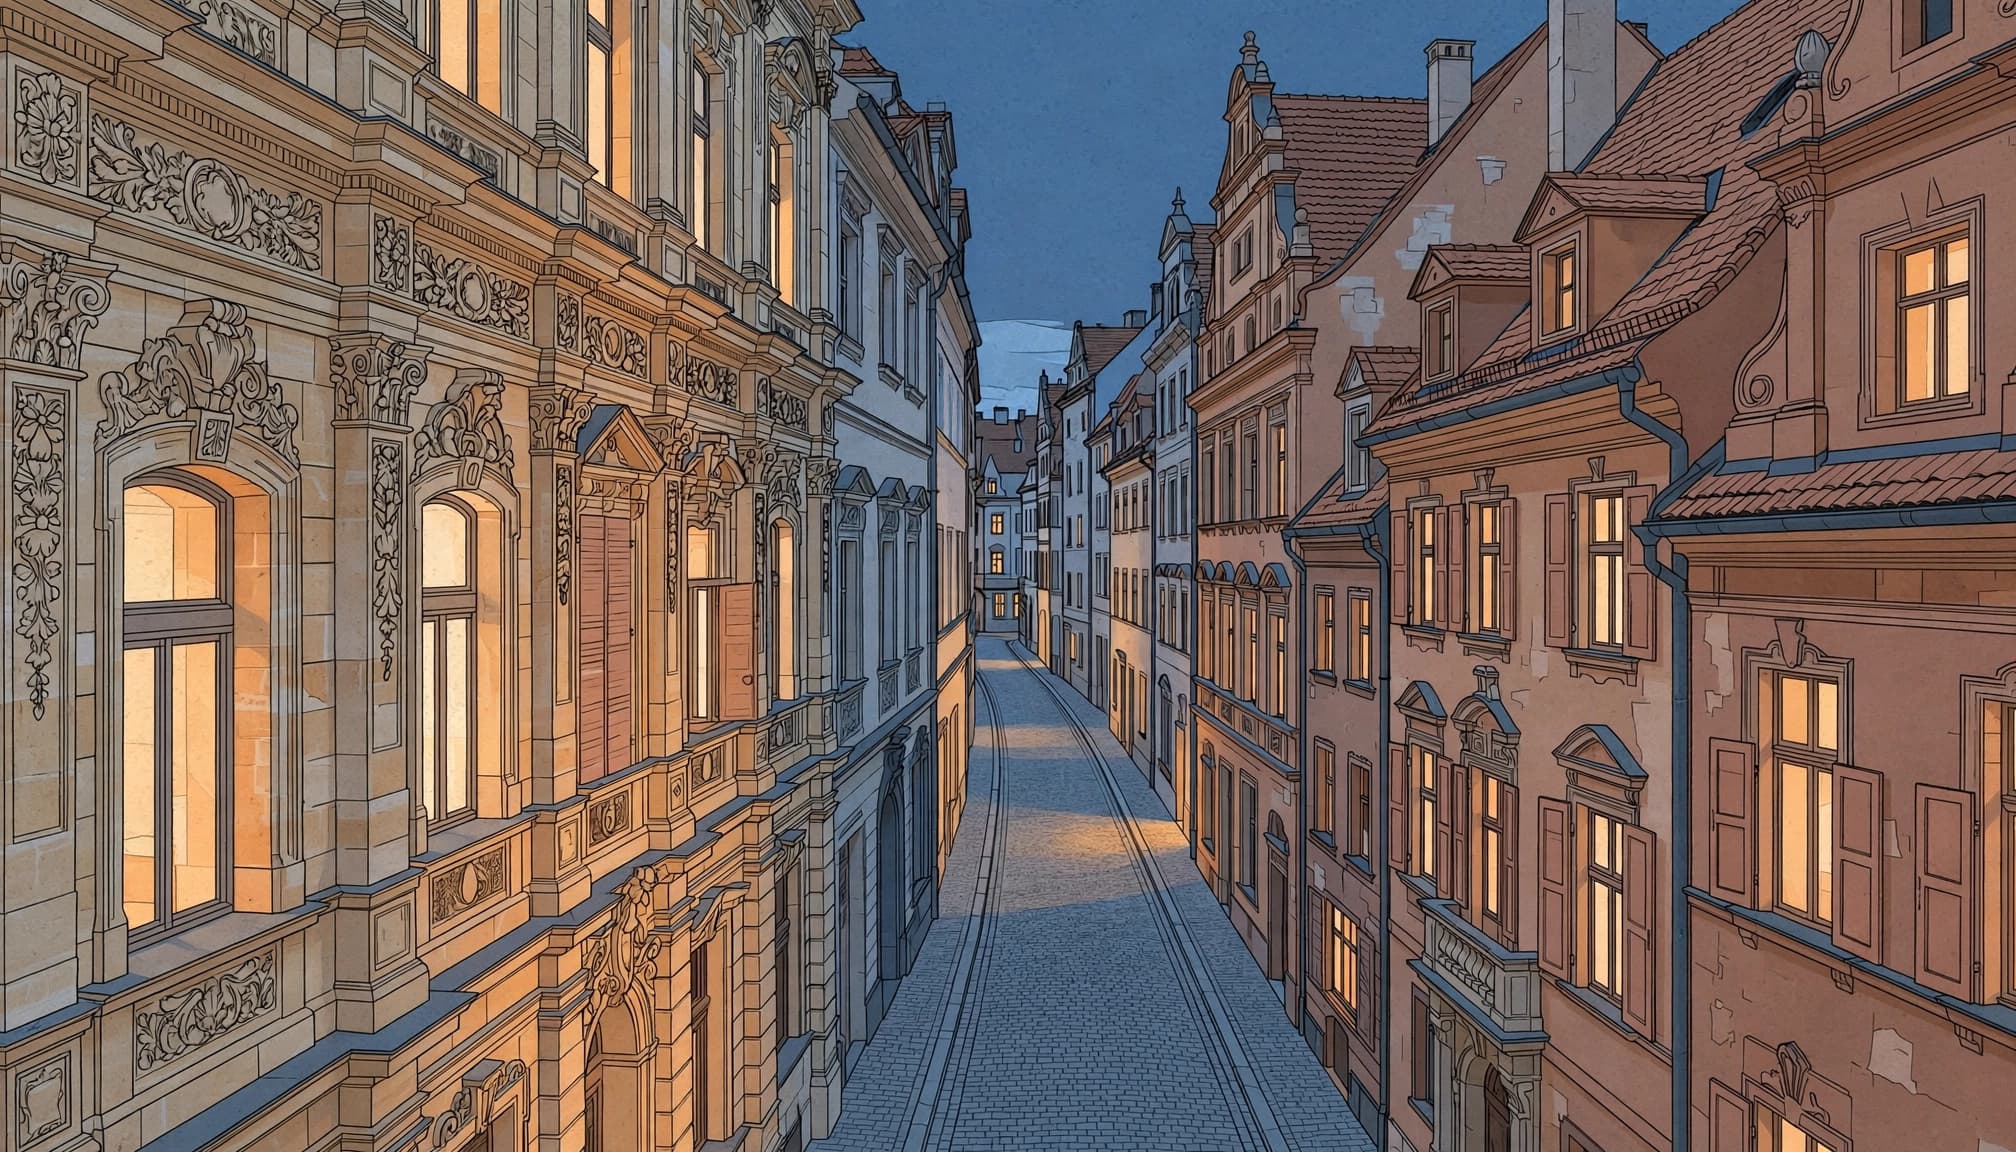
In Porto or Krakow, a narrow lane may offer only a strip of sky. Rather than pointing straight up, try using paving stones to lead toward an arch, with a lit upper wall beyond it. That gives your exposures a clear subject.
Watch bright patches near the edges. A white delivery van or a sunlit piece of pavement can compete with the building even when every highlight is perfectly preserved. Move a few steps or wait for a cleaner moment before starting the bracket.
Set the camera for matching exposures
Each frame must describe the same scene. When the camera changes focus, aperture, or position, merging becomes harder and architectural lines may no longer match.
Lock focus, aperture, and color
Shoot RAW if your camera allows it. Start around ISO 100 and f/8 for a static exterior, then adjust for available light and the depth of field you need. Focus on the building and avoid refocusing between frames.
Keep the aperture fixed throughout the bracket so depth of field stays consistent. Use a fixed white-balance setting rather than letting Auto White Balance choose a different color for each shot. Depending on your camera’s bracketing mode, aperture priority or manual exposure can vary shutter speed while holding those choices steady; check its display before you shoot.
Steady the sequence
A tripod helps most at dusk or inside a permitted interior. Set the legs clear of foot traffic, then use a short self-timer or remote release to avoid nudging the camera. Check the first frame at high magnification for blur.
For handheld work, turn on your camera’s automatic exposure bracketing and shoot the sequence promptly. Brace yourself against a stable surface if one is available. A fast burst improves your chances of matching frames, although it won’t keep passing people or moving leaves in one place.
Choose enough frames to cover the light
Start with a three-frame bracket at -2, 0, and +2 EV when contrast is strong. The darker frame should retain detail in bright windows or pale plaster. The brighter one should show useful information in the shadows without becoming so long that movement ruins it.
Check the ends of the bracket
Review the brightest important area in the darkest frame. If stained glass still appears as a blank patch, shift the whole bracket darker or widen its range. Next, inspect the lightest frame for masonry detail in the shadows. No blown tracery.
Your camera’s histogram and highlight warning are better guides than the apparent brightness of its rear screen in sunlight. Both reflect the camera’s preview, so leave a little room around highlights that matter rather than treating the display as an exact reading of the RAW file.
Add frames only when they help
Some cameras offer five or seven bracketed frames; the OM SYSTEM OM-1, for example, lists options for two, three, five, or seven. More frames can help in a very dark interior facing bright windows, but they also give moving subjects more time to shift.
The starting choices are simple:
| Scene | Starting bracket | Check first |
|---|---|---|
| Bright facade and shaded doorway | Three frames, 2 EV apart | Texture in sunlit plaster |
| Church interior with stained glass | Three frames, 2 EV apart | Color in the glass |
| Evenly lit facade under cloud | One RAW frame first | Whether any important detail clips |
These are starting points, not fixed settings. Inspect the frames and let the actual light decide.
Handle churches, crowds, and changing light
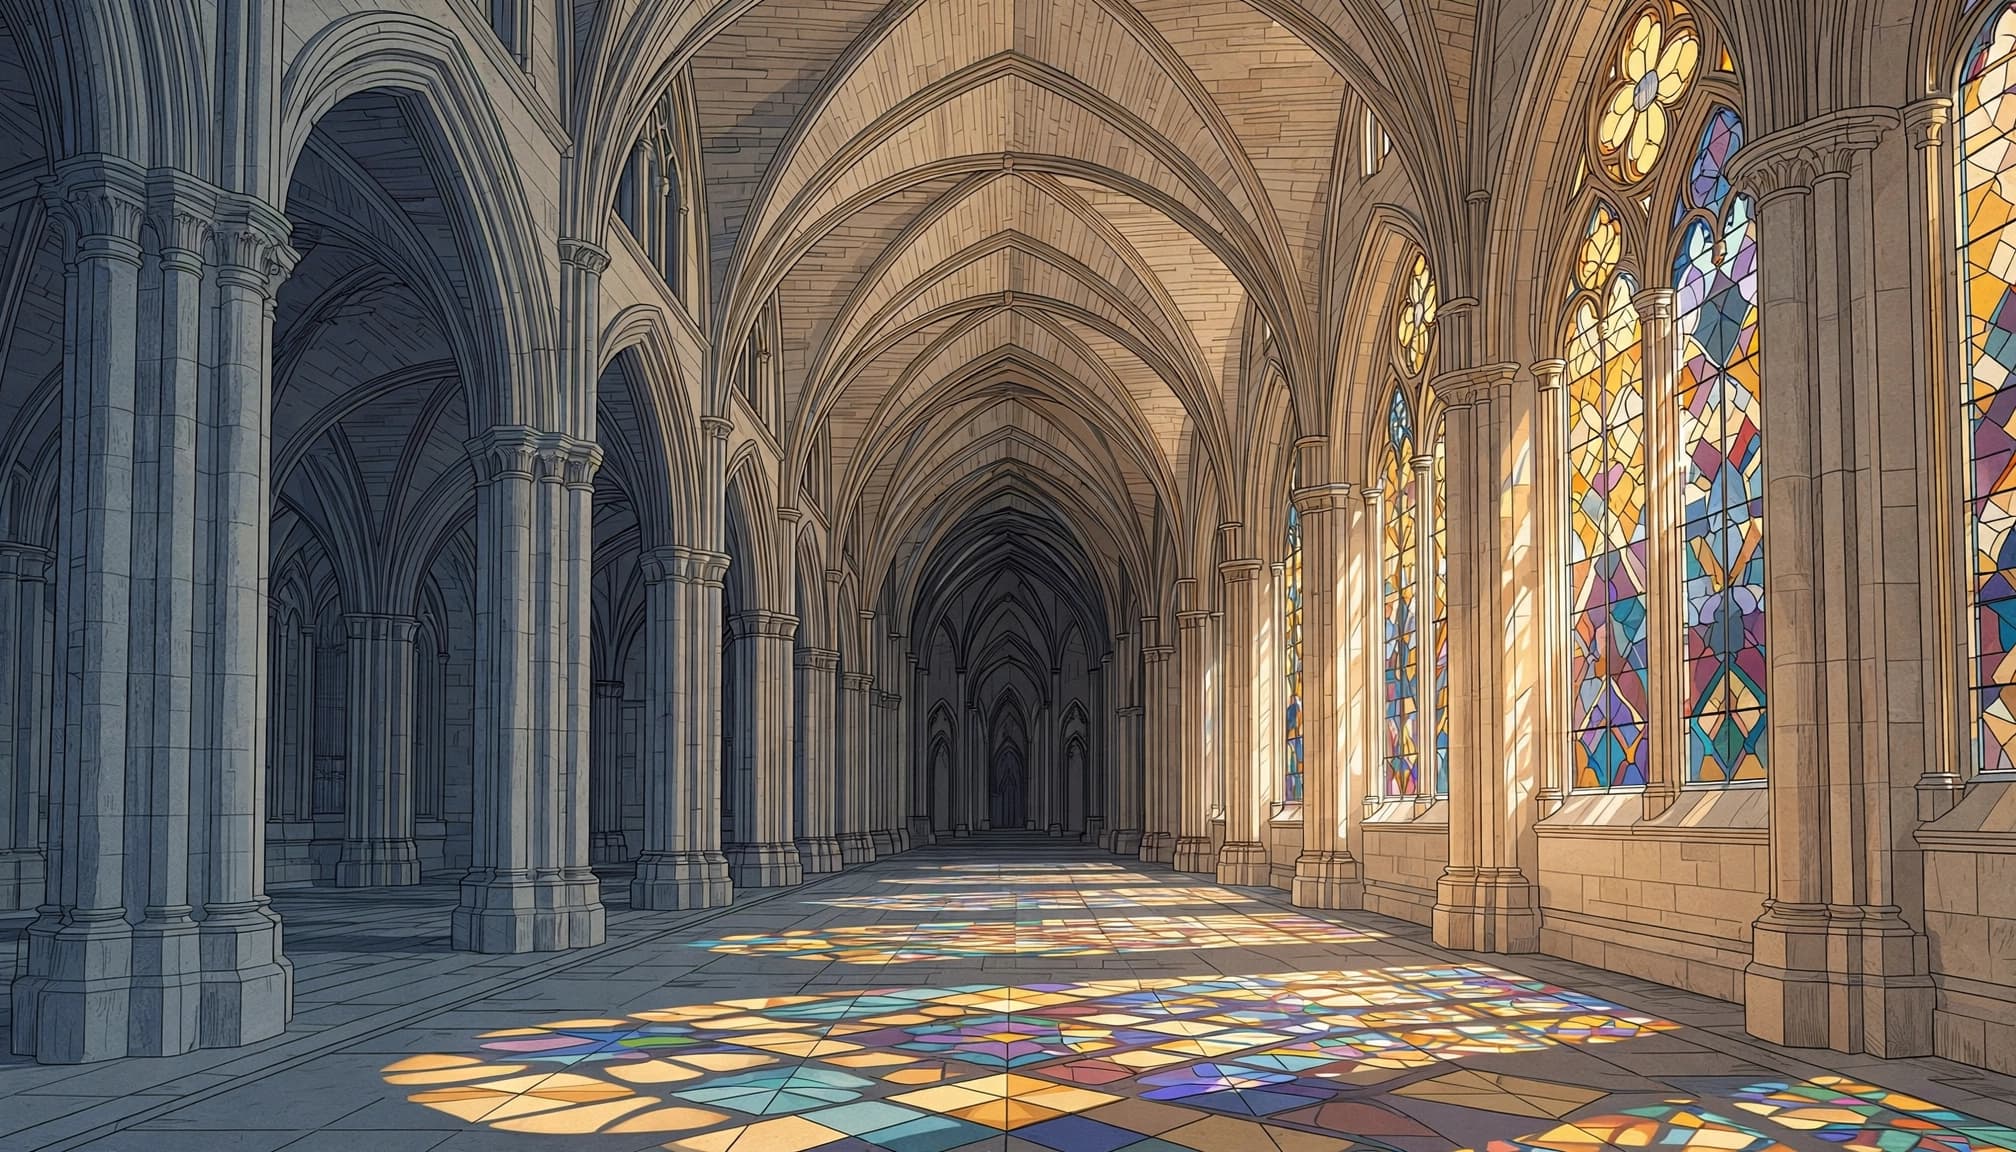
A historic interior can tempt you to brighten everything. Yet deep bays and dark aisles often give the lit stone its shape. Czech photographer Josef Sudek, who lost his right arm during the First World War, photographed Prague’s St. Vitus Cathedral with attention to light and shadow. That contrast is worth protecting in your own frames.
Work within the site’s rules
Check a church or museum’s current photography policy before unpacking a tripod. Some interiors permit handheld photos but restrict supports or flash, so don’t assume an exterior shooting routine will work inside. Without a tripod, choose a wider aperture or higher ISO if that keeps the bracket sharp.
Stay out of narrow aisles while composing. If visitors are moving through the frame, wait for a gap or keep the best single exposure. A technically complete bracket with blurred people across the doorway may give you less to work with than one well-timed photo.
Move quickly at blue hour
At Vienna’s Karlskirche, the bright sky, lit facade, and reflections can change balance as evening falls. Frame the dome and pool before the lamps become prominent, then make a fresh bracket when the sky darkens. Don’t combine frames taken minutes apart as though they belong to one sequence.
Around water, inspect reflections for clipped white patches. A long exposure may smooth ripples, but the light reflected on their surface can change between shots. Keep the horizon level so the building and its reflection feel connected.
Merge the frames without flattening the stone
Select frames from one uninterrupted sequence. In Lightroom Classic, choose Photo > Photo Merge > HDR. Adobe’s HDR photo merge instructions describe the preview options, including Auto Align and Deghost Amount. Auto Align helps with slight camera movement; deghosting addresses objects that moved between exposures.
Correct the structure first
After merging, inspect columns, window frames, and roof edges at full size. Look for doubled lines, ghosted pedestrians, and halos where a dark roof meets a bright sky. If alignment fails, return to the bracket and see whether a single exposure is stronger.
Then correct lens distortion and verticals, leaving enough room for the crop. Apply local adjustments to the window or doorway that needs them, rather than lifting every shadow equally. Adobe’s Lightroom landscape workflow also covers alignment, tone, and deghosting in a merge.
Keep the light believable
Strong shadow recovery can make a carved facade look flat. Let recesses remain darker than protruding stone, and keep the direction of sunlight visible. Use noise reduction carefully, since aggressive settings can smooth away fine masonry.
For mixed lighting, set white balance around the dominant light, then adjust small areas if needed. Warm lamps against a blue evening sky needn’t share one neutral color. Compare your edit with the middle exposure before exporting; it can remind you how the scene felt.
Key Takeaways for the Shoot
- Bracket when important bright and dark details can’t both fit in one exposure.
- Fix the viewpoint before capture, and leave space for perspective correction.
- Keep focus, aperture, white balance, and camera position consistent across frames.
- Check highlight detail in the dark frame and shadow detail in the bright frame.
- Preserve some darkness in the final image, especially inside churches.
Conclusion
The best bracket starts with a carefully framed building and a clear reason to take more than one exposure. Hold the camera steady, check the ends of the sequence, and keep directional light when you edit.
A stained-glass window should still glow against darker stone.
FAQ
Can I bracket architecture without a tripod?
Yes. Use automatic exposure bracketing, hold the camera firmly, and shoot the frames close together. Good light makes this easier because each shutter speed can stay fast enough for a sharp handheld photo. In a dark church, raise ISO or use a wider aperture if needed, and check whether the site permits a support before bringing one in.
Do I need HDR software for every bracket?
No. Sometimes the middle frame has everything you need, particularly in soft light. Bracketing gives you a choice at the editing stage. If you do merge, compare the result with a single frame and watch for ghosting, pale stone without texture, and shadows lifted so far that the room loses its depth.
