
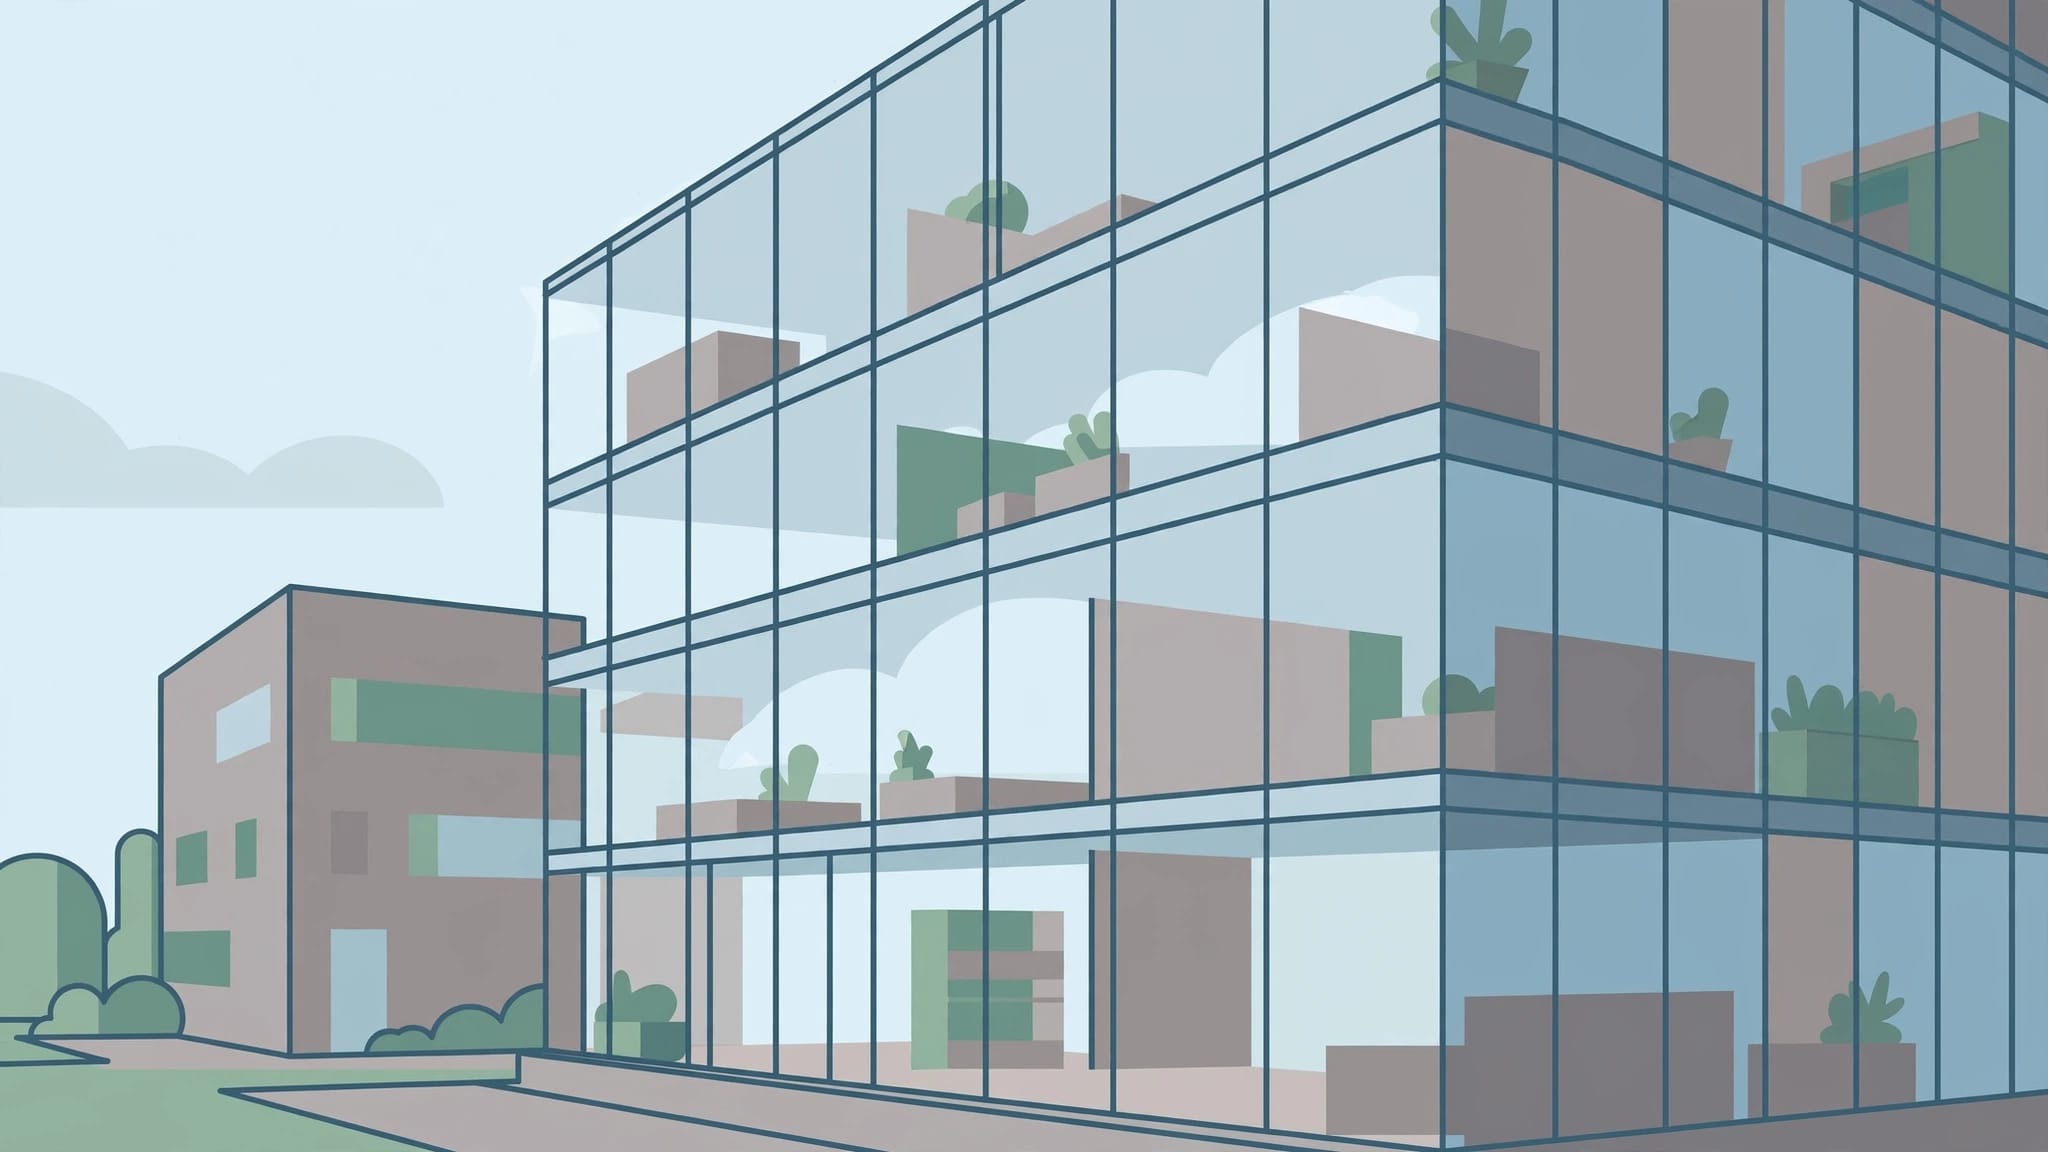
A clean glass facade can become a collage of parked cars the moment you lift your camera. In glass building photography, camera position often matters more than the filter in your bag.
You can reduce distracting reflections, but some glazing will never look completely transparent. Start by identifying what the windows reflect, then adjust your viewpoint before changing your equipment.
Read the Glass Before Setting Up
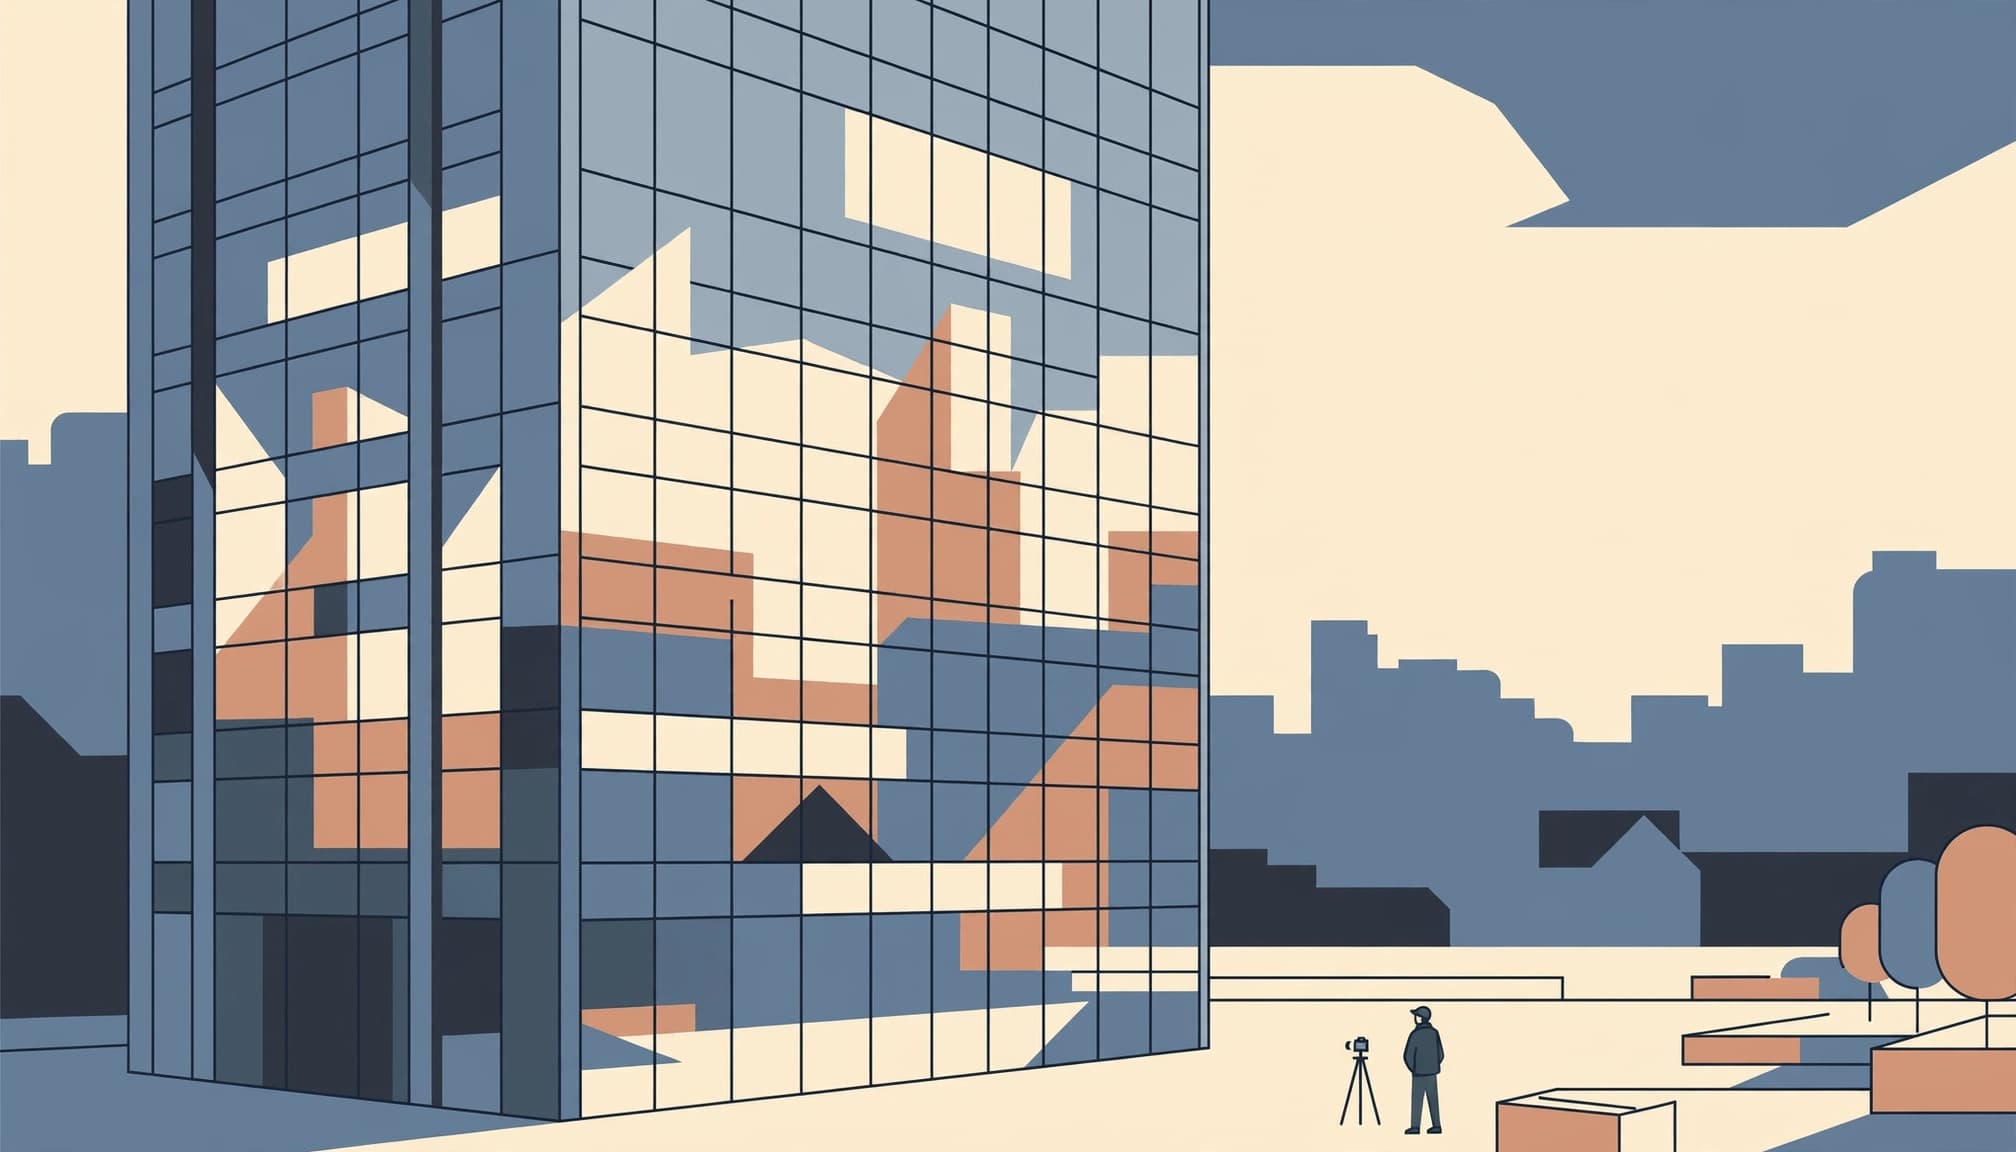
Glass both transmits and reflects light. When the exterior is bright and the interior is dark, reflected buildings can overpower everything behind the windows.
Walk along the facade while watching one pane. Notice whether its brightest reflection comes from the sky or a neighboring wall. Architectural photographer Peter Molick’s explanation of controlling reflections in glass connects that reflected view to the camera’s position.
Your target should be selective. A pale sky reflection might explain the building’s material, while a delivery truck hides its window pattern. The aim: fewer distractions, with the glazing still recognizable.
Curved glass adds another complication because its surface orientation changes across the building. In 2010, guests at Las Vegas’s Vdara hotel reported intense heat beside the pool when its curved glass facade concentrated sunlight there. That episode illustrates how strongly facade geometry can redirect light.
For photography, examine each section separately. A position that cleans up the central windows may leave the outer panels reflecting a bright building. Also, opaque spandrel panels won’t become transparent when glare disappears.
Change Your Viewpoint for Glass Building Photography
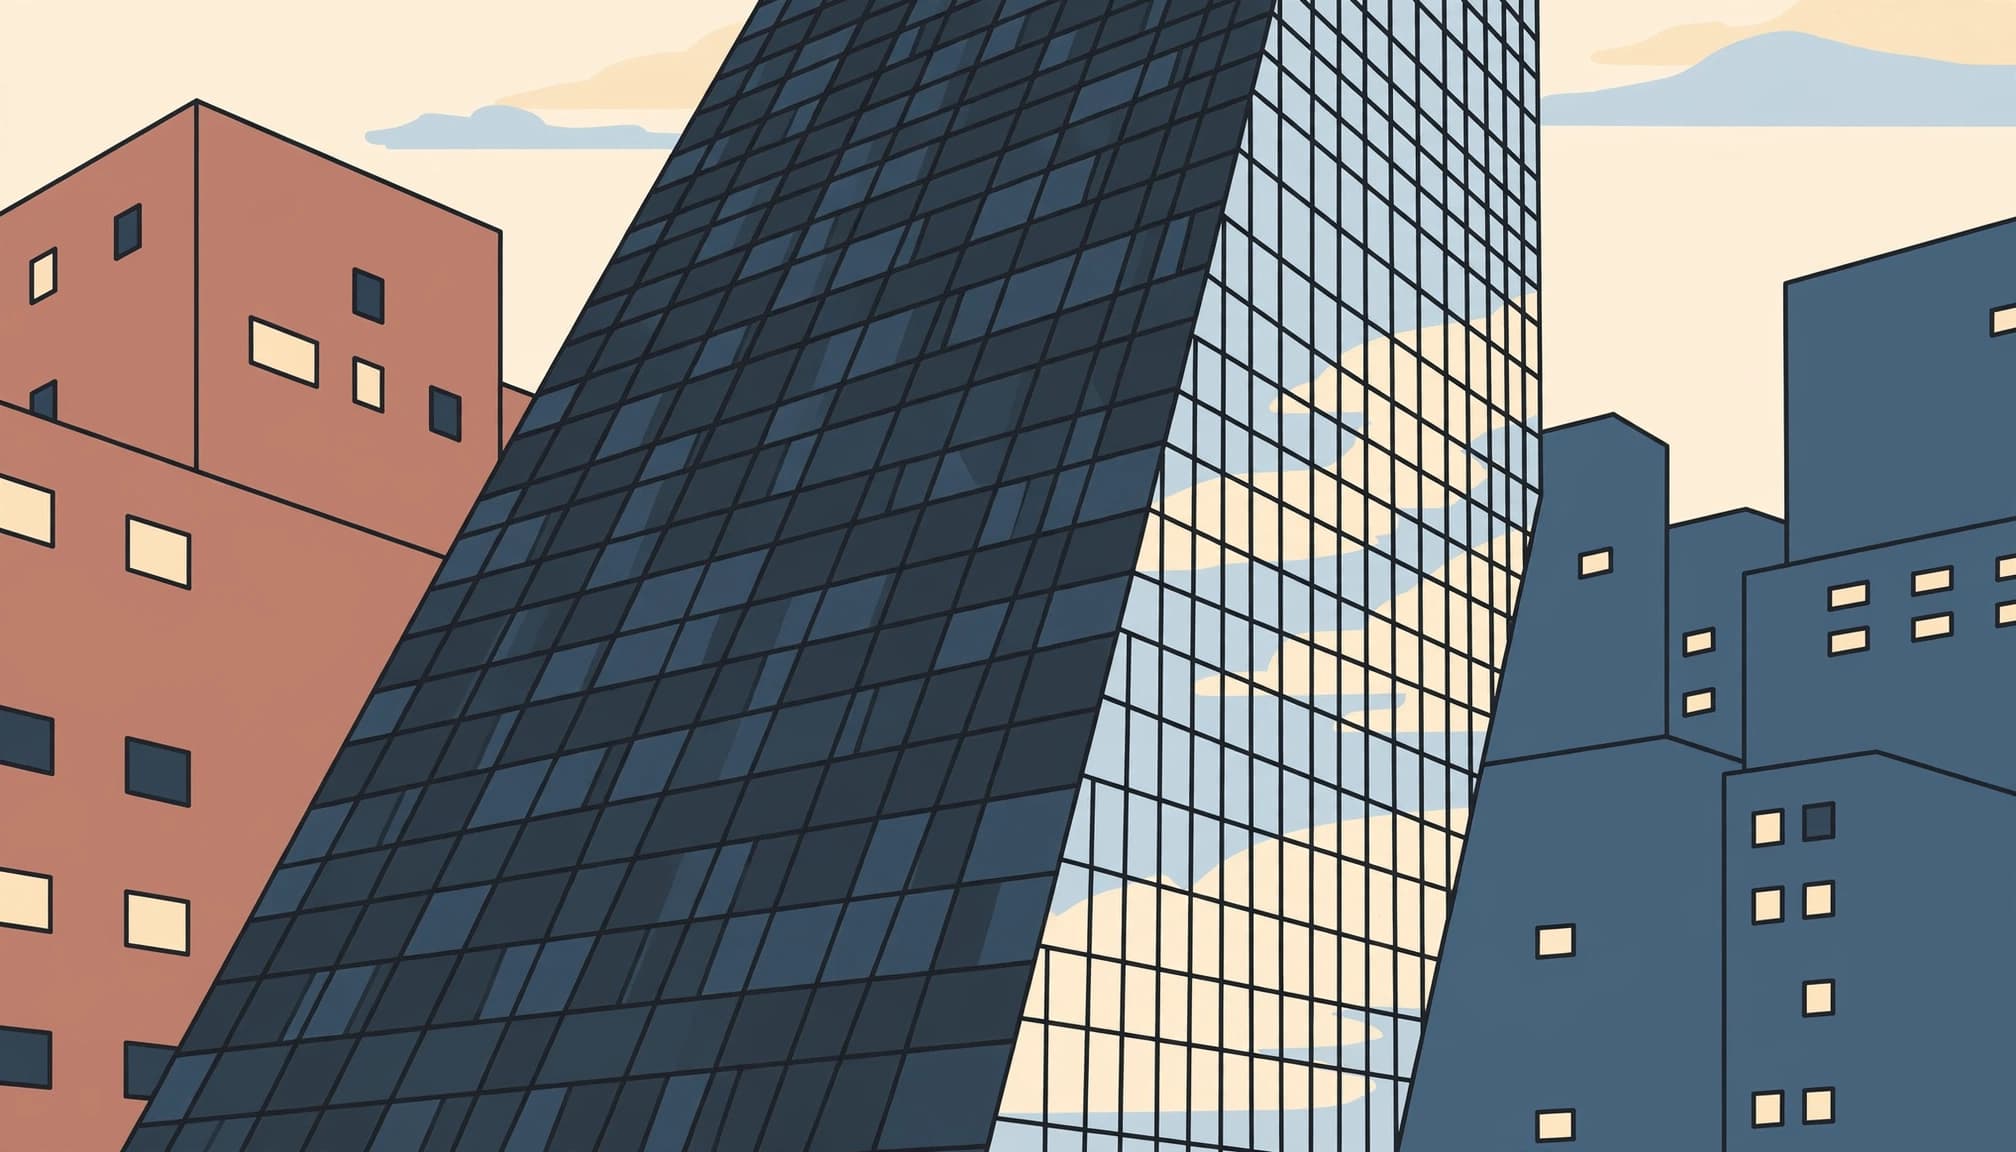
Move first. Small changes in position can replace a distracting reflection with something much quieter.
Walk Sideways Before Changing Lenses
Keep your attention on a troublesome window while moving left or right. Then compare a lower viewpoint with your original position. Because reflection angles change, a bright vehicle may disappear without any filter adjustment.
If a reflected white building covers the entrance, walk sideways while keeping the entrance in view, and watch for the moment when that reflection shifts onto a less important section of the facade.
Once you find a promising position, check the entire building. Don’t solve one pane while introducing another distraction across the upper floors.
Step Back and Protect the Geometry
Standing farther away with a moderate focal length often produces calmer glass-facade photographs. Try a 35mm or 50mm full-frame equivalent before reaching for an ultra-wide lens.
For a frontal elevation, keep the sensor parallel to the facade when possible. However, an oblique composition may suppress reflections more effectively, so decide whether straight-on symmetry or clearer glazing matters most.
Leave space around the roofline for perspective correction. A shift lens can frame higher floors while keeping the camera level, but it can’t change the reflection geometry without a change in viewpoint.
Use a Circular Polarizer Selectively
A circular polarizing filter, usually called a CPL, can reduce certain reflections from glass. However, it can’t remove every reflection across an entire tower.
Rotate Slowly and Compare the Whole Frame
Start without a filter. After composing, attach the CPL and rotate its front ring while watching the windows rather than the sky.
Kase’s circular polarizer guide describes its glare-reduction role. In practice, stop where the important glazing improves, even if reflections remain elsewhere.
Polarization usually works better at an oblique angle than when you’re looking straight at a pane. For ordinary glass, strong suppression occurs near 56 degrees measured away from the surface normal, the imaginary line perpendicular to the glass.
You don’t need to measure that angle on location. Move until the filter produces a useful change, then refine your framing.
Watch for Uneven Panels and Color Patterns
On a broad facade, different panes meet your viewing direction at different angles. Therefore, the filter may darken one section while barely affecting another.
When a wide composition includes several differently angled glass surfaces, rotating the polarizer until one section clears can leave another section darker or reveal colored patterns that become more distracting than the original reflection.
Tempered or laminated glazing can reveal stress patterns under polarized light. Coatings also affect the result. Check the corners.
A CPL reduces the light reaching the sensor, so meter again after rotating it. Avoid stacking unnecessary filters, which can add flare or darken wide-angle corners.
Choose Light That Makes Reflections Less Dominant
The balance between outdoor and indoor brightness often matters more than the weather label. Overcast conditions and twilight offer different opportunities.
Scout Shade and Overcast Conditions
Soft cloud cover reduces harsh contrast, but a bright overcast sky can still appear as a large white reflection. Watch the panes rather than assuming clouds have solved the problem.
Shade can help when it darkens the surroundings reflected in the glass. However, shading the facade alone doesn’t remove a sunlit building reflected across it.
Early arrival gives you more freedom to move around an uncrowded plaza. Take reference photographs from several positions, then compare where reflected bright patches cross the building’s main features.
If sunlight produces a sharp hotspot, move before lowering exposure. A darker photograph may preserve the hotspot without making it less distracting.
Return When Interior Lights Become Visible
At blue hour, the exterior often becomes less dominant while illuminated interiors become easier to see. This can help with transparent lobbies and glass stairwells.
Look for the interval when the sky still holds color but room lights have appeared. Use a tripod where permitted, and expose for important illuminated windows.
Don’t assume every office will be lit after sunset. Scout the actual building, because empty floors may remain dark. Also, inspect for streetlamp reflections that weren’t obvious during daylight.
Photograph Through Windows Without Recording Yourself
Shooting through an observation-deck window introduces a different problem: the room behind your camera can appear over the exterior view.
Switch off the flash. Then move the lens close to the glass without pressing a hard lens barrel against it. A flexible rubber hood or dark cloth around the lens can block reflected room light, provided the location allows it.
Dark clothing helps when your reflection is visible, but blocking the light around the lens is more effective. Turn off nearby interior lights only when you have permission.
At corners formed by two panes, each surface reflects a different part of the room. Move away from the junction and photograph through a single pane when possible.
Choose a clean patch of glass, then focus on the building outside. Autofocus can lock onto fingerprints or surface marks, so magnify the preview and check distant detail.
Keep your microfiber cloth for your own equipment unless staff explicitly permit cleaning the window. Removing dust from your lens won’t fix scratches in the glazing.
Finally, avoid blocking viewing areas. Make your exposure, step aside, and return when visitors have cleared the reflected background.
Set Exposure for Window Detail
Shoot RAW when available, because glass facades often combine bright reflections with dark interiors. However, recoverable shadow detail won’t compensate for badly clipped highlights.
These settings are starting points, not fixed prescriptions.
| Situation | Starting settings | Main adjustment |
|---|---|---|
| Daylight exterior on a tripod | ISO 100, f/8 | Set shutter speed for important highlights |
| Handheld exterior | f/5.6, 1/125 second, Auto ISO | Increase shutter speed if shake appears |
| Blue-hour facade on a tripod | ISO 100, f/8 | Adjust shutter speed as the sky darkens |
| Pedestrians included for scale | f/5.6, 1/250 second, Auto ISO | Check moving subjects for blur |
The building stays still, so shutter speed becomes more flexible when you stabilize the camera. Meanwhile, people may need a faster exposure.
Use your histogram and highlight warnings. Protect the brightest window detail that matters to the photograph, rather than automatically darkening everything for a tiny sun glint.
For extreme contrast, try a three-frame bracket at two-stop intervals. Keep the camera fixed, and blend only enough to preserve useful detail.
Bracketing addresses brightness differences. It doesn’t separate a reflection from the interior behind it. Likewise, an ND filter can lengthen exposure, but it doesn’t suppress reflections like a polarizer.
Edit Reflections Without Flattening the Facade
Glass building photography benefits from restrained editing. Preserve the distinction between reflective glazing and opaque cladding.
Correct Geometry Before Adjusting Color
Apply the appropriate lens profile first. Then use guided perspective correction in Adobe Lightroom or Capture One, placing guides along reliable building edges.
Check the building’s proportions after correction. Aggressive adjustments can stretch corners or make a broad facade look unnaturally narrow.
Next, assess white balance. Glass can carry blue or green tones because of its coatings and reflected surroundings. Don’t neutralize every pane independently if those differences belong to the building.
Use local masks to control distracting brightness, but leave enough variation for the surface to read as glass.
Retouch Small Distractions, Preserve Structural Detail
A small reflection of a bright sign may be manageable with careful retouching. A reflected building covering an entire curtain wall requires much more reconstruction.
Inspect edits at 100%. Repeated mullions and window seams make cloning errors easy to spot. Generative removal can also invent structural details, so compare its output against the original photograph.
If you’re documenting architecture for a client, agree on how much reflection removal is acceptable. A photograph that invents an interior view can misrepresent the design.
Keep a filter-free frame alongside the polarized version. Sometimes the untreated image retains more consistent window color and gives you a better editing starting point.
Finish With One Controlled Comparison
Before leaving, make a final pair of photographs from the same position: one without the CPL, then one with your chosen rotation. Keep the aperture and framing unchanged, adjusting shutter speed for the filter’s light loss.
Compare both files before committing to either. Look beyond the entrance that first caught your attention.
At 100% magnification, inspect the uppermost row of windows for uneven darkening and colored stress patterns.
