
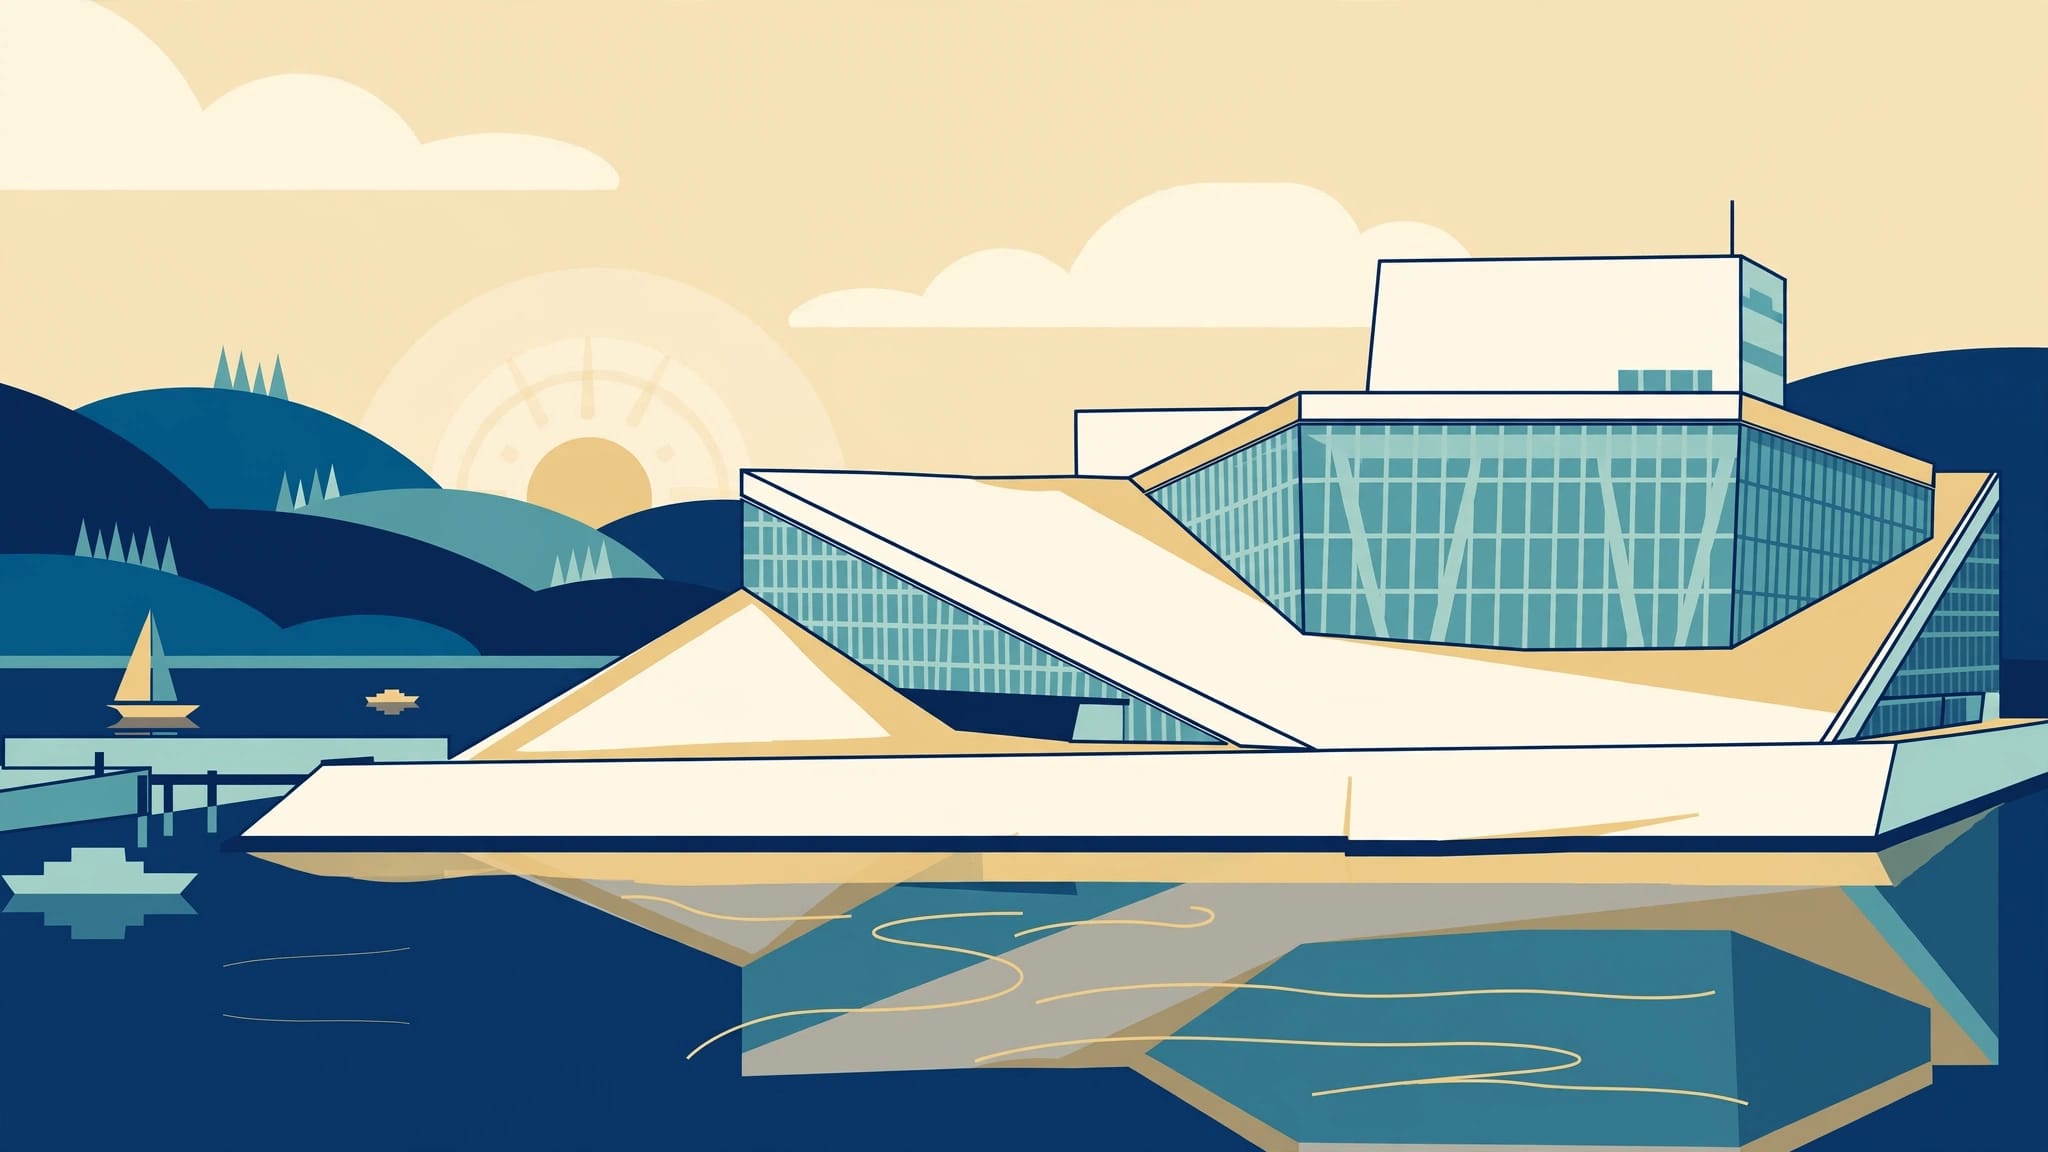
Oslo’s white Opera House roof can lose its shape in a badly exposed photograph. The strongest Oslo photography spots reward careful timing, especially when bright stone meets dark water.
If you’re visiting with limited time, choose your waterfront position according to the light rather than trying to photograph every landmark in the same direction during a single rushed walk around the harbor. Start with a route that leaves room to return when conditions change.
Connect Oslo Photography Spots Along the Waterfront
Begin at the Opera House in Bjørvika, then follow the waterfront toward Akershus Fortress. Continue around the harbor to Rådhusplassen and Aker Brygge, where island ferries depart.
Allow half a day for photography rather than treating this as a direct sightseeing walk. Searching for a clean foreground takes longer than reaching the next landmark.
These stops respond differently to the same weather:
| Location | Useful conditions | Composition to try |
|---|---|---|
| Opera House | Pale overcast or blue hour | A roof diagonal above dark water |
| Akershus Fortress | Low side light | Stone walls with harbor foreground |
| Aker Brygge | Broken cloud or evening light | Ferry movement beneath the skyline |
| Hovedøya | Soft light and calmer wind | Shoreline rocks with distant city layers |
Choose the location that suits the conditions you have, then leave another for later.
Morning generally gives you more space around popular waterfront buildings. Meanwhile, evening brings illuminated interiors and people moving through the scene.
Keep a second visit possible. A roof that looked flat under midday cloud may become sharply defined when a gap lights one plane.
Photograph the Opera House Without Losing Its Shape
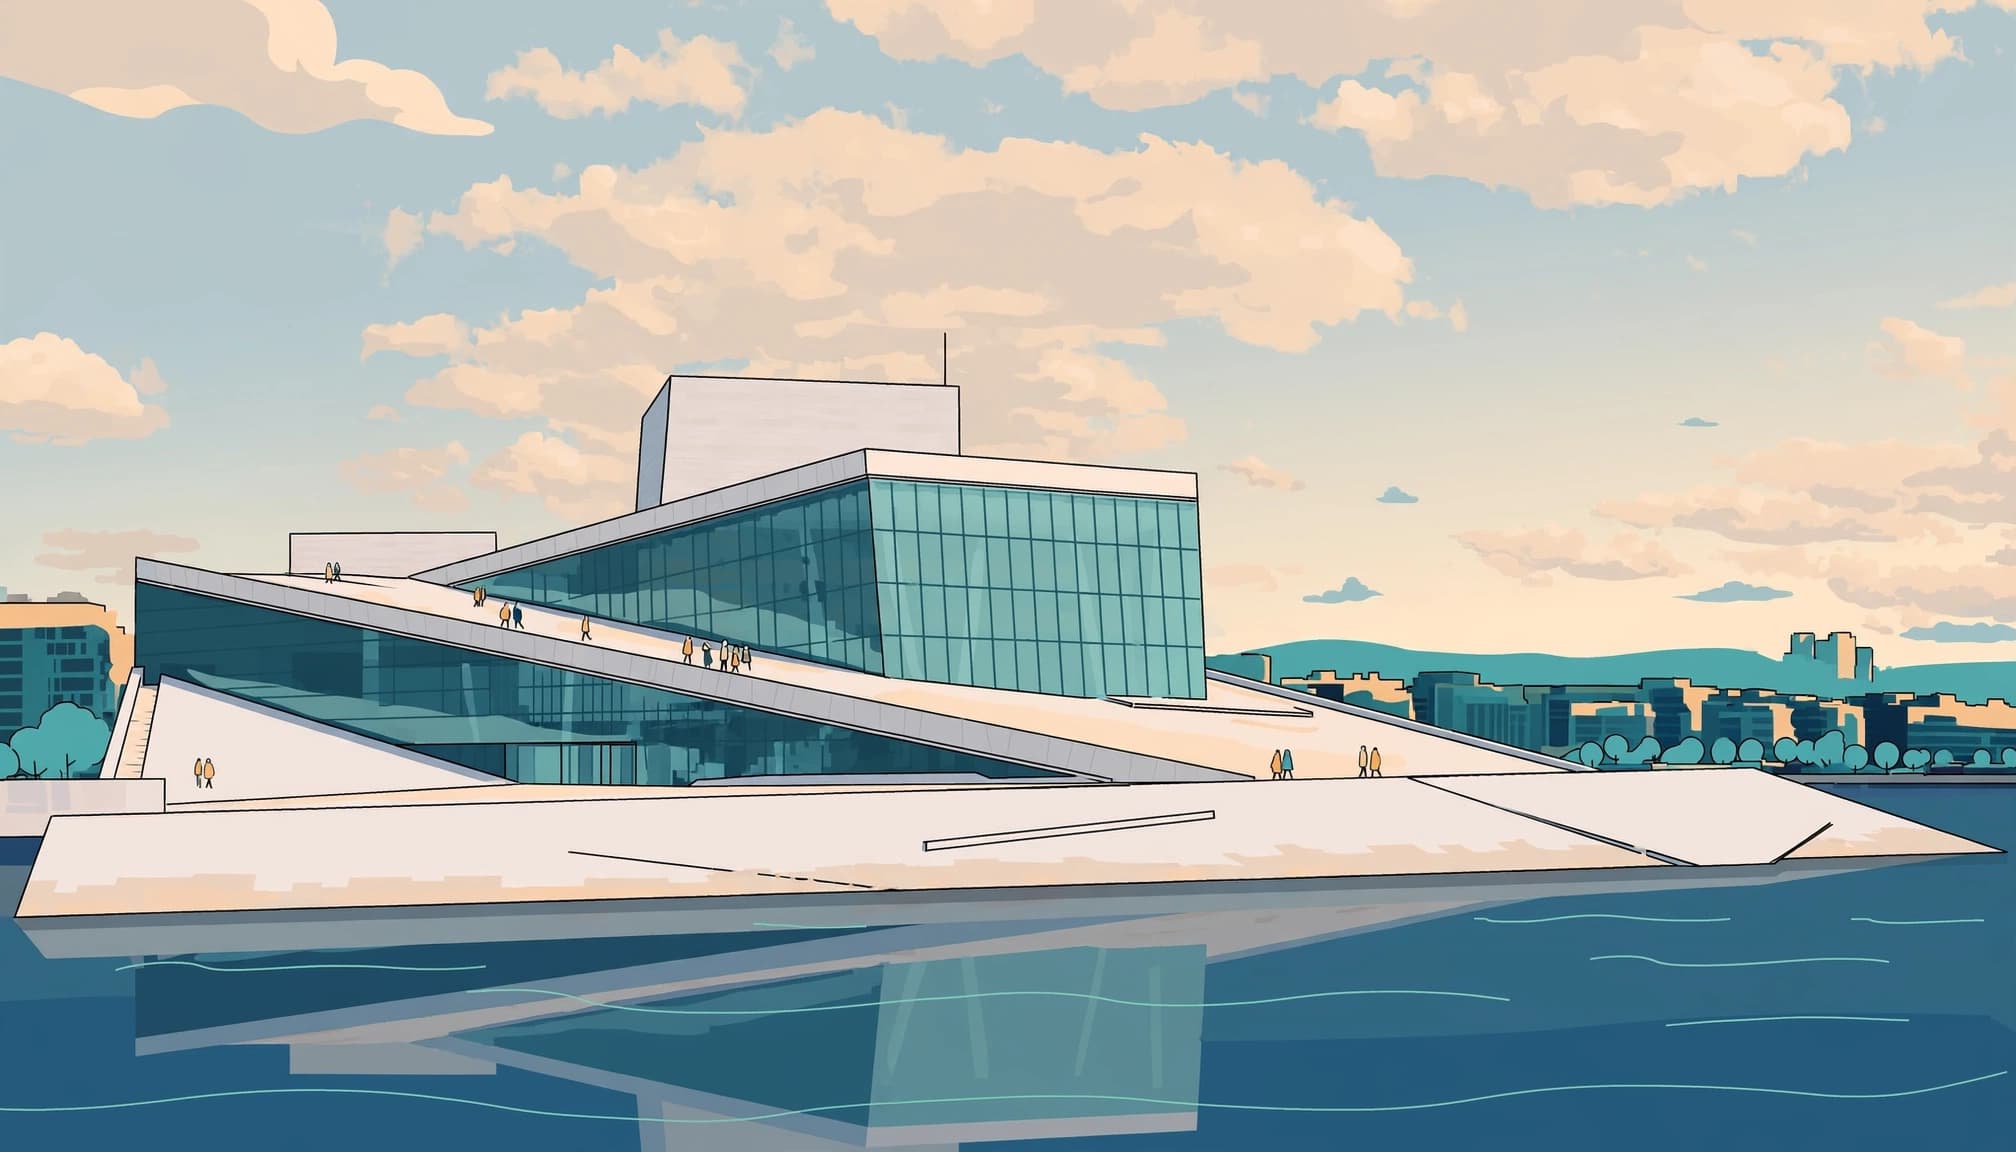
White stone against dark water
Snøhetta’s Opera House works well when you give one roof edge control of the composition. From the surrounding waterfront, place that diagonal against open sky rather than overlapping it with background buildings.
Try a moderate wide-angle view first. Around 24mm to 35mm on a full-frame camera gives you room for the building without excessive stretching.
Keep the roofline clean. A small figure can explain its scale, but several scattered visitors may weaken the geometry.
Under bright sun, watch the histogram and highlight warning. The pale roof can clip before the water looks correctly exposed. Shoot RAW if available, and lower exposure until the stone retains detail.
Walk the roof, then step away
The roof is a public space, as Visit Norway’s Opera House guide explains. However, check current conditions before committing to an early or late visit.
On the roof, look for overlapping planes rather than attempting to include the entire harbor. Move sideways until a person sits against a clear background.
Then return to ground level. Including the waterline gives the architecture context and creates room for a reflection.
Consult the Opera House’s practical visitor information for current arrangements. Don’t assume foyer hours describe roof access, or that weather-related restrictions will remain unchanged.
Wet or icy surfaces deserve caution. A lower waterfront viewpoint is preferable to an unsafe climb.
Frame Akershus Fortress From the Harbor
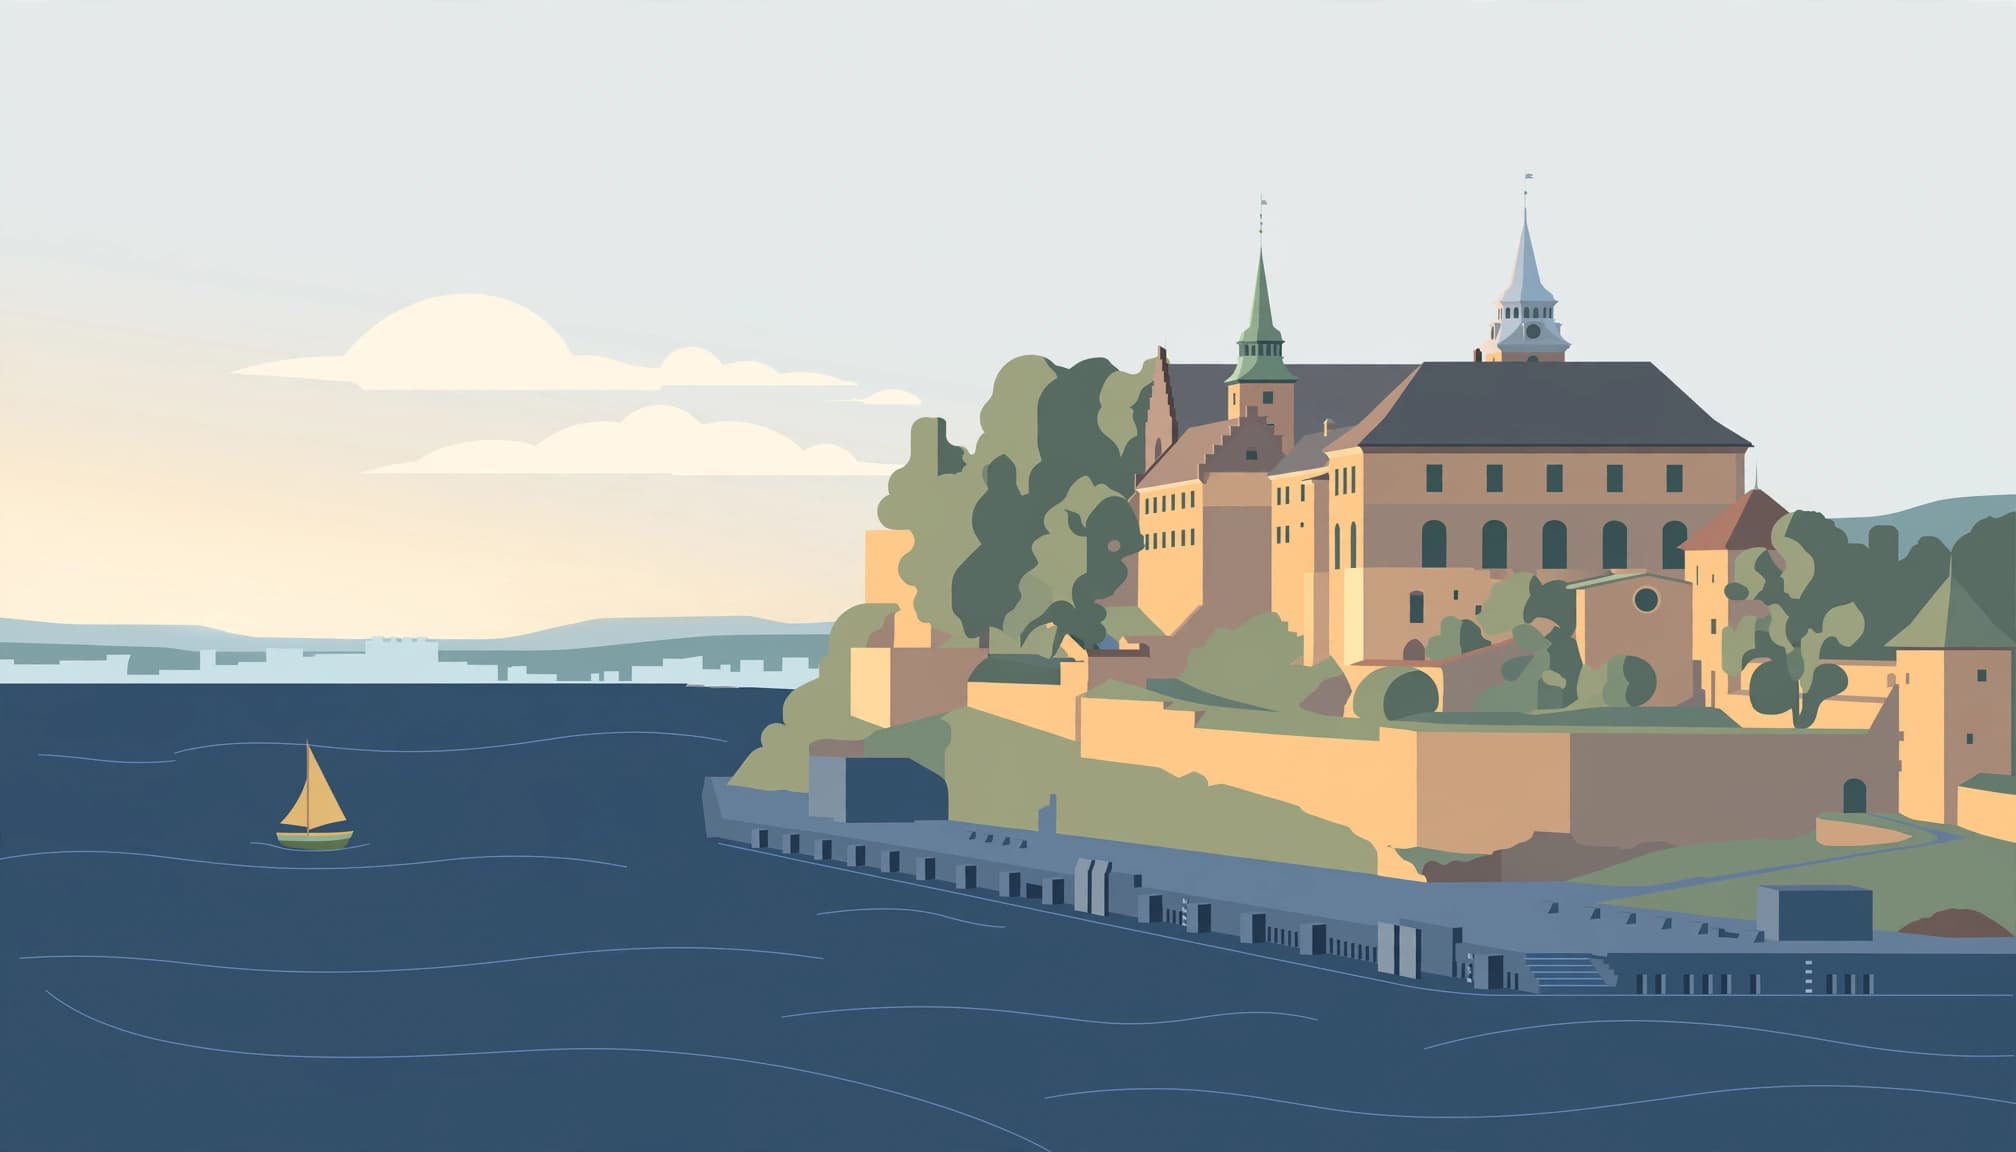
Give the walls a foreground
Akershus needs a different approach from the Opera House. Its stonework gains depth from side light, while a distant, front-lit view can merge the walls into one surface.
From the public waterfront around Rådhusplassen and Aker Brygge, look across the harbor toward the fortress. A short telephoto lens helps the ramparts hold their weight above the water.
Watch for boat masts intersecting the towers. Moving several steps can separate those lines without changing your whole composition.
Keep some harbor in the frame. A boat or quay edge gives scale, although a large vessel may obscure the lower walls.
Cloudy weather suits tighter stone details where photography is permitted. Exclude a blank sky when it contributes nothing.
Check permission before entering with a camera
Photography within the fortress requires advance clearance under its visitor rules. Drones are prohibited. Contact the commandant’s office before planning a shoot inside, and follow instructions on site.
The Forsvarsbygg fortress visitor page is the starting point for access information. Admission to the grounds is free, but museums and other activities have separate arrangements.
For October 1 through April 30, the published main-gate hours are 06:00 to 21:00. Side gates are listed as open daily from 07:00 to 18:00.
Those hours don’t guarantee access to every interior or permission to photograph. Keep the public harbor viewpoints as your fallback, especially if approval hasn’t been arranged.
Plan for Oslo’s Seasonal Fjord Light
Low sun changes the usable window
Oslo’s summer evenings and winter afternoons demand different schedules. Around midsummer, late light can mean staying out well beyond dinner; winter gives you a much shorter working day.
For 2026, the summer solstice falls on June 21, and the winter solstice on December 21. Timeanddate reports a daylight difference of 12 hours and 56 minutes between those dates in Oslo.
Check sunrise and sunset for your exact visit. Don’t build the day around a fixed one-hour golden-hour window.
Because the sun’s direction changes through the year, a viewpoint that lights the fortress walls during one visit may leave them shaded during another, even when you arrive at the same clock time.
A sun-position app helps you distinguish good timing from a good location.
Blue hour needs a clear subject
At twilight, simplify the photograph before adjusting your settings. The Opera House roof can become a pale shape above blue water, while harbor windows introduce small warm accents.
Start shooting before the sky loses its remaining brightness. Later, illuminated windows may overpower the surrounding architecture.
Photograph twilight while the sky still separates the roof from its background; waiting for full darkness can remove that distinction.
Low winter sun can reveal texture, but wind and ice affect where you can work safely. Oslo also isn’t an Arctic mountain-fjord destination. Build your plans around its low islands and urban waterfront rather than expecting sheer cliffs.
Use Ferries for Island Layers and Moving Views
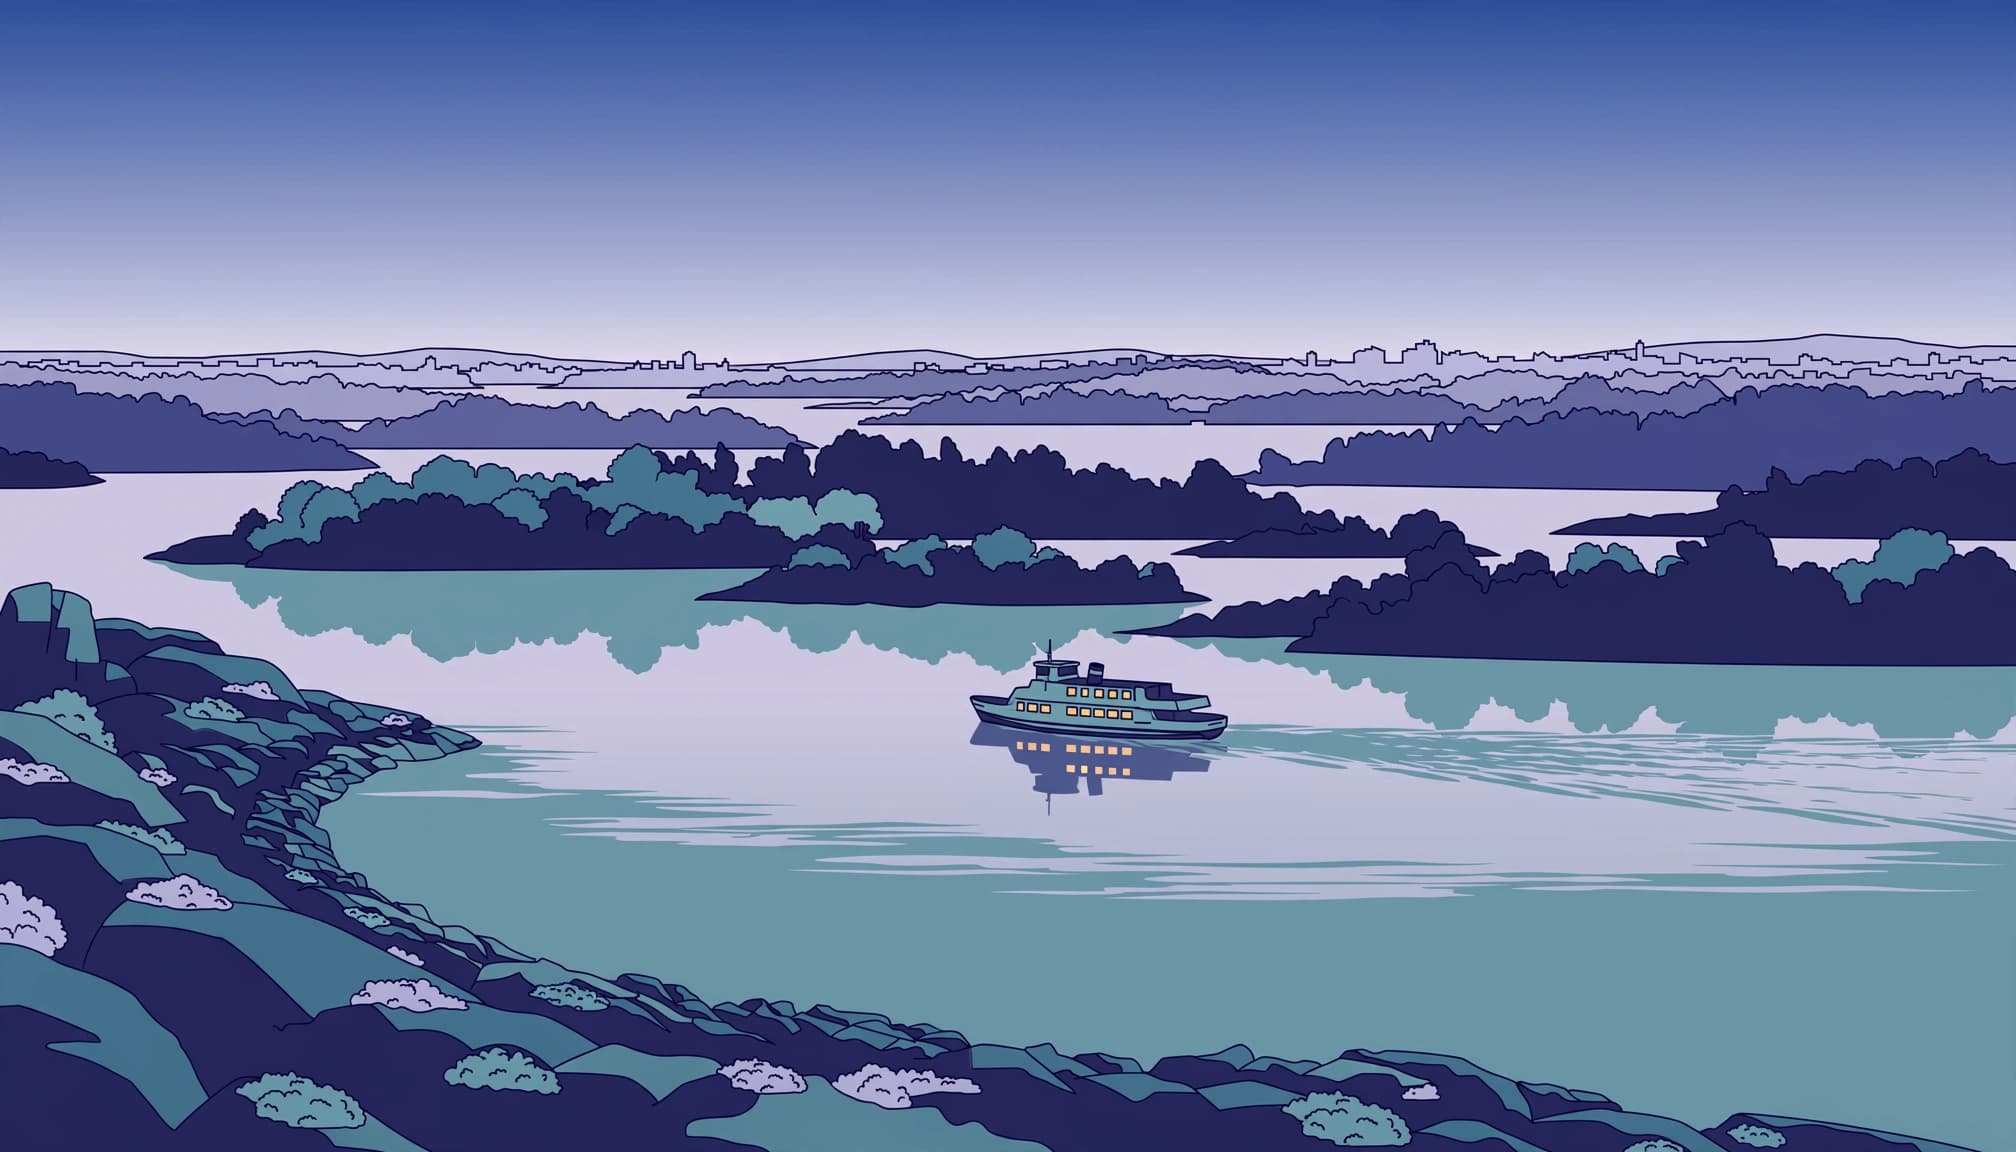
The inner Oslofjord gives you low wooded islands with stretches of open water between them. These layers often suit a longer focal length better than an ultra-wide view.
Hovedøya is a useful first island for a short visit. Its shoreline offers rocks and trees that can anchor distant harbor scenes.
VisitOSLO’s island-hopping guide describes the connections from Aker Brygge. Check Ruter’s timetable for your travel date, especially outside summer.
For October 2026, the published B1/B2 autumn timetable runs only through October 18. Don’t assume that pattern applies later in the month.
Regular public-transport tickets are valid on the Oslo island ferries, as Visit Norway’s ferry information confirms. Check the ticket’s zone and validity before boarding.
On a moving ferry, prioritize shutter speed over low ISO. Start around 1/500 second for shoreline detail, then adjust for movement and light.
Avoid shooting through glass when possible. Reflections from the cabin can appear across pale water.
Watch the water. A wake can create a strong diagonal, but it may also break the reflection you wanted. On an island, identify your return departure before settling into a twilight shoot.
Carry Less and Keep the Water’s Sheen
A standard zoom and a short telephoto cover most of this route. For example, a 24-70mm and a 70-200mm full-frame pair gives you architectural views and tighter island layers.
You don’t need both. With one lens, change your position before assuming the frame needs more equipment.
A phone also works well along the waterfront. Use its main camera for nearby architecture, since an ultra-wide view can exaggerate roof edges and vertical walls.
For static buildings, start around f/8 and your camera’s base ISO. As light fades, use a tripod only where permitted and where its legs won’t obstruct pedestrians.
Moving people need a faster shutter. Around 1/250 second is a useful starting point for walking figures, although your lens and subject speed matter.
A polarizer deserves restraint. Rotate it while watching the reflection, because removing glare can also remove the light connecting the building to the water.
For longer exposures, decide whether you want to preserve ripples. Smoothing every surface can erase the harbor’s movement.
Pack a lens cloth. Drizzle and spray may look harmless until small spots appear across the sky. Keep a lens hood attached and spare batteries warm during cold weather.
Wait Through Weather Instead of Leaving Immediately
A harbor visit in Denmark’s Ærøskøbing offers a useful lesson. After a ten-minute wait for a departing ferry, a traveler made three exposures without leaving a stone wall.
One caught a gull; another retained the ferry’s wake. The third showed settled water beneath a cleaner line of roofs.
The same patience helps around Oslo. If a boat disrupts your reflection, wait for the wake to spread before abandoning the position.
However, don’t wait only for stillness. Broken reflections can strengthen a graphic photograph of the Opera House.
After rain, inspect the paving as well as the fjord. A shallow puddle may hold a roof edge that the choppy harbor won’t reflect.
When cloud gaps move quickly, keep the camera accessible. A brief patch of light on stone can disappear while you’re changing lenses.
Wind matters more than the forecast’s rain symbol. Use sheltered positions, and shorten exposures if gusts shake the tripod.
Leave Time for One Last Frame
Before leaving Bjørvika, return to the waterfront position you tried earlier. Compare the roof’s brightness with the water rather than repeating your previous exposure.
If a ferry has just passed, wait until its wake reaches your foreground. Make one frame with the broken reflection and another after it settles.
Leave a narrow strip of dark water beneath the Opera House’s white roof edge.
