
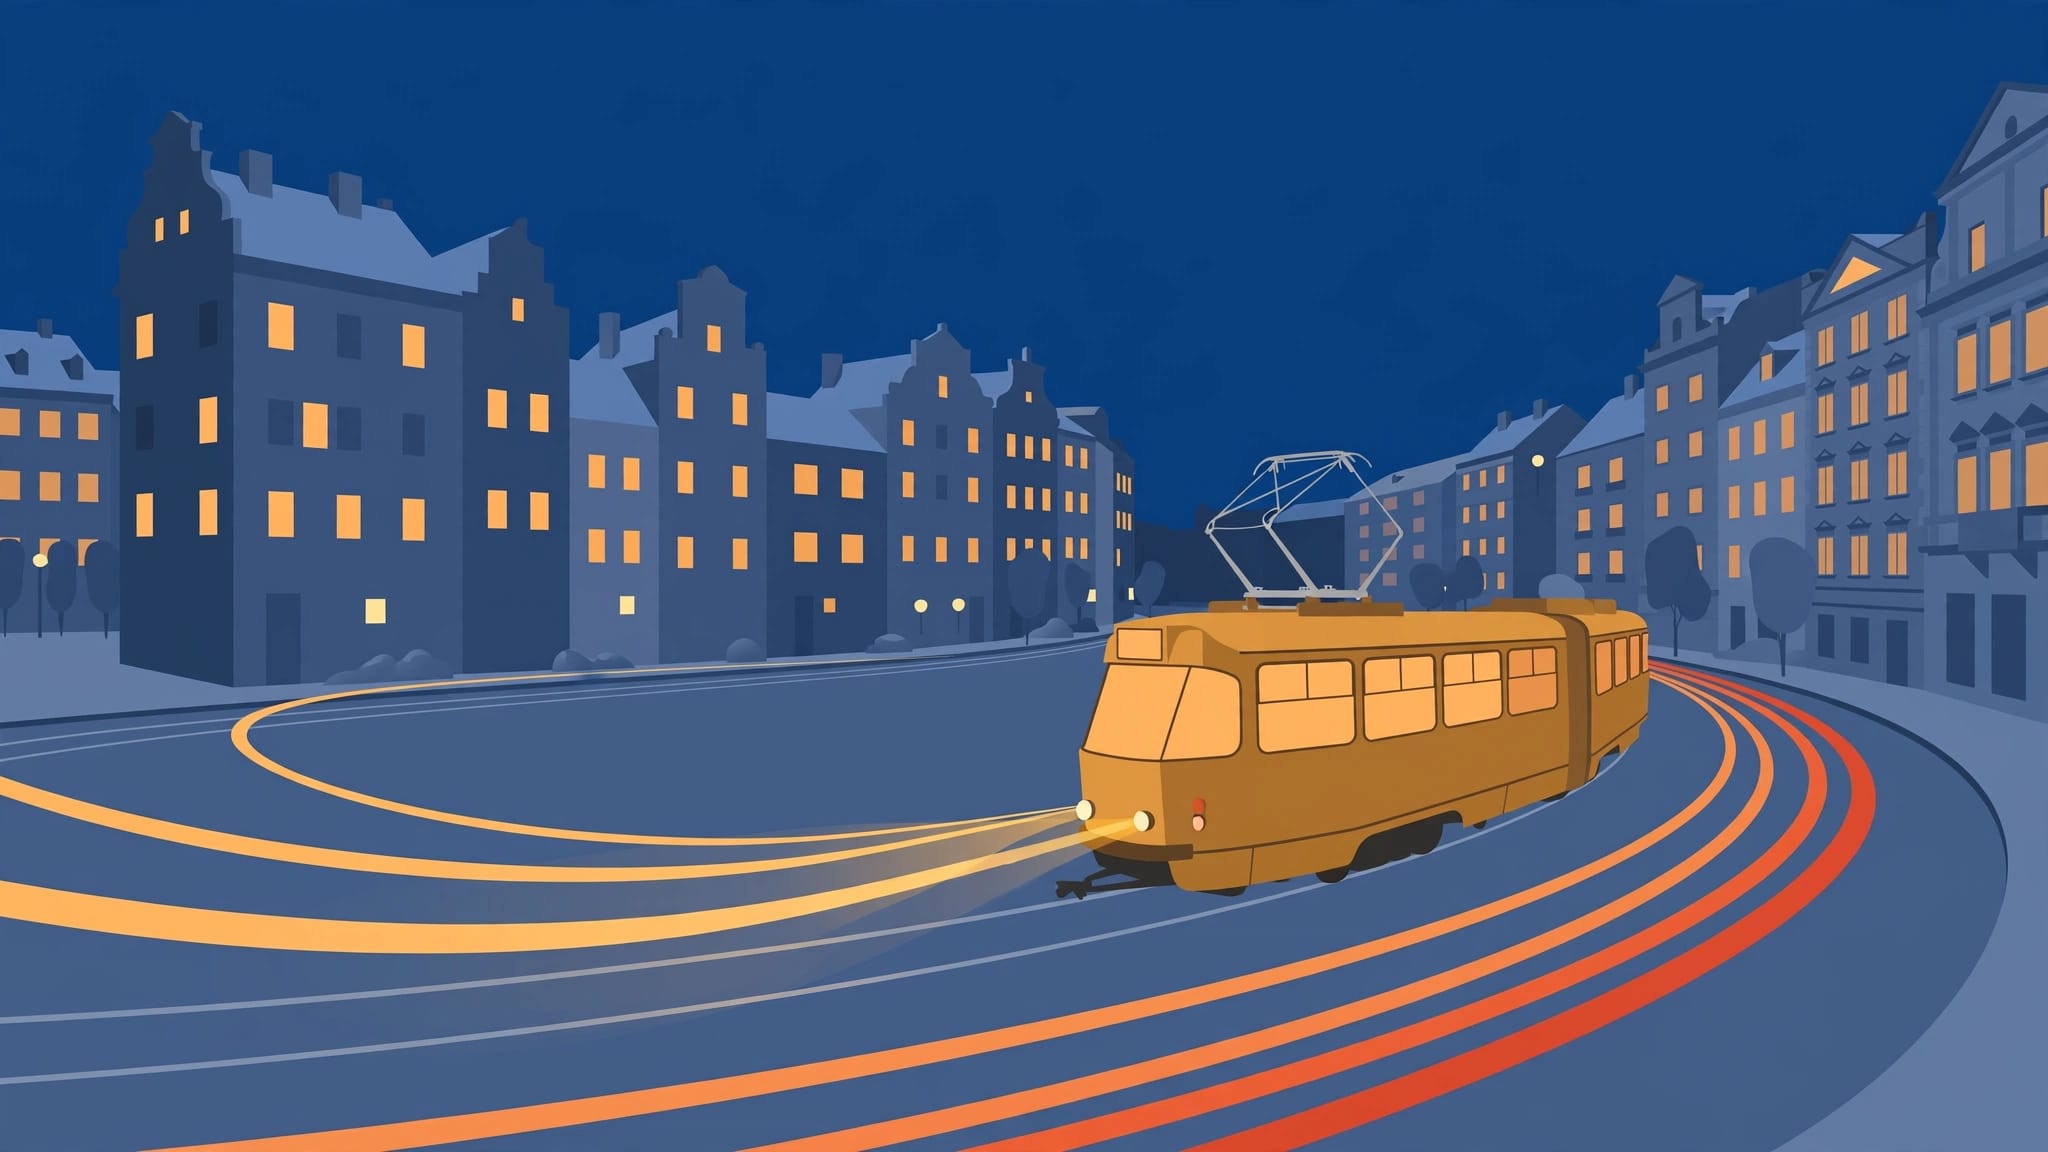
Your camera can turn a passing tram into a ribbon of light while keeping the buildings behind it sharp. For light trail photography, the challenge is balancing that movement against bright lamps and a fading sky.
You don’t need an expensive lens, but you do need a stable camera and traffic moving through a useful composition. Start by finding a street where the vehicle’s path improves the picture.
Find a Street Where the Trails Lead Somewhere
Scout the route before sunset
Arrive 30 to 45 minutes before sunset. That gives you time to find firm tripod footing and observe the traffic before darkness hides the pavement.
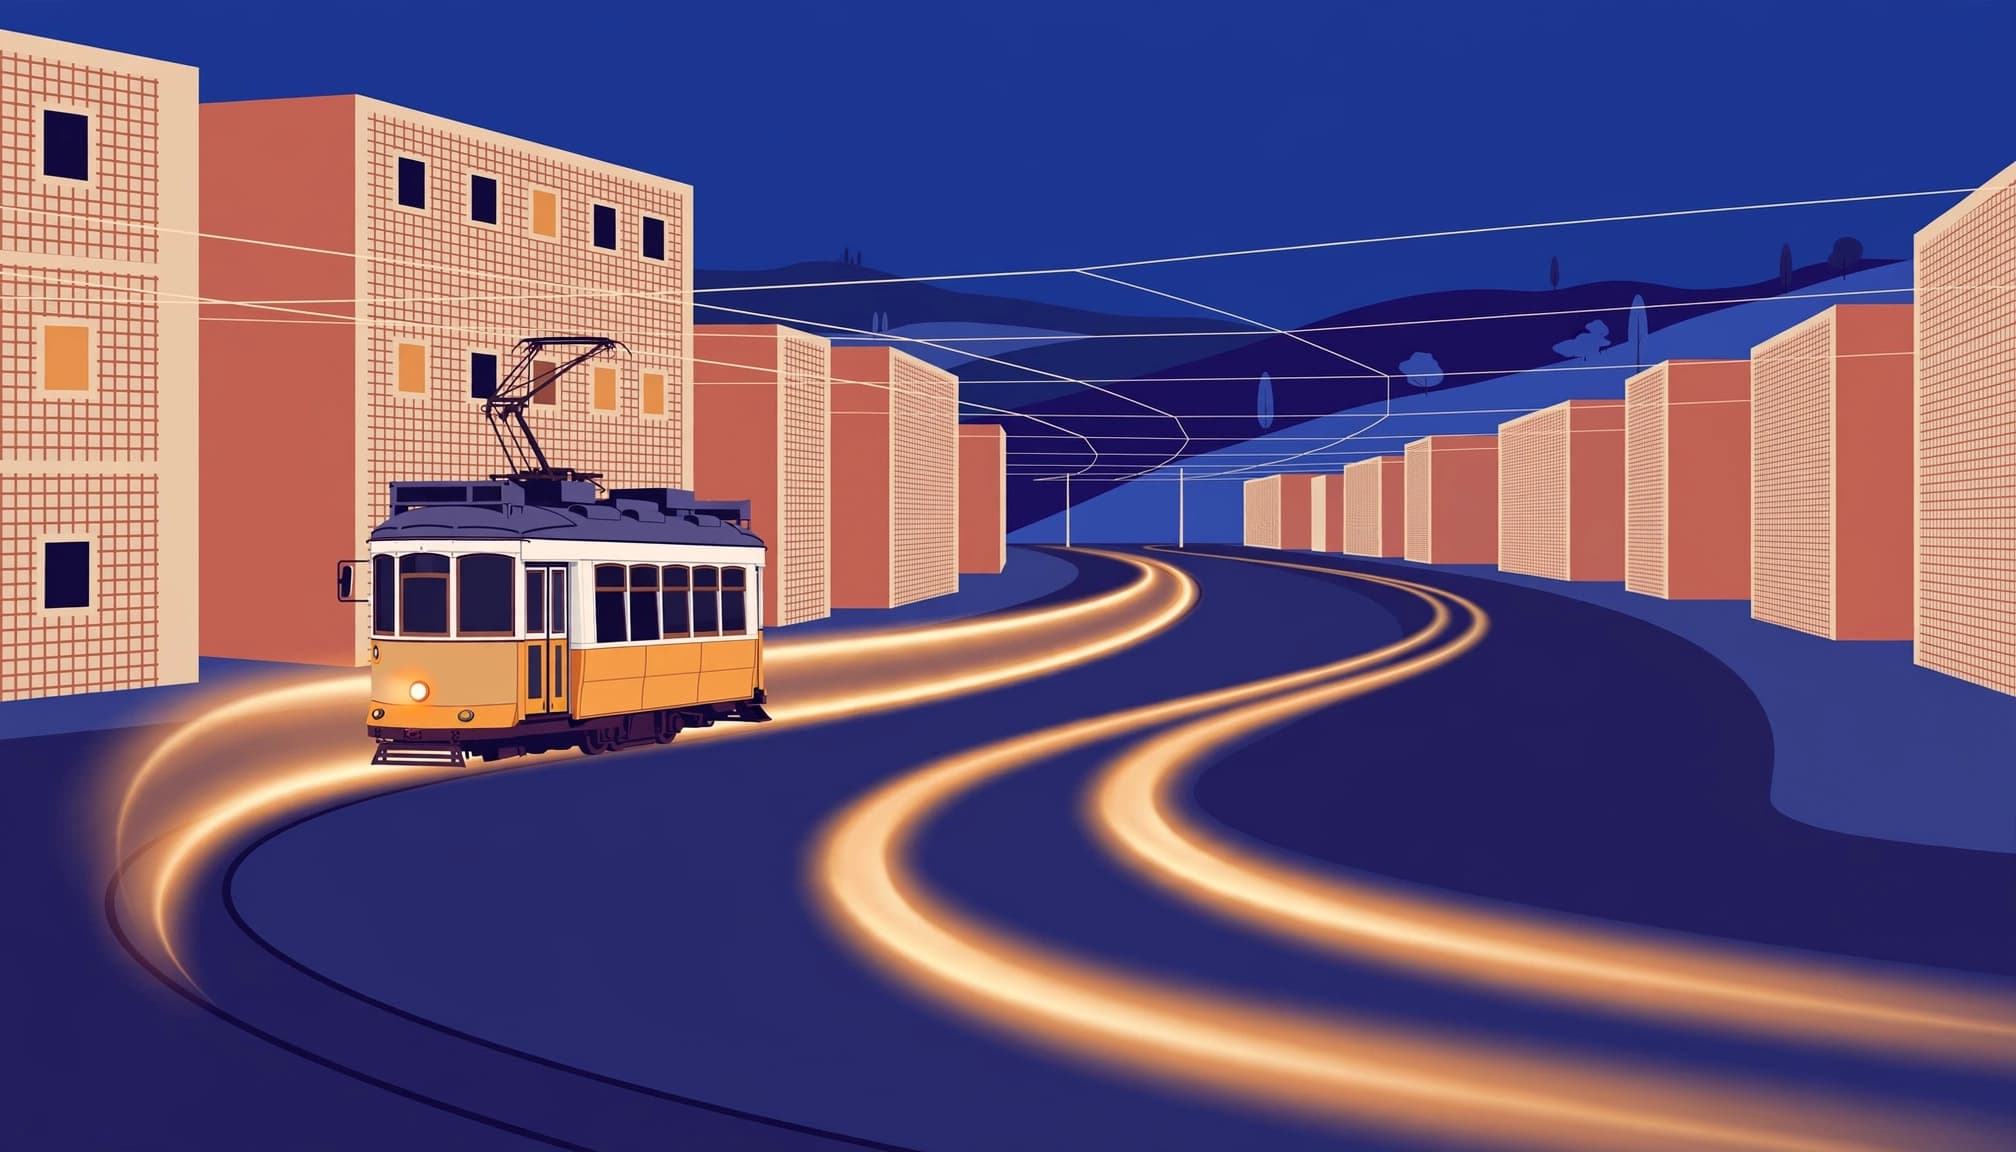
Look for a road that carries lights toward an architectural subject. A bend, ideally. Curving tram rails or a sweeping junction can give the trails shape without needing heavy traffic.
Prague’s tram streets offer moving lights against historic facades. Lisbon’s sloping streets provide different viewing heights, although narrow pavements often limit tripod space.
Watch several vehicles before committing. Notice where they stop and whether parked cars interrupt your sightline.
Give the architecture a clear role
A 24mm to 35mm full-frame-equivalent focal length is a useful starting range. It includes street context while keeping the buildings prominent.
Keep the camera level when straight walls matter. Tilting upward exaggerates converging verticals, so leave room for perspective correction later.
Also check the frame edges for bright shop signs. A lamp near a corner can draw more attention than the trail itself.
Choose the background before chasing traffic. Then wait for a vehicle that follows the line you’ve composed.
Build a Stable Setup Without Overpacking
A DSLR or mirrorless camera with Manual mode and a kit zoom is enough. Because you’ll usually work around f/8, a fast maximum aperture isn’t essential.
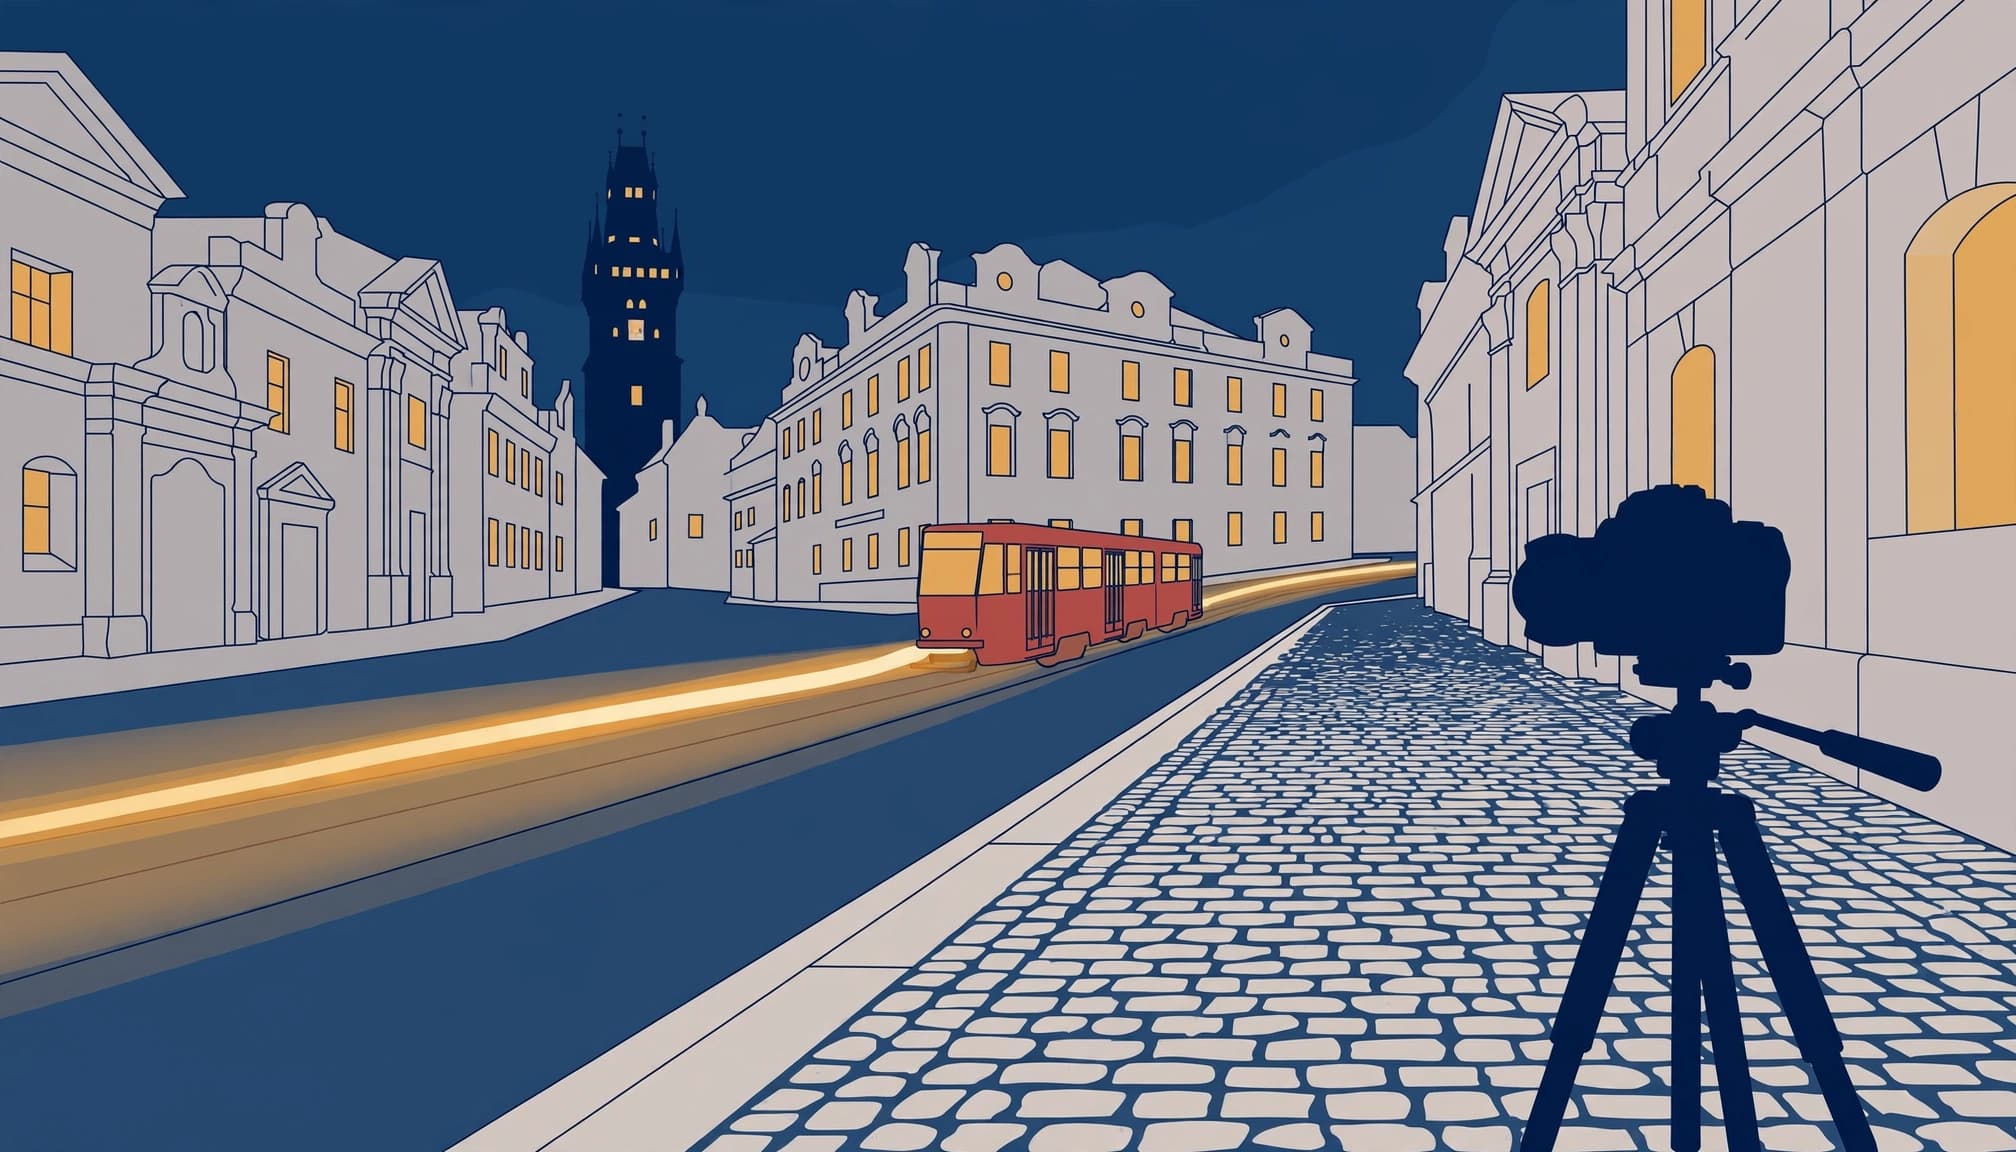
The tripod matters more than the lens. Canon’s long-exposure photography advice recommends stable support to prevent camera movement during slow exposures.
Keep the center column down. Extend the thicker leg sections first, then check that every lock holds firmly.
On cobblestones, position each foot on solid stone rather than a loose edge. Bridges can also transmit vibration when pedestrians pass, so inspect sharpness after a busy group crosses.
Use a remote release for precise traffic timing. A two-second self-timer works too, although you’ll need to anticipate when the vehicle enters your frame.
Check your camera’s stabilization guidance rather than automatically switching it off. Some systems recognize tripod use; others need disabling.
Pack a dry microfiber cloth and a spare battery. A simple rain cover is useful, but keep it clear of the lens and secure any loose material that could flap against the camera.
Starting Settings for Light Trail Photography
Switch to Manual mode and set ISO manually. Auto ISO can change the exposure as headlights enter, making successive frames harder to compare.
Begin at ISO 100, or your camera’s lowest normal ISO, with an aperture around f/8. Then choose the shutter duration according to the vehicle’s journey through the frame.
These settings are starting points, not fixed recipes.
| Street scene | Aperture | ISO | Shutter duration |
|---|---|---|---|
| Fast cars crossing a compact frame | f/8 | 100 | 2 to 5 seconds |
| Tram following a longer curve | f/8 to f/11 | 100 | 5 to 15 seconds |
| Traffic along a broad avenue | f/8 to f/11 | 100 | 10 to 20 seconds |
| Trails beside bright wet pavement | f/8 | 100 | 3 to 8 seconds |
The useful duration depends on speed and framing. A nearby vehicle can cross the picture much faster than one on a distant avenue.
Take a test exposure before the next vehicle arrives. Inspect the histogram and highlight warnings, because the rear screen can make a dark scene look brighter than it is.
If you double the shutter duration, the stationary scene receives twice as much light. Closing from f/8 to f/11 roughly compensates for that increase.
Canon’s exposure triangle guide explains how those controls interact. Avoid defaulting to f/22, because diffraction can soften architectural detail.
Match the Exposure to the Vehicle’s Movement
Start before the vehicle enters
Start with one passing vehicle. A single continuous trail is easier to judge than a frame crowded with overlapping lights.
Trigger the exposure shortly before the vehicle reaches your chosen starting point. With a self-timer, allow for the delay.
If a tram takes twelve seconds to travel between the two points you’ve chosen in the frame, an exposure of fifteen seconds gives you room to begin early and finish after it leaves.
Traffic lights complicate this. A stopped bus may register as a visible vehicle rather than disappear into a trail.
Meanwhile, approaching headlights usually create pale lines, while departing taillights create red ones. Choose your direction deliberately.
Understand what stays visible
In 1838, Louis Daguerre photographed Paris’s Boulevard du Temple using a long exposure. Moving traffic largely disappeared, but a man having his boots polished remained visible because he stayed in place.
That early street photograph illustrates something useful today: stationary subjects build up in the exposure, while moving subjects spend less time over each part of the image.
A slow or stopped tram can therefore leave a recognizable body.
Most cameras offer timed exposures up to around 30 seconds. For longer durations, EOS magazine’s explanation of Bulb mode describes how to hold the shutter open beyond that limit.
Focus Once and Protect Important Highlights
Lock focus on the buildings
Use single-point autofocus on a well-defined architectural edge, such as an illuminated window frame. Then switch to manual focus so headlights don’t persuade the camera to refocus.
Magnify live view to check the detail. Don’t rely on the lens’s infinity marking, because the correct position can vary.
For a wide street scene, focus on the main building rather than a nearby vehicle. However, if a close foreground object matters, check that it and the background both fall within acceptable sharpness.
Recheck focus after changing focal length. Some zoom lenses shift focus when you zoom, even if you haven’t touched the focusing ring.
Preserve color in the lights
Shoot RAW for more flexibility with mixed lighting. Streetlamps and LED signs often need different color treatment, so one white-balance setting won’t neutralize everything.
A fixed white balance makes a sequence easier to compare. Around 3,500K to 4,500K can provide a useful preview, but adjust it to the actual scene.
Protect meaningful highlight detail, especially colored trails and illuminated facades. Tiny lamp centers may still clip.
Extending the shutter exposes the buildings for longer, but each part of a moving trail only receives light while the vehicle passes.
Therefore, a longer exposure doesn’t automatically produce a brighter, better trail.
Use Blue Hour and Wet Pavement Deliberately
Keep some light in the sky
Blue hour gives buildings separation from the sky while vehicle lights remain visible. Its useful duration changes with latitude and season, so watch the balance rather than following a fixed timetable.
As twilight fades, repeat your test exposure. You may need a longer shutter time or a wider aperture.
If the scene is still too bright for the duration you want, wait for darker conditions. A neutral-density filter is another option, although unnecessary filters can add flare around bright lamps.
After full darkness, compose more tightly if an empty black sky adds nothing.
Find reflections without entering the road
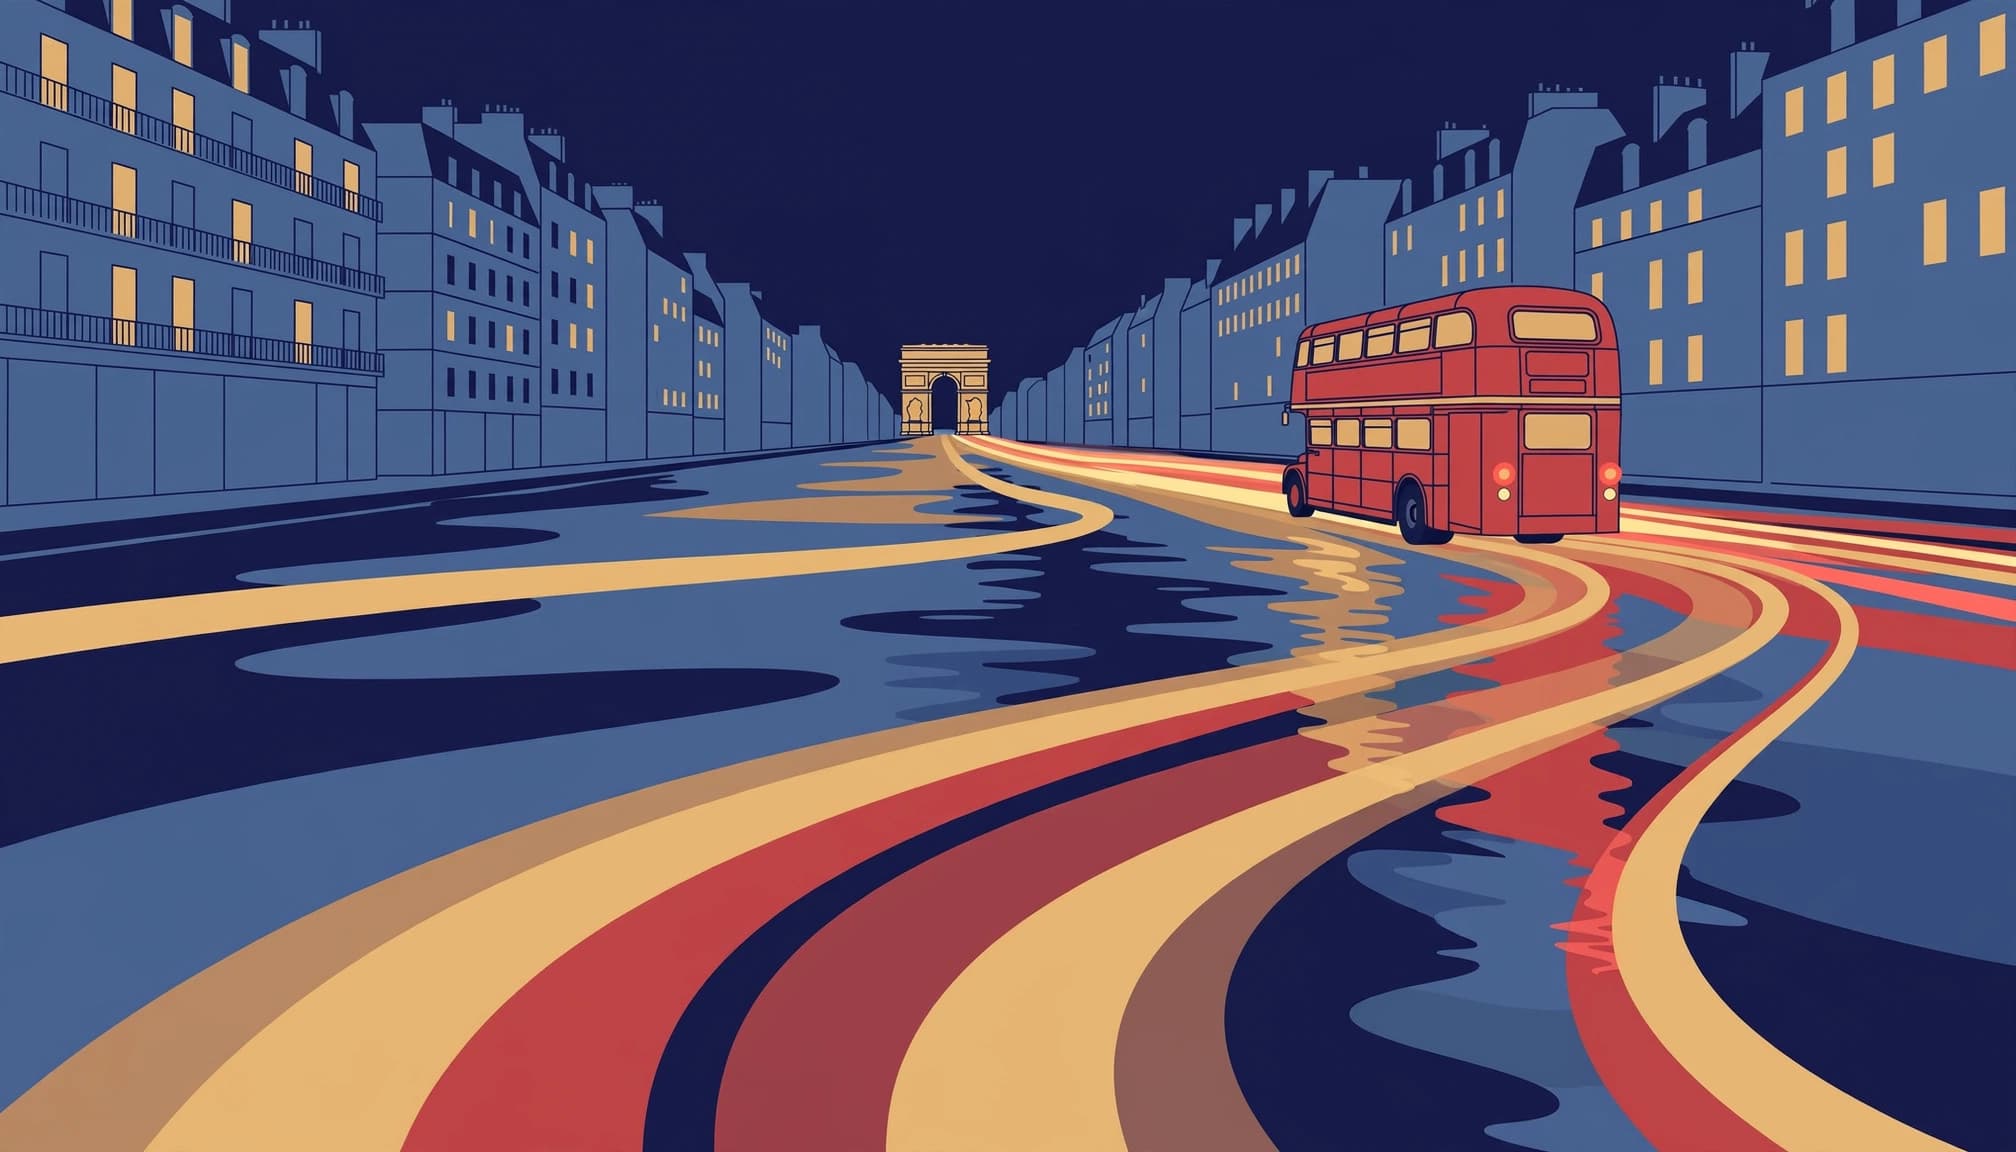
Wet paving can extend the trails downward and add color to a dark foreground. Lower the camera slightly to see whether a shallow puddle reflects the vehicle’s path.
You don’t need continuing rain. The minutes after a shower often provide reflections without droplets constantly covering the lens.
Use a hood in light drizzle, and inspect the front element when lamps develop fuzzy halos.
Because European pavements often share space with cycle lanes or tram stops, choose a position that leaves people a clear route past your tripod and lets you check approaching traffic without stepping backward into the road.
Never place a tripod on tram rails. Also check permission before setting up in managed courtyards or monument grounds.
Diagnose Problems Before Editing
Check the first frame at 100%. If the buildings are soft as well as the trails, suspect camera movement or missed focus.
Wind and an extended center column can cause blur. Move to firmer footing before changing exposure settings.
Short trails usually need better timing or a longer shutter duration. However, broken trails may come from pulsing LED lights rather than a camera fault.
For unexpected flare, clean the front element and remove any unnecessary protective filter. On a DSLR, light can also enter through the viewfinder during long exposures; Nikon’s D850 long-exposure instructions include an eyepiece-cover precaution.
In editing, correct white balance before increasing contrast. Then reduce highlights cautiously and lift shadows only as far as the file tolerates.
Straighten the image before correcting verticals, because perspective adjustments crop the edges. Avoid excessive clarity on wet pavement; it can turn soft reflections into harsh patches.
Finally, inspect the trails at full size. Strong saturation can erase color differences between adjacent ribbons, while aggressive noise reduction can smear fine architecture.
Finish With One Deliberate Frame
Before packing away, choose one vehicle and wait for it to follow the route you’ve framed. Keep the composition fixed so you can judge the effect of timing alone.
Watch its approach without looking continuously through the viewfinder. Trigger the shutter just before its headlights reach the first cobblestone inside your frame.
