
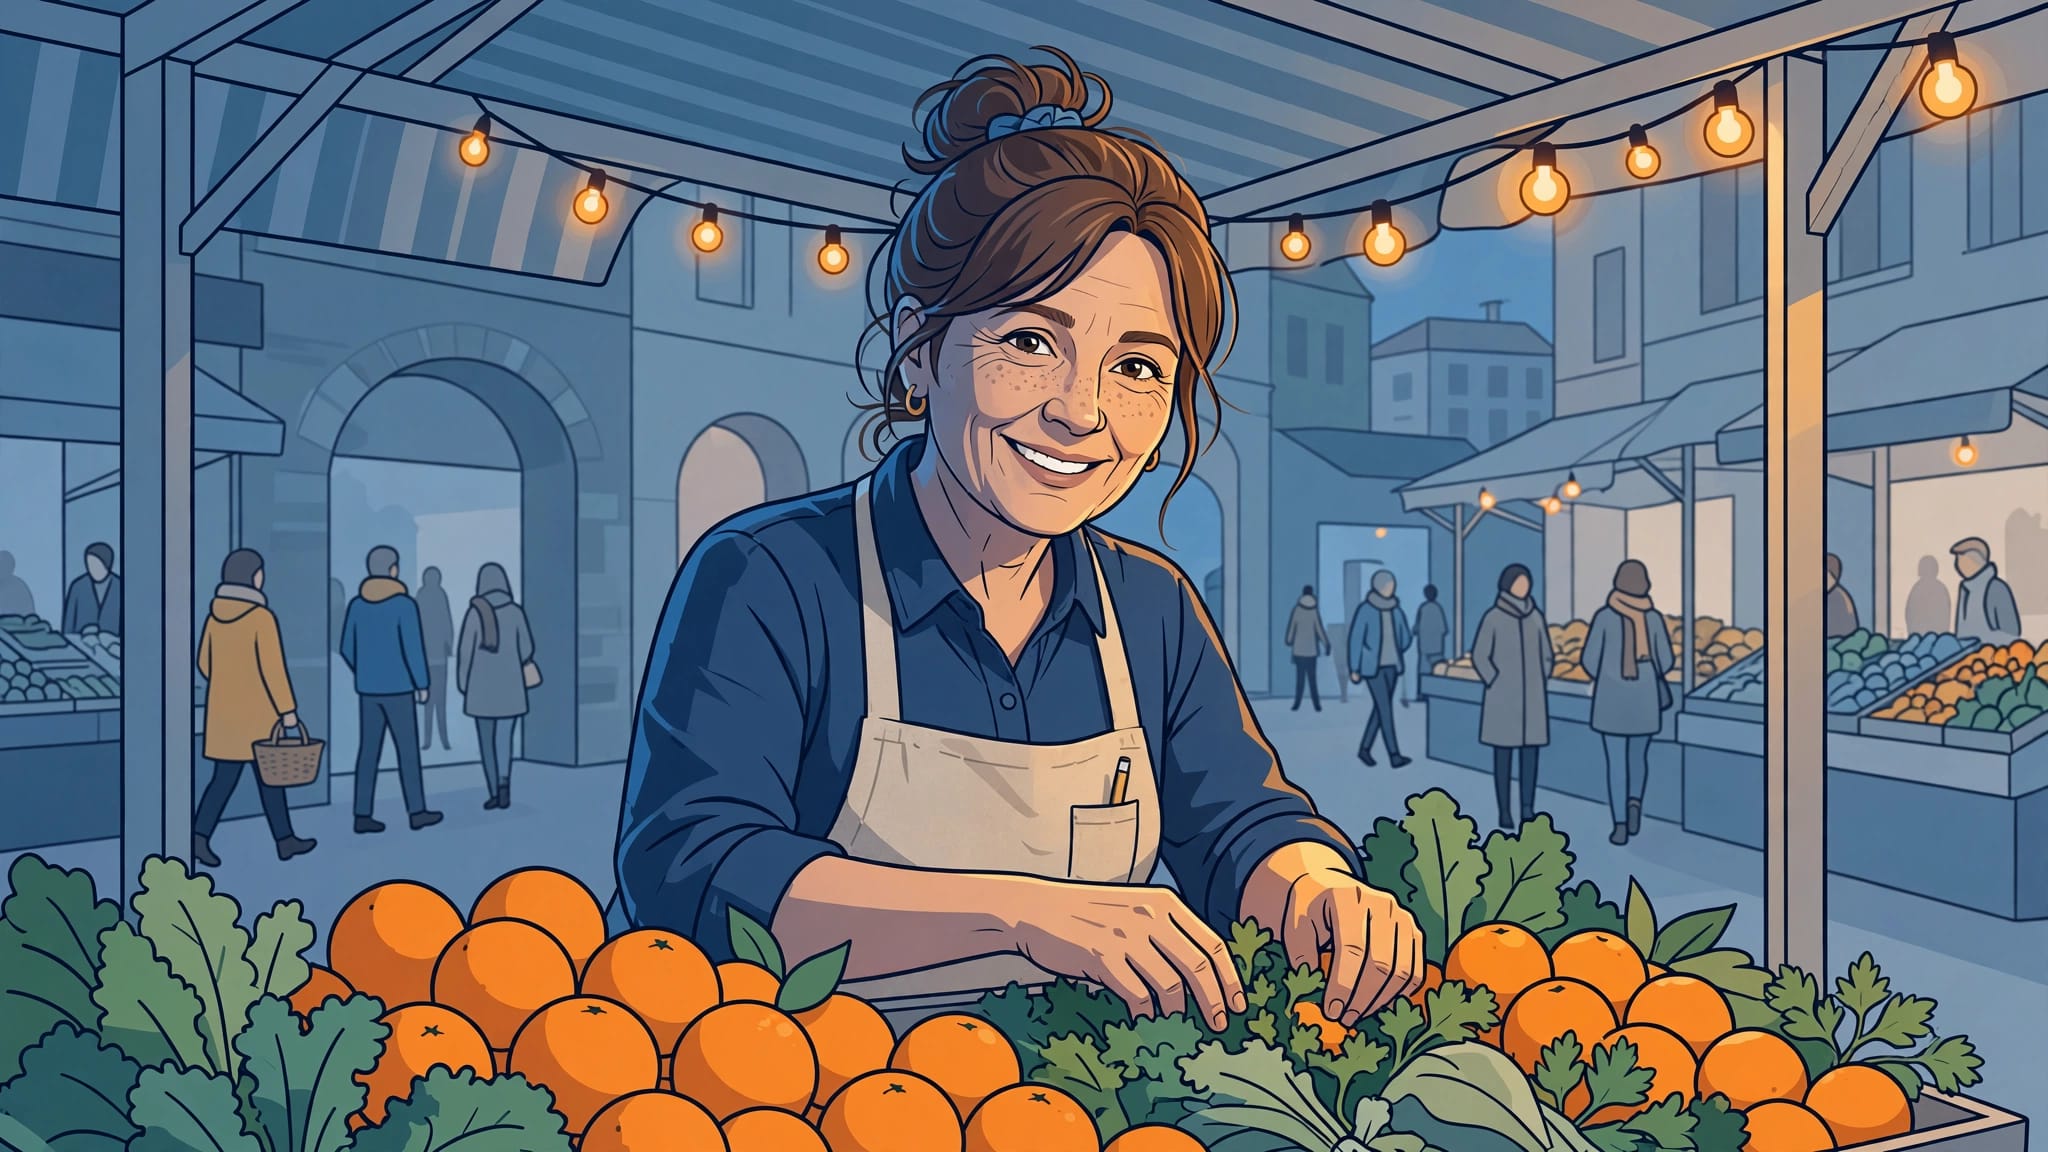
A market stall can put a vendor’s face in blue shade while warm bulbs turn the produce orange. European street market photography gets easier when you choose which light should define your subject, then let the other sources keep their character.
You don’t need to make every corner neutral. You need consistent exposure and believable skin color.
Start with the light, before the crowd gives you a reason to hurry.
Read the light before you raise the camera
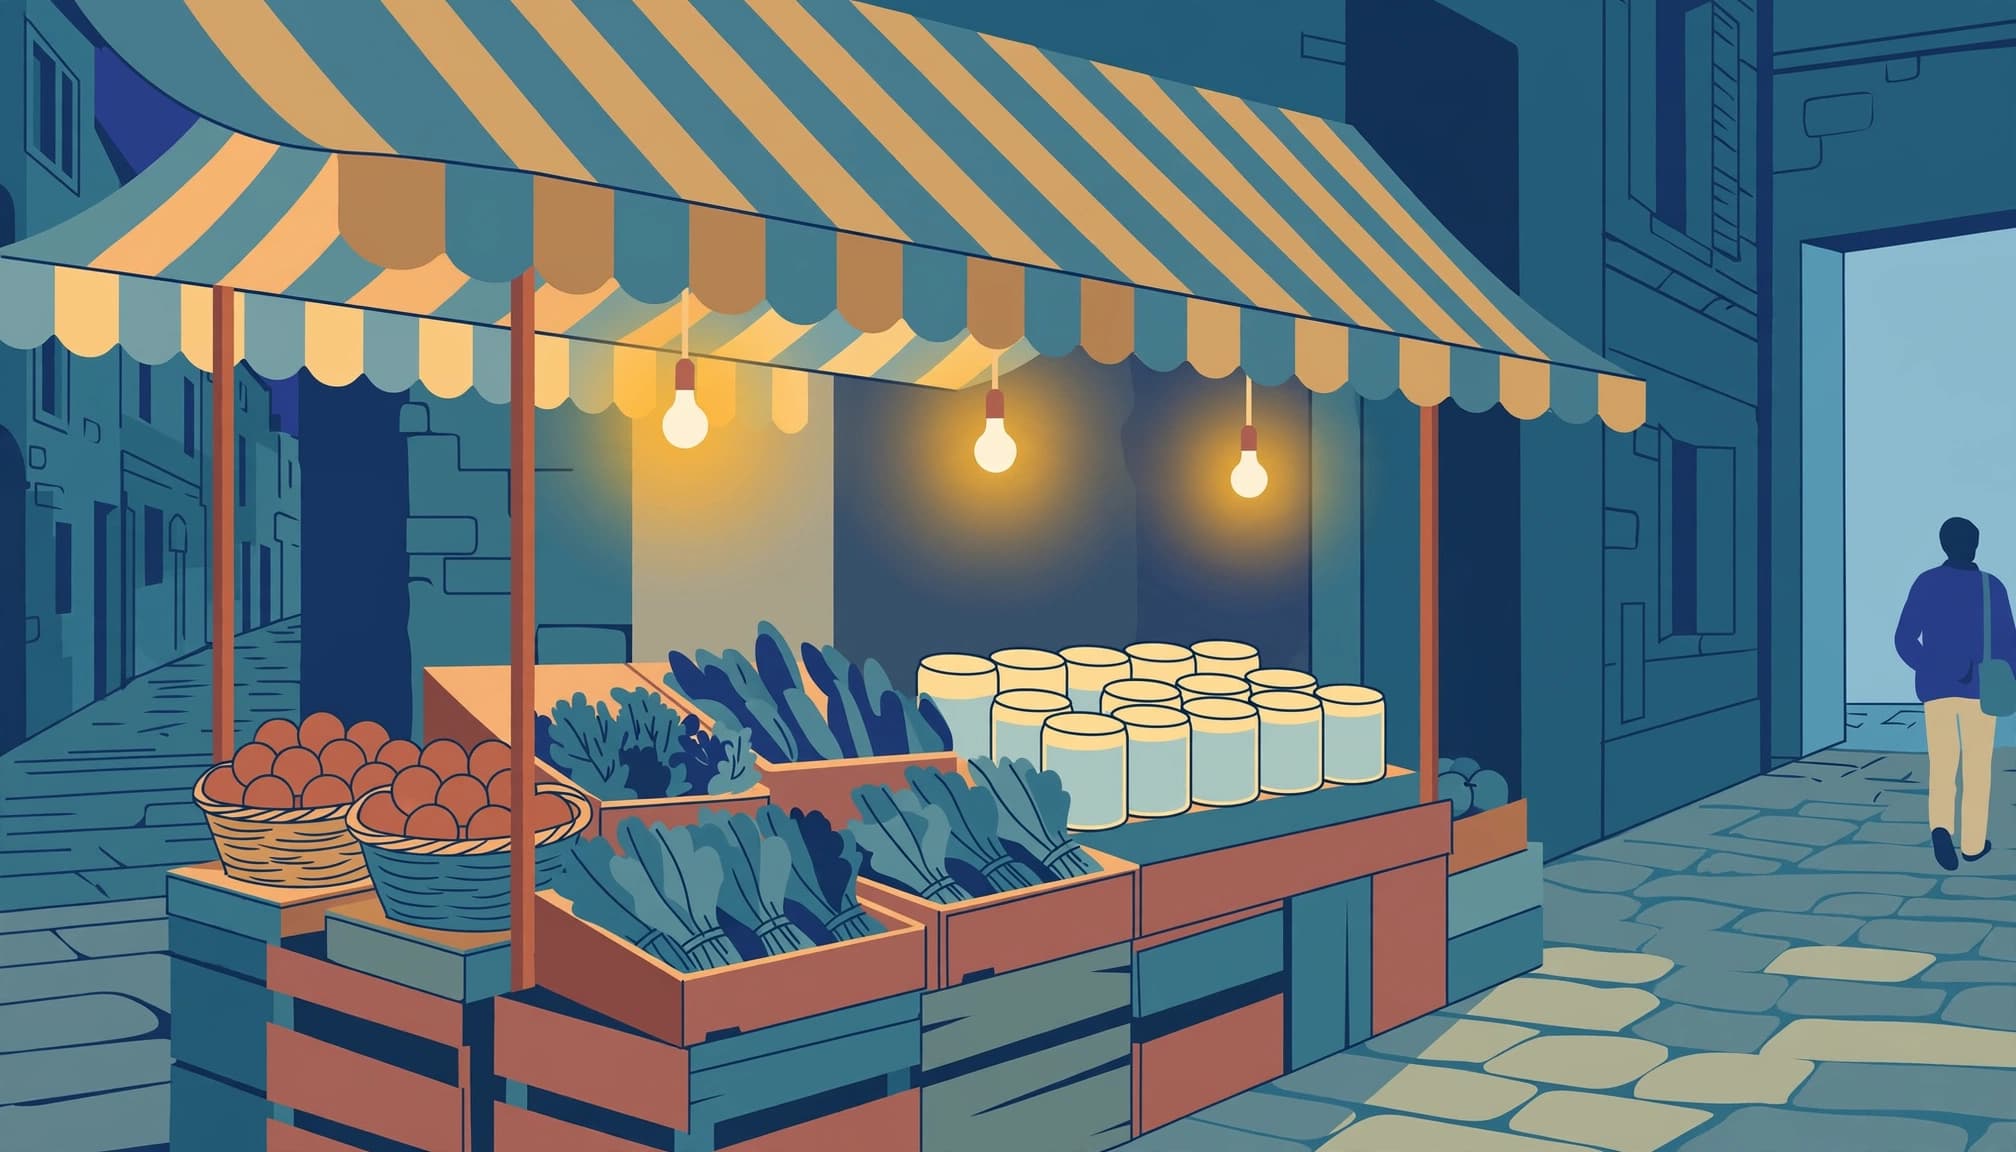
Walk past a stall once without photographing it. Notice whether daylight reaches the vendor directly or bounces off a neighboring wall. Then look beneath the canopy: colored fabric can tint faces even when no artificial lamp is visible.
Warm bulbs, blue shade. That contrast can give a frame depth, provided the main subject doesn’t sit halfway between incompatible sources.
Find shade first. A covered entrance or building corner gives you somewhere to compose while shoppers cross a brighter opening. In Bologna’s Quadrilatero, narrow lanes offer useful boundaries between shaded stalls and sunlit pavement.
Use those boundaries deliberately. Place the brighter patch where you want the action, then let surrounding darkness simplify the frame. However, watch for small sunlit distractions near the edges, especially white packaging.
For a close portrait, examine both cheeks. If one looks orange and the other cyan, shift sideways or ask whether the vendor can stand nearer the open frontage. A small move may improve the color more than any camera setting.
Return after the light changes. As daylight fades, stall lamps gain influence, so an exposure and white balance that worked earlier may need replacing.
Set exposure for European street market photography
These are starting points, not promises of correct exposure.
| Market situation | Shutter speed | Aperture | ISO approach |
|---|---|---|---|
| Walking shoppers in sunlight | 1/500 second | f/5.6 | Start at ISO 100 |
| Vendor working under a canopy | 1/250 second | f/2.8 to f/4 | Auto ISO |
| Evening stall with moving people | 1/250 second | f/1.8 to f/2.8 | Auto ISO |
| Still produce display | 1/125 second | f/4 to f/5.6 | Adjust to available light |
Let movement determine your minimum shutter speed, then adjust exposure for the actual scene.
Keep moving subjects sharp
Manual exposure with Auto ISO lets you hold shutter speed and aperture while light levels change. Start near 1/250 second for ordinary walking, then increase speed for quick gestures.
As Nikon’s shutter-speed guide explains, faster shutters reduce motion blur. Stabilization doesn’t freeze people.
When a vendor leans forward to hand over a bag while another shopper passes behind them, a slightly higher ISO is usually a better compromise than slowing the shutter enough to blur both figures.
Protect meaningful highlights
Shoot RAW and inspect highlight warnings after your first frame. Protect texture in faces and white aprons rather than trying to retain detail inside every bare bulb.
If those important areas clip, reduce exposure in small increments and review again. Negative compensation can help in automatic exposure, but apply it because of the result, not simply because the scene contains white objects.
A dark stall may fool metering into brightening the whole frame. Keep some darkness if it belongs there.
Choose white balance for the subject
A single white-balance setting cannot neutralize every source in a mixed-light scene. Adobe’s explanation of white balance describes the problem: sources with different color temperatures produce different casts.
Pick a reference and stay consistent
For portraits, prioritize the light falling on the face. A neutral gray card helps if you can place it under that same light, but a reference taken outside the canopy won’t describe conditions inside.
Auto white balance is useful for scouting. However, it may change between otherwise similar frames as a red awning or warm lamp occupies more of the image.
For a sequence at one stall, try a fixed setting around 4,000 to 4,800 K and judge the preview. That range is a starting experiment, not a universal market setting.
Preserve useful color differences
Move before changing white balance. If the vendor’s face sits beneath a strongly colored awning, try another angle with more open daylight.
If a vendor stands beneath amber lamps while daylight reaches the customers outside, balance for the face you want viewers to notice and allow the street to remain cooler, rather than forcing both areas toward the same neutral gray.
RAW capture lets you revise white balance later without committing to the camera’s JPEG rendering. However, it can’t restore color information that a poor-quality light source never supplied.
For JPEGs, inspect skin carefully before making a long sequence. Strong corrections later can expose compression artifacts and uneven color.
Test stall lighting for flicker and banding
Some lamps create horizontal bands or inconsistent brightness, particularly with an electronic shutter. You may miss the problem in a small preview, so enlarge a test frame and inspect plain surfaces.
Many European electricity supplies run at 50 Hz. However, LED drivers can pulse at other frequencies, so there isn’t one shutter speed that fixes every stall.
If you see bands, try the mechanical shutter and your camera’s anti-flicker feature, if available. Take another short sequence because a single clean image doesn’t prove the problem has disappeared.
Shutter speeds of 1/100 or 1/50 second can help with mains-linked flicker, but they also risk blurred hands. Reserve those experiments for quieter moments or still displays.
If changing shutter speed removes bands but blurs the vendor, find another light source or wait for a pause.
Before committing to silent shooting, check it beneath the actual stall lamps. A setting that behaved outside may fail under the next canopy.
Compose for layers, gestures, and color
Find a frame before the moment
Choose a clear background before following people. A dark opening can separate a sunlit shopper, while a pale wall can make a shaded figure readable.
Henri Cartier-Bresson’s 1932 photograph Behind the Gare Saint-Lazare offers a useful precedent. He photographed through a gap in a fence near the Paris station, catching a man leaping over water. The restricted viewpoint became part of the picture.
At a market, work with the opening you have. A gap between hanging fabric and stacked crates can frame an exchange without requiring you to step into the customer’s space.
Wait for a gesture that reads against the background. Check that the main action doesn’t disappear behind a foreground basket.
Separate the light zones
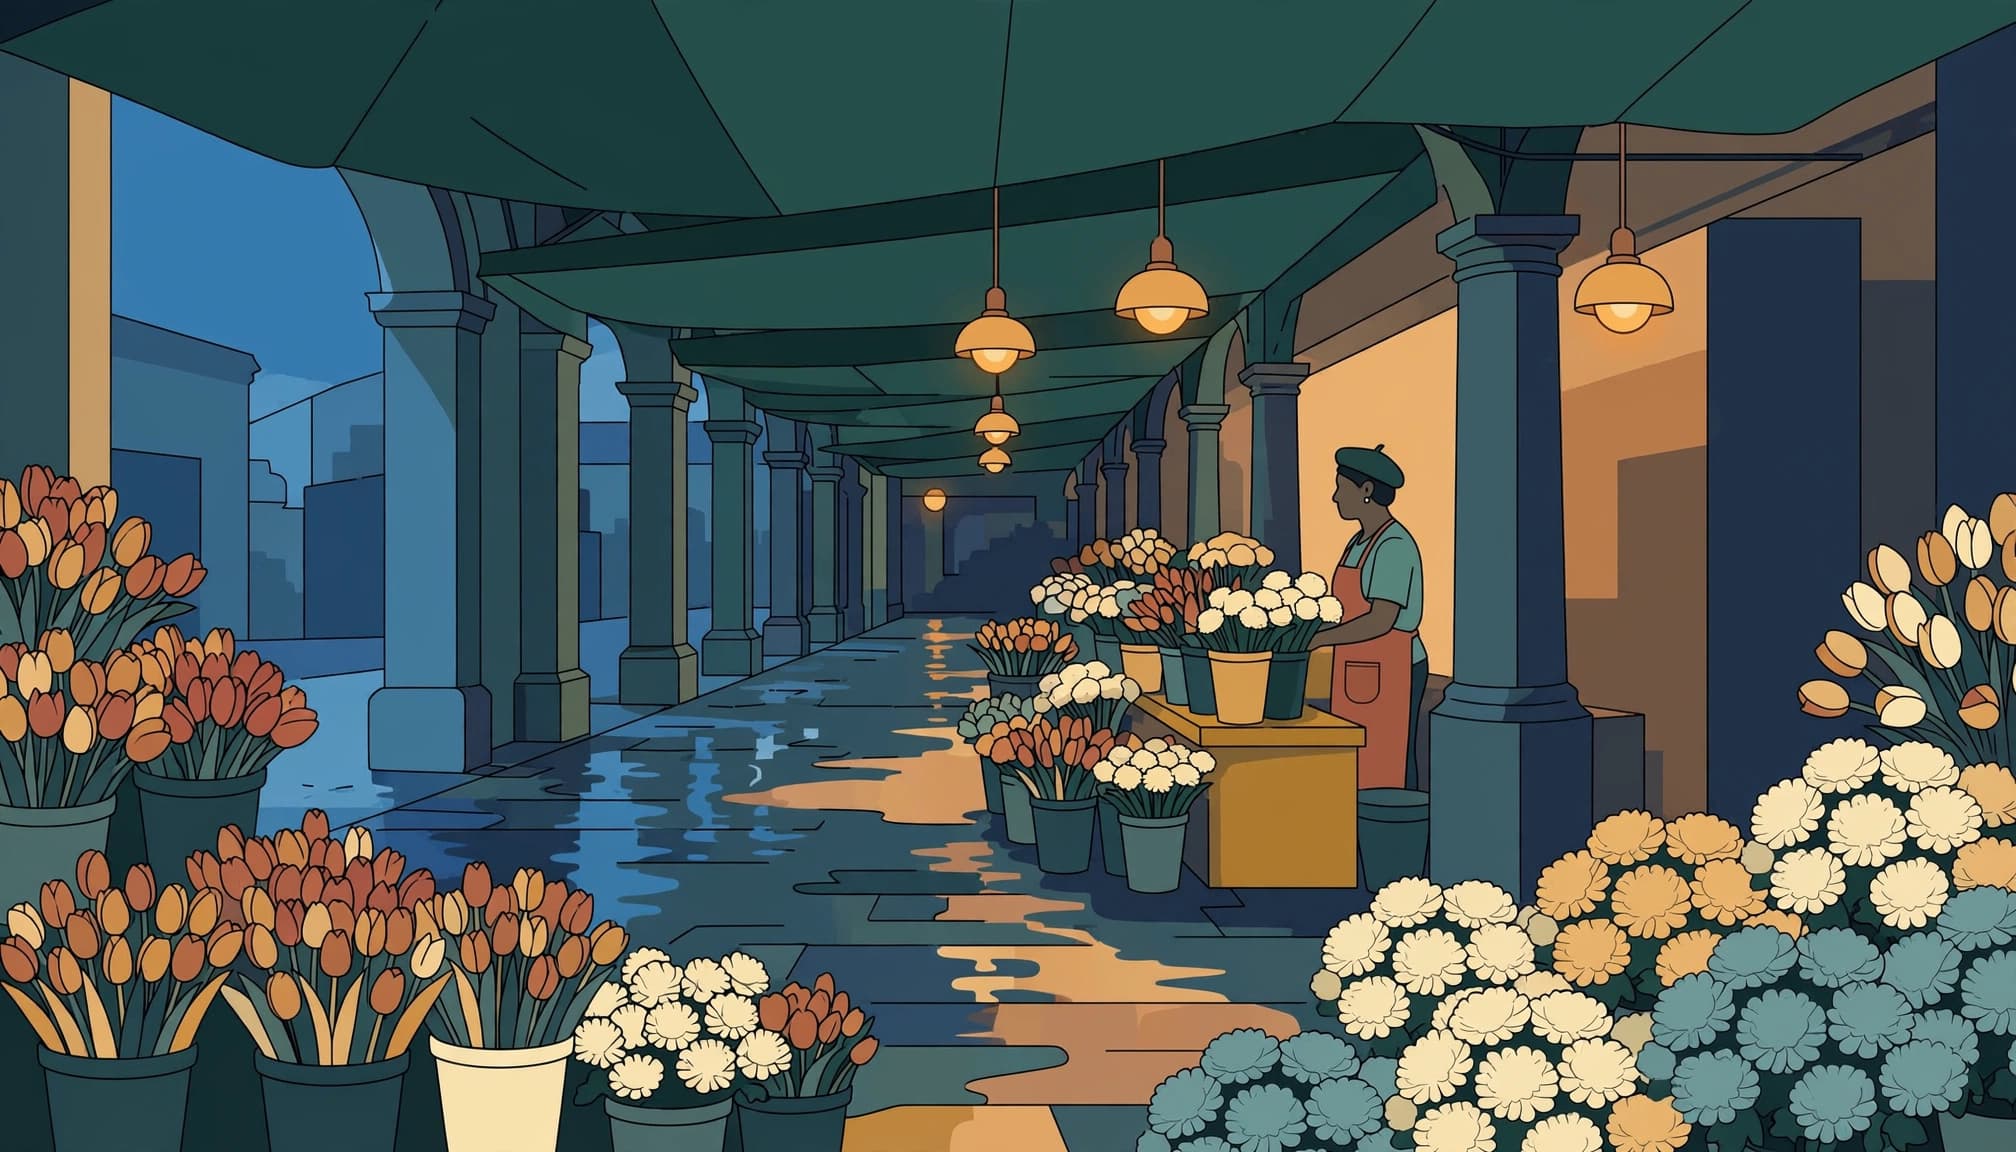
Use warm and cool areas as distinct layers. For example, keep a lamp-lit display in the foreground and let daylight describe the aisle beyond.
Avoid placing a lamp directly behind someone’s head unless the bright overlap supports the picture. A small sideways step often separates the shapes.
A 35mm-equivalent lens includes the stall’s surroundings without requiring an extremely close viewpoint. Meanwhile, a 50mm equivalent can isolate an exchange across the counter.
Before pressing the shutter, check the edges for bright bags and cropped elbows. Those distractions often matter more than whether the background is perfectly sharp.
Carry less and keep the aisle clear
One camera and a small lens are usually easier to manage than a bag requiring constant rearrangement. A compact standard zoom offers flexibility, while a fast prime gives you more aperture choices after sunset.
Don’t insist on the lowest ISO. Nikon’s explanation of ISO sensitivity describes why low ISO requires more light. Under a canopy, raising it can preserve the shutter speed you need.
Carry a microfiber cloth because cooking steam and drizzle can soften contrast on the front element. Keep the lens hood fitted when a bright lamp sits just outside the frame.
Keep the aisle clear. Vendors need room to work, and customers shouldn’t have to squeeze around your bag.
Ask before making a close, sustained portrait. A brief gesture toward the camera may open a conversation, but accept hesitation as a reason to stop. If someone objects, lower the camera and move on.
Public access doesn’t automatically mean unrestricted photography. Follow posted rules and ask staff when permission is unclear, particularly inside managed market halls.
Edit mixed light without flattening the market
Establish believable skin first
Choose one representative frame before editing the whole sequence. Set exposure and global white balance around the main subject, then synchronize only across photographs made under similar lighting.
Next, use a local mask for a face that remains too orange or green. Make small temperature or tint adjustments rather than shifting the entire scene.
Adobe’s Lightroom mobile color controls include temperature and tint adjustments, alongside controls for individual colors. Use those tools selectively: reducing orange globally may affect both skin and oranges on the counter.
Compare the corrected face with nearby neutral objects under the same light. A white bag in another lighting zone isn’t a reliable reference.
Keep shadows and reflections convincing
Recover highlights where texture matters, then open only the shadows that hide useful information. Raising every dark area can erase the distinction between a sheltered stall and the bright street.
Likewise, keep wet paving darker than its reflected lamps. Excessive shadow lifting makes the pavement look washed out.
Inspect noise reduction at full size. Strong processing can smear fine produce textures and make skin look plastic.
For documentary work, keep corrections faithful to the scene. If a color cast remains distracting, black and white can simplify the image, but it won’t repair clipped highlights or an unclear composition.
Export a test image and view it away from the editing screen before processing the rest.
Make one more deliberate pass
Before leaving, return to a stall whose lighting you now understand. Stand outside the customer’s route and set your exposure before the next exchange begins.
Wait for the vendor to pause in the light you’ve chosen. Then check one meaningful highlight in playback: the folds of a white apron.
