
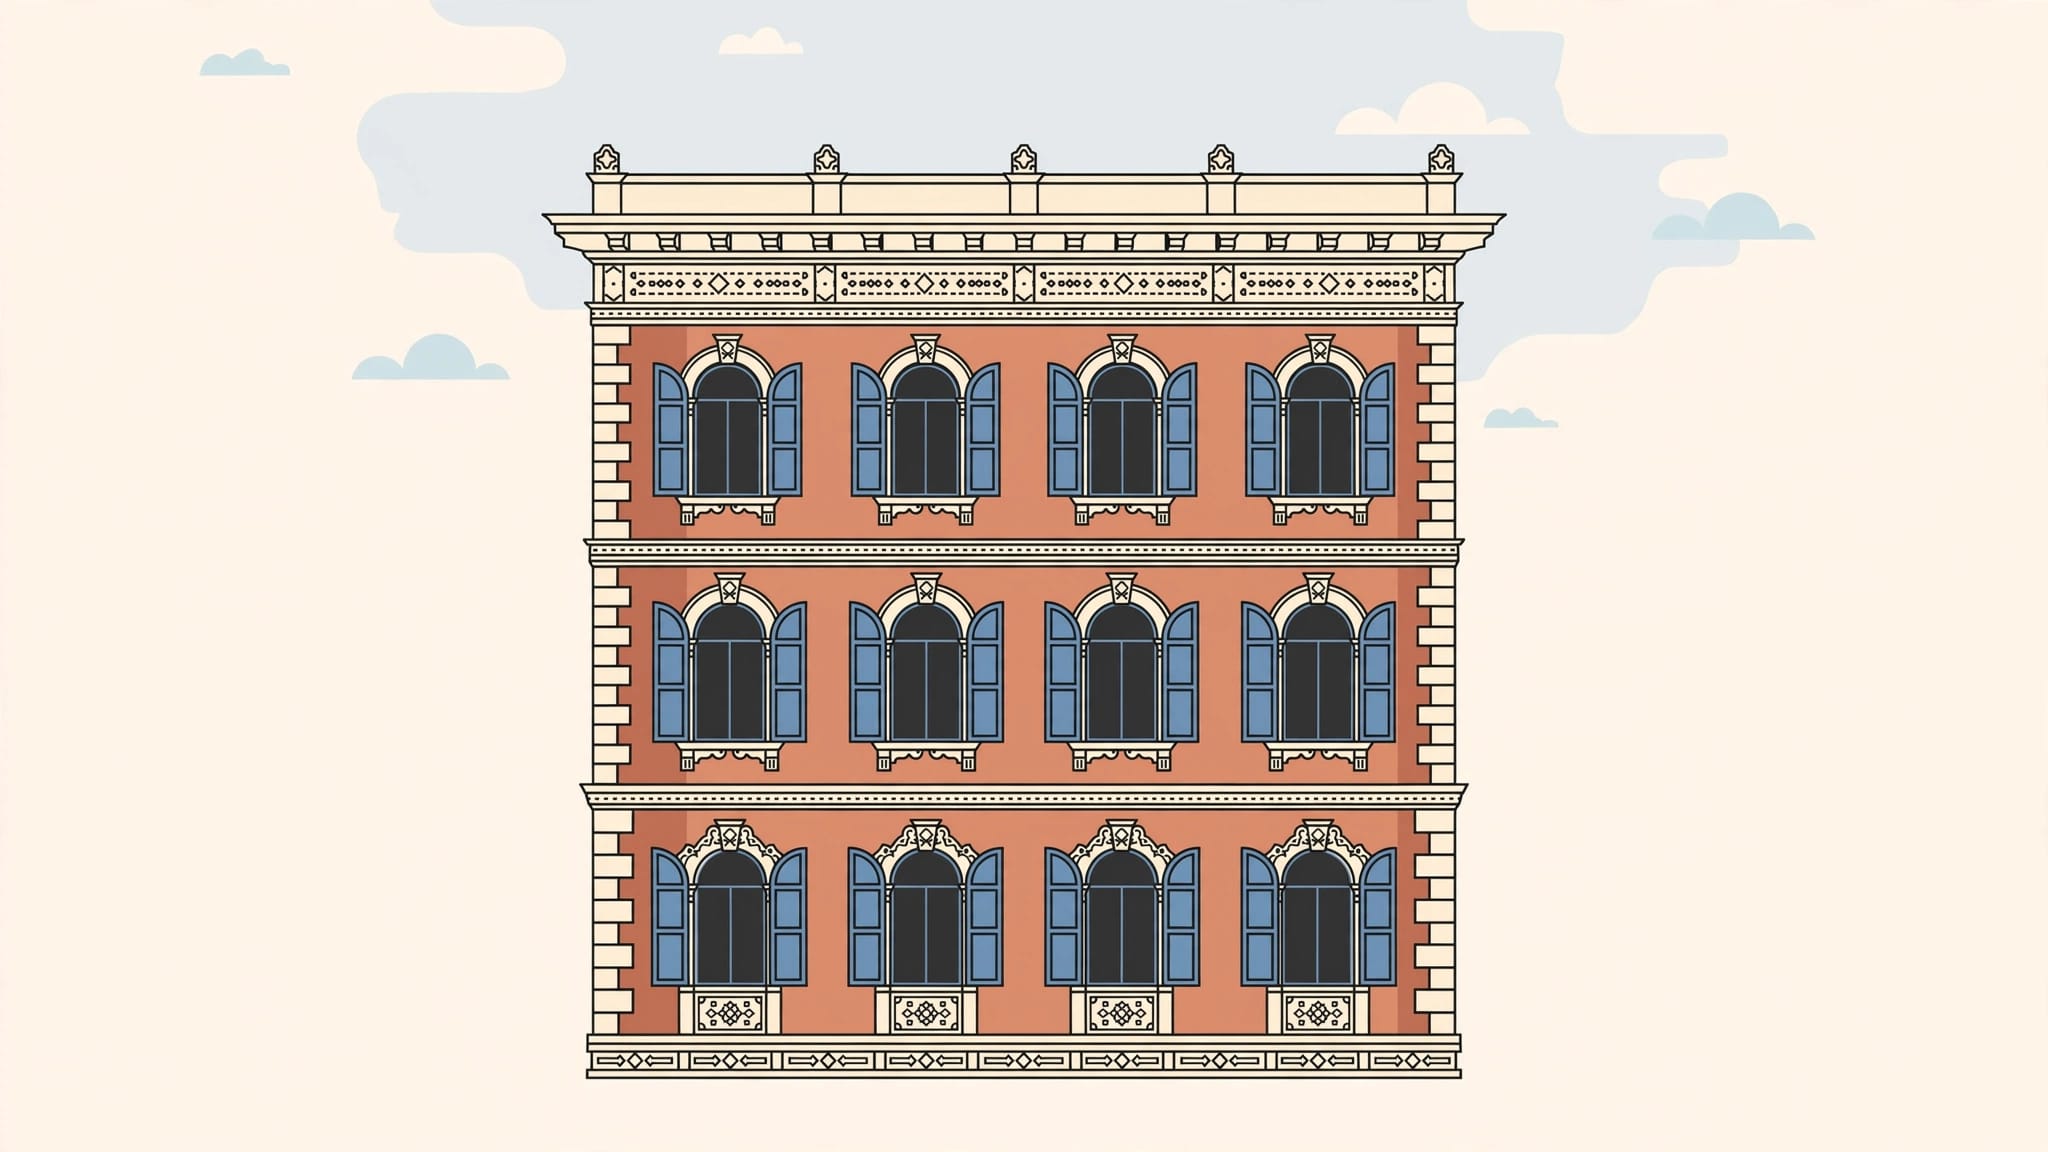
European architecture often rewards a tighter view: a row of windows can make a stronger photograph than an entire palace. Architectural pattern photography works best when you isolate a repeatable shape and control camera alignment.
On European streets, you often can’t step back far enough to keep a facade square. Look up before choosing your frame, leave negative space around the motif, and try a tighter shot.
Key Takeaways
- Find a repeatable architectural detail, such as windows, arches, shutters, or surface decoration, and decide whether spacing or texture is the main subject.
- Keep the camera level and aligned with the facade for a regular grid. Use an oblique view to show depth, or center yourself on the structure’s axis for symmetry.
- Choose light to suit the surface: cloud cover helps keep color even, while low side light reveals carved stone and balcony details.
- Focal length changes framing, but your camera position controls perspective. Leave room around the pattern for perspective correction and cropping.
Find Patterns Before Choosing Your Frame
Recognize repetition within architectural photography
Architectural photography, also called building photography, covers building interiors and exteriors, as well as structures such as bridges or statues. Isolating repeated details is a composition technique within architecture photography.
Exterior photographs often promote an architect’s or engineer’s work; builders also commission them. Interior images commonly serve designers and architects, while occupants commission photographs of their spaces.
For travel photography, repetition gives you a manageable subject when a whole building won’t fit. Windows create grids; successive arches create depth.
Look for a repeatable unit
At Vienna’s Majolikahaus, floral surface decoration offers a different subject from Bologna’s receding porticoes. First identify the repeatable unit behind the repeating patterns. Then decide whether its spacing or surface detail matters most.
The Bechers’ industrial photography offers a useful model. Hilla and Bernd Becher photographed industrial structures under consistent lighting and viewpoints, allowing small design differences to become visible.
Apply that discipline across several European facades. Keep your camera height similar so comparisons remain readable.
Compose Architectural Pattern Photography With Precision
1. Shoot straight on for an abstract grid
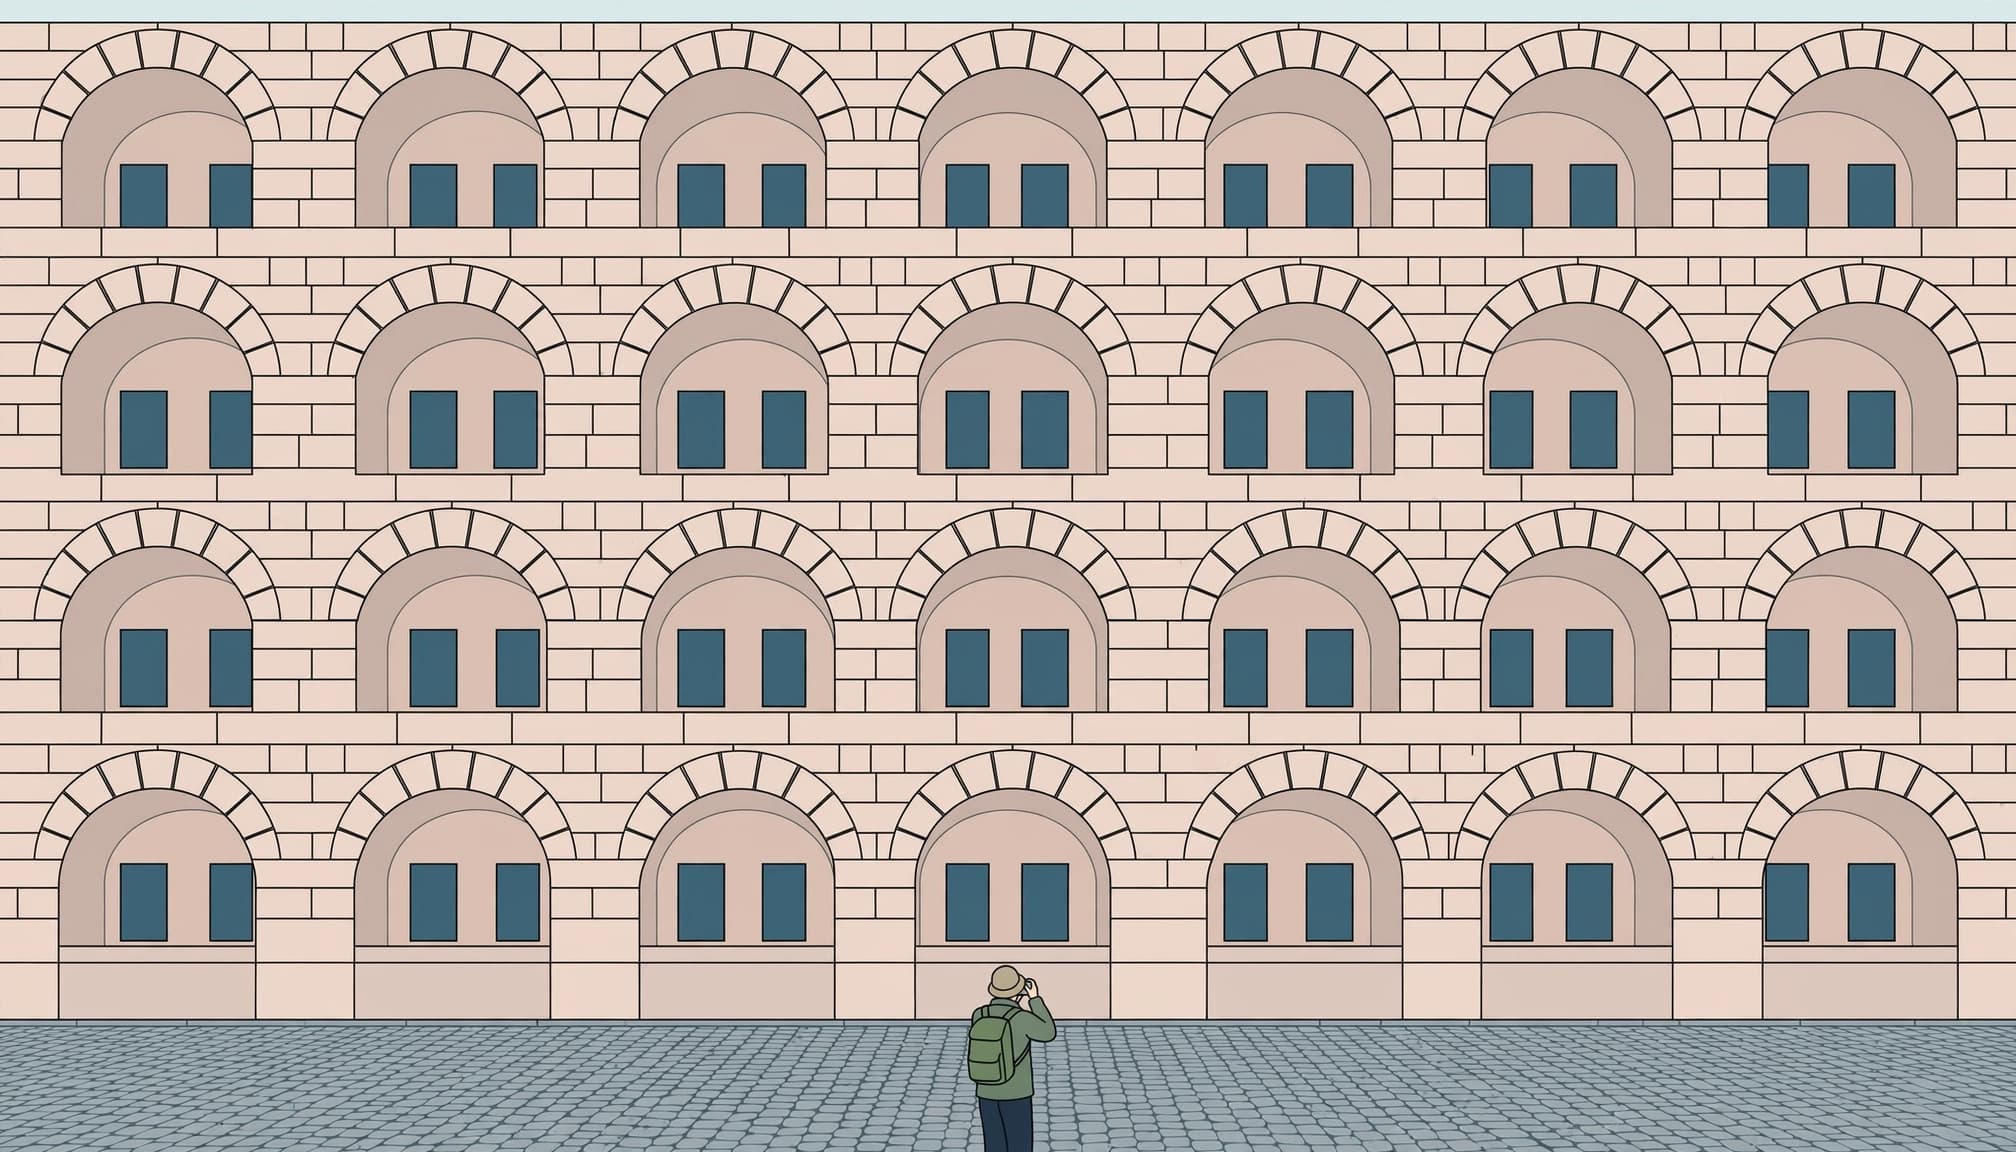
Keep the camera level. For evenly spaced windows, position the sensor plane parallel to the facade and avoid tilting upward.
This keeps rectangular windows more consistent across the frame. As the surrounding street disappears, the grid gains an abstract quality.
In a narrow lane, where a wall prevents you from stepping backward and the upper floors require a steep upward tilt, selecting a smaller section often produces cleaner geometry than forcing the entire building into an ultra-wide photograph.
Fill the frame, but leave a little space for correction. Also inspect the edges: half a balcony can look accidental unless other repetitions end similarly.
2. Center yourself for symmetry
Stand on the structure’s central axis, then align its midpoint with your camera grid. A centered doorway or courtyard makes a useful reference.
On current iPhones, enable the grid through Settings > Camera > Grid. Older instructions use Settings > Photos & Camera > Grid.
However, the grid can’t compensate for standing off-center. Move sideways until corresponding features balance, and keep the camera level.
Perfect symmetry suits formal buildings. Meanwhile, a strip of plain wall can provide negative space around a dense pattern.
Add Depth or Interrupt the Repetition
3. Lead the eye through arches
For Bologna’s porticoes, an oblique view reveals successive arches better than a flat frontal view. Position a paving joint or arcade edge near a frame corner to lead the eye diagonally into the scene.
A doorway or archway can frame the pattern beyond. Keep the foreground opening simple and leave negative space around it, since a large dark border can overwhelm the repeated forms.
Before entering an arcade or courtyard, check posted access rules. Don’t block a walkway or doorway while composing, and wait for a clear pedestrian gap.
Then choose a clear endpoint. A distant doorway gives the eye somewhere to settle, while an untidy cluster of signs competes with the architecture.
4. Give the rhythm one deliberate break
A single open shutter. Within a row of closed shutters, that small difference gives the photograph a focal point.
Choose the interruption carefully. A parked delivery van usually obscures the pattern rather than improving it, so wait for a gap.
A person beneath an arcade can provide scale or suggest everyday use. This separates a lifestyle image from a photograph focused on architectural form.
In 1960, Julius Shulman photographed two women inside the glass-walled Case Study House No. 22 above Los Angeles, turning a view of a modern house into a scene about daily life inside the home. TIME later called it the most successful real estate image ever taken. His Case Study House photograph shows how human presence changes a building image’s purpose.
Choose the Architectural Shot Type That Fits
A pattern doesn’t always need a frontal view. These common architectural shot types give you different ways to describe repetition.
| Shot type | Use for repeating patterns |
|---|---|
| Front elevation | Photograph perpendicular to the wall for regular window grids. |
| Overhead | Show courtyard layouts from an authorized elevated viewpoint. |
| Side | Follow balconies along a building’s side elevation. |
| Oblique | Reveal depth by viewing the facade at an angle. |
| Reveal | Use leading lines or a foreground opening to disclose the structure beyond. |
| Perspective zoom | Tighten the framing around repeated forms receding into distance. |
Choose the viewpoint before changing focal length. Zooming changes framing; moving the camera changes perspective.
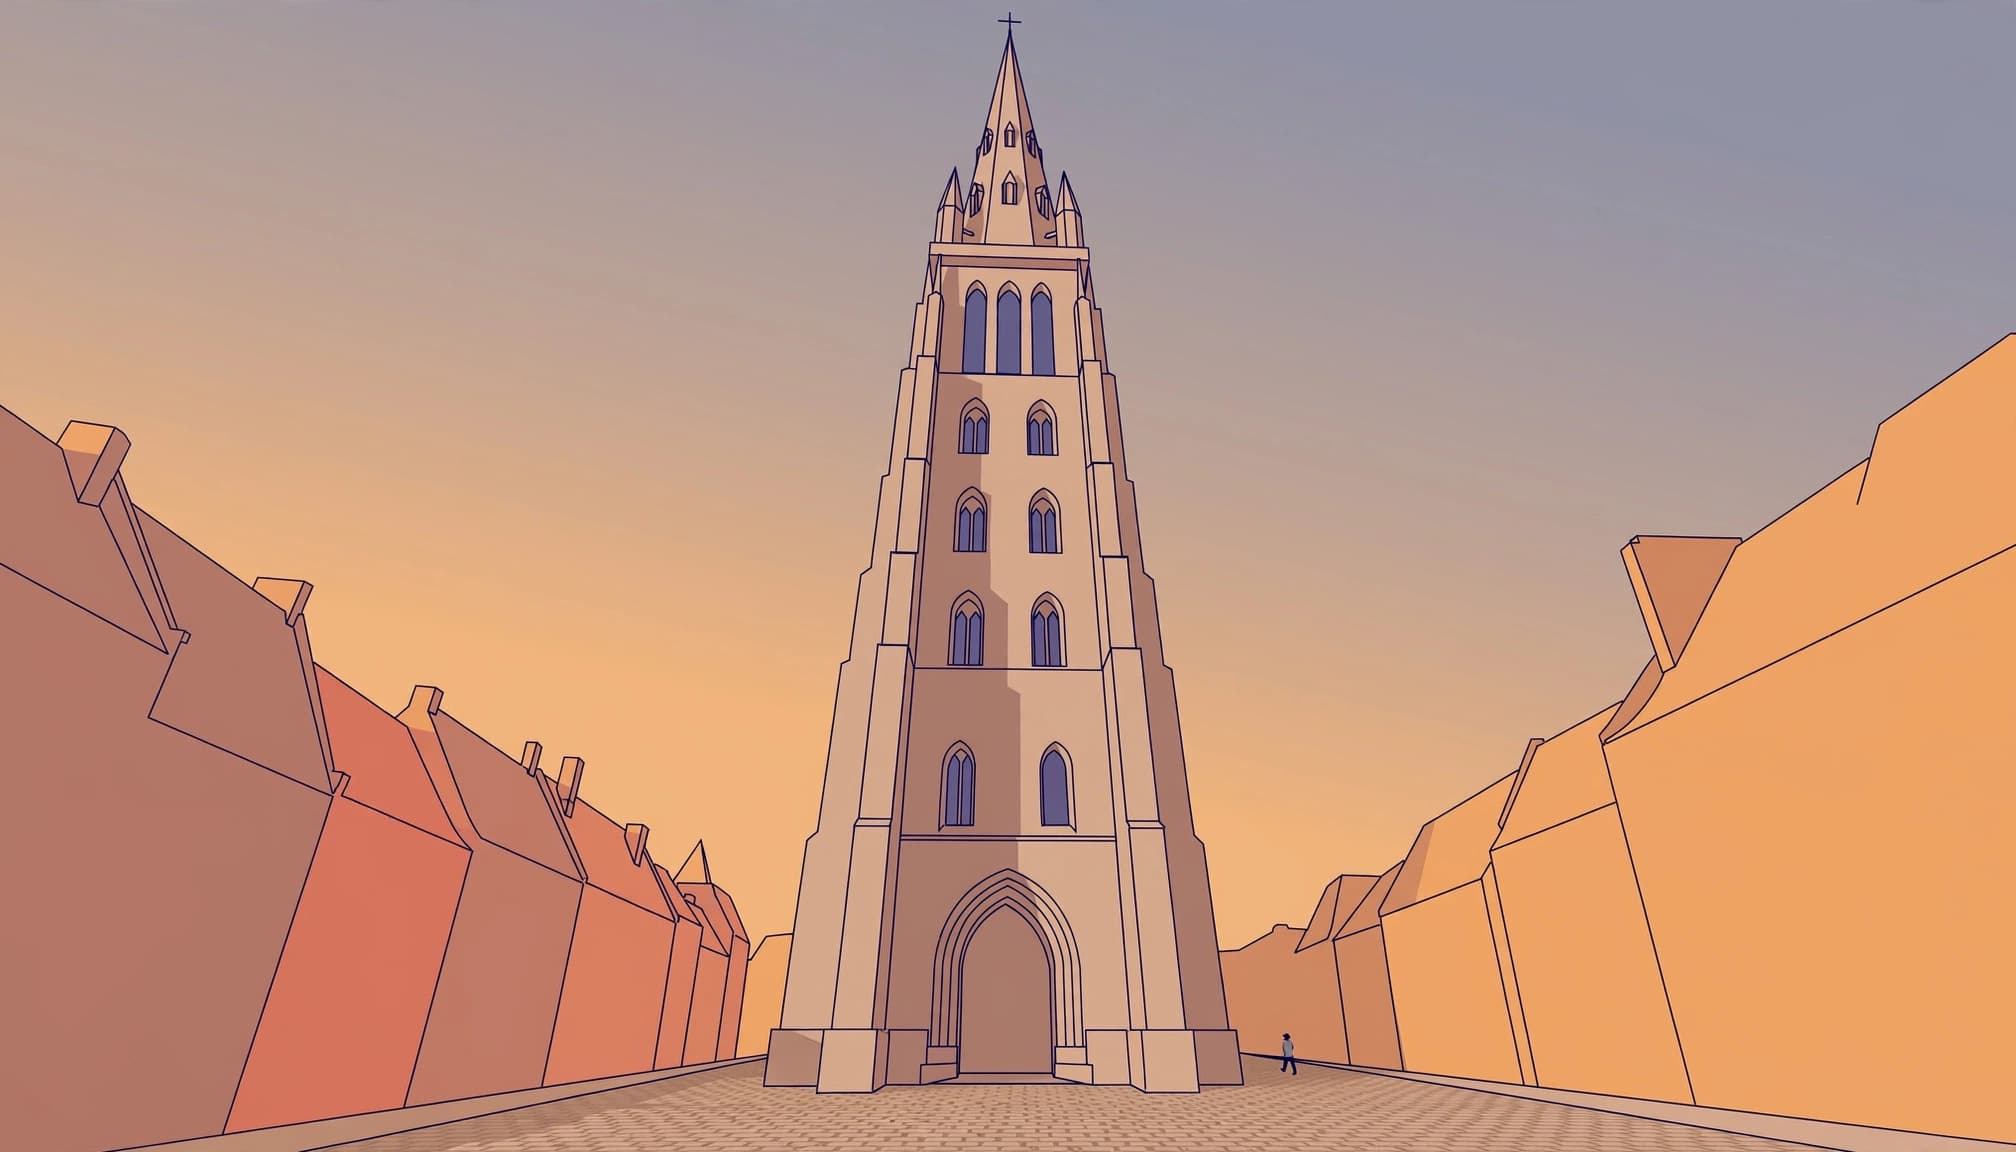
To make a tower look taller, move close to its base and shoot upward in portrait orientation. Converging vertical lines exaggerate height, so this intentional distortion suits a dramatic tower photograph better than an evenly proportioned window grid.
Plan Light Around the Pattern’s Surface
Use soft light for even repetition
Cloud cover helps you capture consistent color across painted shutters or tiled walls. It also reduces contrast between pale stone and recessed windows.
For interiors, flat midday light often provides a useful starting point, provided direct sunshine doesn’t cut across the room. Repeated ceiling bays photograph more evenly without isolated patches of intense brightness.
Protect the pale stone. Check the histogram rather than trusting a bright camera screen, and reduce exposure if important highlights clip.
Use side light to reveal relief
For an exterior pattern, shoot near the start or end of the day, when low sunlight can describe carved stone and balcony brackets. Golden-hour timing alone doesn’t guarantee useful light in a narrow street.
The Sun Seeker planning app shows the sun’s direction and path. Use it to judge whether nearby buildings will shade your chosen facade.
After rain, reflected arches on wet paving can extend the repetition. Frame them separately if the full building becomes too crowded.
Use a Phone or Camera Without Stretching the Facade
Choose focal length for the available space
A standard zoom handles most travel pattern photographs. Around 35mm to 50mm full-frame equivalent gives you a practical starting point for building-front sections; 70mm to 85mm helps isolate upper balconies.
A longer lens doesn’t change how lines converge. Its narrower view lets you exclude clutter, while your shooting position controls how features align.
On a phone, start with the main camera or a genuine telephoto camera. A 2x option isn’t always a separate optical lens. Avoid excessive digital enlargement, especially when fine stonework matters.
Set exposure for sharp details
Begin at f/5.6 or f/8 for a relatively flat wall, with ISO 100 when daylight allows. For handheld work, around 1/125 second is a starting point with a short focal length.
Increase shutter speed for longer lenses or moving people. At blue hour, brace the camera or use a tripod where permitted.
If bright walls surround deep window recesses, shoot a bracketed sequence from a steady position. However, passing pedestrians can complicate blending, so wait until the scene clears.
Correct Geometry Without Erasing Character
Leave room around the pattern before editing. Perspective correction stretches and crops the image, which can remove a balcony or cornice that sat comfortably inside the original frame.
In Lightroom, apply lens corrections before adjusting keystoning. Adobe’s Upright correction guidance describes tools for correcting vertical and horizontal lines. Guided Upright is useful when reliable architectural edges are visible.
Next, adjust white balance so pale stone doesn’t acquire an unintended blue cast. Use contrast sparingly because darkening every recess can hide decorative detail.
Photoshop can remove small distractions and refine color or light. However, project documentation should preserve architectural features and permanent surroundings.
During editing, check the repetition at full size before exporting. Fine railings or tightly spaced facade screens can produce moire, which may require local correction rather than extra sharpening.
Budget and Prepare for a Commissioned Shoot
Travel photographs and commissioned project photography have different requirements. Before booking, agree on the shot list, image usage rights, and access with an architectural photographer. Set a budget based on the deliverables and access required.
A full architectural shoot typically costs about $5,000 to $15,000 or more. In 30X40 Design Workshop’s published project example, roughly $10,000 covered 30 edited and licensed images. That’s a project reference, not a fixed European price.
For a smaller budget, prioritize a half-day focused on a few hero shots and license fewer finished images. Keep the budget focused on those priorities. Include a pattern detail alongside the wider views so the sequence connects decoration with the building.
Before the photographer arrives, remove temporary clutter and clean prominent glazing. Confirm permission for each viewpoint needed for the agreed compositions.
For occupied buildings, keep entrances usable. Never place equipment where it blocks residents or visitors, even when the framing is perfect.
Frequently Asked Questions
How should I frame a repeating pattern on a facade?
Choose a repeatable unit, such as a window or arch, then decide whether the pattern’s spacing or surface detail matters most. Check the frame edges so the pattern doesn’t end with an accidental partial feature.
How can I keep windows from looking distorted?
Keep the camera level and position the sensor plane parallel to the facade for a straight-on grid. Leave space around the pattern because perspective correction can stretch and crop the image.
What focal length works for architectural patterns?
A standard zoom around 35mm to 50mm full-frame equivalent is a practical starting point for sections of a building front. A 70mm to 85mm lens can isolate upper balconies, while your shooting position, not the focal length, controls how lines converge.
What light works best for architectural details?
Cloud cover helps keep color consistent across painted shutters and tiled walls. Low sunlight near the start or end of the day can reveal relief in carved stone and balcony brackets.
How much does a commissioned architectural shoot cost?
A full architectural shoot typically costs about $5,000 to $15,000 or more, though the price depends on the deliverables and access required. The article cites a published project example in which roughly $10,000 covered 30 edited and licensed images, not a fixed European price.
Make the Next Frame Deliberate
Before leaving a patterned facade, take one additional photograph with a different boundary. Keep your position fixed, but exclude the pavement or crop out the roofline.
Then compare where the repetition stops. Does the frame end cleanly between two windows, or slice through the balcony bracket you meant to show?
