
A brilliant burst can look perfect while the cathedral beneath it turns into a blur. For fireworks photography with readable European skylines, you need stable support and an exposure that protects bright trails.
The harder problem is balancing those trails against dim stone buildings, especially as haze builds across the view. Start by choosing a position where the architecture deserves as much attention as the sky.
Key Takeaways
- Use a low, stable tripod and frame the skyline before the show. Stand upwind when possible, leave room above the buildings, and keep the tripod out of pedestrian routes.
- Start with manual mode, RAW, ISO 100 to 200, f/8 to f/11, and a shutter speed of one to five seconds. Focus on a distant building edge and shorten exposures when bursts overlap or lose color.
- Photograph the city before smoke arrives. A separate city exposure can preserve stone detail that a short fireworks exposure leaves dark.
- On an iPhone, use the main camera, lock focus and exposure on a distant building, and test a short capture. Night mode and Live Photo are separate choices, and long captures can soften or crowd fireworks.
- Check the skyline at 100% magnification before packing up. Doubled edges can reveal camera movement or a focus problem that a small preview hides.
Scout a Position That Keeps the City Readable
Choose your foreground and wind direction
Arrive before dark and take test shots. Stand upwind of the launch area where possible, so smoke travels away from your sightline.
A focal length around 24mm, measured as a full-frame equivalent, works well for cityscapes. An ultra-wide view can reduce a distinctive skyline to a thin strip. Use a 50mm to 200mm zoom for tighter bursts above distant rooftops.
At Edinburgh’s Hogmanay, fireworks above Edinburgh Castle provide a recognizable anchor. Elsewhere, a bridge or reflected dome can establish the location.
Leave room above the skyline. Check the corners for bright lamps and cropped buildings to keep the composition clear. Keep your tripod outside pedestrian routes.
Prepare for cold and vibration
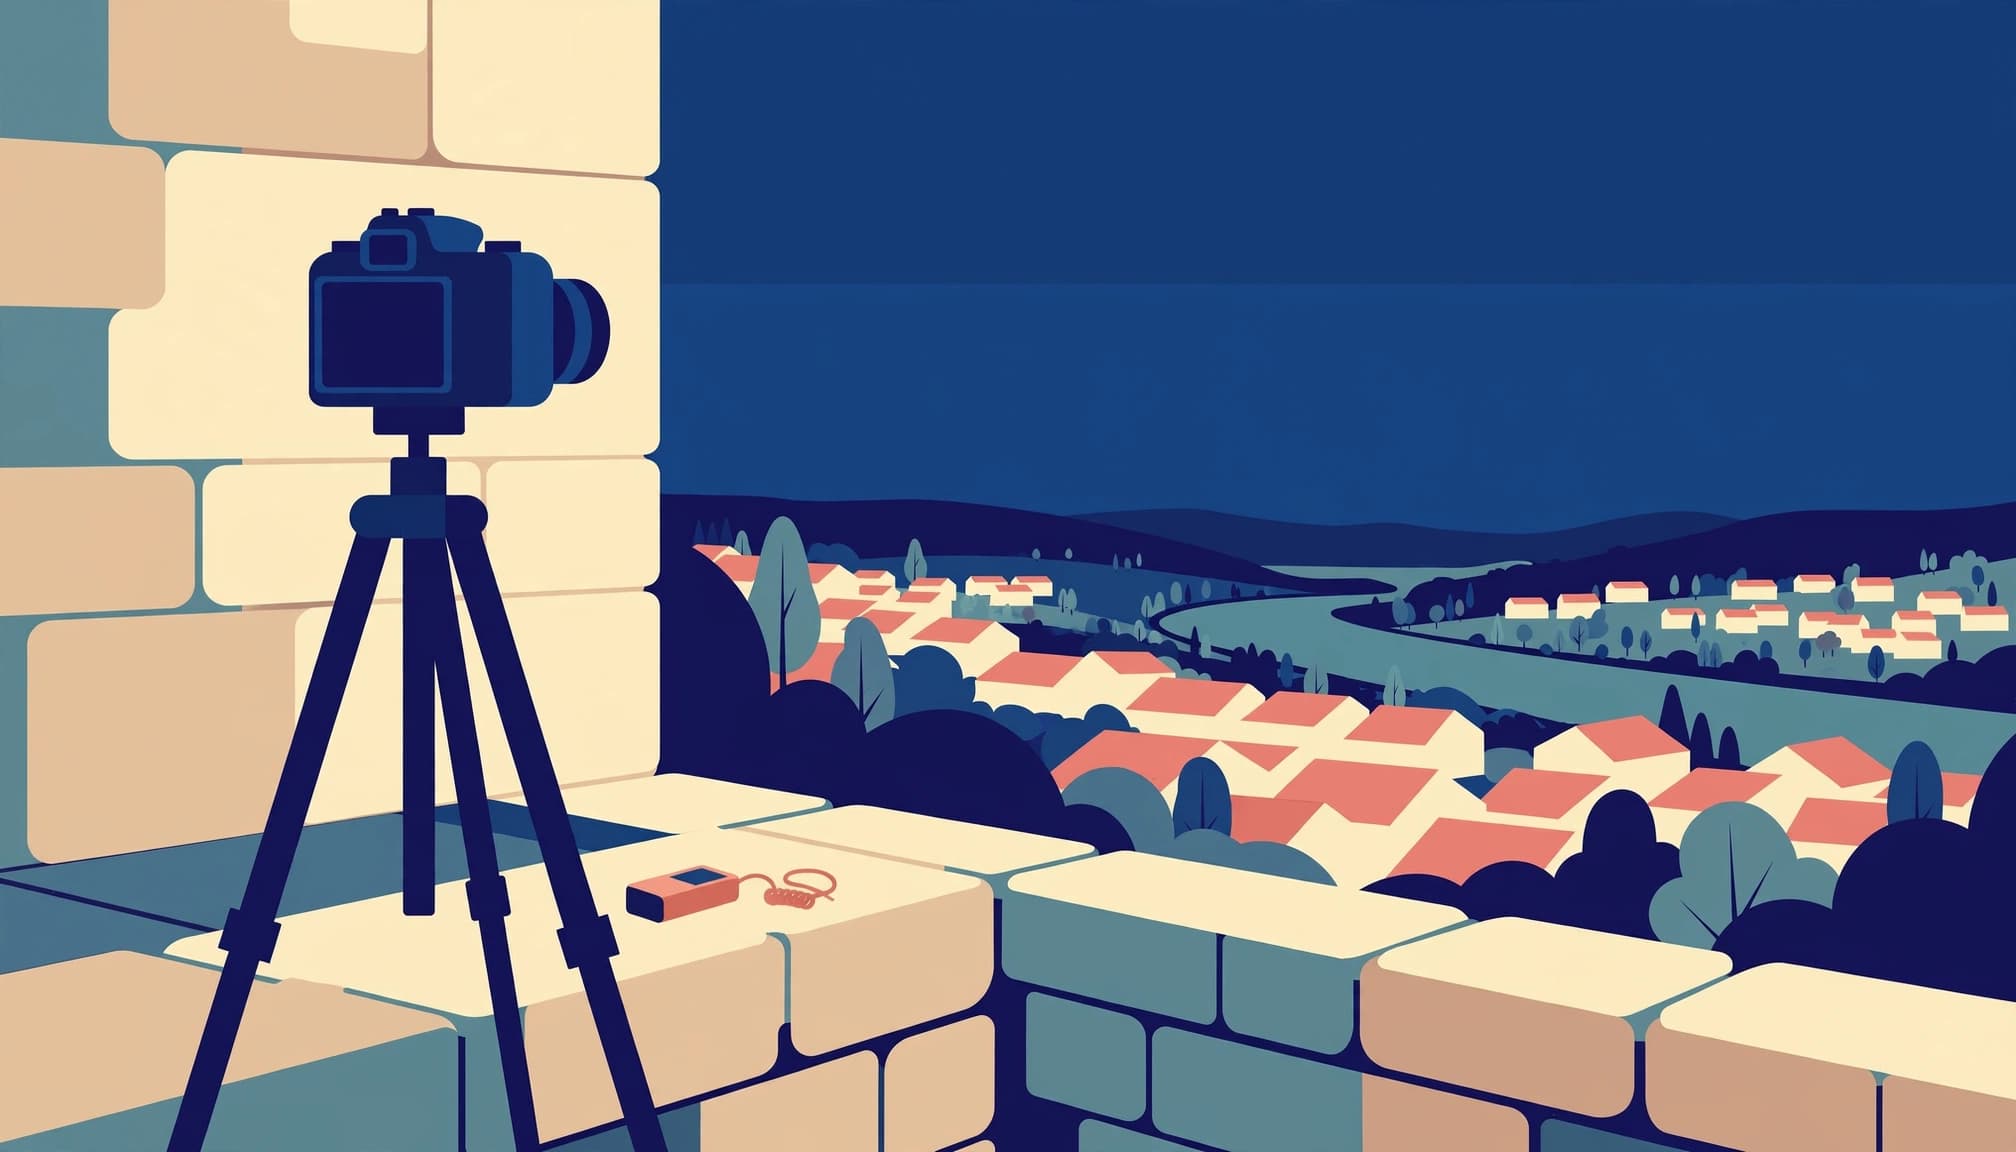
Keep the tripod low. Extend its thicker leg sections first, and avoid raising the center column in wind.
Before leaving, practice changing settings with gloves on. A cold overlook is a poor place to discover an unfamiliar dial.
Allow equipment to approach outdoor temperature before shooting. When you return indoors, keep cold gear in its closed bag to slow warming and reduce condensation risk.
Avoid resting equipment on a bridge railing that vibrates when people lean against it.
A Numbered Fireworks Photography Settings Checklist
These settings give DSLR and mirrorless cameras a predictable starting point for photographing fireworks. Photography Life’s fireworks guide also covers dedicated-camera exposure and support.
- Select manual mode and RAW. Disable Auto ISO, or changing bursts can produce inconsistent exposures. RAW gives you more editing room around illuminated stone and mixed lighting.
- Start at ISO 100 to 200. Use your camera’s low native ISO to limit noise and preserve flexibility when lifting dark architectural detail.
- Choose an aperture between f/8 and f/11. This range usually balances depth of field with useful sharpness. Avoid stopping down further simply because the scene is dark.
- Begin with a two-second shutter. Roughly one to five seconds captures typical fireworks trails. Adjust after seeing the actual burst height and density.
- Set manual focus. Focus on a distant illuminated building edge, then magnify live view to refine it. Infinity is a starting point, not a guarantee; many lenses focus beyond infinity.
- Use a remote release or two-second timer. Both prevent your shutter press from shaking the camera. A remote is better for precise timing because the timer introduces a delay.
- Turn off the flash. A built-in flash illuminates nearby subjects, while fireworks are far beyond its reach. It can also light spectators or railings that should remain unobtrusive.
Use your camera’s tripod-appropriate stabilization setting. Systems differ, so don’t assume stabilization must always stay on or always stay off.
Choose Shutter Speed for the Burst, Not the Darkness
Understand what longer exposures change
Longer exposures brighten stationary buildings and collect more fireworks trails. They also build up overlapping bursts and illuminated smoke.
These are starting points, not fixed prescriptions.
| Situation | Starting exposure | Main concern |
|---|---|---|
| Single burst | ISO 100, f/8, 1 to 5 seconds | Trail length |
| Dense finale | ISO 100, f/11, 1 to 2 seconds | Overlapping highlights |
| City-only frame | ISO 100, f/8, 2 to 10 seconds | Architectural brightness |
| Handheld phone | Main camera, short automatic exposure | Camera movement |
A long exposure of 30 seconds or a minute can collect several separated bursts, but bright city lamps may clip before it ends. For sharp urban detail, shorter fireworks frames are generally easier to control.
Time Bulb mode around the launch
In Bulb mode, the shutter stays open while you hold the release, or until a second press on some cameras.
Watch the ascending trail. Open the shutter just before the shell blooms, then close it as the outer trails fade. Start with one burst per frame.
Watch several launches to learn the rhythm, but don’t rely on sound alone. Light reaches you before the report of the explosion.
During rapid sequences, switch to a fixed one- or two-second exposure. That removes the need to time every closing precisely.
Give the Architecture Its Own Exposure
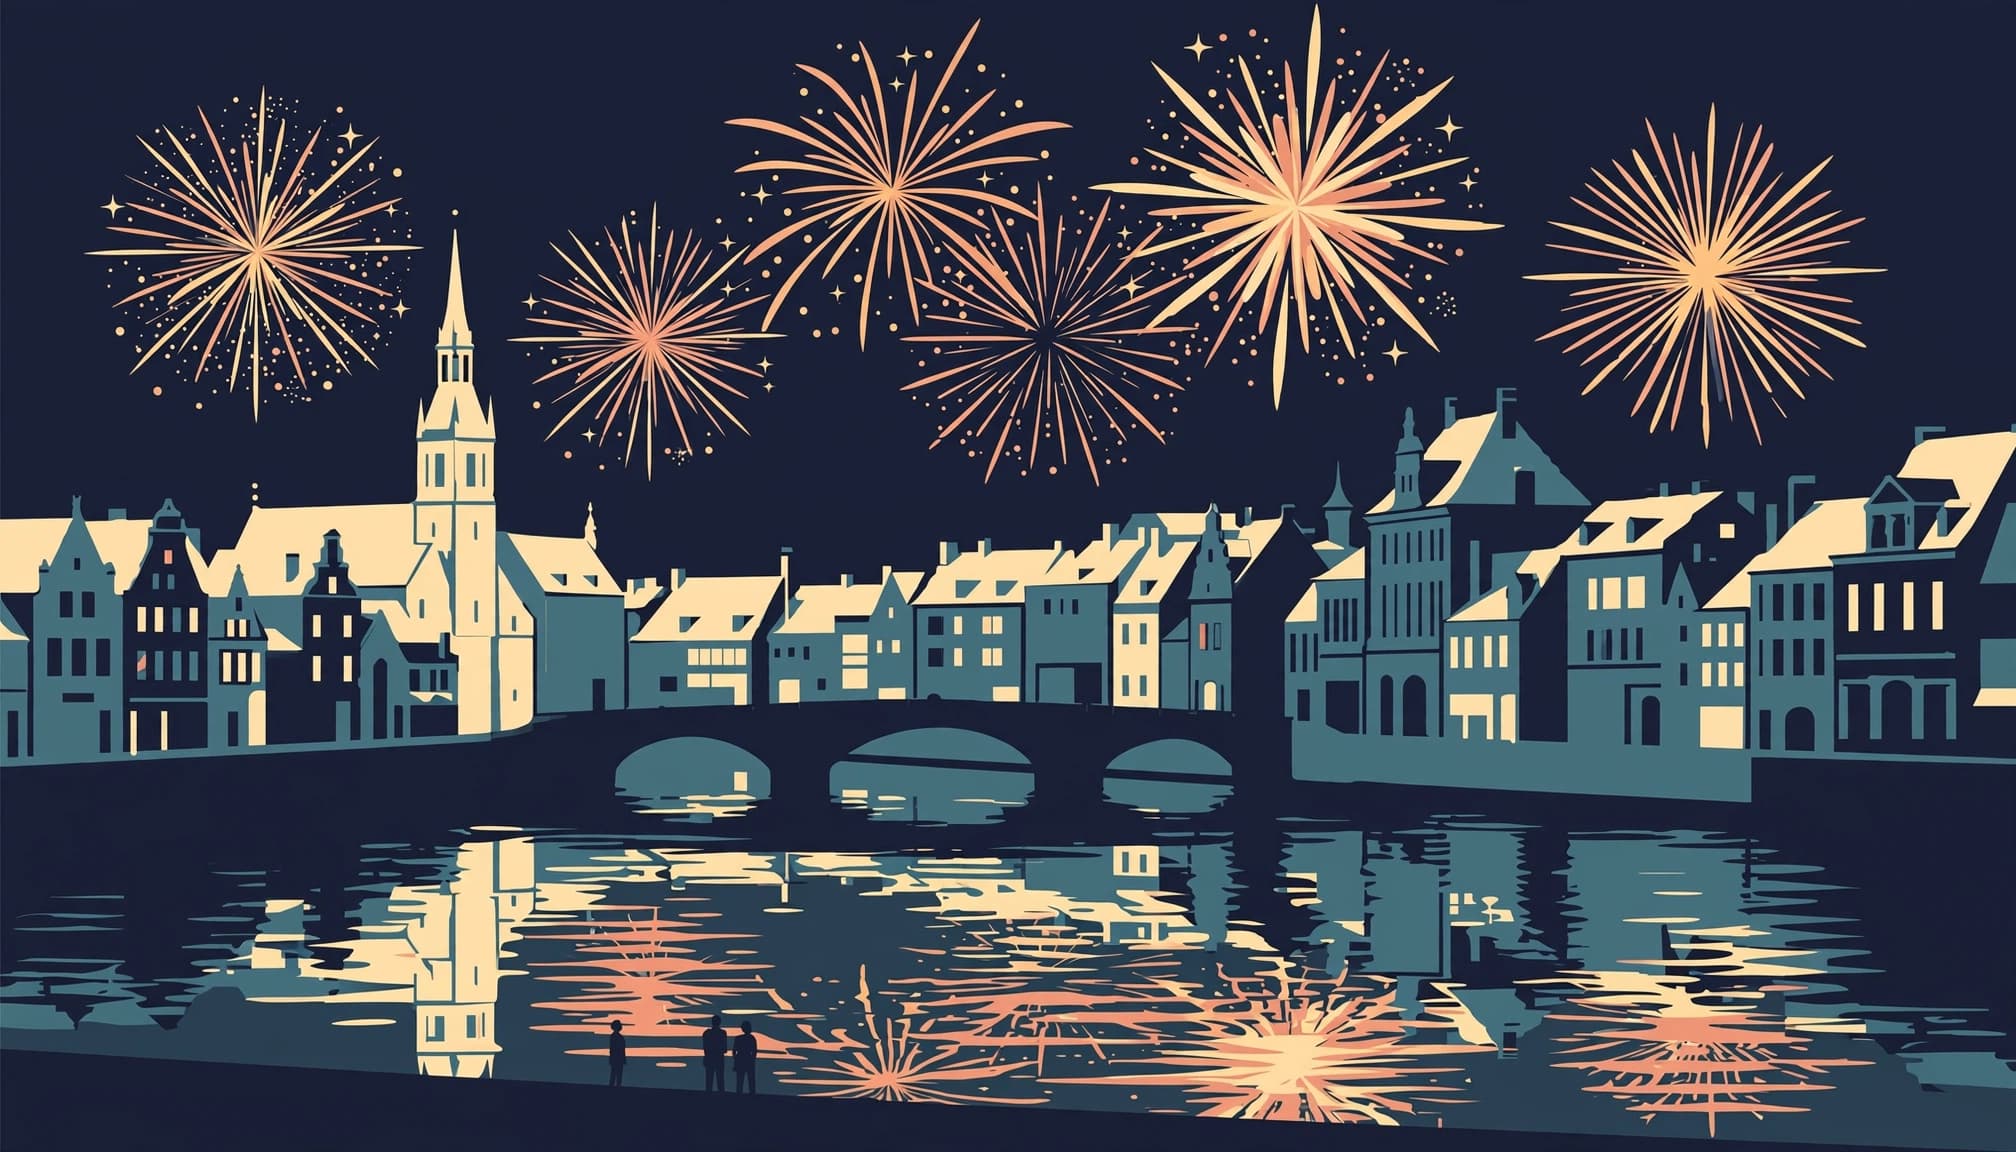
Capture a clean city frame before smoke arrives
A fireworks exposure that protects colorful trails can leave an unlit stone facade almost black. Photograph the architecture before the display to preserve detail across the cityscape.
Blue hour is useful because the sky still separates rooflines from the background. Keep your framing unchanged if you intend to blend exposures later.
An account of an evening overlooking Baku describes a photographer waiting through fifteen minutes of dull cloud while others packed up. A brief opening then lit the Flame Towers’ western faces for less than two minutes. That fleeting light gave the buildings definition that a later, darker exposure couldn’t reproduce.
The city before the first launch.
Measure the difference rather than guessing
Although an eight-second exposure at ISO 100 and f/8 may render the city correctly, a two-second exposure for a bright burst records only a quarter as much light on stationary buildings.
That’s two stops darker for the architecture. Raising ISO to 400 restores its brightness but risks clipping the burst.
Instead, retain the eight-second city frame and capture the burst separately. If you blend them, disclose the composite when presenting it as documentary work.
For a single-frame photograph, accept some shadow depth rather than sacrificing burst color. Also, focus on the skyline rather than a nearby railing.
Control Smoke and Finale Highlights in the Field
The first minutes often offer the cleanest sky. Once smoke accumulates, choose bursts that rise above it rather than repeatedly exposing through the densest cloud.
If the wind changes, a small sideways move may improve your view. However, don’t move into restricted areas or block an exit to chase cleaner air.
During finales, shorten exposure to about one or two seconds. If trails still lose color, stop down toward f/11, or try f/14 to f/16 for exceptionally bright sequences. Smaller apertures can soften fine detail through diffraction, so use them only when needed.
Inspect the RGB histogram, not just overall brightness. A saturated red burst can clip its red channel even when the combined histogram looks acceptable.
Tiny clipped streetlamp cores may be unavoidable; broad, colorless fireworks trails mean the exposure needs reducing.
Highlight warnings help locate trouble. Shorten exposure to reduce overlapping trails, then adjust aperture if individual trails remain too bright.
Dehaze can improve light haze later, but it can’t reveal a building completely hidden by smoke.
Photograph Fireworks With an iPhone
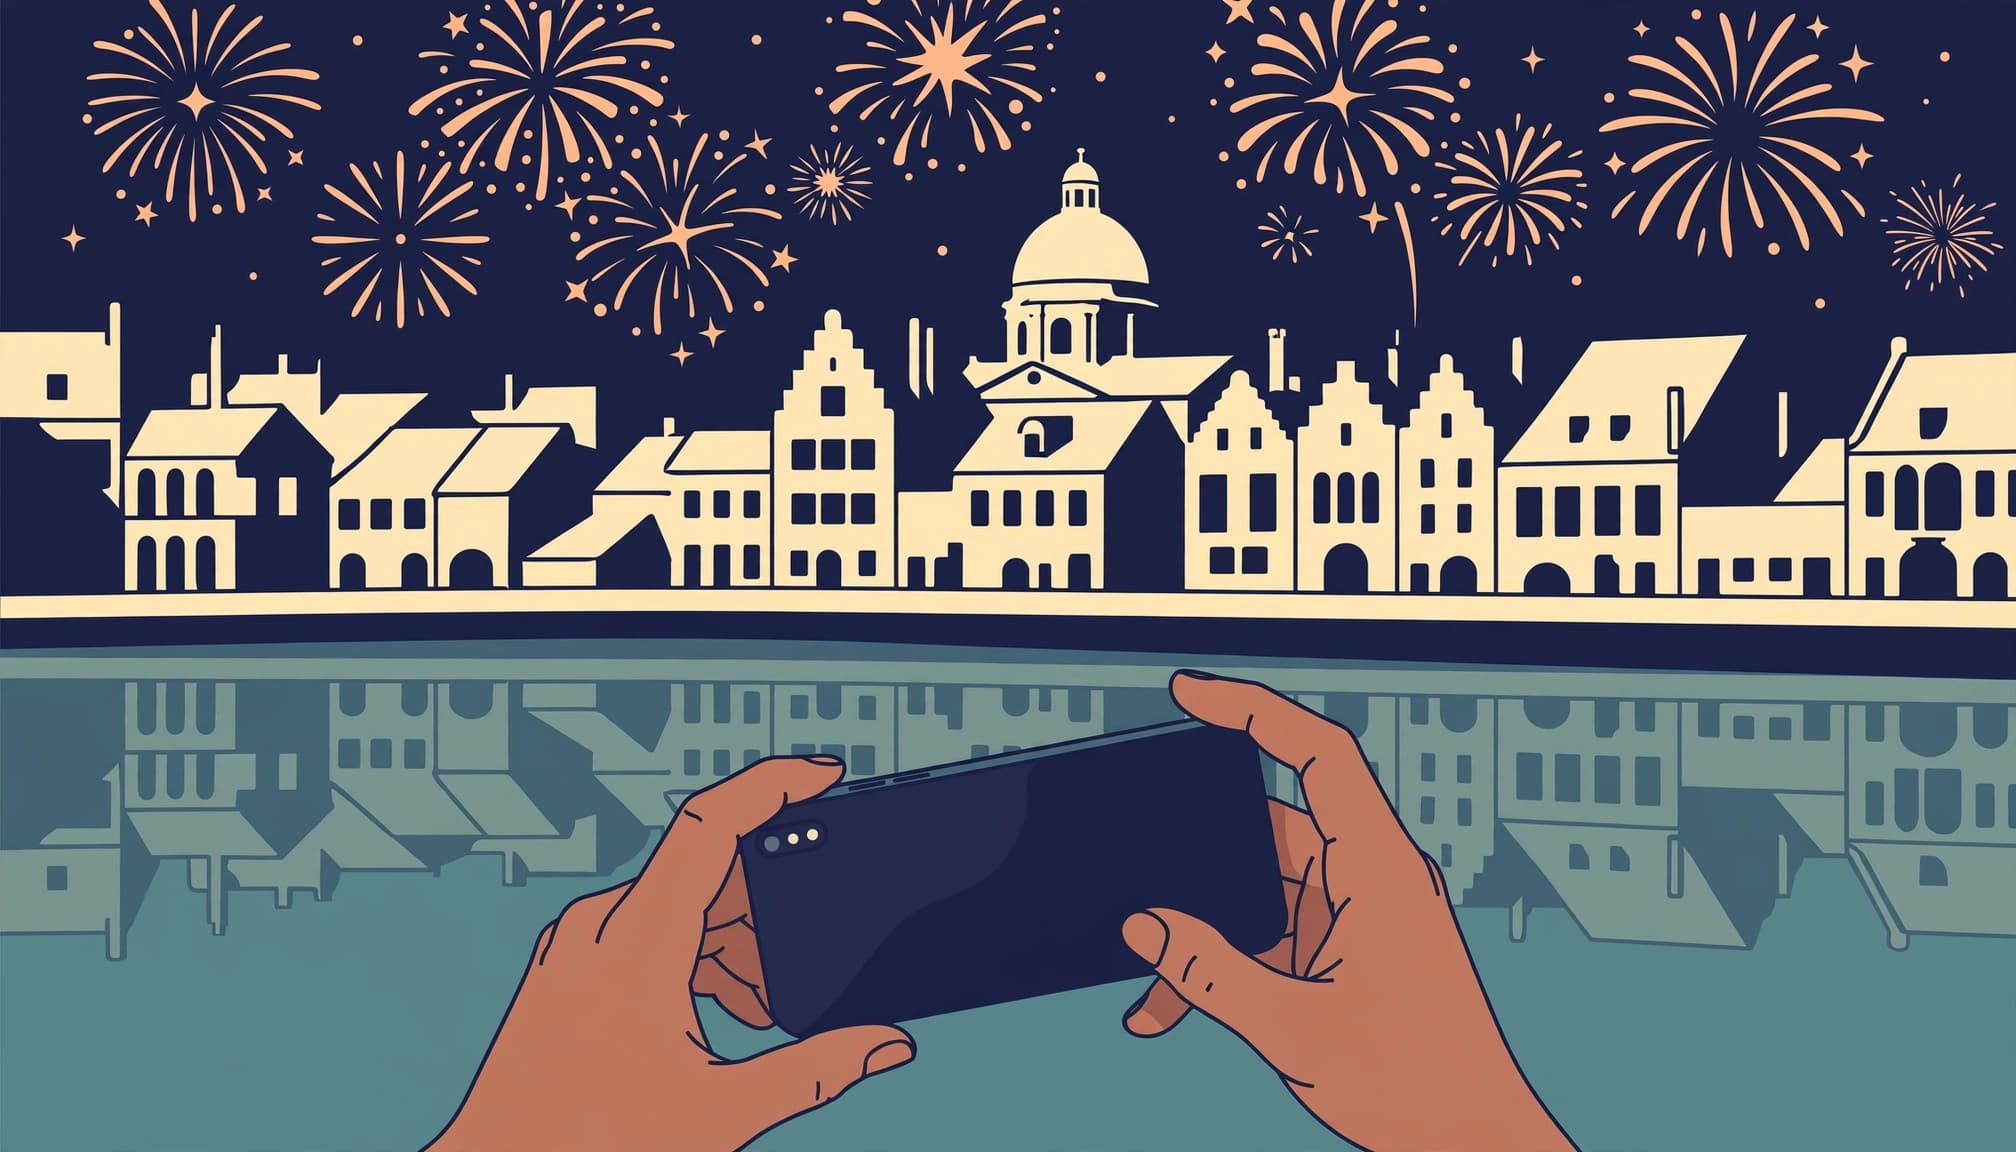
Lock exposure before the sky changes
Use the main camera, usually the 1x option, rather than digital zoom. Its low-light performance generally beats cropping from a weaker camera module.
Touch and hold a distant illuminated building until AE/AF Lock appears, then drag the exposure adjustment downward. Apple’s focus and exposure lock instructions describe this control.
Take a test frame during a bright burst. Reduce exposure further if the colored trails become white.
Without a tripod, brace your elbows and use short exposures. Burst mode improves your chances of catching a well-shaped explosion, although it won’t create continuous trails. Some noise is preferable to smeared rooflines.
Choose Night mode or Live Photo deliberately
On supported models, iPhone Night mode automatically selects a capture duration that you can adjust.
Support the phone and try a shorter duration first. Long captures can produce crowded or ghosted fireworks because the phone combines changing scenes.
Live Photo offers another approach: capture with Live Photos enabled, then apply the Long Exposure effect in Photos. Keep the phone still before and after pressing the shutter.
This computational effect can create attractive trails, but inspect roof edges for softness. Night mode and Live Photos are separate choices; enabling Live Photos turns Night mode off.
Edit Carefully, Then Try Creative Trails
Protect stone texture and firework color
Start with lens corrections and modest perspective adjustments. Leave cropping until afterward, because straightening buildings removes space around the frame.
Next, reduce recoverable highlights and lift architectural shadows selectively. Fully clipped trails won’t regain their original color.
Adobe explains how Clarity and Dehaze affect contrast. Apply them gently, preferably to the relevant area rather than the entire photograph. Heavy clarity makes old stone harsh, while aggressive Dehaze can exaggerate color and noise.
In Apple Photos, use Definition and Contrast for restrained editing. Lightroom provides the named Clarity and Dehaze controls.
Check the result at 100% magnification. A pleasing small preview can hide doubled window frames or vibration blur.
Reserve zoom bursts for a separate frame
Once you’ve secured sharp city photographs, experiment with a one- or two-second exposure while smoothly changing focal length, such as 35mm to 70mm.
Zooming pulls bright points into radial streaks. Intentional camera movement creates similar abstract trails, but both techniques blur the skyline.
Keep these experiments separate from your clean architectural frame. Otherwise, the effect removes the city detail you worked to preserve.
Finish With a Sharpness Check
Before packing away, inspect one promising frame at 100% magnification. Compare the skyline with your pre-show city exposure.
If both show doubled edges, steady the support before another attempt. If the city frame is sharp, revisit focus or look for movement during the fireworks exposure.
Choose a fixed reference that makes blur obvious: the edge of a distant clock face.
Frequently Asked Questions
What settings should I use to photograph fireworks?
Start with manual mode, RAW, ISO 100 to 200, an aperture of f/8 to f/11, and a shutter speed of one to five seconds. Shorten the exposure for a dense finale or when trails lose color.
How do I keep the city sharp and visible?
Use stable support and focus on a distant illuminated building edge. Take a city exposure before the show, since the shorter exposure used for bright fireworks can leave buildings too dark.
How should I focus on fireworks?
Focus manually on a distant illuminated building, then magnify live view to refine focus. Infinity can be a starting point, but many lenses focus beyond infinity.
Can I photograph fireworks with an iPhone?
Use the main camera and lock focus and exposure on a distant building before adjusting exposure downward. Support the phone and try a short capture first, since long captures can create crowded or ghosted fireworks.
