

To get sharp travel photos at slow shutter speeds, stabilize your camera and decide which parts of the scene can move. A tripod keeps architecture crisp while passing traffic becomes light trails.
Successful slow shutter speed photography depends on stationary detail, rather than making everything sharp. Stabilization won’t freeze pedestrians, so begin by choosing what needs to stay recognizable.
Key Takeaways
- A slow shutter speed records movement over time. Choose which parts of the scene should stay sharp and which can blur.
- Image stabilization can help keep stationary details sharp, but it can’t freeze moving people or cancel movement from a train.
- Use firm support, a remote release or timer, and a test exposure. Check a fixed detail at high magnification before moving on.
- An ND filter reduces incoming light so you can use longer exposures in daylight. Focus before fitting a strong filter, and check highlights and sharpness in the field.
Understand what a slow shutter speed records
Read the exposure time correctly
Shutter speed is how long the shutter stays open, measured in fractions of a second or whole seconds. Many modern DSLRs and mirrorless cameras cover approximately 1/8000 second to 30 seconds, although limits vary.
Beyond 30 seconds, use Bulb or Time mode, commonly with an external remote trigger. Some cameras also offer built-in extended timers. Displays such as 1″ and 5″ mean one and five seconds, respectively.
A slow shutter speed typically means one second or longer, usually requiring a tripod. However, 1/100 second through one second is a gray zone, depending on focal length, stabilization, and subject stillness.
Separate camera shake from subject movement
In slow shutter speed photography, image stabilization can keep stationary details recognizable despite movement from your hands. It cannot stop a walking person.
If you photograph a cathedral at 1/8 second with stabilization, its stonework might remain sharp while a visitor crossing the doorway becomes blurred, even though both appear in exactly the same exposure.
As Nikon’s guide to photographing motion explains, slower exposures can blur moving subjects or make them disappear.
Without stabilization, the reciprocal rule gives a handheld starting point: around 1/50 second for a 50mm full-frame-equivalent lens. Higher-resolution cameras and unsteady footing often demand faster speeds.
Slow shutter speed photography: starting settings
Choose shutter speed for the effect, then adjust exposure around it. These values are starting points, not promises of sharpness.
| Subject or effect | Starting shutter speed | What to expect |
|---|---|---|
| Posing people | 1/125 second | Small movements usually controlled |
| Moving people | 1/200 to 1/800 second | Increasingly crisp action |
| Perched birds | 1/320 second | Better protection against small movements |
| Birds in flight | 1/2000 second | Frozen wing or body movement |
| Panning | 1/15 to 1/60 second | Sharper subject against blurred surroundings |
| Waterfalls and streams | 1/4 to 2 seconds | Soft water with changing texture |
| Traffic trails | 2 to 5 seconds | Headlight and taillight streaks |
| Moving clouds | 10 to 30 seconds | Visible cloud streaking |
| Ocean at twilight | Around 30 seconds | Smoother, glassier water |
| Astrophotography | 10 to 25 seconds | Stars, with trailing dependent on focal length |
The posing, moving-person, and bird settings follow Photography Life’s beginner guidance. For stars, longer lenses need shorter exposures to avoid trails.

With water, compare 1/4 second against two seconds. At around two seconds, water can merge into a more continuous surface, while the shorter exposure retains ribbons and splashes. More blur isn’t automatically better.
Build a stable travel setup
A compact tripod helps only when the surface beneath it stays still. Wooden boardwalks bounce under passing visitors, while bridge railings can vibrate after someone leans against them.
Use this setup sequence:
- Plant the tripod on firm ground, spreading its legs without blocking pedestrians.
- Keep the center column down and remove a flapping camera strap.
- Compose and focus, then choose ISO 100 or 200 and an aperture near f/8.
- Select your shutter speed and make a test exposure.
- Trigger the camera with a remote release or a two-second self-timer.
- Magnify a stationary detail to judge sharpness before continuing.
Pressing the shutter can introduce vibration. Let it settle.
Use electronic front-curtain shutter when appropriate for your camera. Follow its recommended tripod stabilization setting, because some systems detect a tripod while others can introduce unwanted movement.
For handheld work, brace against a plain wall and tuck your elbows inward. Make several frames because steadiness varies between exposures.
However, don’t force a slow shutter onto a moving platform. From a train, start around 1/500 second for distant scenery and move toward 1/800 or 1/1000 for nearby subjects. A tripod inside the carriage won’t cancel its movement.
Control daylight with an ND filter
Choose a useful filter strength
Long exposures collect more light. With everything else unchanged, ten seconds produces a much brighter image than 1/1000 second.
Start with ISO 100 or 200 and f/8 to f/16. Prefer f/8 or f/11 when possible, because diffraction at f/16 can soften fine detail.
A neutral-density filter reduces incoming light without requiring a smaller aperture. A 4- to 6-stop ND is a useful daylight starting point, while a 10-stop filter suits much longer exposures that can smooth water or capture moving clouds.
The result still depends on the light. Six stops might produce seconds in woodland shade but only a fraction of a second in direct sun.
Calculate the exposure instead of guessing
Each ND stop doubles the required exposure time, a relationship to remember when planning a long exposure. The School of Photography’s ND guide includes conversion charts for this relationship.
Suppose your unfiltered exposure is 1/250 second at f/8, ISO 200:
- Lowering ISO to 100 requires approximately 1/125 second.
- Closing the aperture to f/11 requires approximately 1/60 second.
- Adding a 6-stop ND multiplies that time by 64, producing roughly one second.
A 10-stop filter instead multiplies 1/60 second by 1,024, producing approximately 17 seconds.
In shutter priority, you set the time and the camera selects the aperture. Start at 1/15 second or slower for visible blur, as Documentyourday’s slow-shutter challenge suggests. If the aperture reaches its limit and highlights clip, add ND or choose a shorter exposure.
Make street movement look deliberate
Keep the city sharp while people blur
Choose a fixed subject with clear edges, such as sharp stone, then use slow shutter speed photography to render pedestrians with motion blur.
Fstoppers described a street-photography approach using 1/8 second with people approximately 10 to 15 feet from the camera. That distance gave pedestrians enough movement across the frame to appear as soft streaks.
Longer exposures can make people fade into ghosts. However, someone who pauses midway may leave a recognizable face with a transparent body.
For traffic trails, begin around two to five seconds after streetlights switch on. Trigger as a vehicle enters your composition. Increase the duration when you need a longer trail, while watching for clipped headlights.
Nikon’s long-exposure guide describes how one frame can record movement over an extended interval.
Pan with a moving subject
For cyclists, start between 1/15 and 1/60 second. Track the subject before releasing the shutter, then continue following afterward.
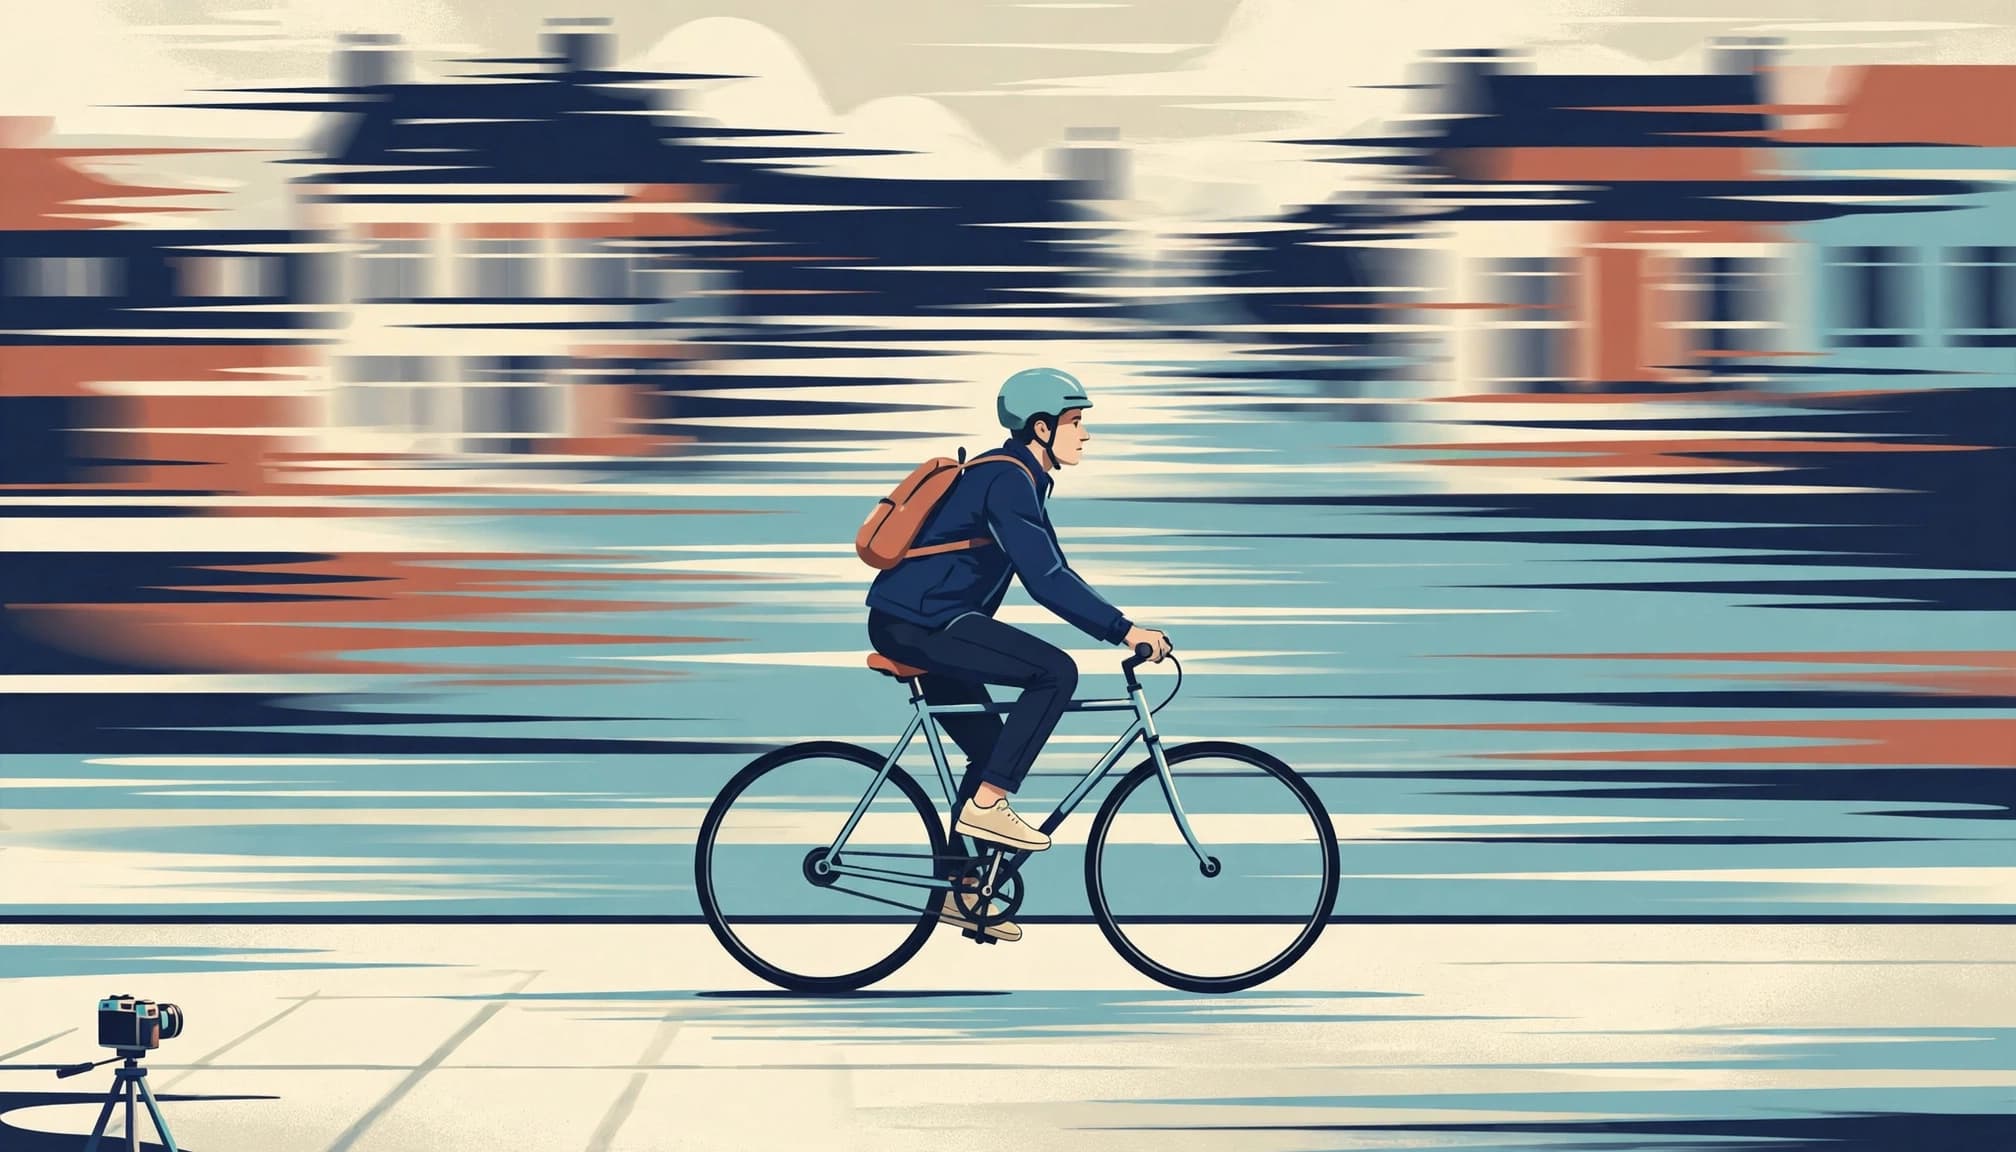
Use continuous autofocus and aim to keep the rider’s torso in the same position within the frame. Wheels and legs may remain indistinct.
Start at 1/60 second for a higher success rate. Then try 1/30 or 1/15 for stronger background streaks. Panning requires matching your camera movement to the subject, so expect unsuccessful frames.
Lock focus before adding a dark filter
Focus on a high-contrast edge before fitting a strong ND filter. Then switch to manual focus, or otherwise prevent autofocus from changing that distance.
For architecture, magnify a window frame or stone edge. For a waterfall, choose a stationary rock near the important water, rather than asking autofocus to follow flowing foam.
One cold June morning near Bear Lake, a photographer focused on wet granite and fitted a 6-stop filter; three frames stayed sharp before a glove nudged the focus ring while wiping spray from the front.
That small movement spoiled the next frame. Recheck focus after cleaning the filter.
Spray creates another problem: droplets can soften highlights even when focus is correct. Keep a clean microfiber cloth accessible, but avoid touching the focusing ring as you wipe.
If a foreground branch moves in the wind, decide whether its blur belongs. Shorten the exposure or recompose when it distracts from the stationary subject.
Diagnose exposure and softness in the field
Protect highlights before lifting shadows
Inspect the histogram and highlight warnings, especially around white water or bright lamps. A dark rear screen can make an overexposed night image look convincing.
If important highlights blink, shorten the exposure. Alternatively, reduce ISO if it isn’t already at base, or add filtration in daylight. Recheck the histogram after any adjustment.
When bright skies and dark stone exceed one exposure’s range, bracket only if necessary. Keep aperture and ISO unchanged. Moving clouds or pedestrians can create broken edges during blending, so don’t treat bracketing as an automatic fix.
Handle noise without sacrificing detail
Repeated long exposure shots can reveal hot pixels as the sensor warms. They also consume battery power, so carry a charged spare.
The Nikon D850’s long-exposure noise reduction processes exposures slower than one second to reduce bright spots or fog. Such processing can delay your next photograph, which matters during changing light.
In editing, correct filter color casts before applying moderate sharpening. Use noise reduction carefully around fine masonry.
Sharpening cannot repair motion blur. If every stationary edge shows a doubled outline, address camera movement on location rather than increasing sharpening later.
Frequently Asked Questions
What counts as a slow shutter speed?
A slow shutter speed typically means one second or longer, often with a tripod. Shutter speeds between 1/100 second and one second depend on focal length, stabilization, and how still the subject is.
Can image stabilization freeze moving people?
No. Stabilization can help keep stationary details sharp despite camera movement, but it can’t stop a walking person from blurring during the exposure.
How do I keep a long exposure sharp?
Set the tripod on firm ground, keep its center column down, and trigger the camera with a remote release or a two-second timer. Magnify a stationary detail to check sharpness before taking more frames.
When should I use an ND filter?
Use an ND filter to reduce incoming light when you want a longer exposure in daylight. A 4- to 6-stop filter is a useful starting point, while a 10-stop filter suits much longer exposures.
What shutter speed should I use for motion blur?
For pedestrians, try around 1/8 second; for traffic trails, start around two to five seconds. For panning with cyclists, start between 1/15 and 1/60 second and track the subject as you release the shutter.
Leave with a sharp frame
Before packing up, magnify one fixed detail at 100%. Compare several frames instead of trusting the first successful-looking preview.
If the detail looks smeared, take another exposure with a shorter shutter time or firmer support. For a riverfront composition, use a distant window frame as your sharpness reference.
