
For night-sky photography in the European Alps, choose a dark night with an open southern horizon, then test your exposure for sharp stars. Higher ground helps, but a nearby ridge can hide the Galactic Center completely.
Successful Milky Way photography starts with sky geometry, not expensive equipment. Begin with one untracked frame.
Choose your season first, then match the galaxy’s position to a foreground you can reach safely after dark.
Key Takeaways
- Choose a dark, moonless night and check the Galactic Center’s altitude and azimuth from your planned Alpine viewpoint. A nearby ridge can block it even when the location looks open on a map.
- July and August usually offer convenient hours for photographing the bright core. The winter and summer arches can appear in one night only during a short window around the equinox.
- Start with a 10- to 15-second test exposure, inspect stars at 100% magnification, and adjust shutter time if they trail. Focus manually on a bright star and secure the focus ring.
- Prepare for cold, wind and condensation with spare batteries, a stable tripod and checks for dew. If you use a tracker, photograph the sky and the foreground separately from the same camera position.
Choose the season for the core you want
When the bright Galactic Center is visible
The bright core lies toward Sagittarius and stays relatively low in the Alps. Summer offers convenient viewing hours, although June’s short nights reduce your shooting window.
These seasonal windows are useful starting points:
| Season | Typical opportunity in the Alps |
|---|---|
| March and April | Core photography before dawn |
| May and June | Core rising during the night, strongest opportunities later |
| July and August | Core visible during convenient late-evening or nighttime hours |
| September and October | Earlier opportunities, with the core increasingly low |
July and August usually offer the easiest combination of access and timing. However, summer thunderstorms can spoil otherwise promising nights. The winter Milky Way is a fainter band, while the summer Milky Way has a bright core.
The double Milky Way arch requires a different plan
The winter and summer arches can be photographed during one night only within a short seasonal window around the equinox. In spring, the winter arch appears earlier and the summer arch before sunrise.
Fux’s Gornergrat account describes a time blend that combines the two views into a double Milky Way arch. She worked at about 3,200 metres in temperatures around -16 to -17°C, photographing the winter arch early and the summer arch before dawn.
Fux recommends latitudes between 35 and 45 degrees north for this double-arch composition. Above 45 degrees, the Galactic Center sits too low; below 35 degrees, the winter band sits too low. That recommendation concerns double-arch geometry, not a hard limit for ordinary Alpine astrophotography.
Match your Alpine location to the sky
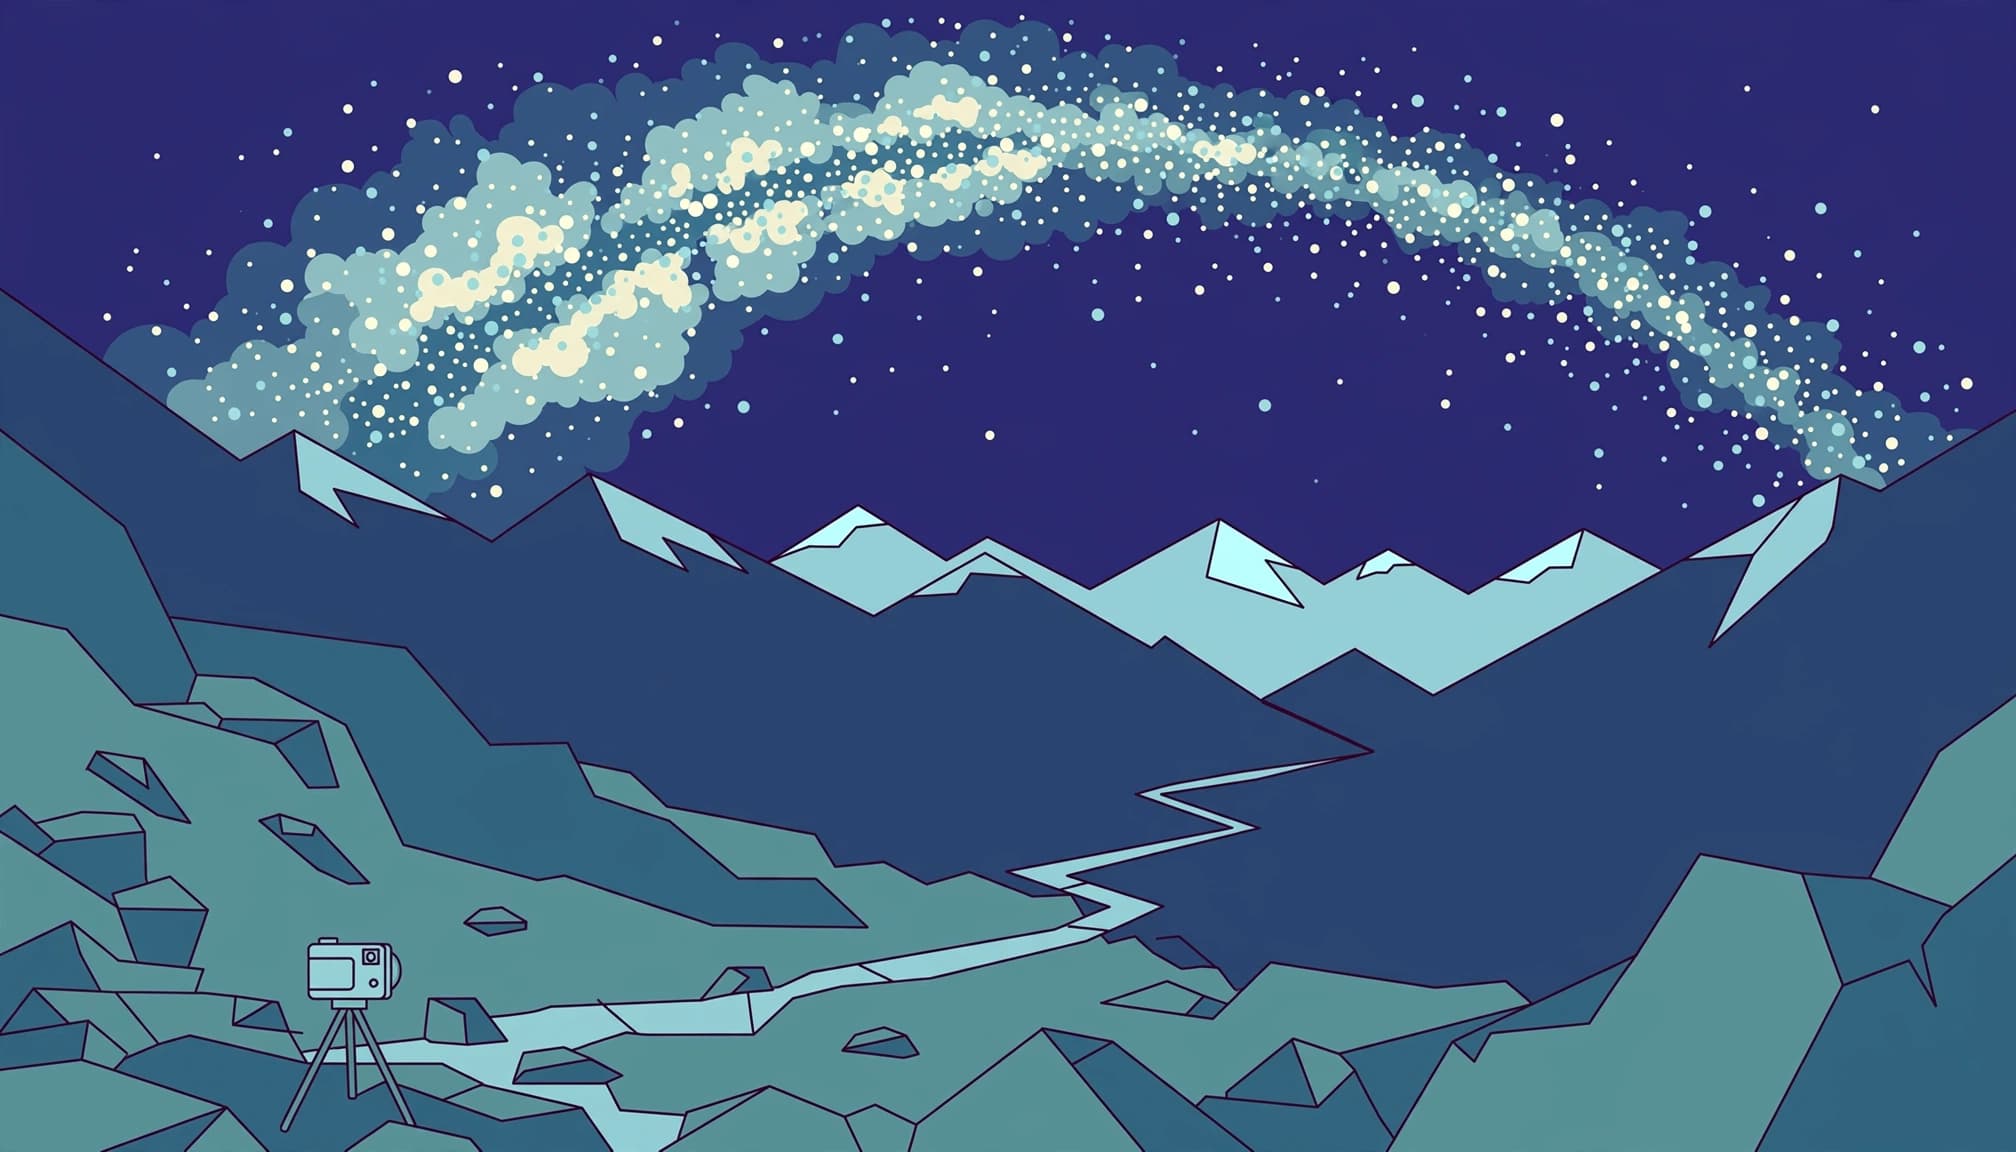
Use altitude and azimuth, not just a map pin
A clear southern horizon is the first requirement when choosing between a dramatic valley and an exposed viewpoint.
Gornergrat offers high terrain near Zermatt, while the Dolomites provide distinctive rock foregrounds. Neither guarantees an unobstructed view of the Galactic Center. Nearby walls and distant light pollution still matter.
Use Stellarium’s browser-based sky map to set your location and shooting time. Find the Galactic Center’s altitude, then its azimuth, the compass direction.
At Gornergrat on 13 July 2026 at 00:30 CEST, the Galactic Center is approximately 15 degrees above the southern horizon. Any ridge above that sightline hides it. A beautiful mountain foreground can make the intended photograph impossible.
Separate darkness from usable contrast
Astronomical evening twilight ends when the Sun’s centre reaches 18 degrees below the horizon. Before then, scattered sunlight still brightens the sky. That boundary alone doesn’t guarantee photographable Milky Way structure.
A new moon and dark sky help reveal faint Milky Way detail. Moonless conditions also make the Gegenschein easier to see. The Moon’s altitude and azimuth during your exposure determine whether it lights the scene or washes out the galaxy. A bright Moon near the Milky Way greatly reduces contrast.
An attractive viewpoint may require crossing steep snow or exposed ground after the final lift has stopped running. Choose your route and overnight arrangement before dark, rather than improvising a descent.
Protected-area camping restrictions still apply at night.
Set exposure and focus with test frames
Work through the 500 rule
The 500 rule estimates exposure time by dividing 500 by full-frame-equivalent focal length. With a 20mm lens on full frame, 500 divided by 20 gives 25 seconds.
For Milky Way photography, treat that as an upper starting estimate, not a guarantee. Modern high-resolution cameras often reveal trails well before 25 seconds.
Start with an exposure time of 10 to 15 seconds at f/2.8 and ISO 3200. Shoot RAW with fixed white balance. Then inspect the stars at 100% magnification, including the corners. If stars trail, shorten the exposure time.
Acceptable exposure depends on focal length and pixel density. Star declination also matters, while aperture influences NPF-type calculations and output size changes how visible trailing becomes.
An NPF calculator offers a better starting estimate than the 500 rule because it considers more of those variables, but neither method replaces inspecting an actual frame from your camera at the enlargement you intend to use.
ISO isn’t universal. Raise it when useful for your camera, but recognise that ISO doesn’t collect additional light. Longer exposure or a wider aperture does.
Focus on a star, then secure the ring
Don’t trust the infinity mark.
Magnify a bright star in live view and adjust manual focus until it becomes the smallest crisp point. Take a test frame, then lightly tape or lock the focus ring.
Recheck after a substantial temperature change or accidental contact. However, if previously sharp stars develop broad halos across the frame, inspect the lens before changing focus. Moisture often causes that sudden softness.
Prepare for cold, wind and condensation
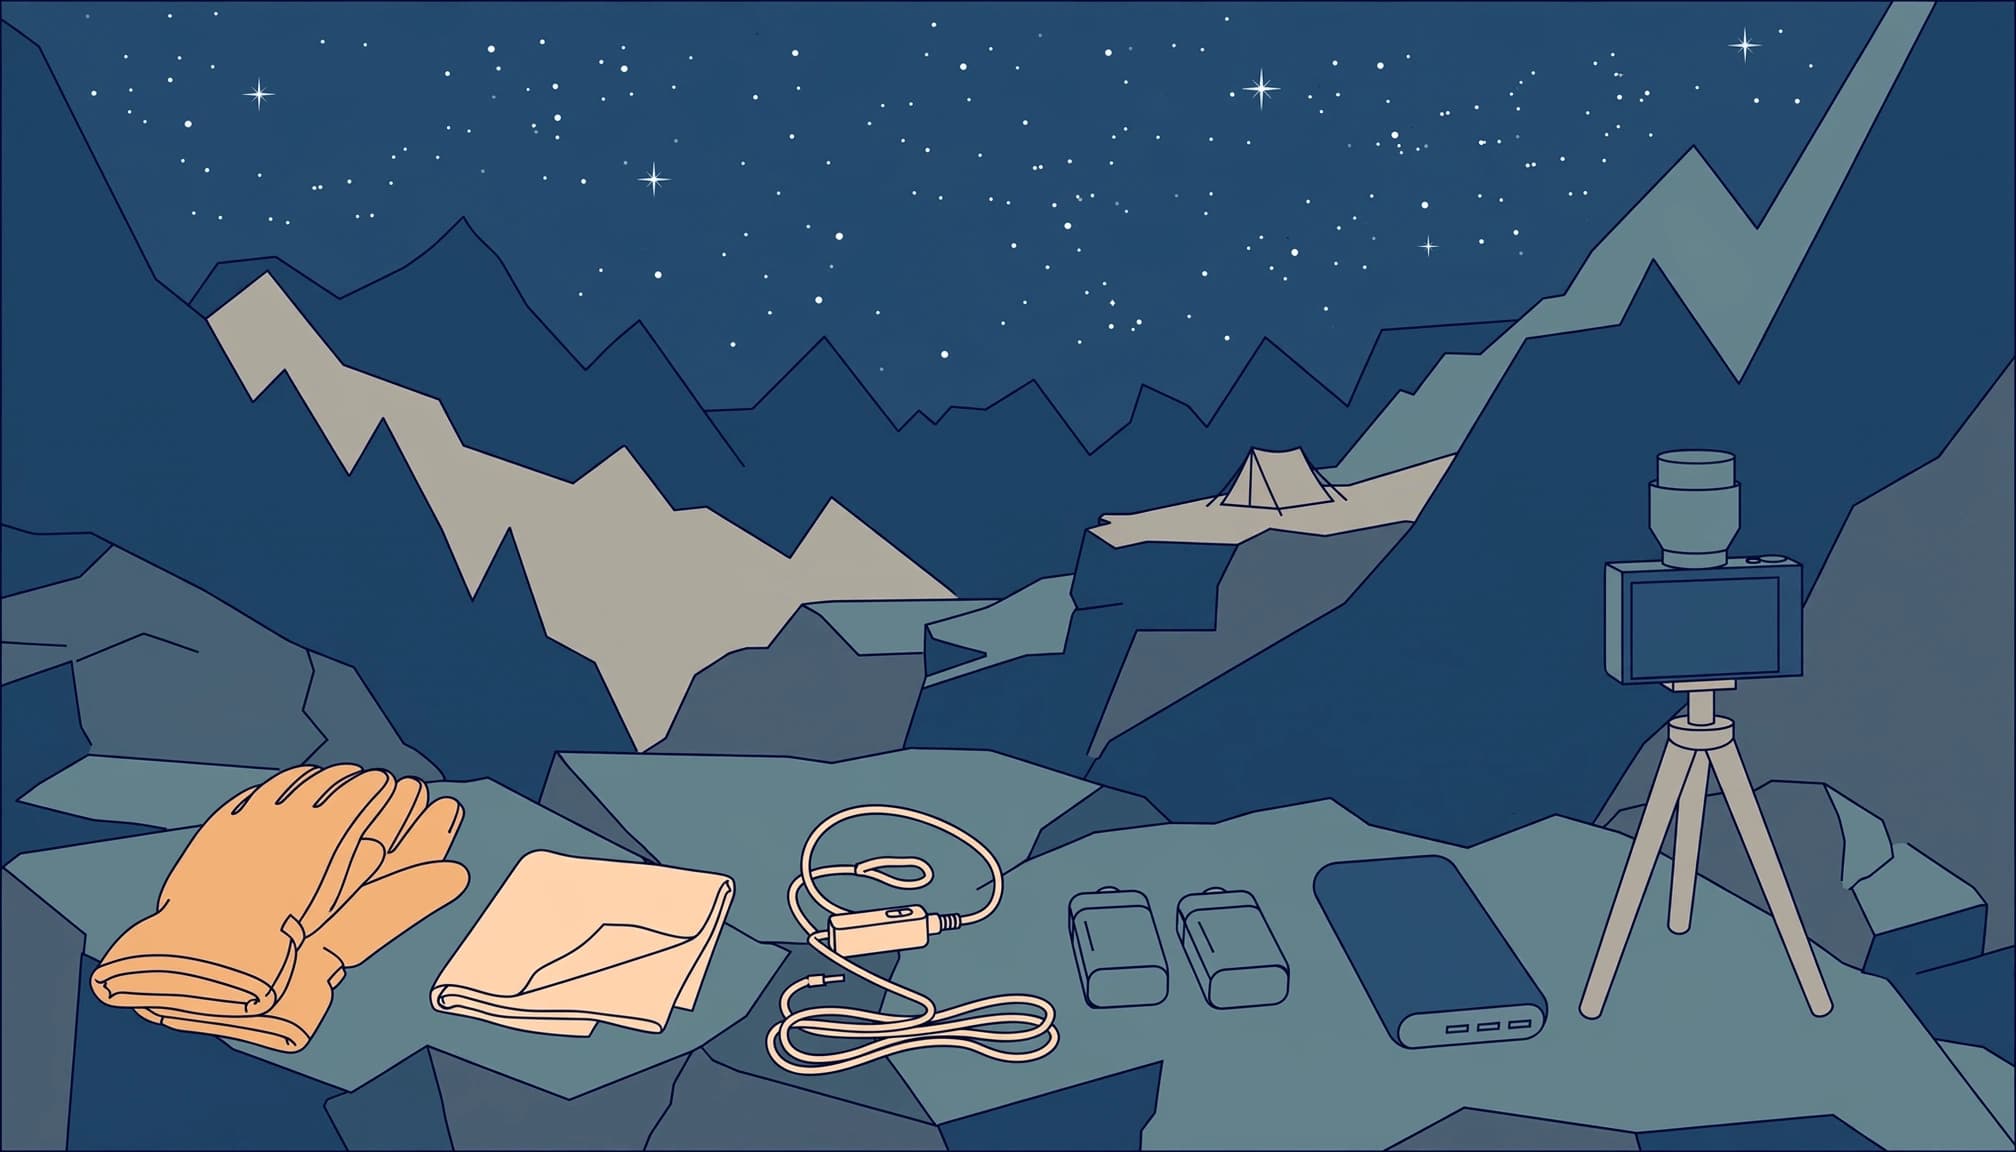
During Fux’s Gornergrat session, aligning her star tracker took 40 minutes. Its battery dropped from 65% to 20% during that process. Power disappeared before the main shooting sequence had properly begun.
Carry at least two charged spare camera batteries inside your jacket, plus a power bank compatible with your equipment. Keep a lens cloth accessible without removing your pack.
Choose a tripod that won’t sink or sag in snow. In strong wind, don’t hang a bag from its centre column: the swinging weight can introduce blur. Use a two-second timer or remote release, and follow your camera’s tripod stabilisation guidance.
Keep dew off the lens.
Dew forms when the optic cools below the dew point. It produces halos around stars, then a milky veil across successive frames. Check the front element for dew between sequences; a hood and low-powered lens heater help prevent dew buildup.
Thin liner gloves make controls usable. A headlamp needs a bright walking mode as well as dim red light for camera adjustments. Avoid shining it toward other photographers.
Remove unnecessary filters, which can add reflections around stars. Before entering a heated room, seal cold equipment in a plastic bag. Leave it enclosed until it reaches room temperature.
Build panoramas and blends without moving the viewpoint
Separate sky exposures from terrain exposures
A star tracker follows the rotating sky, so the mountains blur during a tracked exposure. Photograph the sky with tracking enabled, then capture the terrain untracked from the same camera position.
Without a tracker, shoot several identical short exposures for sky stacking. This reduces random noise, provided the software aligns the stars and handles the stationary foreground separately.
For a very close foreground, take additional focus distances. Helicon Focus can combine those foreground frames. Use f/16 to extend depth of field for a daylight or twilight foreground sequence, but avoid it as a default aperture for faint stars.
A time blend combines exposures made at different times from one viewpoint. Disclose substantial edits when a finished image uses a time blend.
Stitch carefully and keep processing proportionate
For a 14mm sweep, around 25% overlap is a useful starting point in landscape photography tutorials. Add more overlap when frames lack obvious matching features. Keep exposure and focus unchanged throughout each sweep.
If Lightroom or Photoshop struggles, PTGui’s panorama stitching software offers dedicated alignment tools.
PetaPixel’s report on Fux’s Dent d’Herens photograph documents a much more demanding triple-arch project. It involved roughly 300 GB of data and about 40 hours of editing, using FITS files with PixInsight and AstroPixel Processor.
Her image also captured the Gegenschein, a diffuse glow directly opposite the Sun. Research on interplanetary dust and the Gegenschein explains its origin in sunlight scattered back toward the observer by dust.
For a first Alpine photograph, correct lens distortion and chromatic aberration, then adjust contrast gently. Preserve the Gegenschein’s faint contrast, since heavy dehazing can exaggerate noise and create unnatural sky colour.
Diagnose a weak image before changing everything
A bright preview can hide faults that become obvious at full size. Inspect one frame closely before committing to a long sequence.
Use the symptom to choose your next adjustment:
| What you see | Likely cause | Field response |
|---|---|---|
| Elongated stars across the frame | Exposure too long | Shorten the shutter time |
| Increasing halos or haze | Dew or frost | Inspect and dry the front element |
| Sharp central stars, stretched corners | Lens aberrations | Stop down slightly and retest |
| Orange or grey sky | Light pollution or moonlight | Change direction or wait for a darker interval |
| Blurred mountains, sharp tracked stars | Tracker movement | Capture an untracked foreground |
Change one setting at a time. Otherwise, you won’t know which adjustment solved the problem.
Follow a short field checklist
Arrive while you can still see the terrain. Choose a stable camera position away from cornices or loose edges.
- Frame the foreground in daylight and identify the galaxy’s expected direction. Save the route offline and set a turnaround time.
- Fit the lens hood, remove unnecessary filters and secure the tripod. Keep spare batteries inside your jacket.
- Set manual exposure and RAW capture. Focus on a magnified star, then secure the ring.
- Take a short test exposure and inspect it at 100%. Adjust shutter time before increasing ISO if stars trail.
- Capture the sky sequence without changing focus. Inspect the lens between sequences, especially when contrast starts dropping.
- Record any separate foreground exposures from the same position. Pack away before fatigue makes the return route harder.
Don’t assume a shutter sound means the file saved correctly. Fux experienced a cold-weather failure in which her camera recorded nothing to the card. Review an actual stored frame early in the session.
If cloud closes in, avoid walking farther onto unfamiliar terrain merely to find a gap.
Make the final frame before packing away
Before dismantling the tripod, open your last saved image and magnify a bright star near the centre. Then inspect a corner for trailing.
If both look clean, record the settings for your next session. Seal the camera in its bag before entering the warmth, with the two spare batteries still inside your jacket pocket.
Frequently Asked Questions
When is the best time to photograph the Milky Way core in the Alps?
July and August usually offer the easiest combination of access and convenient shooting hours. March through June and September through October can also work, but the core’s timing and height above the horizon vary by season.
How do I check whether a mountain will block the Galactic Center?
Use a sky map such as Stellarium to set your location and shooting time, then check the Galactic Center’s altitude and azimuth. Compare its position with the ridges along your southern horizon.
What exposure should I start with for Milky Way photography?
Try 10 to 15 seconds at f/2.8 and ISO 3200, then inspect the stars at 100% magnification. Shorten the shutter time if stars trail; the 500 rule is only an upper starting estimate.
How do I focus on stars at night?
Magnify a bright star in live view and adjust manual focus until it appears as a small, crisp point. Take a test frame, then secure the focus ring and check it again after a temperature change or accidental contact.
How can I keep dew off my lens during a cold session?
Check the front element between sequences for halos or a milky veil, which can indicate dew. A lens hood and a low-powered lens heater help prevent buildup.
