
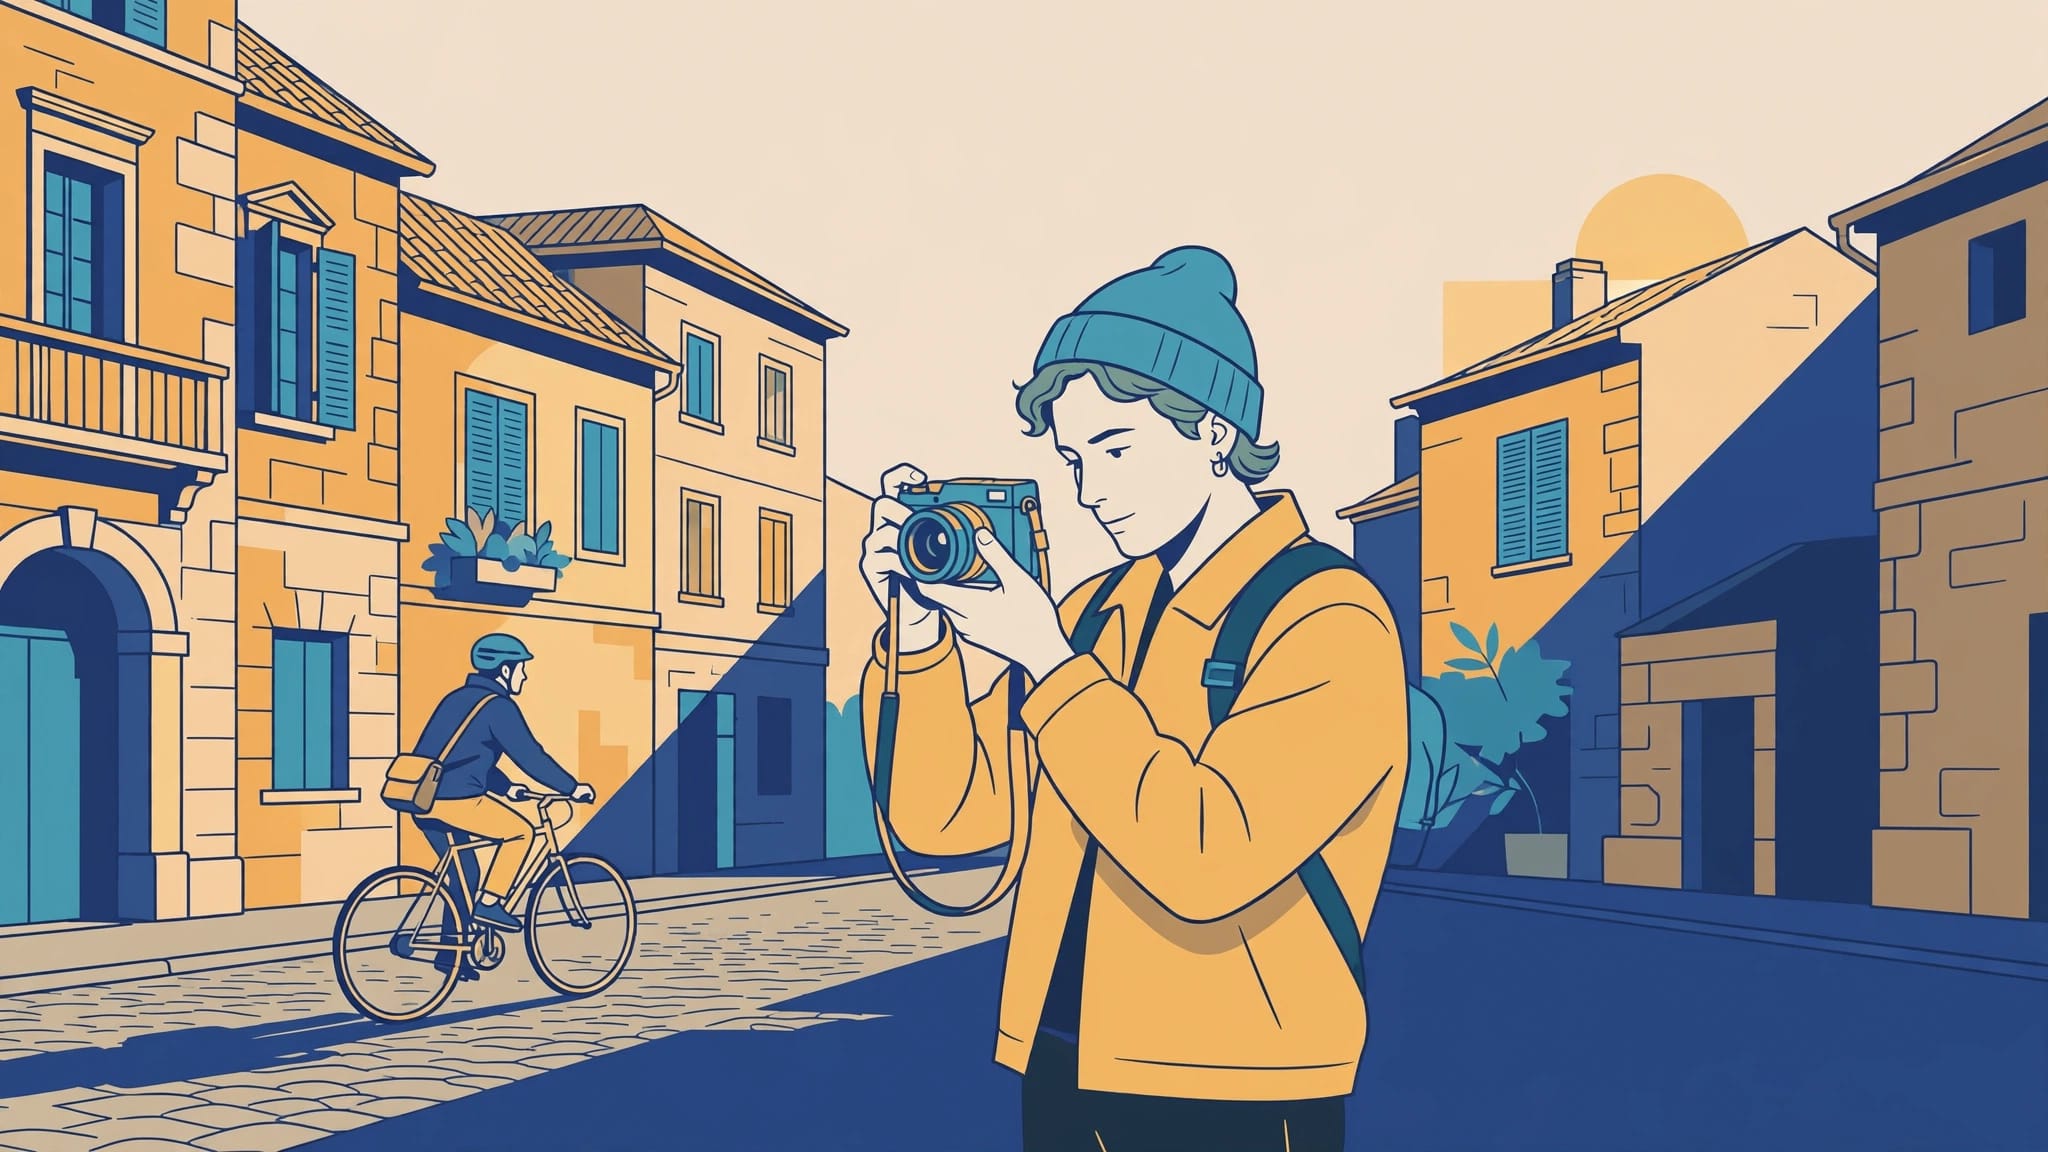
Auto ISO keeps travel photographs sharp. Light changes quickly on European city walks.
In aperture priority, choose the aperture and depth of field. The camera adjusts sensitivity to preserve a usable shutter speed and exposure.
The priority is avoiding blur, especially when a passing cyclist or tram won’t give you another chance.
Choose which settings matter most.
Key Takeaways
- Auto ISO adjusts sensitivity as light changes, while your exposure mode determines whether the camera also adjusts shutter speed or aperture.
- In Manual mode, set the aperture and shutter speed you need, then let Auto ISO respond to the meter. Set a minimum shutter speed that suits your subject, such as 1/250 second for walking people.
- Choose an ISO ceiling by testing your camera at your usual sharing and print sizes. Camera age alone doesn’t determine acceptable image quality.
- Use fixed ISO when consistent exposure matters, such as for tripod-mounted architecture, panoramas, or bracketed shots.
Why Auto ISO suits European travel
European streets can change brightness within a few steps. Auto ISO helps as you move from a sunlit square to a shaded arcade or dim station entrance. The camera may need different settings within minutes.
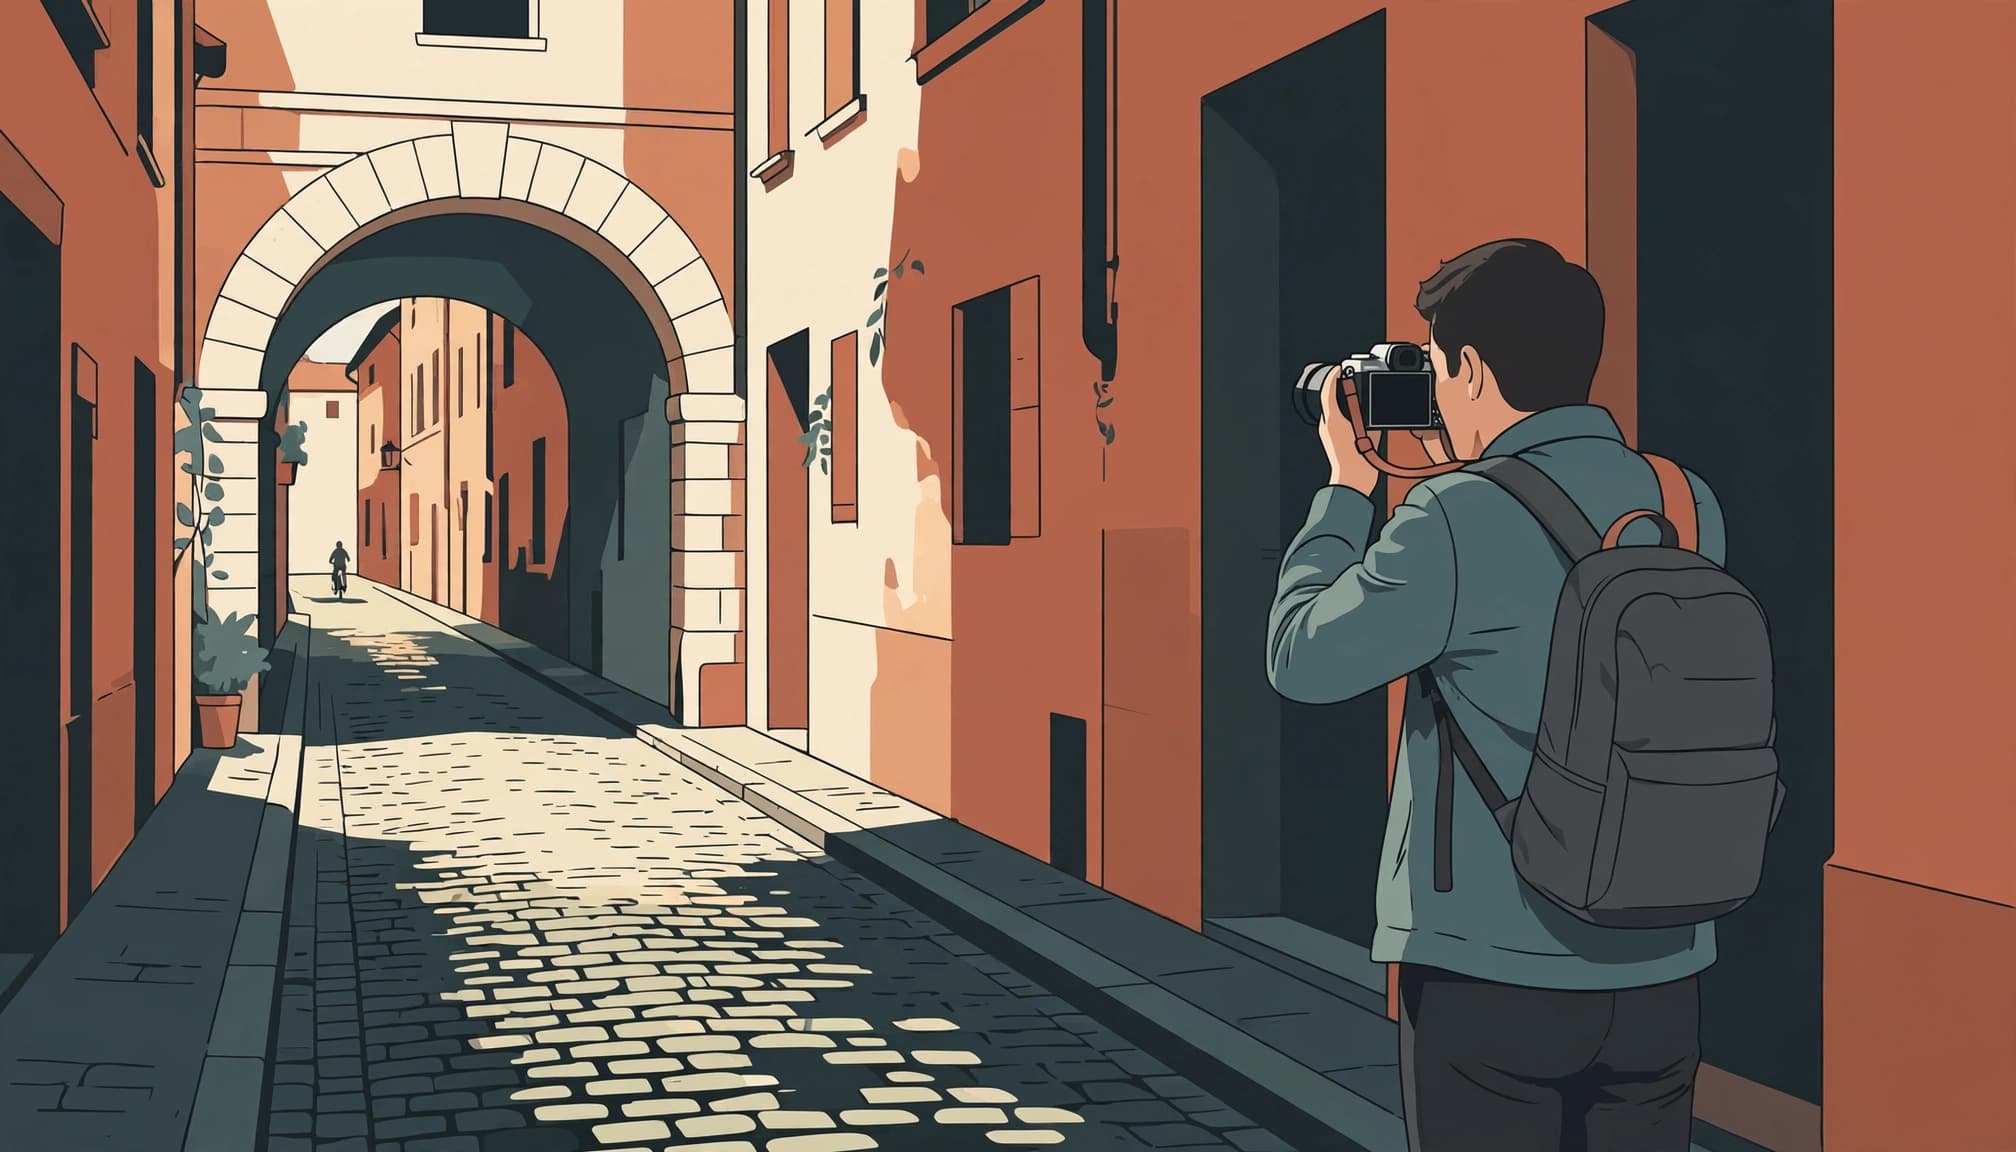
Travel writer Thomas Berger recalls a Lisbon outing when a friend stopped on Alfama’s steps to readjust a heavy full-frame kit. Carrying less, Berger kept photographing and caught a yellow tram turning into afternoon sunlight.
Those shifts can force quick exposure adjustments. Auto ISO removes one repeated decision while you keep watching the street, and ISO changes as the light shifts.
What Auto ISO controls in each exposure mode
Aperture priority, shutter priority, and Program
In aperture priority, set the aperture for your desired depth of field. The camera adjusts shutter speed and ISO based on its meter and menu limits, usually raising ISO when it reaches your minimum.
Choose shutter priority when motion matters, such as with trains or cyclists. You fix shutter speed while the camera adjusts aperture and ISO.
Program mode also adjusts sensitivity automatically. Fully automatic green mode generally does the same, but offers less control. Nikon’s Auto ISO explanation describes how automatic sensitivity responds to exposure settings, and Canon cameras use the same basic approach.
Manual mode with Auto ISO
In manual mode, you fix both settings, while ISO alone changes to follow the meter.
Start at 1/250 second at f/8, with sensitivity set to Auto, for daylight street photography. This gives useful sharpness and handles ordinary walking movement.
However, f/8 can demand unnecessarily high sensitivity indoors. Use f/4 or f/2.8 when you don’t need foreground and background equally sharp.
Set up Auto ISO before you leave
Set these limits before saving a travel preset:
- Choose aperture priority or Manual mode, then enable automatic sensitivity.
- Select the camera’s base or preferred ISO as its starting value.
- Set a maximum sensitivity that keeps image quality acceptable for your intended output.
- Set the minimum shutter speed for your subject, about 1/250 second for walkers on a bright street.
For a dim interior, open the aperture and allow a higher ISO rather than accepting blur.
On many Nikon cameras, open Photo shooting menu > ISO sensitivity settings > Auto ISO sensitivity control. Switch it on, then set maximum sensitivity and minimum shutter speed.
Nikon’s selected or “preferred” ISO acts as the starting value the camera tries to retain. Some cameras also provide separate minimum and maximum Auto ISO settings, while others use different labels or omit controls, so check your manual before relying on a specific option during travel. Nikon’s D850 documentation explains its automatic shutter option based on focal length.
Canon commonly groups these controls under its sensitivity settings. Sony uses ISO AUTO, and supported models offer a minimum-speed control. Fujifilm commonly offers configurable sensitivity presets. Menu names and options vary by model.
Check the exposure compensation control on your camera body or in the quick menu; its location varies by model.
Finally, point your camera into shade. Watch the exposure display and shutter speed as you reframe toward daylight.
The shutter floor isn’t absolute. Some cameras drop below it after reaching the sensitivity ceiling; in Manual mode, reaching that limit can leave the photograph underexposed instead.
Choose an ISO ceiling for your output
Camera age offers a rough starting guide, but sensor size, aperture, and individual camera performance matter more. An older full-frame camera can outperform a newer model with a smaller sensor.
| Camera age | Suggested initial maximum |
|---|---|
| Under 2 years | ISO 6400 |
| 2 to 4 years | ISO 3200 |
| Over 4 years | ISO 1600 |
Treat these as conservative starting points rather than hardware limits. Useful guardrails, not guarantees. Set your Auto ISO ceiling by testing your own camera and intended output, not by age alone.
Before departure, photograph textured stone in dim light at several ISO values, then compare the files at your normal sharing size and largest expected print size.
Web images usually contain fewer displayed pixels than large prints, so downsizing can make noise less noticeable. High-resolution monitors can still reveal it clearly. High ISO can make noise more visible, especially in large prints or close inspection.
For printing, viewing distance also matters. Judge whether grain obscures detail in your intended print, rather than rejecting every file that looks grainy at 100% magnification.
Match minimum shutter speed to the scene
Streets and train windows need different limits
For walking people, start around 1/250 second. Use 1/500 second or faster for cyclists, and increase the shutter speed if motion still blurs.

Through a train window, start around 1/500 second for distant mountains or coastline. Nearby trees and buildings may need a faster shutter speed, around 1/1000 second or more.
Auto ISO helps when a European route moves from open fields into wooded cuttings. Shutter priority or Manual with automatic ISO keeps motion control consistent as light changes.
Stabilization can’t freeze passing scenery or subject motion. It only helps with camera movement.
Focal-length automation doesn’t understand your subject
Some cameras set a minimum shutter speed according to focal length. One Sony zoom demonstration at f/22 used about 1/30 second at 24mm, 1/60 second at 50mm, and 1/90 second at 70mm.
These values roughly follow the reciprocal rule for camera shake, but they don’t guarantee sharp moving people. Crop sensors, high-resolution bodies, and unsteady technique may require faster settings. Stabilization can allow slower exposures for stationary architecture.
A narrow aperture may require high ISO in dim light to maintain exposure. Check the ISO setting against your output needs.
In that Sony demonstration, the selected Auto ISO value appeared after a half-press; a flashing ISO value showed the camera had reached its limit. Display behavior varies by model.
Use exposure compensation without losing your settings
A worked example in changing light
Set the shutter speed and aperture you want, then let Auto ISO respond to the meter.
On a bright European street, use Manual mode with Auto ISO and choose positive exposure compensation if the meter makes the scene too dark, then check whether the result stays within your maximum ISO.
For pale stone or stained glass, use negative exposure compensation to protect important highlights.
If high ISO reaches the camera’s ceiling, the frame may remain too dark; opening the lens is preferable to accepting blur. At minimum ISO, a very bright square may still clip, so select a faster setting.
Shoot RAW. Watch important highlights on white facades or church windows, then apply negative compensation if those areas clip. Don’t automatically darken every snowy or pale scene; the meter may already render it too dark.
With sensitivity assigned to a rear dial, lower it until zebra stripes just disappear from important highlights. Zebra thresholds such as 107 depend on the camera’s signal scale and picture profile; they aren’t universal RAW clipping limits.
Switch to fixed ISO when exposure should stay consistent
Use fixed ISO when a tripod, panorama, bracketed shots, or a stable meter reading calls for consistency.
For tripod-mounted blue-hour architecture, start at the base setting, often 64 or 100, with an aperture around f/8. Let the shutter speed lengthen as the light fades.
Fixed settings also help with panoramas and brackets. Otherwise, automatic sensitivity may change between frames and complicate matching them.
A canal reflection at the base setting and f/8 might require several seconds. Auto ISO could shorten that time when you want smoother water.
For handheld shots in a dim cathedral or when following moving people, use Auto ISO and keep the shutter speed fast enough to avoid blur. Open the aperture and allow settings of 3200 or 6400 when necessary.
Also lock the meter when a dark coat or bright wall changes its reading, even though the actual light stays constant.
What sensitivity changes inside your camera
The digital-camera standard ISO 12232:2019 defines methods for assigning and reporting ratings. Those ratings don’t directly describe image quality.
A digital camera’s output depends on how the sensor responds to light, analog amplification, and analog-to-digital conversion. Raising ISO doesn’t make the sensor collect more photons.
“Native ISO” commonly refers to operation without additional amplification, sometimes called unity gain or bypassed amplification. Manufacturers use the term differently, and ISO and gain aren’t interchangeable concepts.
An “ISOless” or near-ISO-invariant camera doesn’t necessarily stay at native ISO and simulate every other setting in software. The term describes similar RAW shadow results when a low-ISO exposure is brightened later.
With a non-invariant sensor, a higher native ISO can reduce the read-noise penalty compared with brightening the same exposure afterward. On a near-invariant sensor, that advantage shrinks, while higher settings can sacrifice highlight headroom.
For travel photography, use Auto ISO to protect the shutter speed your subject needs, but don’t treat sensitivity as a cure for insufficient light.
Frequently Asked Questions
What does Auto ISO do?
Auto ISO changes the camera’s sensitivity as the light changes. In aperture priority, the camera also adjusts shutter speed, while in Manual mode it changes ISO to follow the meter.
What minimum shutter speed should I use with Auto ISO?
Start around 1/250 second for people walking and 1/500 second or faster for cyclists. For scenery through a train window, nearby trees and buildings may need around 1/1000 second or more.
How should I choose an Auto ISO maximum?
Photograph a detailed subject in dim light at several ISO values, then compare the files at your usual sharing size and largest expected print size. Use the results to set a ceiling that suits your camera and output.
When should I use fixed ISO instead of Auto ISO?
Use fixed ISO when you want consistent exposure across tripod shots, panoramas, or brackets. For handheld photos in dim light or of moving people, Auto ISO can help maintain a shutter speed that reduces blur.
Save a preset for the next street
A useful travel preset keeps your attention on the subject while letting Auto ISO adjust as the light changes. Save it somewhere you can reach without searching through menus.
For your next daylight city walk, set Manual mode to an aperture of f/8 and a shutter speed of 1/250 second, with Auto ISO enabled.
