
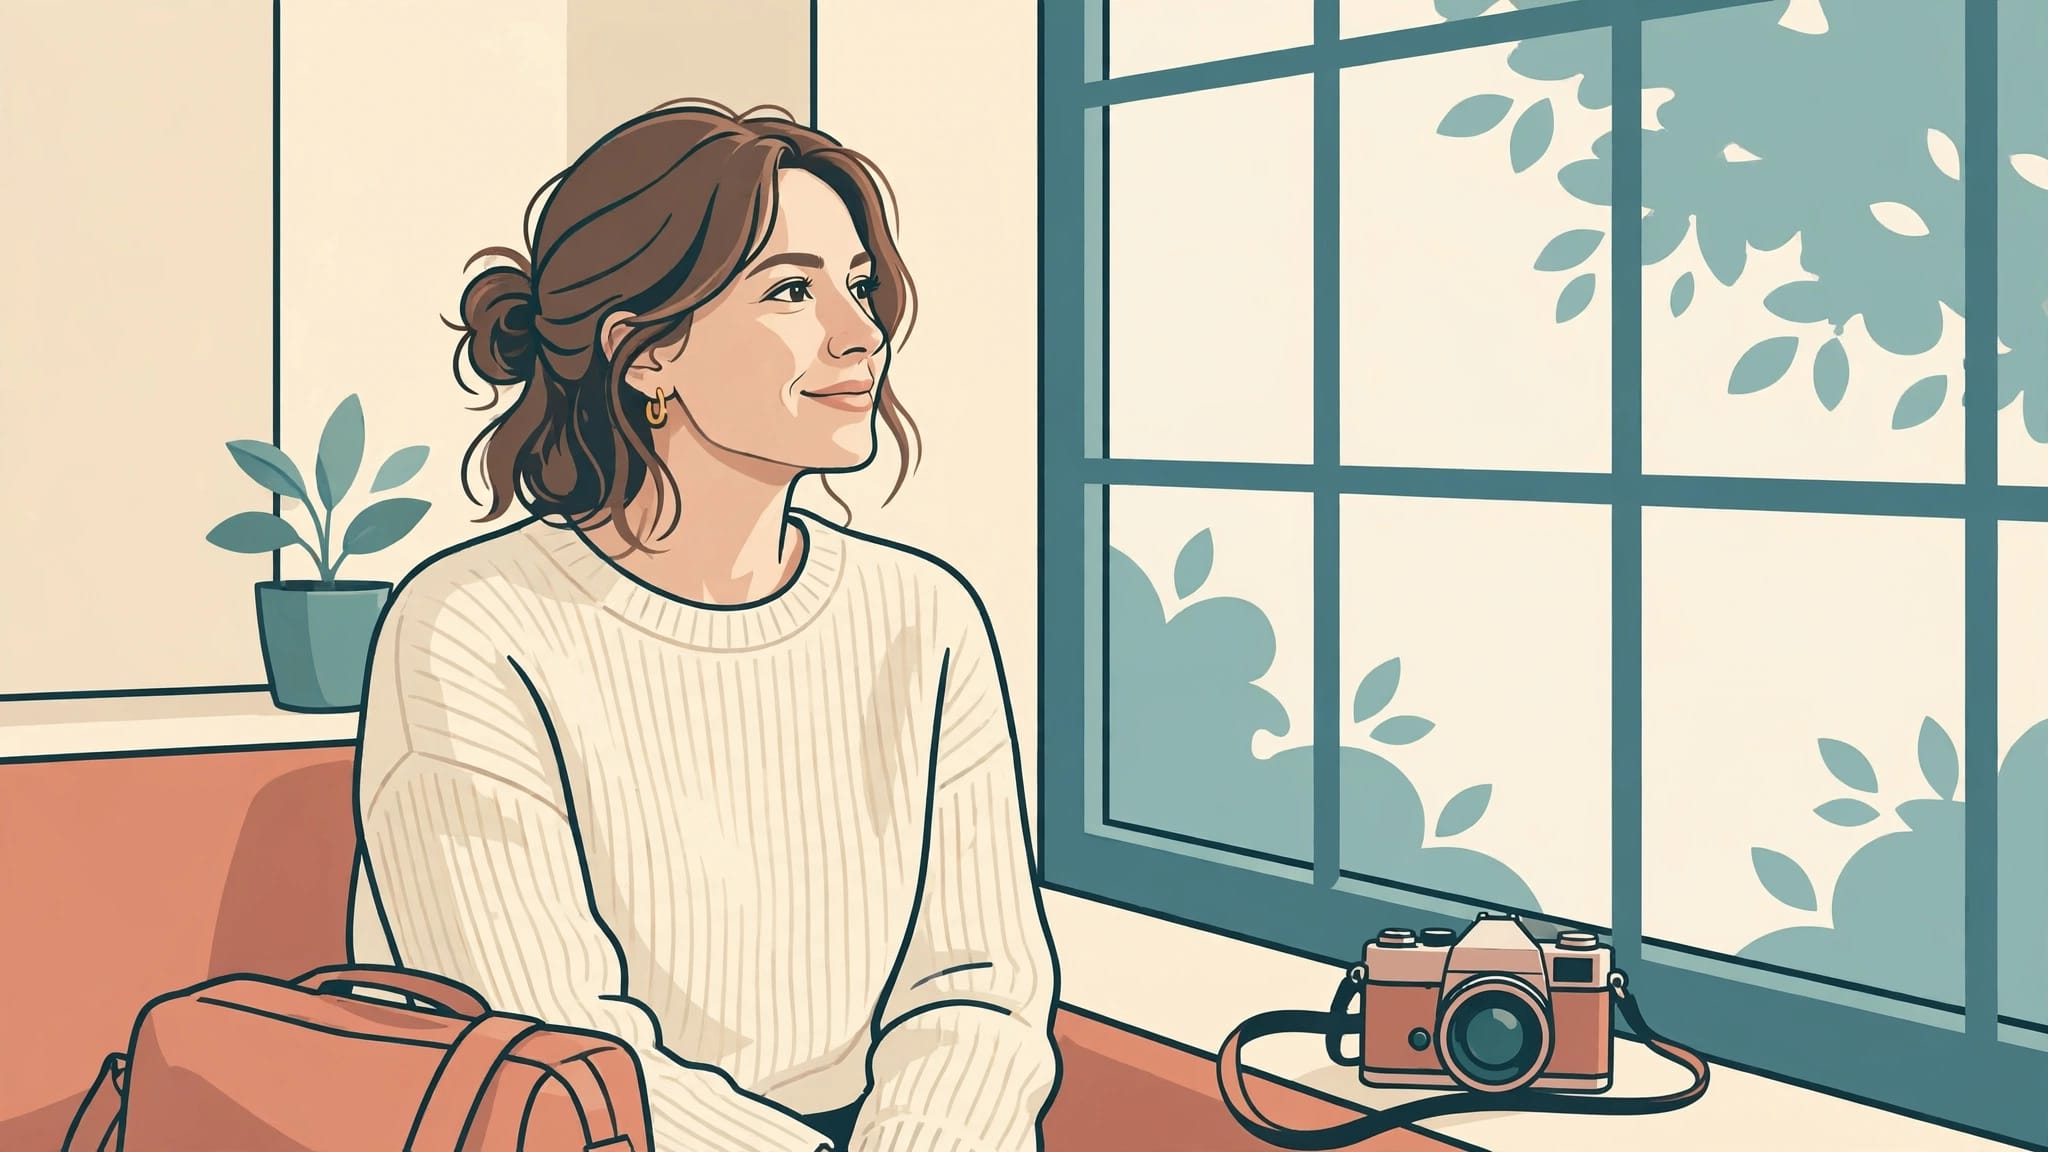
For candid travel portraits with natural window light, find a softly lit spot and let your subject settle into it. Expose for their face, then wait for an expression that doesn’t depend on your instructions.
The challenge is keeping that unforced feeling while managing a bright window beside a darker room. A technically clean photograph can still feel stiff if you interrupt every gesture.
Start by reading the light before you lift the camera.
Find Window Light That Flatters the Face
Look for broad, indirect daylight
Start with the light. A large window facing away from direct sun often gives you soft transitions across the face. Overcast daylight can work beautifully, even at midday.
Look at the shadow beneath the nose. A gradual edge suggests softer light; a sharp outline means direct sunlight is reaching the face.
Canon’s advice on working with available light considers weather alongside time of day. Indoors, the window’s orientation also matters: afternoon light can be gentle on one side of a building and fierce on another.
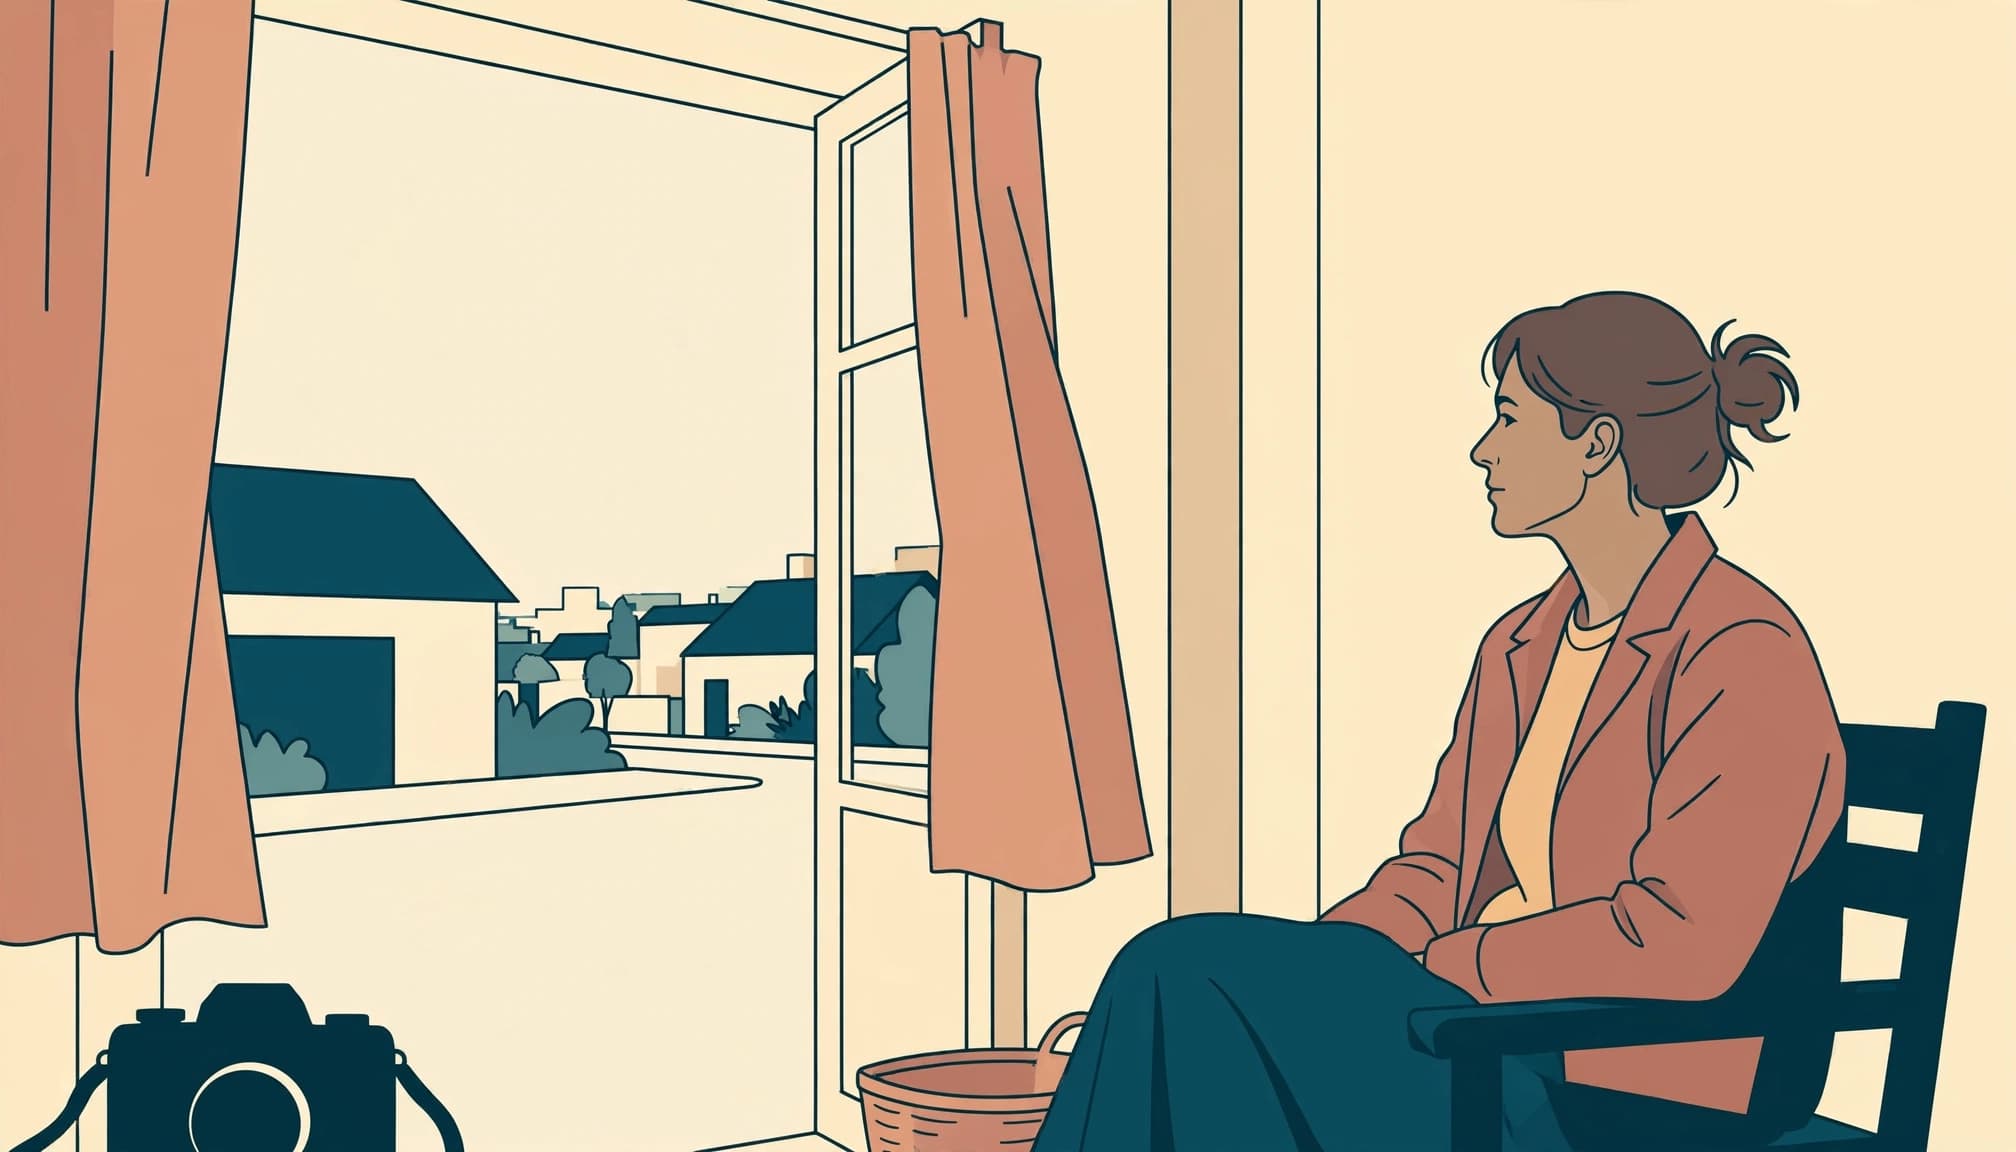
Watch direction and distance
Light coming from beside the subject gives the face shape. Move your own position until you can see some illumination in the nearer eye without losing the shadowed cheek entirely.
Close to the window, the background often becomes darker relative to the face. Farther inside, the window appears smaller to the subject, which can make its light less soft.
If a hard strip of sun crosses someone’s face, wait for their movement or change your angle. The same attention to shadow boundaries helps with street photography in harsh midday light, although window portraits usually benefit from gentler contrast.
Keep Candid Travel Portraits Consensual
Ask without creating a performance
Permission doesn’t require a pose. Ask whether you can photograph someone while they continue what they’re doing, then give them room to decline.
Keep the camera lowered during that conversation. In a cafe or guesthouse, also respect the venue’s photography rules and the privacy of anyone nearby.
Agreement to a photograph doesn’t automatically settle permission to publish it. Ask separately about sharing, especially when a recognizable stranger will become the main subject of a public image.
If someone turns away or becomes uncomfortable, stop. Don’t treat hesitation as part of the candid moment.
Let the activity continue
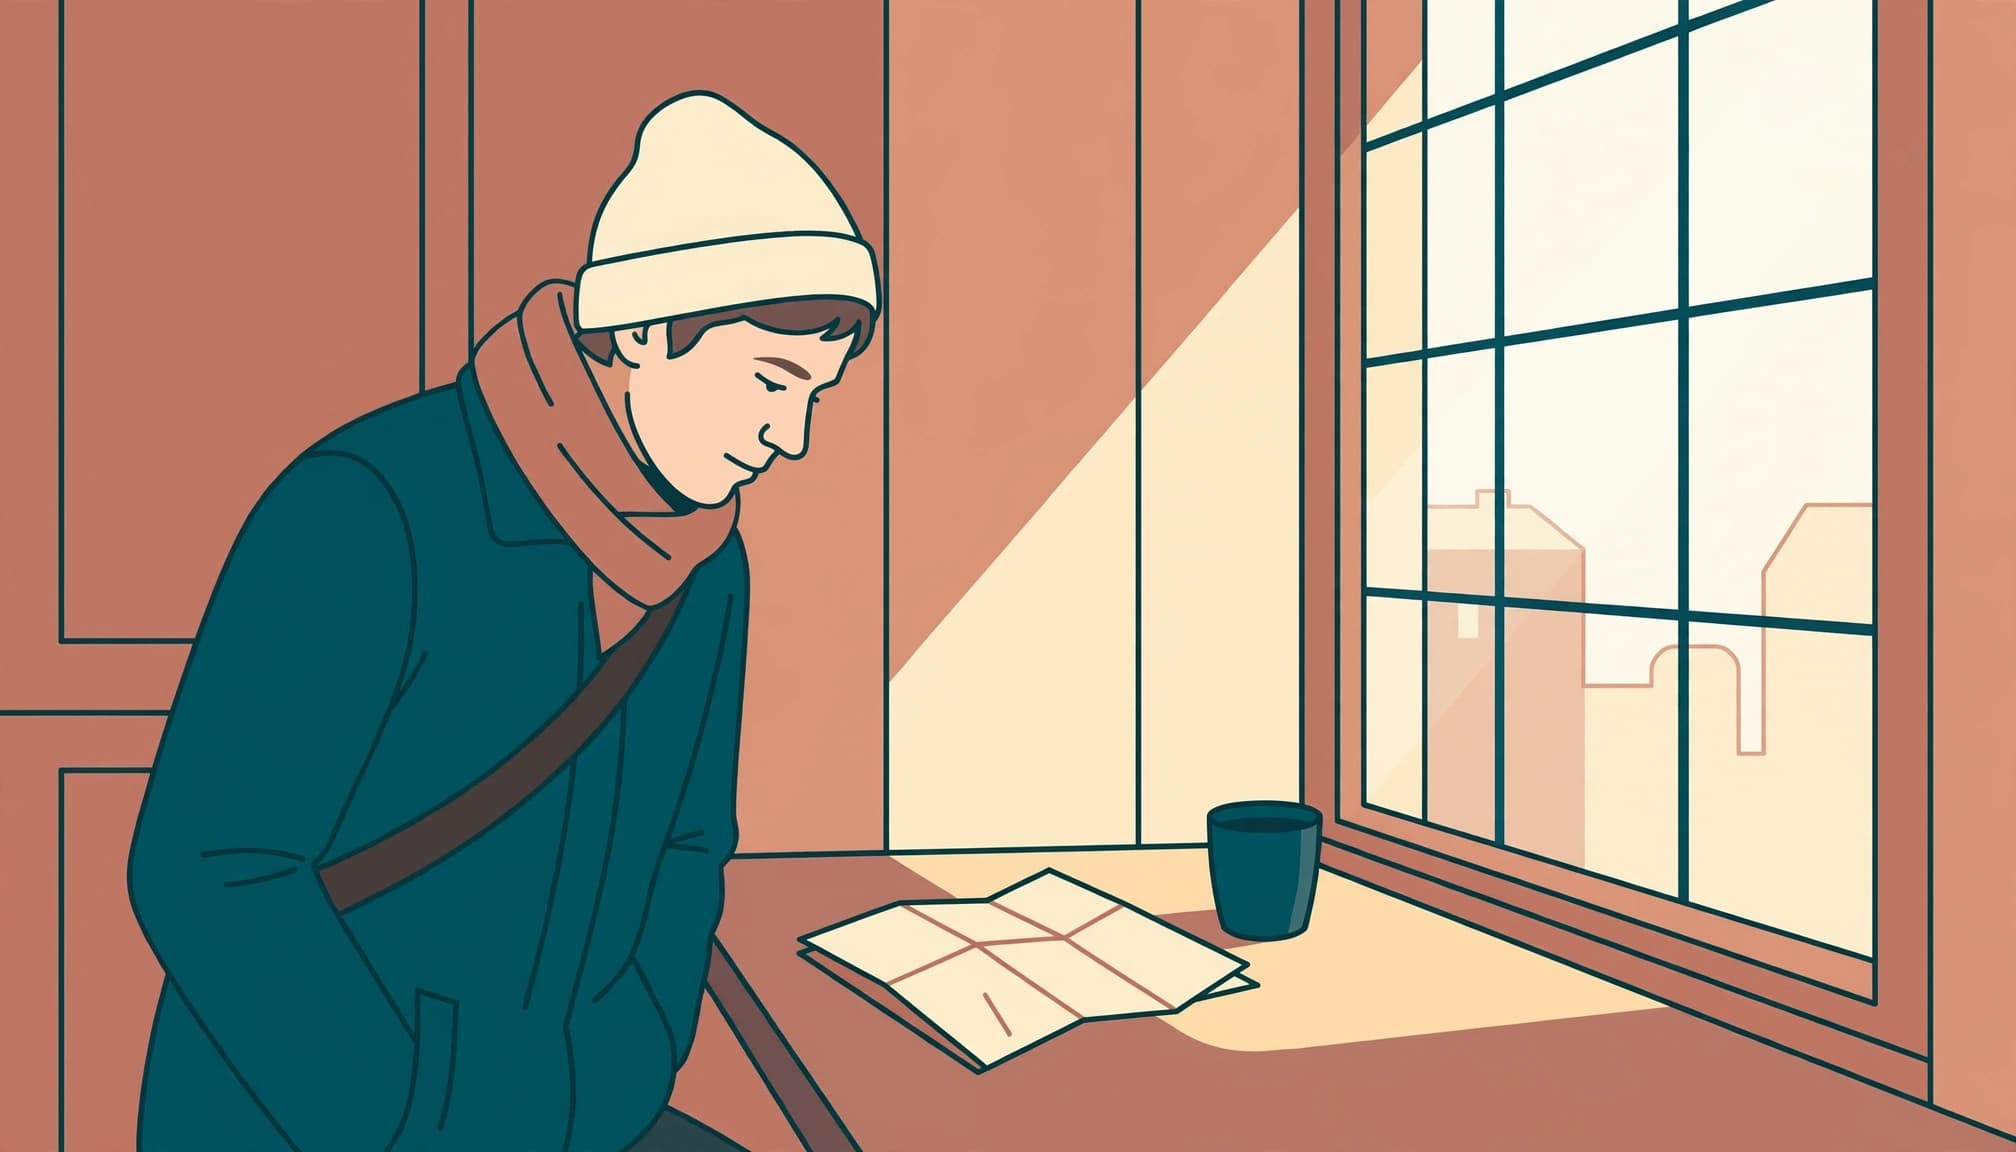
A companion reading beside a window already has something to do. You don’t need to supply a prop or request an expression.
If you keep asking someone to turn toward the window or repeat an action that has already finished, the photograph becomes directed, even when their eyes never meet the lens and their expression seems relaxed.
You can agree on a comfortable location beforehand without controlling every movement afterward. However, be honest about that distinction when describing the photograph.
After permission, lower the camera between frames. Conversation and ordinary pauses help prevent the session from becoming an extended performance for the lens.
Prepare Exposure and Focus Before the Moment
Protect the face, not every window highlight
When a traveler sits beside a bright window with a dim cafe behind them, meter for the illuminated cheek rather than letting the glowing glass convince the camera to darken the entire face.
Use a test frame to inspect skin highlights. A featureless patch on the forehead matters more than a small area of white sky outside.
Adobe’s explanation of exposure in photography connects shutter speed with aperture and ISO. Choose the shutter speed for your subject’s movement, then balance the other controls around it.
Nikon gives ISO 400 and f/5.6 as a general portrait starting point. That’s general guidance, not a window-light prescription. A dim interior may require a wider aperture or higher ISO.
Keep focus on the person
Use continuous autofocus when your subject leans forward or turns frequently. Eye detection helps, but watch whether the camera selects the intended person.
If detection jumps to a reflection, switch to a small focus area over the nearer eye. With a wide aperture, a sharp window frame won’t rescue a soft face.
Raise ISO before accepting unwanted motion blur. Stabilization can reduce camera shake, but it cannot freeze someone turning their head.
Include Enough of the Room to Show the Journey
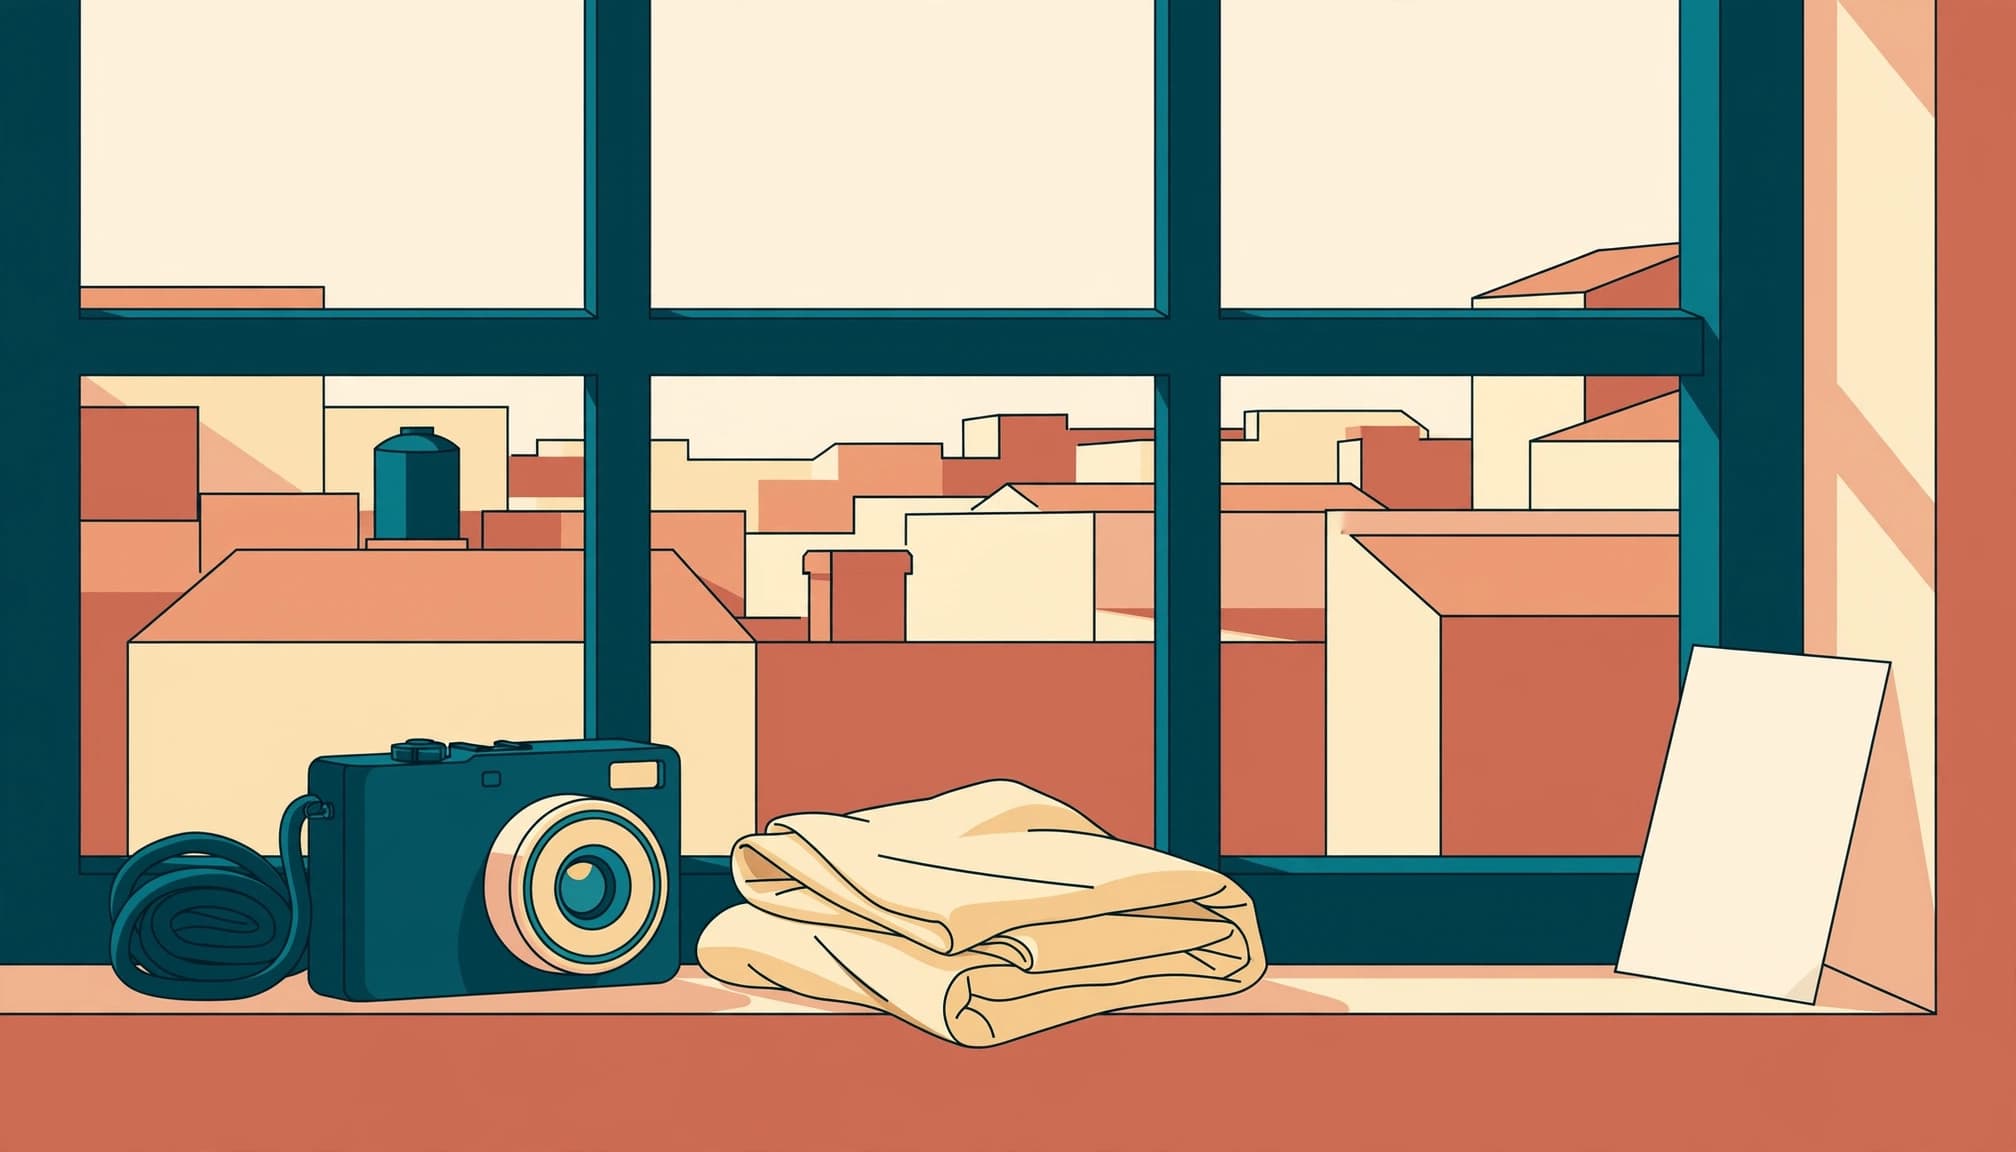
A tight face could belong almost anywhere. A worn cafe table or distinctive window surround can give the portrait a sense of place without competing with the person.
Choose one environmental detail that earns its space. Then examine the edges for bright distractions, especially lamps appearing to grow out of someone’s head.
A normal or moderately wide lens often suits cramped interiors. However, avoid moving so close that the nearest facial features become exaggerated. Step back when possible and leave breathing room around the subject.
Working with familiar equipment reduces interruptions. This guide to one-lens travel photography develops that approach for changing travel scenes.
Keep lighting and focus deliberate even when the expression is spontaneous. Both are central to Samuel Sarfati’s natural-light portrait advice for Canon Europe.
Before taking the frame, shift sideways slightly. That small adjustment can separate a face from a dark window mullion without asking the subject to move.
Wait for a Gesture That Belongs to the Scene
Wait without directing. Once your exposure is ready, watch how the person interacts with the space rather than tracking every change in their expression.
A traveler may glance outside when a bus passes. Someone reading might pause before turning a page. These actions give you timing cues without requiring a smile.
Look for a brief change in attention. A pause between sips, perhaps. Photograph just before the person becomes aware of the camera again.
A supplied travel anecdote from above Taos offers a useful parallel. One October morning, an older man stepped outside with a broom while mist lingered below a church. The photographer stayed across the lane near a public wall and kept him small in the doorway instead of approaching for a close portrait.
That scene depended on distance and context. Beside a window, the same restraint means allowing the room to remain visible when it explains more than a tighter crop would.
Take a short sequence when the gesture changes, then stop. Continuous shooting throughout a quiet conversation can make someone feel observed rather than comfortable.
Edit Without Erasing the Window Light
Balance color around the face
Shoot RAW when available, because it gives you more flexibility with white balance and tonal adjustments.
Mixed lighting can put orange lamp light on one cheek and cooler daylight on the other. If the venue permits it, switching off a nearby lamp before shooting can simplify that problem.
Otherwise, set the overall white balance around the face. Correct a distracting color cast locally rather than forcing every surface in the room to look neutral.
Keep the darker side believable
Lift shadows enough to retain useful facial detail, but leave a visible difference between the lit and unlit cheeks. Equal brightness across both sides can flatten the original lighting.
A small white card can bounce some daylight back toward the shadowed side during capture. Use it only if it doesn’t interrupt the activity or crowd the subject.
Before exporting, inspect reflections and background faces. Also look for readable room numbers or travel documents that reveal more than the subject intended.
Choose another frame when privacy is easier to protect through selection than heavy retouching.
Key Takeaways for Your Next Shoot
- Place your bag where you won’t need to step around it during a fleeting gesture.
- Silence avoidable camera beeps before a quiet indoor session.
- Keep your camera strap clear of cups and tableware when leaning forward.
- Show the subject a frame during a natural break, rather than interrupting immediately after every exposure.
Frequently Asked Questions
Can you take window-light portraits with a phone?
Yes. Use the main camera when the room is dim, and avoid digital zoom. Move your position to adjust framing, while leaving enough distance for natural facial proportions.
Tap the face to set focus. If your phone allows exposure adjustment, use it while watching the illuminated skin. A bright window doesn’t need full detail when the person is your subject.
Be cautious with simulated portrait blur around glasses and loose hair. Those edges can look less convincing than the room’s natural background.
What if the window is behind the subject?
Backlighting can create an atmospheric portrait, but it also makes the face darker relative to the background.
Expose for the face and accept that the window may become very bright. If the difference is too large, move yourself sideways so some window light reaches the front of the face.
For a silhouette, expose for the brighter area instead. Choose a profile or readable gesture, because facial expression will carry less information in the finished photograph.
Leave Room for the Next Moment
At your next window seat, make one test frame before the conversation gets going. Set the camera down briefly and let your companion return to what held their attention.
When you raise it again, watch for the small change that gives you a reason to press the shutter: their eyes following something beyond the glass, with a pale window reflection still visible in the nearer iris.
