

For moving travel subjects, start with continuous autofocus, then choose a focus area that separates your subject from distractions. These autofocus settings keep adjusting as the distance changes, whether you’re following a cyclist or photographing wildlife.
However, even accurate focus can’t rescue a slow shutter speed. Your camera needs a clear target and an exposure that suits the movement.
Start with the focus mode, then narrow down where the camera should look.
Choose Continuous Autofocus for Moving Subjects
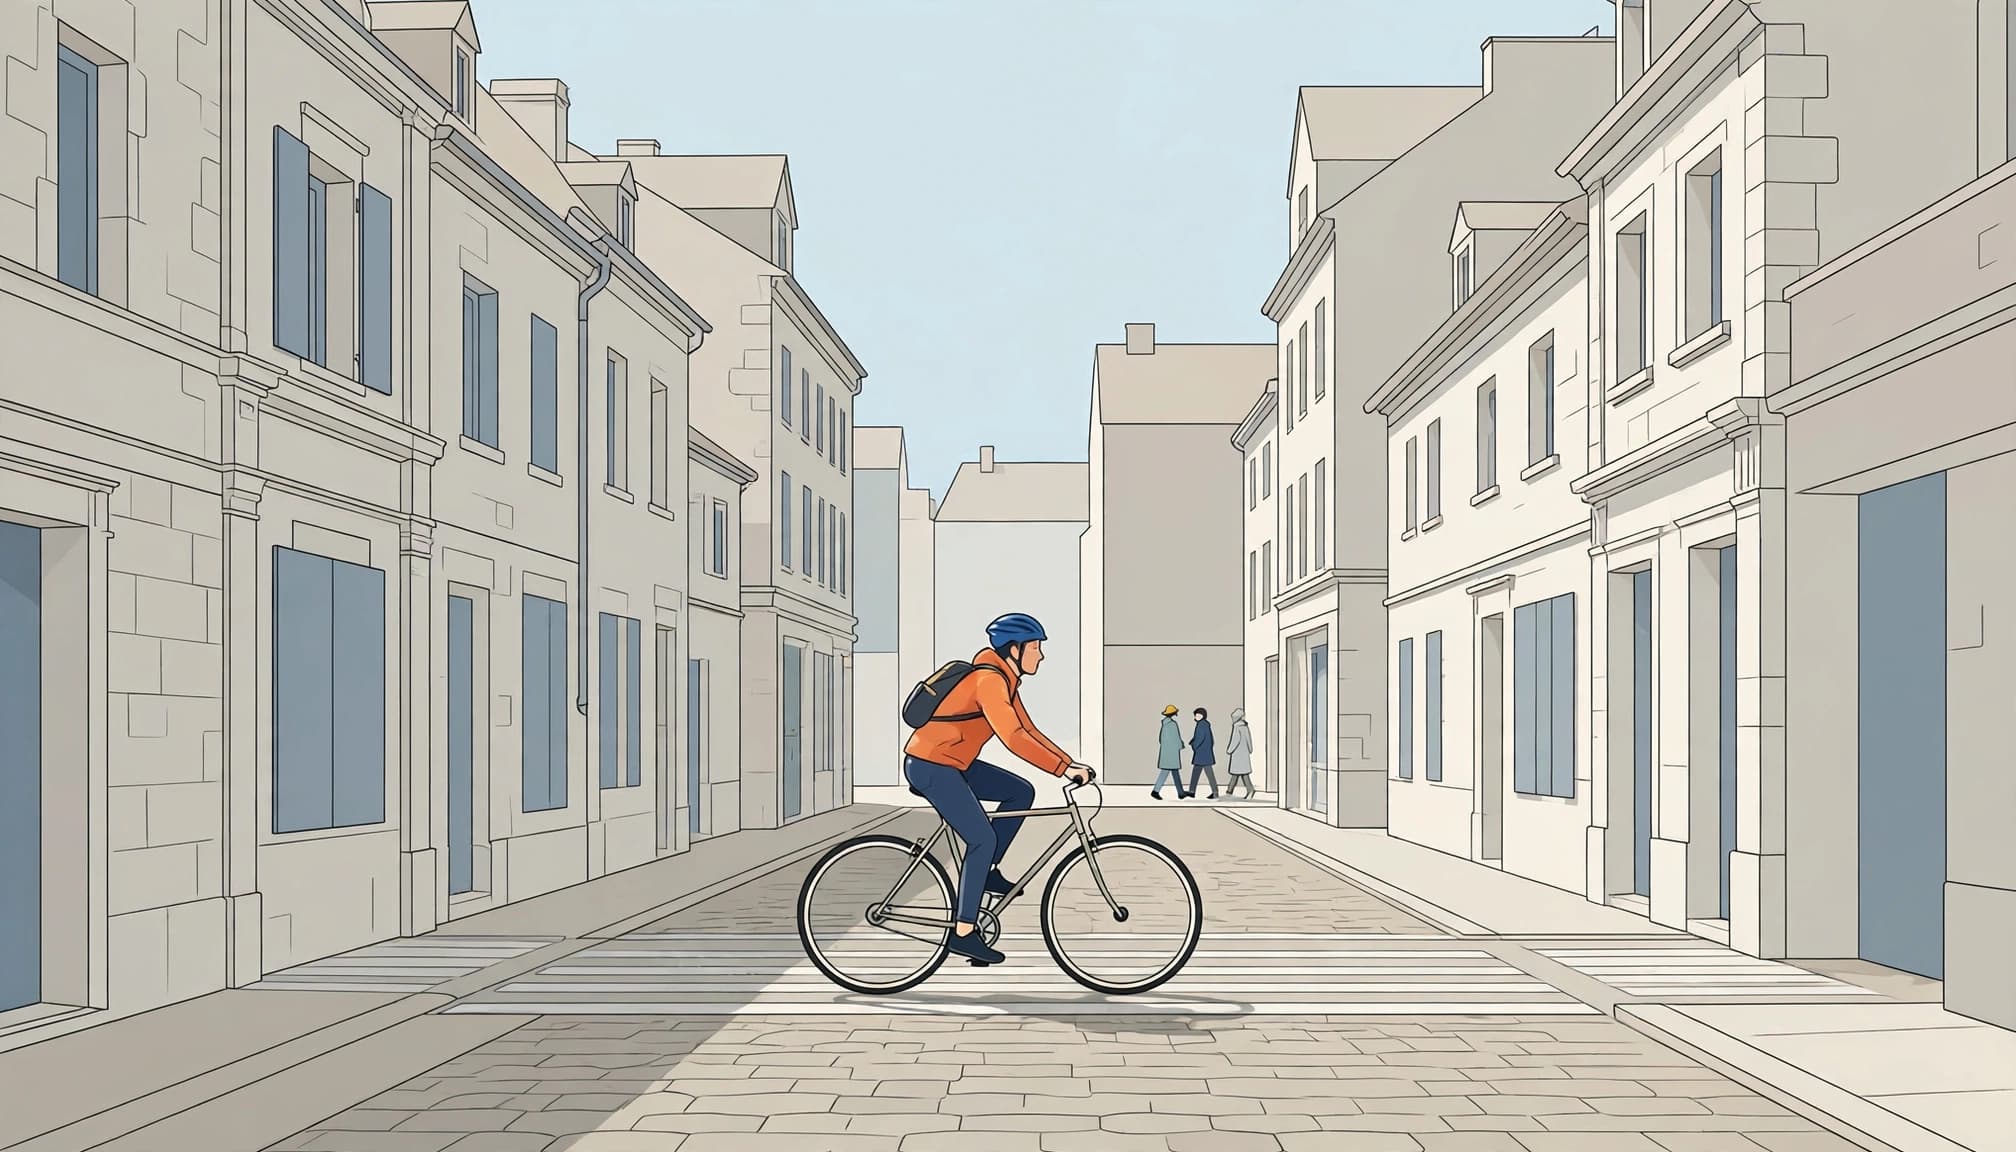
Keep focus updating as distance changes
Continuous autofocus adjusts while you hold the shutter halfway down or press an assigned AF-ON button. Nikon and Sony call it AF-C. Canon uses Servo AF on current mirrorless cameras and AI Servo on many DSLRs.
Keep autofocus active. A brief press followed by releasing the button stops those adjustments, so an approaching subject can move beyond the focused distance before you shoot.
Canon’s guide to autofocus operation distinguishes continuous Servo operation from One-Shot AF for stationary subjects. For walking companions, continuous AF is the dependable starting point.
Reserve single autofocus for fixed distances
Single autofocus, usually AF-S or One-Shot, focuses once and holds that distance while you maintain the half-press. It’s useful for buildings and stationary portraits.
However, focusing once on someone approaching you becomes risky at close range, especially with a wide aperture. Even a small step can move their eyes outside the sharp region.
Use single AF when the subject stays put, or when you’re deliberately pre-focusing on a place they’ll cross.
Match Autofocus Settings to the Background

Use a wider area against clean backgrounds
A broad zone or whole-frame tracking gives you room to follow unpredictable movement. It’s helpful for a bird crossing open sky because few competing objects can attract focus.
When a bird changes direction above open water and you struggle to keep a tiny focus point on its body, a wider starting area gives the camera more room to acquire the subject.
However, a large area doesn’t guarantee the right choice. Begin with the intended subject clearly separated from nearby birds, then watch whether the tracking box stays attached.
Shrink the area when distractions compete
In a crowded market, whole-frame AF may select the closest face. Behind vegetation, it may prefer a bright branch.
A sharp railing, a soft face.
Switch to a smaller zone or single point and place it over the subject. If your camera offers tracking initiated from a selected point, use that point to identify who matters before following their movement.
Sony’s recommended focus settings describe tracking that starts from the selected autofocus area. That combination provides deliberate selection without demanding perfect point placement throughout the action.
Use Subject Detection Without Surrendering Control
Person and animal detection can keep focus near an eye while you concentrate on framing. Select the appropriate subject category when your camera provides one.
For example, person detection suits a companion walking through a square. Bird detection suits seabirds circling a harbor. Available categories depend on the camera.
Nikon’s eye-detection autofocus guide describes people-detection options within wide-area and auto-area modes on compatible cameras. Recognition and focus-area selection can work together.
Watch the box. If it jumps to another person, reposition the starting area or use the camera’s subject-selection control.
At longer distances, an eye may occupy too few pixels for reliable detection. Aim at the head or body instead. Likewise, don’t wait for an eye box while a small animal disappears behind cover; a clearly focused head is a useful result.
Give Autofocus a Fast Enough Shutter
Choose speed for the movement
Focus accuracy and motion blur are different problems. A camera can focus correctly while a moving hand still smears across the exposure.
These are useful starting points for freezing travel action:
| Subject | Starting shutter speed | Focus approach |
|---|---|---|
| Walking person | 1/500 second | Continuous AF with person detection |
| Cyclist crossing the frame | 1/1000 second | Continuous AF with a zone |
| Walking mammal | 1/1000 second | Continuous AF, eye or head |
| Bird in flight | 1/2000 second | Continuous AF with tracking |
Increase speed for close subjects or rapid sideways movement. Meanwhile, slower speeds can work for distant subjects moving gently.
Nikon’s explanation of freezing motion connects shutter speed directly to how movement appears.
Protect speed as the light changes
Manual exposure with Auto ISO lets you hold shutter speed and aperture while sensitivity responds to changing light.
If you follow a cyclist out of a sunny square and into a shaded arcade, Auto ISO can raise sensitivity while your chosen shutter speed continues to protect against motion blur.
Raise ISO before sacrificing shutter speed. Also, stopping down slightly can give close subjects more depth of field, provided enough light remains.
Stabilization reduces camera shake. It doesn’t freeze the cyclist.
Adjust Tracking Sensitivity Only When Needed
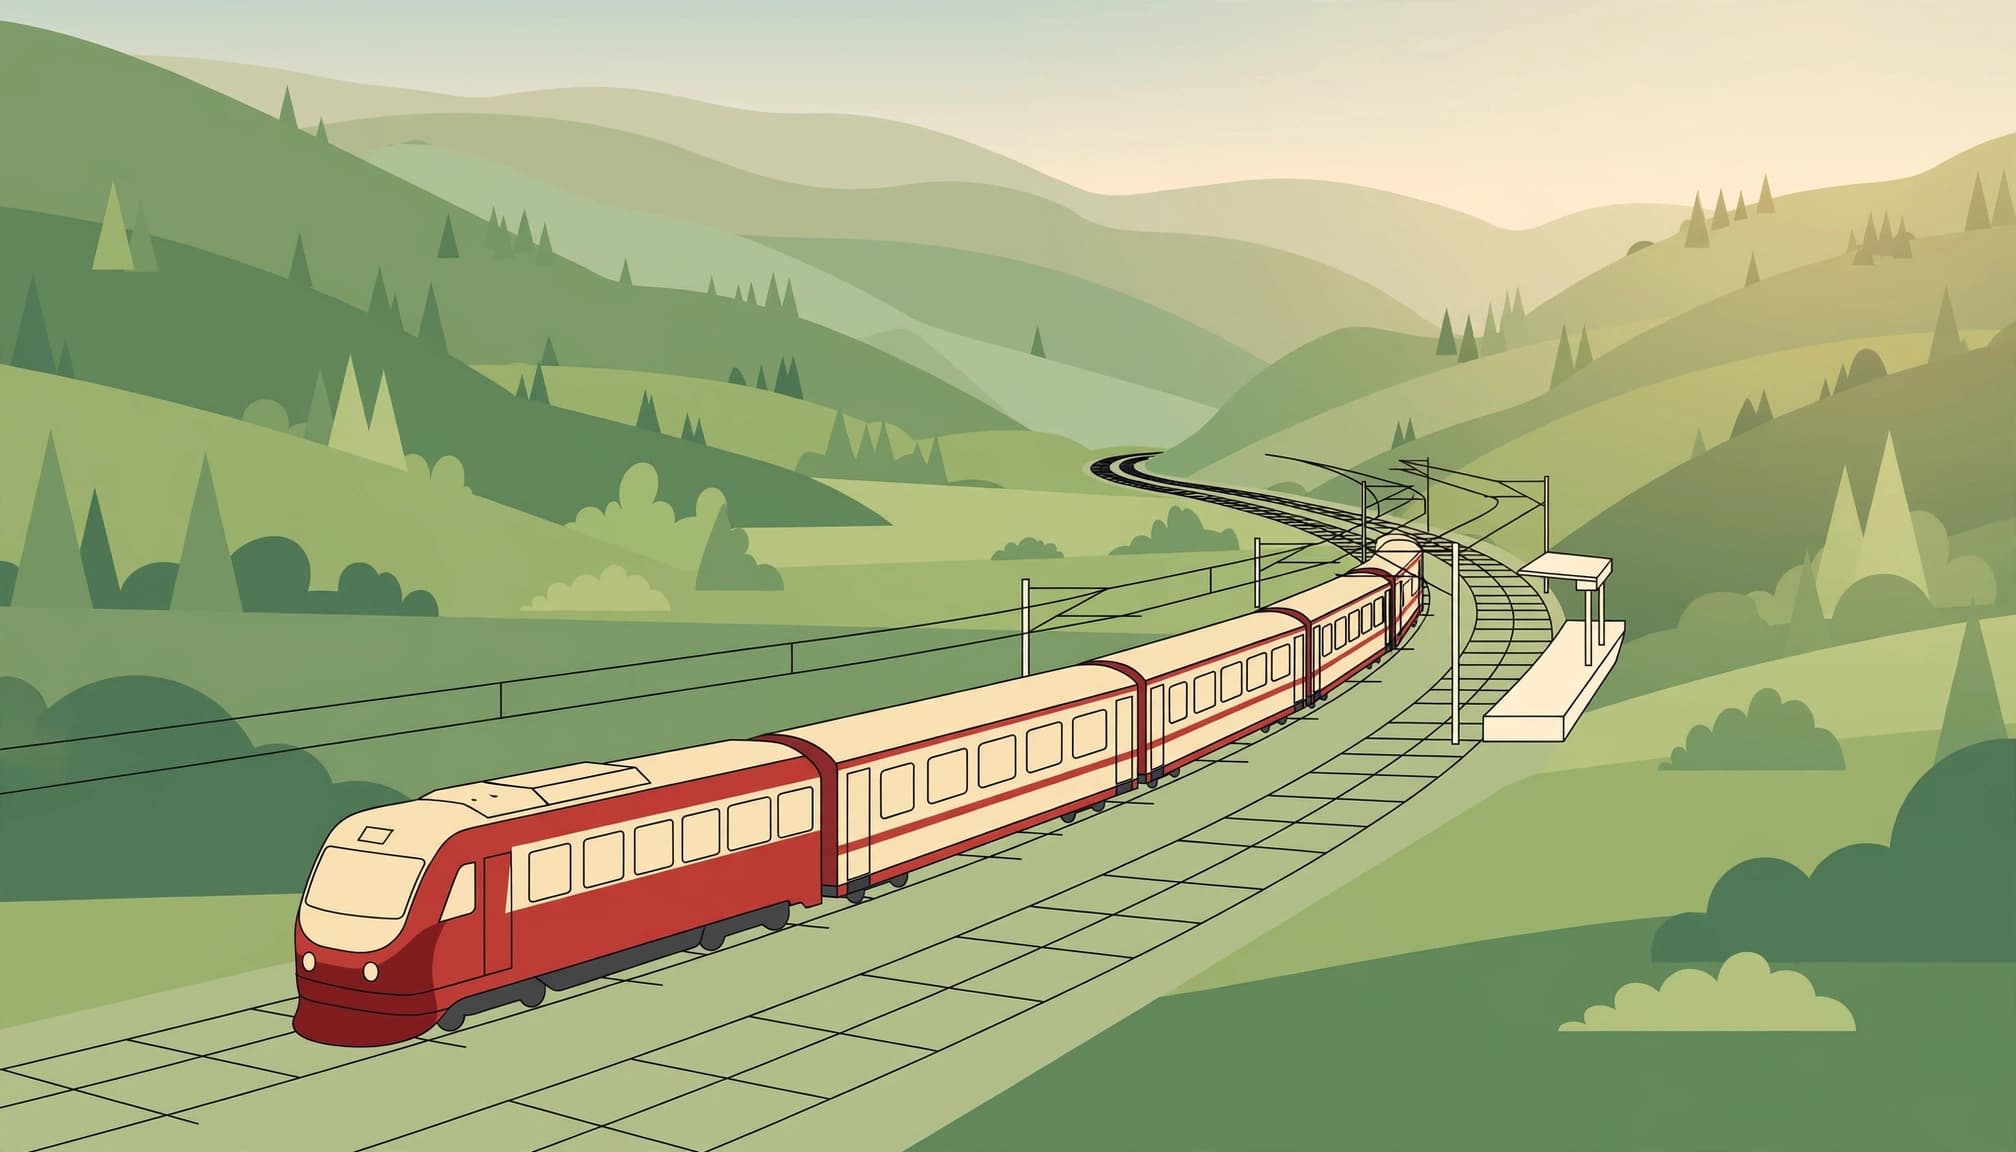
Tracking sensitivity often controls how readily autofocus abandons an existing subject when something else enters the focus area. Names and scale directions vary between brands.
Start with normal sensitivity. Change it when you can identify a repeated failure.
If a passerby briefly blocks your companion, a setting that resists switching subjects can help retain the original target. The same applies when a train passes behind a narrow pole.
However, stronger resistance can delay acquisition when you intentionally switch to a different subject. A more responsive setting suits that change.
Don’t confuse resistance to obstacles with the camera’s ability to follow changing subject speed. Some bodies offer separate acceleration controls.
Also consider release priority. Focus priority can delay firing until the camera judges focus acceptable; release priority favors taking the picture immediately. Neither guarantees a sharp frame, so practice with ordinary street movement before relying on either during a fleeting encounter.
Recover When Autofocus Picks the Wrong Target
First, inspect the failure rather than changing several settings together.
A sharp background behind a soft animal suggests the camera chose the wrong distance. Motion streaks across the subject suggest insufficient shutter speed. If nothing looks crisp, camera shake may also contribute.
For a misplaced focus target, reduce the AF area and place it on a distinct edge. A coat collar or the boundary between a bird’s head and the background gives autofocus more contrast than a featureless surface.
Fog makes this harder because it weakens visible edges. Move the focus point onto a stronger outline instead of repeatedly asking the camera to focus on pale mist.
Train windows introduce another problem: autofocus can select raindrops or reflections. Use a small area on a distant ridgeline or building edge beyond the glass.
If an uninterrupted distant view remains at roughly the same focus distance, focus once and switch to manual. This prevents repeated attempts to acquire marks on the window.
Pre-Focus When the Route Is Predictable
Continuous AF is useful, but a predictable crossing point gives you another option. Focus on the spot where the subject will appear, then hold that distance.
For a tram rounding a bend, choose a visible section of track. For pedestrians, a doorway or pavement seam provides a repeatable distance cue.
In 1932, Henri Cartier-Bresson photographed Behind the Gare Saint-Lazare as a man leaped across water beside the Paris station. Working through a gap in fencing limited his view, yet he caught the suspended stride. You can apply that anticipation by preparing for a specific crossing point rather than following every movement.
Zone focusing extends this approach. With manual focus, you set a distance and use depth of field to cover a useful near-to-far range.
A 28mm lens at f/8 generally offers more tolerance than a 50mm lens at f/2.8 at the same distance on the same camera. However, don’t assume everything is sharp. Establish the zone before the action, and reset it when a narrow lane brings people closer.
Key Takeaways for Moving Travel Subjects
- Keep continuous autofocus active while the subject changes distance.
- Use a broad focus area against clean backgrounds, then narrow it when competing objects attract attention.
- Treat subject detection as assistance, and intervene when it selects the wrong face or animal.
- Diagnose softness before changing settings, because motion blur needs a different solution from misplaced focus.
Frequently Asked Questions
Should I use back-button focus while traveling?
Use it if the control already feels natural. Back-button focus separates autofocus activation from the shutter, so you can stop refocusing without changing modes.
However, it doesn’t make the autofocus system more accurate by itself. Holding the shutter halfway down also supports continuous focusing. Avoid rebuilding familiar controls immediately before a trip, when quick reactions matter more than a new button arrangement.
Does burst shooting improve focus accuracy?
Burst shooting gives you more frames across a changing gesture, but it doesn’t correct the wrong focus target. Start tracking before firing, then use short bursts during meaningful movement.
Continuous AF can update between frames on supported camera setups, although behavior depends on the body and shooting mode. Review a sequence at magnification: consistently sharp scenery behind a soft subject points toward a selection problem.
Save a Preset Before Your Next Walk
Save one moving-subject preset with continuous AF, a medium focus zone, and a shutter speed suited to walking people. Give yourself a familiar starting point whenever movement interrupts a quiet scene.
On your next walk, photograph someone approaching along a pavement and inspect successive frames at full size. If their face stays sharp until they pass close by, try the same approach with a cyclist crossing the next junction.
