

Focus stacking combines photographs taken at different focus distances into one image with greater depth of field. It helps you keep nearby rocks sharp without sacrificing detail in distant mountains.
For travel photographers, the challenge is capturing matching frames before wind or changing light disrupts the scene. The method works best with a steady composition and overlapping areas of sharp detail.
Start by deciding whether your scene needs more than one focus distance.
Key Takeaways Before You Shoot
- Choose a stationary foreground when possible.
- Keep exposure and white balance consistent while changing focus.
- Capture overlapping sharp areas rather than relying on a fixed frame count.
- Save the original frames so you can repair blending errors later.
A compact tripod helps, but you don’t need a specialist lens. Most cameras with adjustable focus can capture a usable sequence manually.
When Focus Stacking Helps a Landscape

Look for a demanding foreground
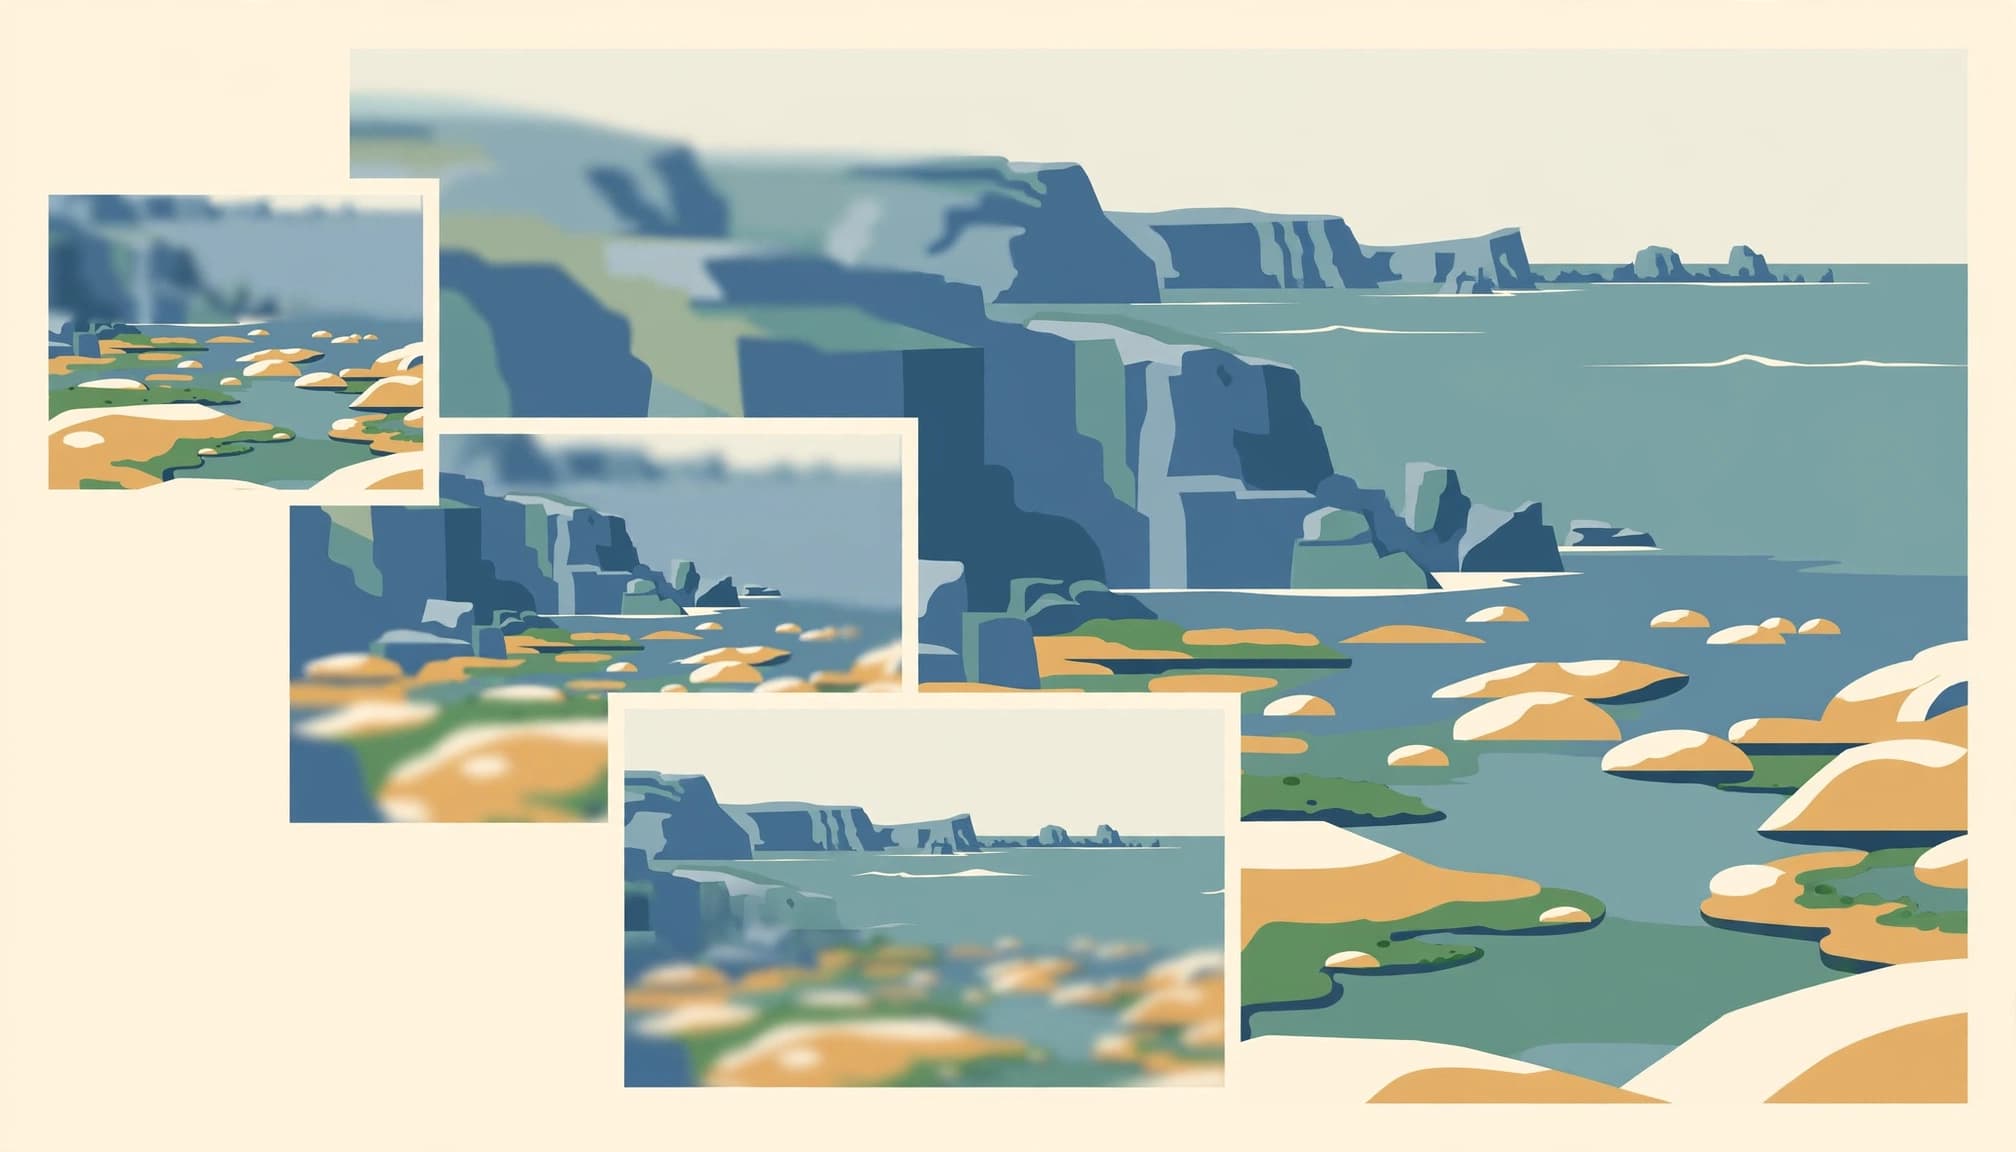
When a foreground boulder sits just inches from your lens while a distant mountain occupies the upper frame, a single exposure may leave one area visibly soft even at a relatively small aperture.
That’s where stacking earns its place. Nikon’s focus stacking explanation describes combining images made at different focus positions to increase depth of field.
Low viewpoints often create this problem because they bring the nearest details closer. However, distant ridgelines photographed without a close foreground usually need only one carefully focused frame.
Try the simpler solution first
Make a test exposure around f/8 or f/11, then inspect the nearest important detail and the background at full magnification.
If both look sharp enough for your intended output, stop there. Raising the camera slightly or stepping back may also provide enough depth of field.
Stopping down further can help, but f/16 or f/22 may reduce fine detail through diffraction. The tradeoff depends on your camera and output size.
Also consider movement. A static rock suits stacking better than grass bending across the mountain behind it.
Set Up a Consistent Capture
Fix everything except focus
Use RAW capture, manual exposure, and a fixed white-balance setting. Start near your camera’s base ISO, often ISO 100 or 200.
An aperture around f/8 is a useful starting point for many travel landscapes. However, smaller-sensor cameras may need less stopping down.
Set shutter speed for the scene. If foliage moves, raise ISO enough to avoid a needlessly slow exposure. Consistent brightness matters, but so does keeping each source frame sharp.
Unlike an exposure bracket, this sequence changes focus distance, not shutter speed. Don’t lock focus throughout the sequence.
Stabilize the viewpoint
Plant the tripod securely without blocking a trail. In wind, keep its legs low and avoid extending the center column.
A hanging bag can worsen vibration if it swings. Instead, shelter the camera where possible and wait for a lull.
Use a remote release or short self-timer after manual focus adjustments. Then inspect the first image for camera shake before continuing.
Leave room around the frame. Alignment may require a small crop because some lenses change magnification as focus changes, an effect called focus breathing.
Capture Overlapping Focus Distances

For a straightforward wide-angle scene, three to five frames can be a practical starting point. Very close foregrounds may require more.
Overlap matters more than frame count.
- Focus on the nearest detail that must appear sharp, using magnified live view.
- Take the first photograph without changing the composition.
- Move focus farther into the scene, keeping some sharp detail shared with the previous frame.
- Continue through the important distances, ending with a frame focused on the distant landscape.
- Review the sequence at high magnification for gaps in sharpness.
Give the foreground extra attention because depth of field becomes shallower at close focusing distances. A large jump between the first two frames can leave a soft strip that software can’t reconstruct.
Nikon’s focus-shift shooting guide describes automated controls for shot count and focus-step width. Compatible cameras can advance focus without repeated manual adjustments.
If your camera offers automatic focus bracketing, begin at the nearest required distance and use conservative steps, because a sequence with too few overlapping sharp areas can leave gaps that blending software cannot repair afterward.
Nikon’s D850 focus-shift tutorial confirms that its sequence progresses toward infinity from the selected starting position.
Focus peaking is only a guide. Magnification gives you a clearer view of the actual detail.
Blend the Frames Without Hiding Problems
Prepare matching files
Apply the same RAW adjustments to every frame. Keep white balance and tonal settings consistent, and avoid different crops.
Then load the photographs as layers in Photoshop. Select the layers and run Auto-Align Layers before blending. This helps compensate for small shifts and focus breathing, although large viewpoint changes remain troublesome.
Adobe’s extended-depth-of-field workflow uses Auto-Blend Layers to combine photographs with different focus points.
Choose Stack Images in the Auto-Blend dialog. Photoshop creates masks that reveal selected sharp regions from the source layers.
Keep a layered version before flattening or exporting. Those masks are useful when the automatic result needs correction.
Inspect the transitions
View the result at 100%. Start around foreground edges, where the blend often struggles.
Branches crossing distant scenery deserve close inspection. An out-of-focus branch can spread over background detail, so even a sharp branch in another frame may leave a halo.
Look for doubled edges around moving leaves. Also inspect water and clouds for abrupt texture changes between source frames.
Where possible, repair a problem by painting on the layer mask to reveal a better source image. For moving water, selecting the entire water area from one frame often looks more coherent than mixing patches.
Finally, crop away uneven alignment borders. Apply output sharpening after resizing.
Avoid the Mistakes That Spoil a Sequence
A missed focus distance and motion blur require different fixes. Extra frames can cover a focus gap, but they won’t rescue a shaky exposure.
A perfectly aligned stack can still contain a soft band if none of the source frames captured that distance sharply.
Also watch the focus ring when handling filters. On a cold June morning near Bear Lake, a photographer focused on wet granite and fitted a 6-stop filter. Three frames stayed sharp before a glove brushed the focus ring while clearing spray; the next image went soft.
That small interruption matters during a stack, too. After wiping the lens, inspect focus before continuing.
Keep the sequence brief when light changes. A cloud moving across the sun can create brightness differences even with identical exposure settings.
Finally, avoid forcing a stack onto every composition. If flowers move continuously, a slightly higher viewpoint may let one exposure cover the necessary depth. You’ll spend less time repairing masks and retain a more coherent image.
Changing viewpoint is often the faster choice on a busy travel day.
Frequently Asked Questions
Can you focus stack without a tripod?
Yes, but handheld sequences are harder to align, especially with very close foreground objects. Small sideways movements change the relationship between nearby details and the background.
Use a fast shutter speed and keep the camera in one position as closely as possible. Shoot promptly, without zooming between frames.
Still, a tripod is the more reliable choice for deliberate foreground-to-background landscapes. Image stabilization can reduce camera shake, but it doesn’t prevent viewpoint changes or freeze moving foliage.
Can you combine focus stacking with exposure bracketing?
Yes. The techniques address separate limits: focus stacking extends depth of field, while exposure bracketing records different brightness levels.
However, combining them increases the number of files and makes movement harder to manage. Keep aperture fixed so each focus position retains consistent depth of field.
For a static scene, capture the required exposure bracket at each focus distance. Merge matching brackets first, then stack the resulting images. Use consistent processing across those merges, and inspect for artifacts from both stages.
For most beginners, learning each technique separately makes errors easier to diagnose.
Put the First Frame to Work
On your next still morning, choose a composition with a nearby rock and a distant ridge. Make one exposure first, then magnify both ends of the scene.
If the foreground stays soft, keep that composition and begin a short sequence. Before moving focus farther away, give the nearest rock a careful inspection at 100% magnification, right along its upper edge.
