
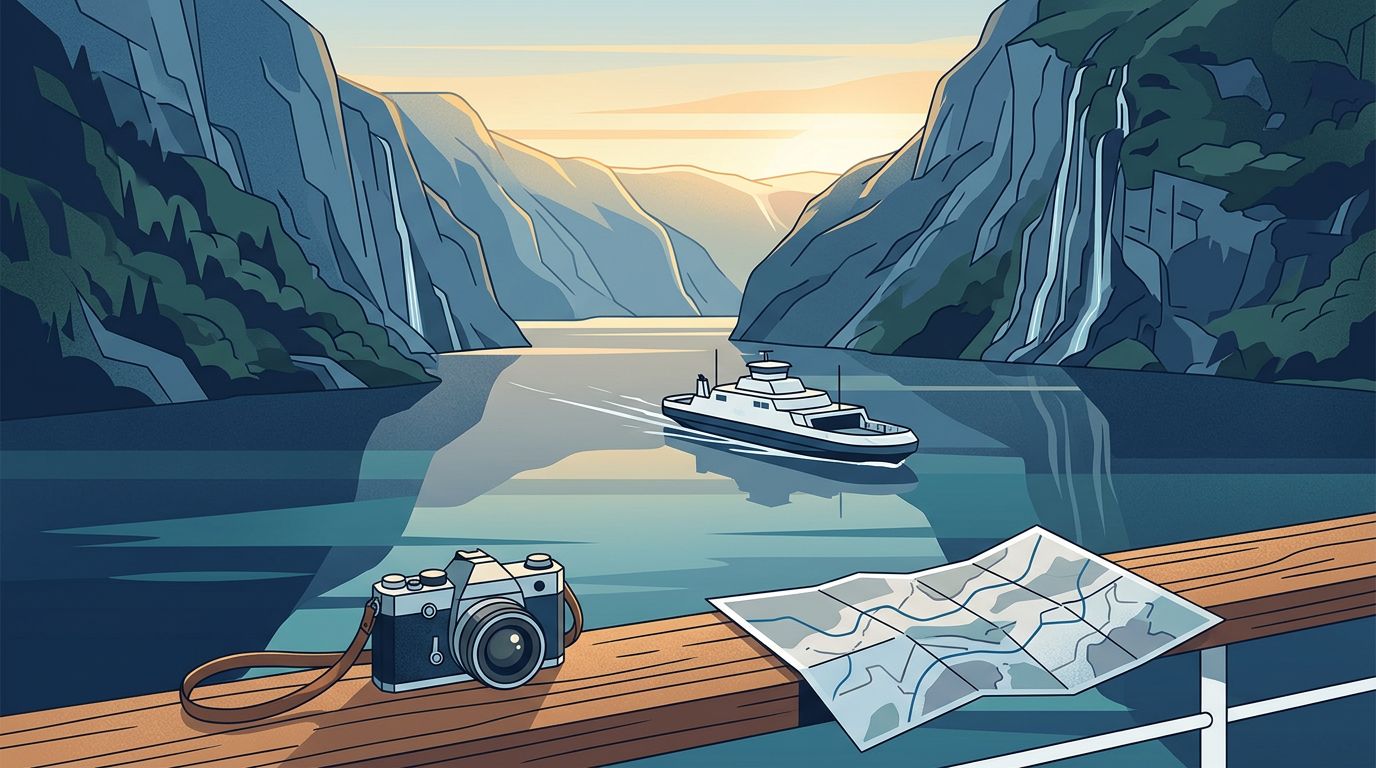
A ferry deck gives you a view that roads can’t offer: cliffs at water level, harbor towns unfolding slowly, and headlands that arrive without a car park in sight. For photographers, the strongest European ferry routes turn travel time into shooting time.
The challenge is choosing crossings with open decks, useful light, and enough duration to work a scene rather than grab one hurried frame. These routes bring you close to fjords, island chains, historic ports, and weather-shaped coasts.
Key Takeaways
- Norwegian fjord crossings offer steep walls, waterfalls, and long summer evenings.
- Scottish ferries reward patience when rain and low cloud sweep across the water.
- Stockholm’s archipelago works best for layered compositions and calm morning light.
- Adriatic and Greek crossings pair clear water with strong color and village views.
- An open deck, a clean lens cloth, and an early sailing matter as much as the route.
What Makes a Ferry Route Worth Photographing
A scenic ferry is more than transport between two points. It changes your position constantly, so foreground, light, and shoreline shift with every bend in the water. That movement can make photography harder, yet it also creates frames you would never get from a roadside viewpoint.
The strongest crossings have a few traits in common. They pass close to land, travel slowly enough for observation, and offer exterior deck space. A short harbor shuttle can be beautiful, but a 90-minute route gives you time to watch the weather, test compositions, and wait for a boat, bird, or shaft of light to enter the frame.
Deck space disappears fast. Arrive early.
Look for a route that travels through narrow water rather than far offshore. Islands, fjord walls, breakwaters, fishing villages, and distant mountains create layers. Open sea can be striking too, particularly when a low sun catches the wake, but it demands a different approach. You will rely on horizon placement, cloud shape, and the ferry itself.
Weather changes the frame. Bright sun gives the Aegean and Adriatic their saturated blues, while rain suits Scotland and western Norway. Overcast light also protects pale walls and whitewashed houses from harsh highlights. A collection of slow ferry journeys across Europe is useful for spotting routes that make the crossing part of the trip, not a gap between destinations.
Photography also changes how you book. An early sailing may cost no more than a midday one, yet it can give you quiet decks and gentler light. Conversely, a late crossing can place the sun behind a harbor town or cliff face. Check the route direction, then use a sun-position app before committing.
The best frame often appears after the ferry leaves the port, when most passengers have returned inside.
Norwegian Fjords: Waterfalls, Sheer Rock, and Shifting Light
Norway’s fjords are the most dramatic option for coastal photography in Europe. The water is usually calm, while the sides of the channel rise almost vertically. A ferry places you below those walls, which makes even a moderate focal length feel immersive.
The Hellesylt to Geiranger crossing is a standout for waterfalls, dark rock, and the small farms clinging to improbable slopes. Keep one eye on the shore and another on the wake. The wake can make a clean leading line toward a waterfall or a notch in the valley.
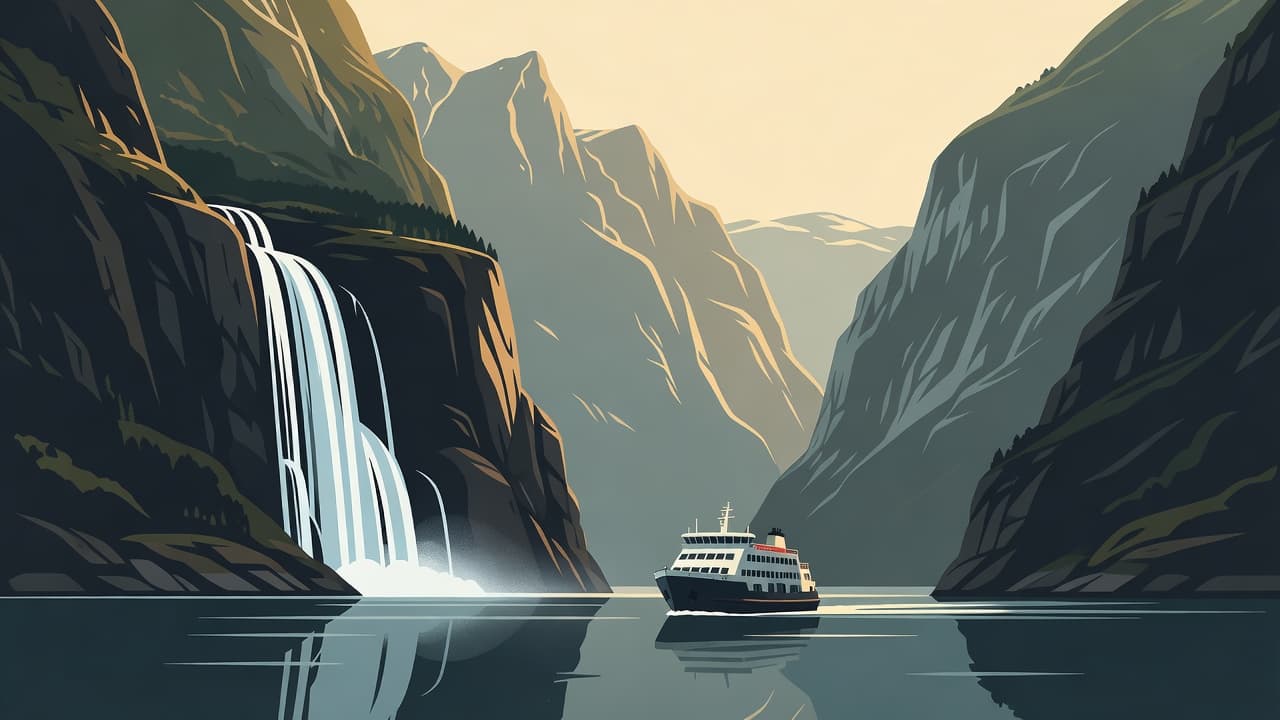
The Nærøyfjord route between Gudvangen and Flåm offers an even tighter passage. Its narrow channel turns the boat into a moving tripod with a view. Frame vertically when the cliffs dominate, then switch to horizontal when the water creates a strong corridor toward the distant mountains.
Summer is the practical season for longer days, green slopes, and active waterfalls. However, June through August also brings more visitors and stronger contrast when the sun climbs high. Fjord route seasonal guidance favors summer for long daylight, while spring and early autumn can give photographers lower clouds and fewer people along the rail.
On long routes such as the Hurtigruten coastal voyage, the strongest frame may arrive after you have put the camera away, because a break in low cloud can redraw the entire fjord wall in seconds. Keep your camera accessible in a weather-resistant bag, not buried under spare clothing.
Use a lens hood even in rain. It cuts flare when sunlight breaks through and gives some protection from spray. A polarizer can deepen water and reduce glare, but turn it slowly while looking through the viewfinder. In very wide scenes, heavy polarization can make the sky look uneven.
Scotland’s Island Ferries and the Mood of the Atlantic
Scotland’s west-coast ferries feel less polished than Mediterranean crossings, but that is part of their appeal. The water is often steel gray, the land has rough texture, and a passing squall can change the whole scene within minutes.
The CalMac ferry from Oban to Craignure on Mull gives you views across the Sound of Mull, with distant hills, rocky coves, and seabirds tracking the vessel. For a longer, more exposed trip, the Ullapool to Stornoway route crosses the Minch toward the Isle of Lewis. It is a strong choice when dramatic skies matter more than bright color.
On a late-September Oban to Craignure crossing, I watched a band of rain move across the Sound of Mull, and when it cleared, wet basalt caught the sun so sharply that a 70mm frame worked better than the wide shot I had planned. The lesson was simple: don’t decide your focal length before the weather does.
Rain is useful here. Droplets on a side window can turn a distant shore into a soft, graphic study, while mist can remove distracting detail from the horizon. If you stay outside, wipe your front element often. Salt and drizzle become visible only after you review the images later.
A guide to scenic European ferry rides also highlights western Scotland among the continent’s memorable crossings. Use that broad route knowledge as a starting point, then check the local operator’s timetable because winter services can be limited or altered by weather.
Bring gloves even in summer. Wind chill on an upper deck can make it hard to hold a camera steady.
Stockholm Archipelago: Islands in Layers
Stockholm’s archipelago gives you a quieter type of coastal photography. Instead of one huge subject, you get hundreds of low islands, red cottages, pine-covered rocks, navigation beacons, and small wooden jetties. The route is made for photographers who enjoy building a frame layer by layer.
Public boats run through the archipelago toward islands such as Vaxholm, Grinda, Möja, Sandhamn, and Utö. Services vary by season, so treat the timetable as part of the creative plan. A boat that pauses at several docks gives you more angles and a better sense of the place than a fast direct crossing.
Morning often works well because the water is calmer and the light arrives from a low angle. In midsummer, dawn comes early, yet the reward is a near-empty deck and soft reflections around the islands. Evening can also be excellent if you want warm light behind the red-painted boathouses.
Avoid treating every island as a postcard. Use the ferry rail, a nearby buoy, or the curved wake to give the frame a foreground anchor. A modest telephoto lens helps isolate one cottage against water and rock. Meanwhile, a 24mm or 28mm lens works when several islands overlap toward the horizon.
This is also one of the friendliest routes for photographers without a full camera kit. A phone with exposure control can handle the bright water if you tap the sky, lower exposure slightly, and shoot several frames as the boat passes the subject. Calm water rewards careful timing more than expensive equipment.
Croatia and Montenegro: Stone Towns Above Blue Water
The Croatian coast has a natural advantage for ferry photography: its islands sit close together, and the water often stays clear enough to hold color even under mild haze. Routes from Split to Hvar, Brač, Vis, Korčula, and Mljet can show limestone shores, pine-covered slopes, church towers, and pale stone villages.
Choose conventional ferries where possible. Fast catamarans may save time, but deck access can be limited and the windows can reflect every interior light. A slower car ferry gives you more room to move, plus a steadier view over the rail.
The crossing from Split toward Hvar is strongest in early morning or late afternoon. Split recedes with the Marjan peninsula behind it, then the Dalmatian islands begin to overlap in shades of blue and gray. As Hvar Town approaches, its harbor, fortress, and waterfront form a compact final sequence.
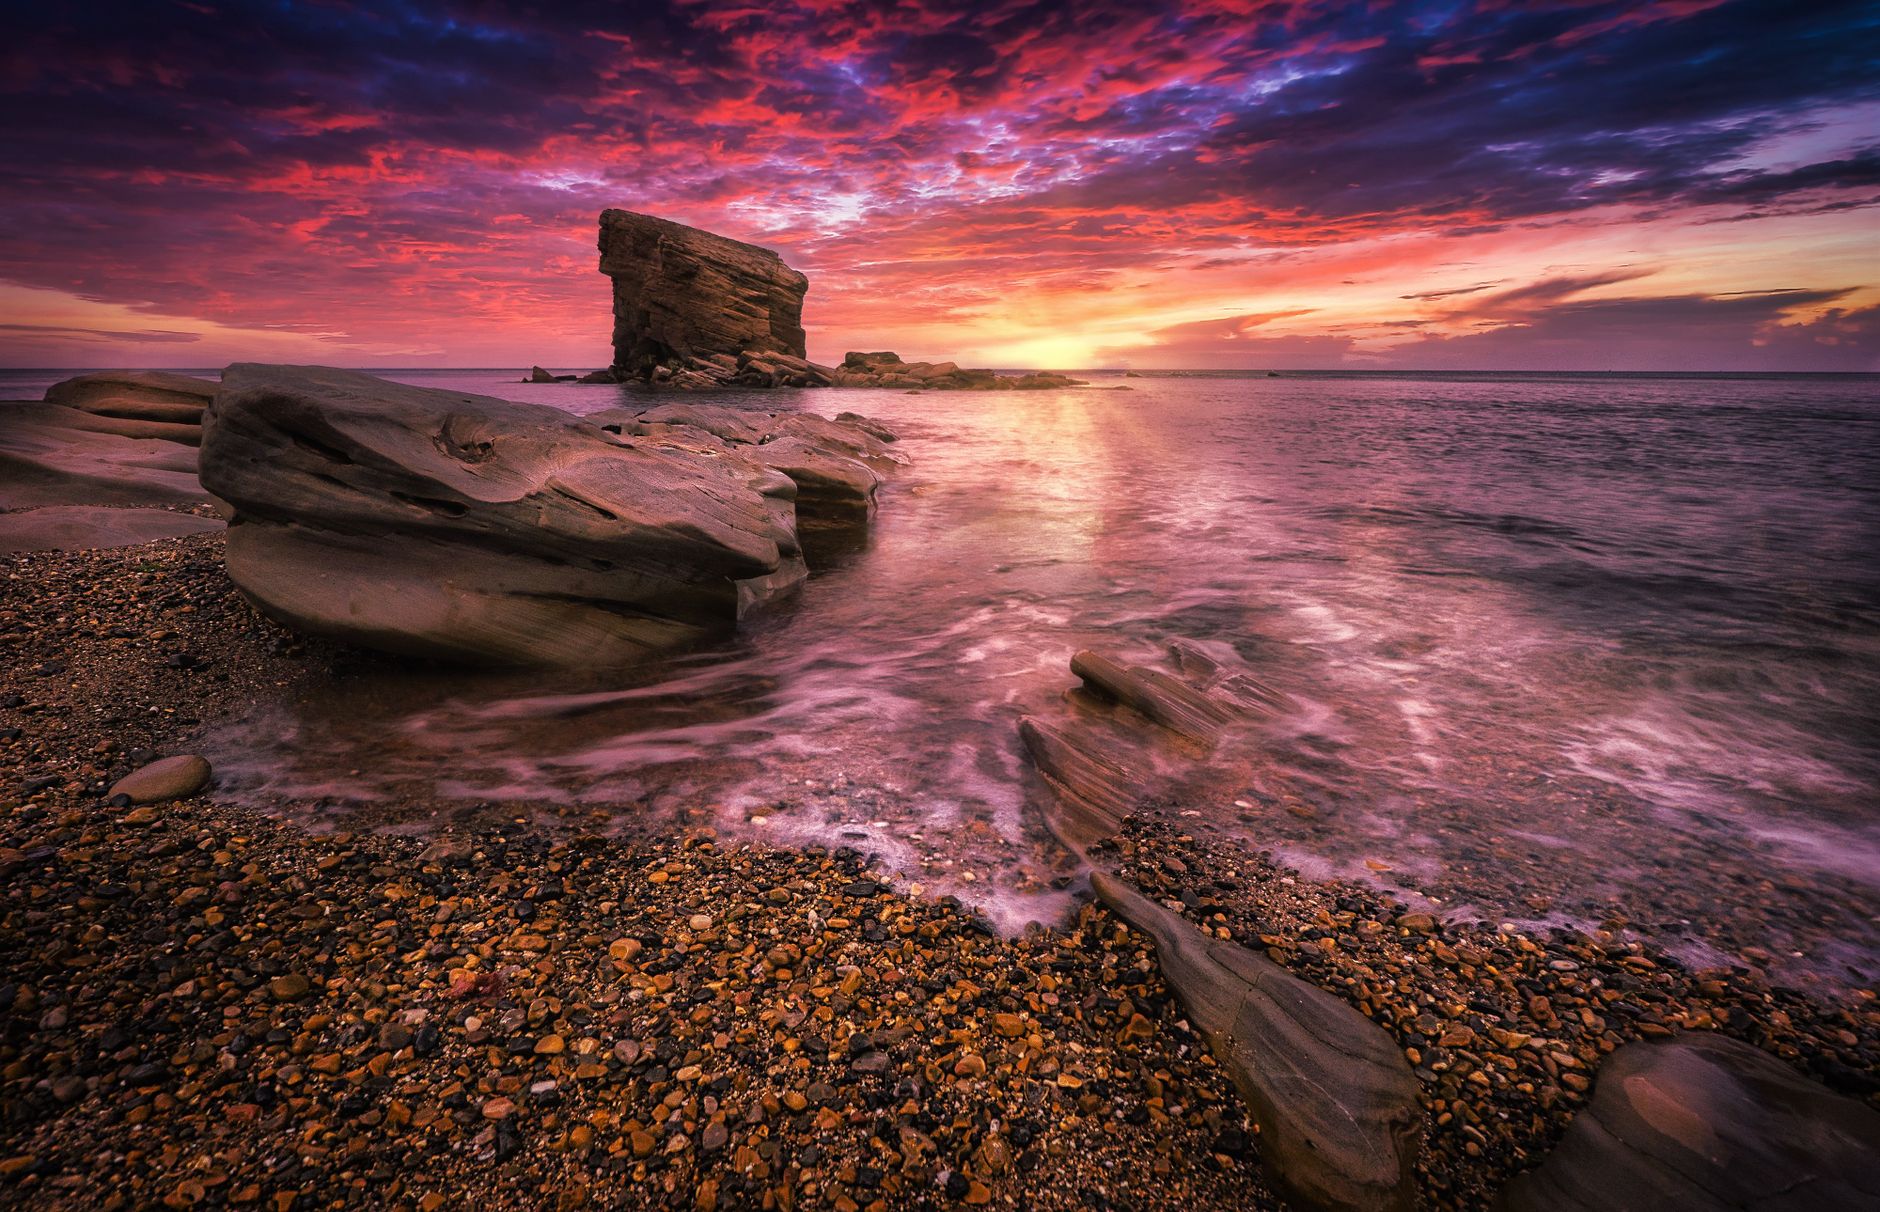
Photo by Ray Bilcliff
Farther south, ferries around Dubrovnik and Mljet reward a longer lens. Old walls, wooded slopes, and small harbor entrances often look better compressed than spread across a wide frame. Watch for the moment when the route lines up a village with the distant islands behind it.
Montenegro’s Kamenari to Lepetane ferry is brief, but it passes through the Bay of Kotor under steep slopes. It works as a compact photo stop rather than a full day at sea. Go near sunset when the water reflects the mountains and the bay’s villages begin to catch side light.
Summer decks can be crowded. Therefore, board as a foot passenger when practical and head outside before the vehicle loading finishes.
Greek Island Ferries: White Villages and Deep Aegean Blue
The Cyclades are built for bold, graphic images. White buildings, dark window openings, dry hillsides, and cobalt water create contrast that holds up in bright sunlight. Yet the most pleasing ferry photographs often come before the sun becomes harsh.
Routes from Piraeus to Paros, Naxos, Syros, and Santorini offer long views of islands rising from the sea. Rafina is another useful departure point for Andros, Tinos, and Mykonos. Check which vessel runs on your date, because a large conventional ferry, a high-speed catamaran, and a smaller local boat create completely different shooting conditions.
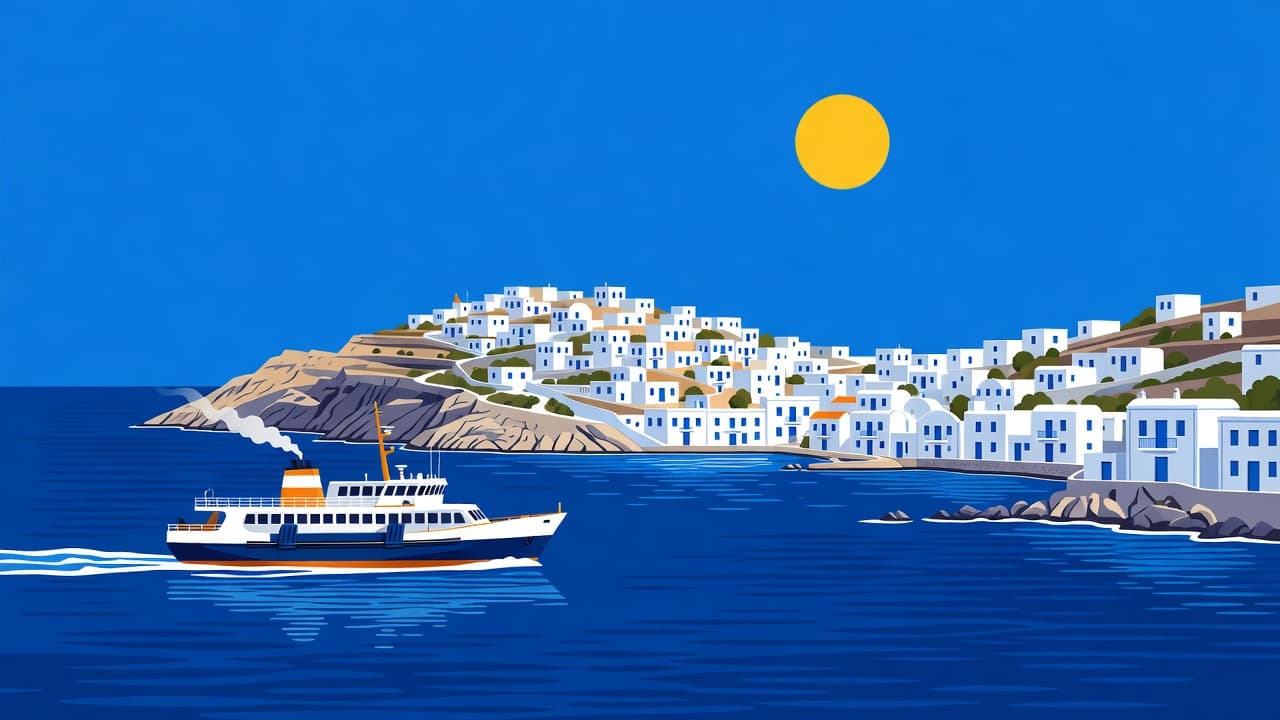
On approach to an island port, don’t shoot only the famous town. Look back at the trail of water, side-on at the rugged headland, and upward at gulls moving through the wind. Ferry photography gets repetitive when every image points toward the arrival harbor.
A polarizer can help on clear Greek days, but it also costs light and can make your shutter speed too slow. Start with a fast enough shutter speed for the boat’s vibration, often 1/500 second or faster if you are handholding. Raise ISO before accepting a blurred frame.
Midday is not wasted time. Use it for strong geometric scenes, bright umbrellas in a harbor, and close views of white walls against blue water. The deeper shadows suit black-and-white work too, especially on volcanic islands such as Santorini.
For route ideas beyond the obvious big-name islands, FerryGogo’s scenic European crossings can help you compare the character of Greek routes with northern waters.
Ferry Photography Tips That Hold Up at Sea
A ferry moves more than you think. Engines vibrate, wind pushes at your body, and the deck may pitch when the boat reaches open water. Work with that movement instead of fighting it.
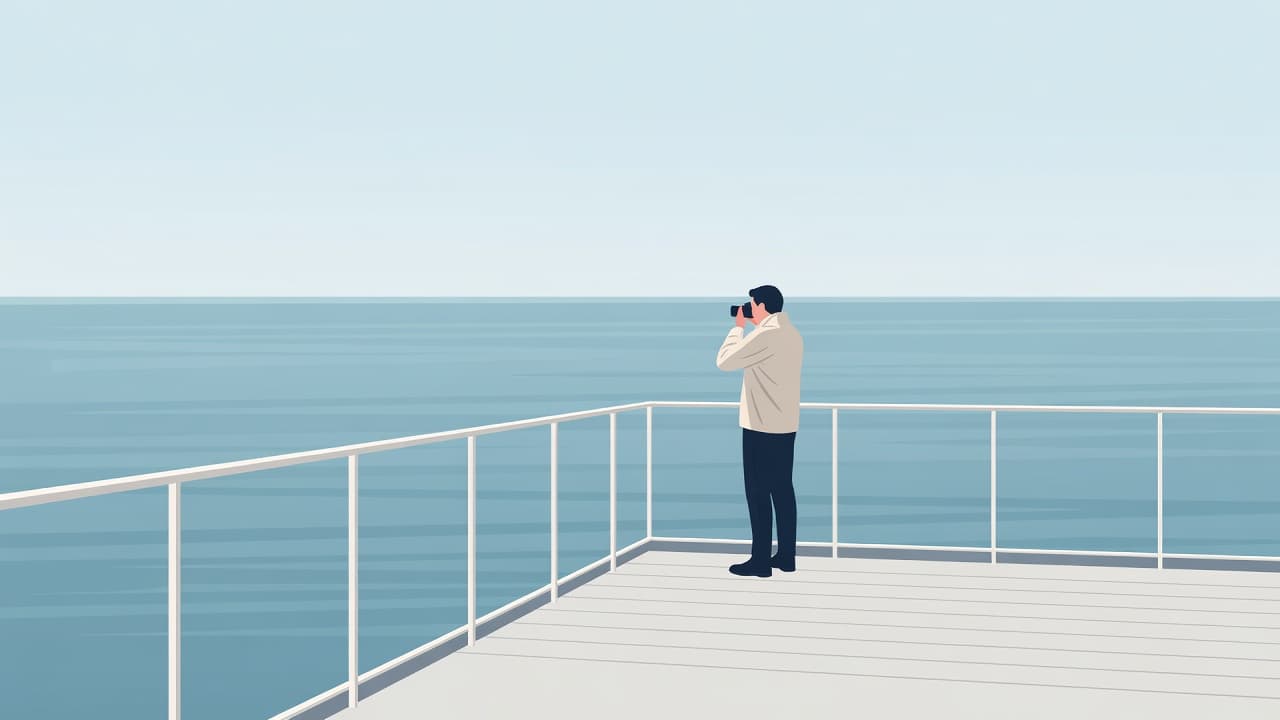
Keep your shutter speed high for distant land and birds. For static coastlines, brace your elbows on the rail only if it is not vibrating heavily. If the rail shakes, hold the camera close to your body and take a short burst. Later frames in a burst are often sharper after the first press settles your hands.
A small kit is easier to use on a crowded deck:
- A wide lens around 24mm to 28mm captures the ferry rail, wake, and broad coast.
- A short telephoto around 70mm to 200mm isolates villages, cliffs, and seabirds.
- A microfiber cloth removes salt spray before it ruins a sequence.
- A waterproof layer protects both you and the camera during sudden rain.
Avoid shooting through glass unless conditions force you indoors. If you must use a window, press a rubber lens hood gently against it and turn off lights near your seat. Reflections are easier to remove before the exposure than later on a screen.
Shoot in RAW if your camera or phone supports it. Bright clouds and dark cliffs can exceed the range of a JPEG, while a RAW file gives you more room to recover highlights. Still, don’t underexpose every scene. Deep shadow recovery brings noise, especially on small sensors.
The upper deck usually gives the clearest wide view. However, lower decks can put you closer to the water and make a wake feel more powerful. Move between them during the crossing. The best position changes with the route, sun angle, wind, and crowd.
Let the Crossing Set the Pace
The strongest coastal ferry photographs come from attention, not speed. Stay outside through the unremarkable stretches, because light often changes between ports rather than at them.
Choose one route that suits the weather you enjoy photographing, then give it time. On the Oban to Craignure ferry, Mull first appears as a slate-blue ridge above the starboard rail.
