
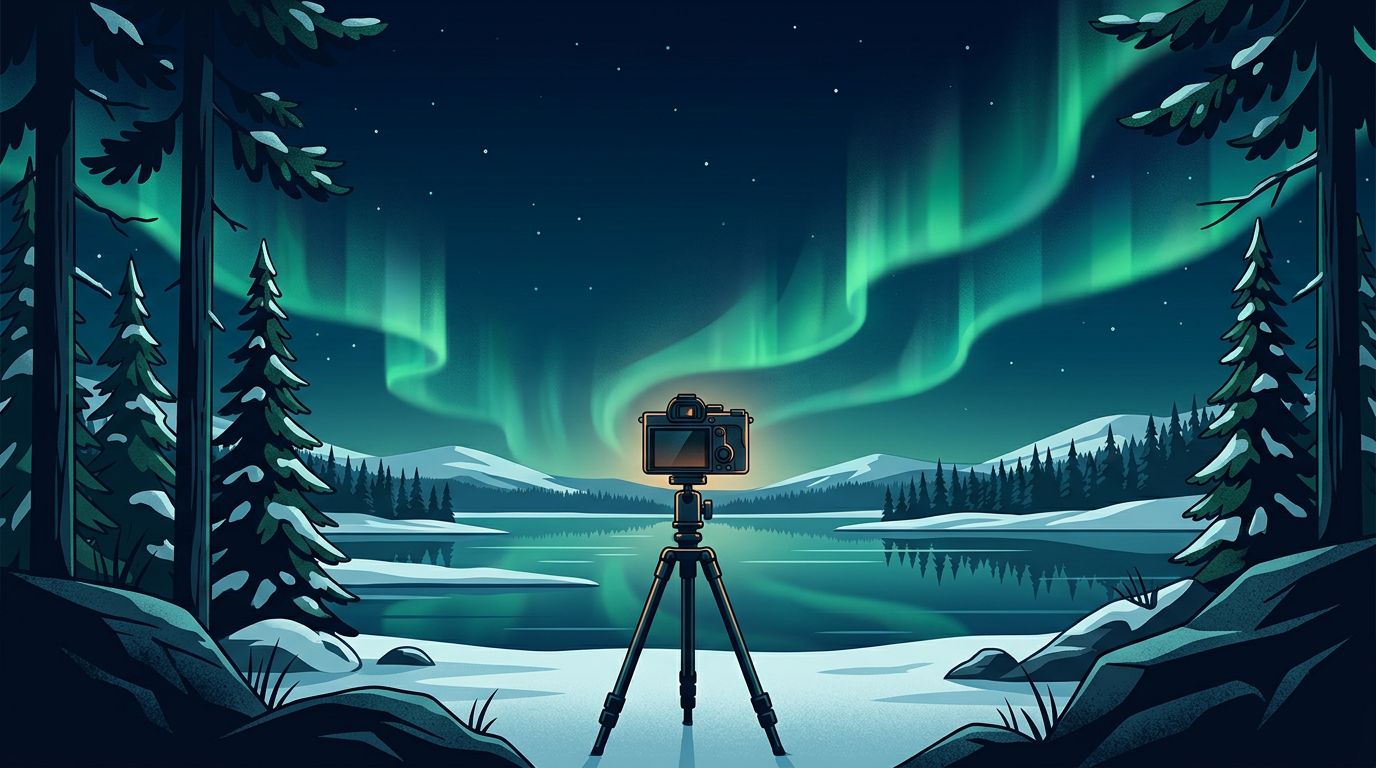
The aurora can appear as a faint gray band to your eyes, then glow electric green in a long exposure. Good northern lights photography Finland depends less on luck than on being ready when that change happens.
Cold air, moving light, and darkness test both your camera and patience. Set up before the sky wakes up, then let the aurora dictate the exposure.
Key Takeaways
- Start in Manual mode with a wide lens, RAW files, f/2.8, ISO 1600, and a 10-second exposure.
- Shorten the shutter speed when the aurora ripples quickly, or it will turn into a soft green blur.
- Focus manually on a bright star, then check the result at high magnification.
- Scout a dark foreground during daylight and keep your spare batteries warm.
- September, October, March, and April often pair aurora darkness with easier travel conditions.
Pick a Finnish location with darkness and a foreground
Finnish Lapland gives you the space that city photography rarely does. Around Inari, Saariselka, Yllas, Levi, and Kilpisjarvi, you can find lakes, snow-covered pines, fells, and cabins that give the sky a sense of scale.
Avoid treating the aurora as a green ceiling. A photo needs an anchor below it. A frozen lake creates reflections when open water remains. A line of birches gives depth. A distant fell makes a faint display look intentional rather than empty.
Light pollution matters more than a dramatic location pin. Walk far enough from resort lights that the snow no longer glows orange. Turn off your headlamp before the exposure, and check for porch lights or passing snowmobiles.
Autumn and spring are especially practical for photographers. Finland Naturally’s aurora timing advice recommends September and October, plus March and April. Autumn can offer dark water and colored ground, while spring brings snow, longer twilight, and clearer walking routes.
Test before darkness falls. Find safe footing. Mark your tripod spot.
A faint aurora can look stronger on your camera screen than it does overhead, so judge exposure with the histogram and highlights rather than your eyes alone.
Northern lights photography Finland: pack for cold and low light
A full-frame camera helps at high ISO, but it isn’t a requirement. Modern APS-C and Micro Four Thirds bodies can produce strong aurora images when paired with a bright lens and solid technique. The lens matters most.
Choose a wide-angle lens, ideally between 14mm and 24mm full-frame equivalent. An f/2.8 lens is a dependable choice because it gathers enough light without making manual focus overly difficult. A 20mm f/1.8 or 24mm f/1.4 also works well, but test the corners before the trip.
Bring a tripod that won’t sag in snow. Hang nothing from its center column if wind is strong, since a swinging camera bag can cause blur. Use a two-second timer, wired release, or remote trigger.
The cold changes everything. Keep at least two charged spare batteries in an inner jacket pocket. Battery capacity drops quickly in sub-zero conditions, and swapping a warm battery takes seconds.
Your bag should also include:
- A microfiber cloth and lens hood to manage frost and stray moisture.
- Thin liner gloves that let you operate camera controls.
- A red-light headlamp, so you can change settings without wrecking night vision.
- A sealed plastic bag for the return indoors, which helps reduce condensation on cold gear.
For northern lights photography Finland, skip filters. A clear or UV filter can add reflections around bright stars or cabin lights, while polarizers cost too much exposure time.
Use camera settings that match the aurora’s speed
Set your camera to Manual mode and record RAW files. RAW preserves highlight detail in the aurora and gives you more room to correct white balance, shadow noise, and color later.
Use this as a starting point, then adjust after reviewing a frame:
| Aurora conditions | Aperture | Shutter speed | ISO |
|---|---|---|---|
| Faint, slow arc | f/2.8 | 12 to 20 seconds | 1600 to 3200 |
| Moderate display | f/2.8 | 8 to 12 seconds | 800 to 1600 |
| Bright, fast ribbons | f/2.8 | 3 to 7 seconds | 800 to 1600 |
These settings are starting points, not rules. Photography Life’s northern lights guide also suggests beginning around f/2.8, ISO 1600, and 10 to 15 seconds. That combination works because it collects enough light without turning most aurora movement into a featureless wash.
When bands begin to pulse or curl, cut exposure time first. Raise ISO only if the file becomes too dark. A 20-second frame may show more green, yet a five-second frame often shows the structure that made the display memorable.
Set white balance manually between 3500K and 4000K. Auto white balance shifts from frame to frame, which makes a sequence harder to edit. Turn off image stabilization once the camera is on a tripod, since stabilization can create tiny movements during long exposures.
A 10-second exposure at f/2.8 and ISO 1600 is a reliable baseline, but when a bright ribbon races from horizon to zenith, reducing the shutter to four seconds can preserve individual folds in the light while keeping the stars sharp.
Focus, frame, and react when the sky changes
Autofocus usually fails under an aurora. Focus manually on a bright star or distant light, then magnify the live-view image until the star becomes its smallest, crispest point. Tape the focus ring lightly if your lens shifts easily.
Do this before the main show. At infinity, many lenses focus slightly before the infinity mark.
Include more foreground than feels necessary at first. A low camera position can make snow textures lead toward the sky. If you want a person in the frame, ask them to stand still for the full exposure and keep their headlamp off. One human figure can show scale, but several people often become distracting silhouettes.
A March night near Saariselka offers a useful lesson. A photographer began with a faint arc at 15 seconds, f/2.8, ISO 1600, and framed a dark stand of pines. Ten minutes later, the arc formed fast vertical rays, so the shutter dropped to five seconds. The shorter exposure kept the rays distinct instead of blending them into a bright green smear.
Check your first few frames at 100 percent. Look for star shape, not only brightness. If stars trail, shorten the shutter. If the foreground looks soft while the stars are sharp, you may need a focus-stacked image or a separate foreground exposure.
Keep the camera dry, powered, and usable
Frost is a real threat during a long session. Check the front element every 10 minutes with a dim red light. A veil of frost can turn a promising image into a low-contrast haze, and you may not notice it on a small rear screen.
When you move back inside, place the camera in a sealed bag before entering the heated room. Leave it closed until the gear reaches room temperature. This prevents warm indoor moisture from condensing directly on a cold sensor, lens, and viewfinder.
Smartphones can capture bright displays if they offer a night mode or manual control, but they have limits. Brace the phone on a small tripod, disable flash, and use its longest stable exposure. Keep expectations realistic when the aurora is weak. A dedicated camera with a wide, fast lens collects far more usable light.
Cold, clear, and windless conditions make the work easier. Still, a brief gap in cloud can be enough for one strong frame.
Edit aurora files without turning them fluorescent
Start by correcting lens distortion and chromatic aberration. Then set white balance based on snow that looks neutral rather than blue or yellow. A slightly cool file often feels more natural than a heavily warmed one.
Lift shadows carefully, because underexposed forests become noisy fast. Reduce luminance noise before adding sharpening, and apply sharpening mostly to the foreground and stars. If the green looks radioactive, lower saturation before raising contrast.
Avoid pushing the dehaze slider too far. It can make the sky patchy and erase the soft transitions that give the aurora its depth. Keep one edited frame beside the original as a reality check.
The Frame Worth Waiting For
The strongest Finnish aurora images come from preparation, not frantic button presses. Set focus early, build a foreground into the composition, and change shutter speed as the light changes.
Patience matters after the first green glow appears. Keep watching the entire sky, because the most detailed curtain may form behind you.
Begin the next sequence at f/2.8, ISO 1600, and 10 seconds, then let the movement above the frozen pines choose the final exposure.
