
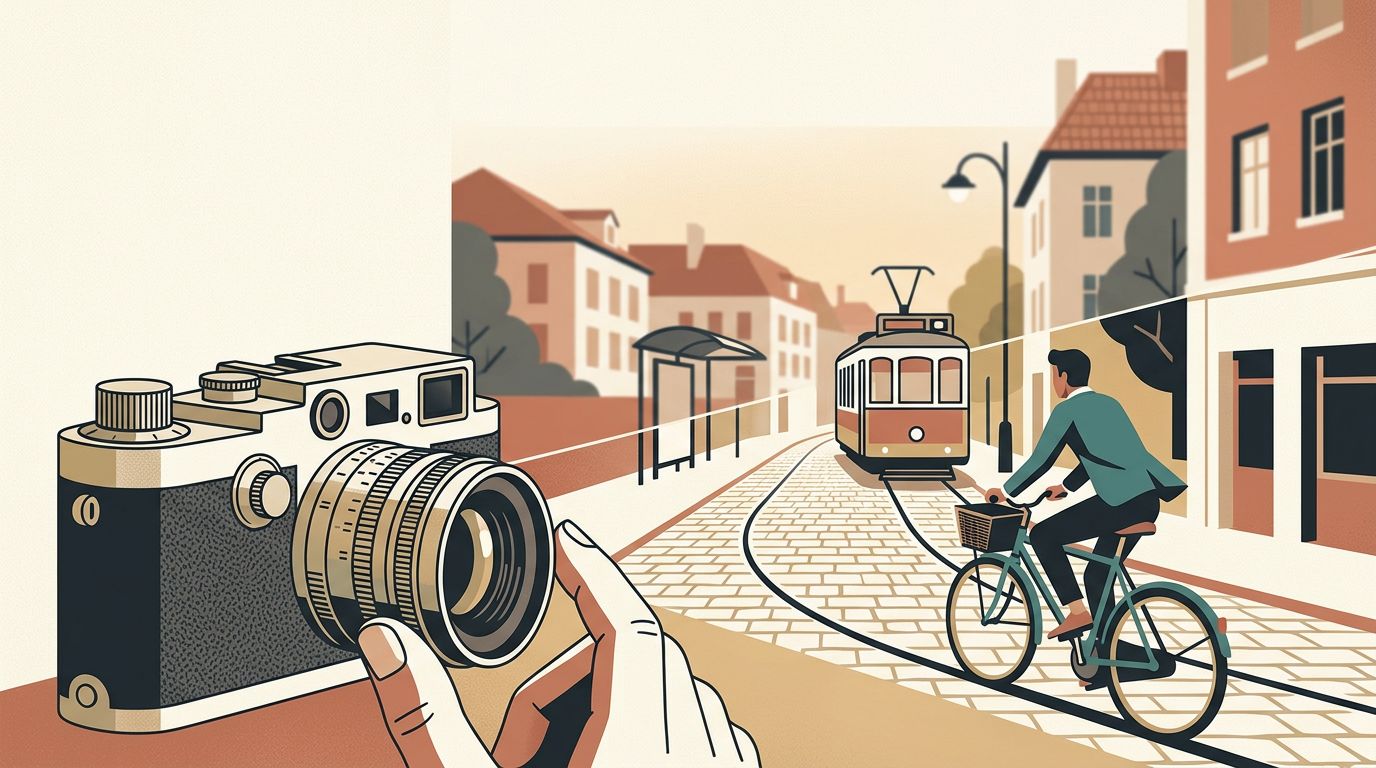
Autofocus can be fast, but it still reacts after a moment begins. Zone focusing photography lets you decide where sharpness will be before the subject enters the frame, which makes fast street work feel calmer and more deliberate.
European streets reward that preparation. A cyclist cuts across a tram stop, a waiter steps into bright light, or two strangers meet at a narrow corner. Set the distance first, then wait for the frame to fill.
Advanced zone focusing photography starts with distance
Zone focus means pre-setting a manual-focus lens so subjects within a chosen near-to-far range appear acceptably sharp. You aren’t hunting for an eye or waiting for a focus box. You are working inside a prepared band of distance.
Speed changes everything.
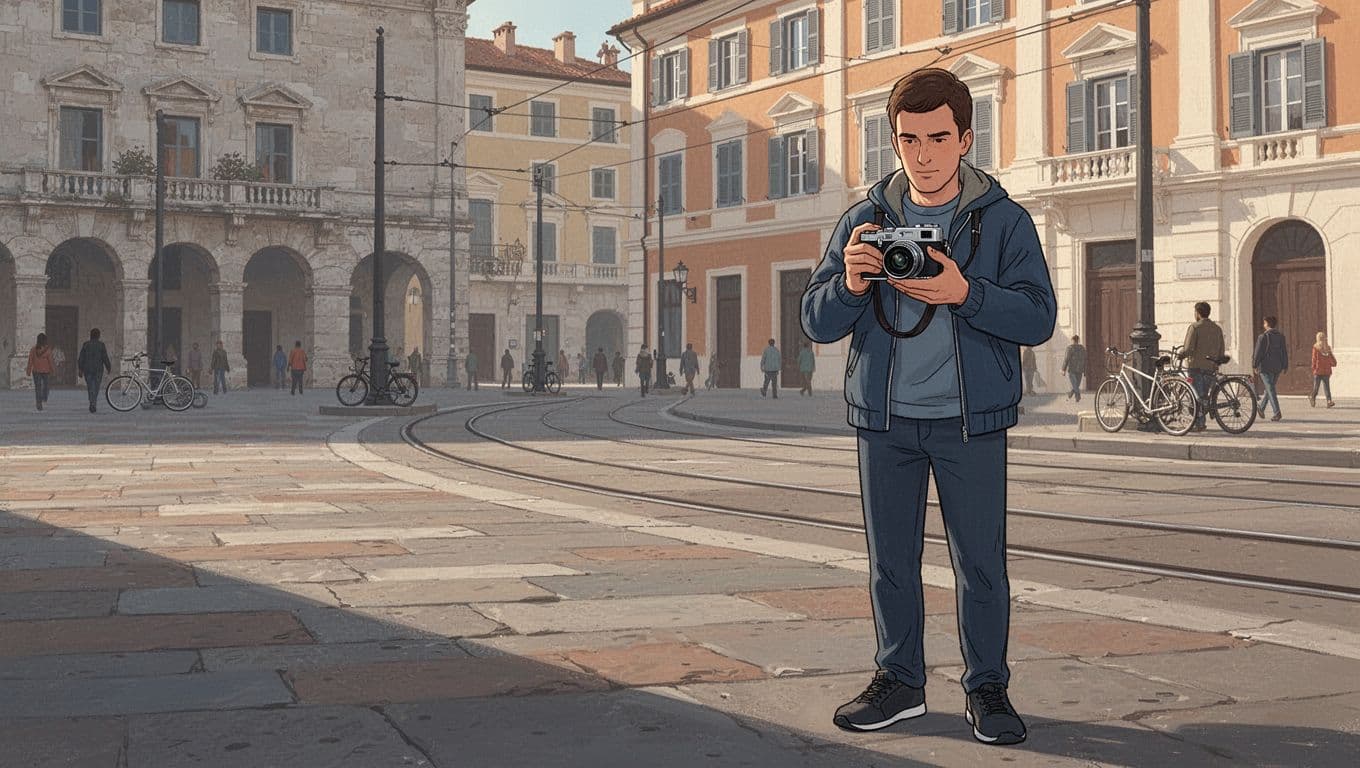
Build a useful zone, not a vague one
The zone depends on four linked choices: focal length, aperture, focus distance, and sensor size. A 28 mm lens at f/8 gives you more room than a 50 mm lens at f/2.8, especially when subjects are two to five metres away.
On a 35 mm lens at f/8 focused around two metres, the usable field can cover a passing subject across a typical pavement, but the precise near and far limits depend on sensor format, focus-scale accuracy, viewing size, and how much sharpness you accept.
For European street photography, measure in the distances people actually occupy. One metre is an intimate close pass. Two metres suits a narrow pavement. Four metres often fits a cafe entrance or a small plaza.
Hyperfocal distance has a different job
Hyperfocal focus tries to hold the far limit at infinity while keeping a near distance acceptably sharp. A regular zone can be finite, and that is often better. Fstoppers’ explanation of zone and hyperfocal focus makes the distinction clear.
At a crowded market entrance, the most effective setting is usually not a hyperfocal claim that includes infinity, but a deliberately finite band matched to the doorway, queue, and slice of pavement where faces will appear.
A focus zone matters only where people will enter it. Infinity is optional.
Set aperture and shutter speed around the street
A focus zone fails if motion blur ruins the frame. Therefore, choose shutter speed before chasing maximum depth of field. For pedestrians, 1/500 second is a dependable starting point. Bicycles, running children, and turning trams often need 1/1000 second or faster.
Light changes too.
Use f/5.6 through f/11 with intent
At f/5.6, a wide lens can still give a workable band while keeping ISO moderate under cloud. At f/8, many street photographers find a strong balance between depth and image quality. Move to f/11 in bright sun when the scene includes close passers and a deeper background.
Avoid treating f/16 as an automatic answer. Diffraction can soften fine detail, and dim arcades will force a slower shutter or a higher ISO. In other words, depth of field must support the picture rather than dictate every setting.
These starting points fit a full-frame 28 mm or 35 mm lens:
| Street situation | Starting aperture | Starting shutter speed | Focus approach |
|---|---|---|---|
| Open square in sun | f/8 to f/11 | 1/1000 second | Set a broad two-to-five metre zone |
| Narrow shaded street | f/5.6 to f/8 | 1/500 second | Keep the zone around one-and-a-half to three metres |
| Evening cafe frontage | f/4 to f/5.6 | 1/250 second | Pre-focus on a fixed doorway or table edge |
Manual exposure with Auto ISO works well when sunlight breaks between buildings. Set your aperture and shutter, cap ISO at a level you trust, then let the camera handle small exposure shifts.
A Fuji X100V zone-focus walkthrough is useful for seeing how aperture changes the apparent depth of field on a compact street camera.
Read European streets by their physical spacing
Old city centres give you fixed reference points. Doorways, bollards, tram platforms, cafe tables, arcade columns, and curb lines all reveal distance faster than an abstract scale on a lens barrel.
Use them. Repeatedly.
Choose a stage before the subject appears
Stand where a person’s path crosses a clean background. Then set your focus for that crossing point. In Porto, steep pavements compress distance, so a person descending toward you may leave the zone faster than expected. In Bologna’s porticoes, the column rhythm makes it easy to hold a two-metre working distance.
A finite band, not infinity.
The most reliable frames often come from patience at one small stage. If the light is good on a zebra crossing, hold position. Reframe only when the subject reaches the distance you prepared.
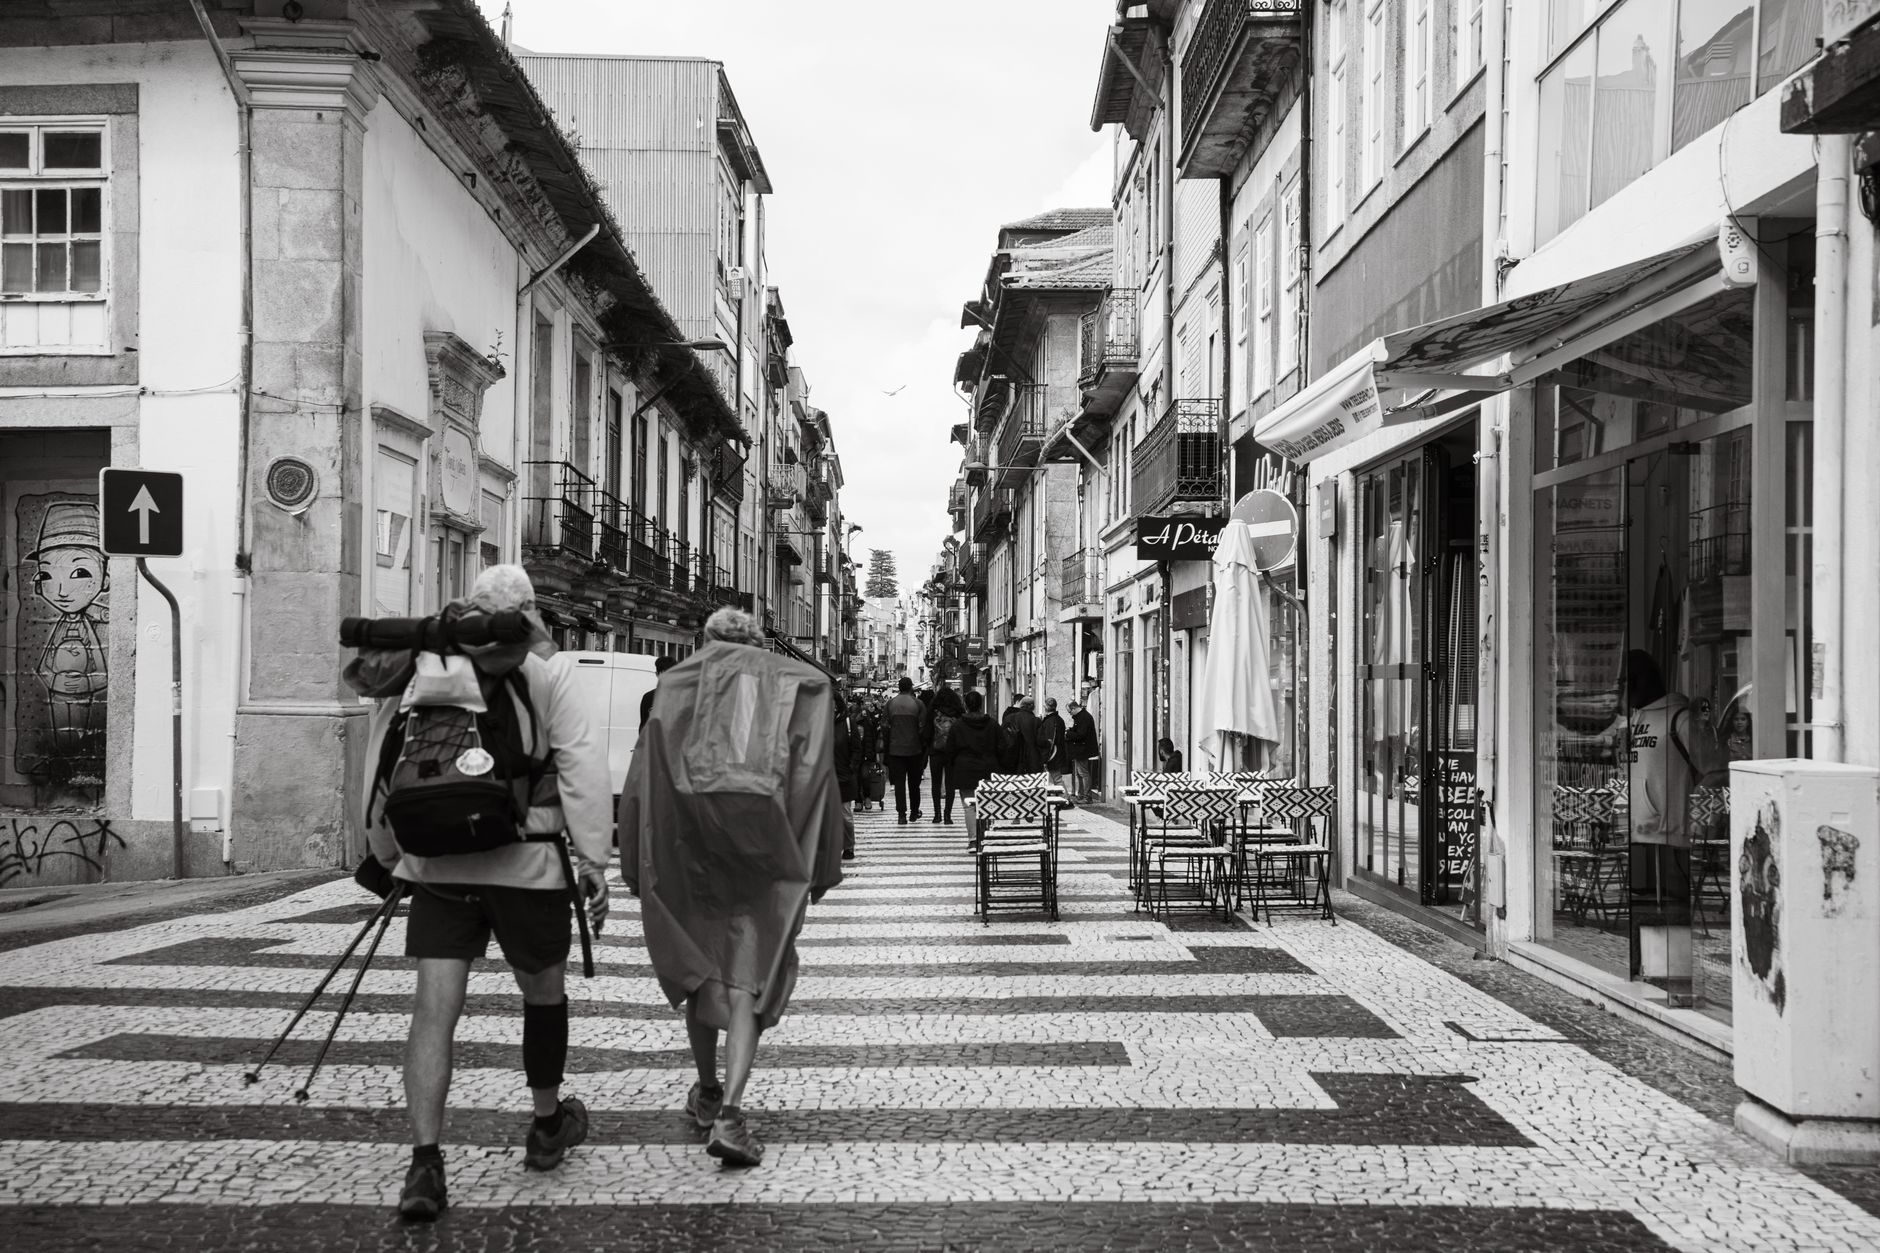
Photo by Uiliam Nörnberg
Account for crowded foregrounds
Tourist traffic can defeat a broad focus plan because someone may step within arm’s reach. When the foreground is busy, set the near edge closer than feels comfortable, then accept that distant buildings will soften.
A passerby at 80 centimetres can look soft even at f/8 if your focus sits at three metres. Therefore, shorten the setting before working a packed sidewalk. The photo will feel more immediate, and you will lose fewer close frames.
Match the method to your camera and lens
Zone work is easier with tactile controls, but any camera can do it. The best setup is the one you can reset without taking your attention off the street.
Rangefinders reward repeatable settings
A Leica M with a lens that has a clear distance scale makes zone focusing direct. Set the aperture, turn the ring to a known mark, and confirm the depth-of-field scale. A 28 mm or 35 mm lens gives enough coverage for most European streets without forcing you too close.
Rangefinder users should test close distances before a trip. At one metre, framing parallax and a slightly inaccurate focus calibration can matter. Keep close shots intentional rather than accidental.
Photographer David duChemin describes how a manual-focus lens can feel faster than an SLR once the distance is already set in his essay, In the Zone. The principle holds when the scene gives you predictable working space.
Mirrorless cameras offer a practical safety check
A mirrorless body with a manual lens can magnify the image or use focus peaking while you establish the zone. Do that before the action starts. Once people enter the frame, stop checking the screen and trust your measured distance.
Many modern focus-by-wire lenses have coarse distance scales. In that case, mark a repeatable focus point through practice, such as the distance between you and a parked scooter or a cafe chair across the pavement. A lens with a hard infinity stop and click-stopped aperture is easier to reset after the camera goes back in your bag.
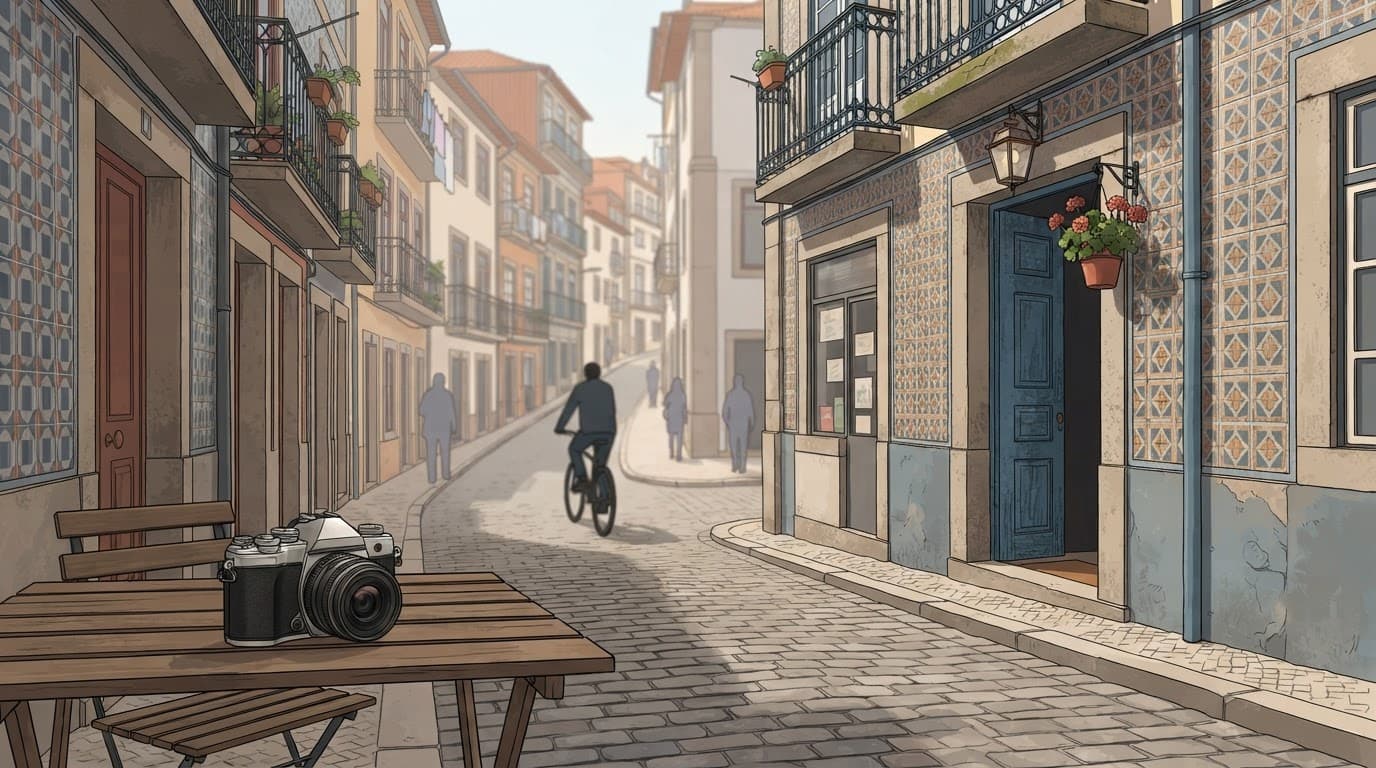
Use advanced zone focus while you move
Preparation does not mean standing still all day. Adjust the zone when the street changes shape. A broad boulevard, a metro exit, and a covered arcade each ask for different distances.
Reset at every change of scene
After turning into a narrower street, reset focus before raising the camera. That small habit prevents the common mistake of carrying a four-metre setting into a scene where people pass at one metre.
Watch where feet land. Pavement lines and tile patterns provide fast distance cues. If you have practiced enough, you will know whether a subject is inside the zone before you lift the camera.
Keep moving with purpose. Wandering without a preset distance turns manual focus into guesswork.
Anticipation matters more than perfect visibility
In 1932, Henri Cartier-Bresson photographed Behind the Gare Saint-Lazare through gaps in a construction fence. He could not view the frame in the usual way, yet he released the shutter as a man jumped over a flooded patch of pavement.
That image is a reminder that timing often beats full visual control. Zone focus supports the same instinct. It removes one task when your attention belongs on gesture, spacing, and the split second before bodies overlap.
For a practical visual demonstration, this zone-focus street photography video shows the rhythm of setting a distance before shooting.
Test your distances before relying on them
Lens markings are guides, not guarantees. High-resolution sensors, wide apertures, and close subjects reveal small misses that may look fine on a rear screen.
Make a short calibration walk
Pick one familiar block and photograph people, benches, or lampposts at one, two, three, and five metres. Review the files at full size. Record which aperture and distance give the near edge you can trust.
Repeat this with the lens you will carry abroad. A 35 mm f/2 lens behaves differently from a 28 mm f/4, even when both show similar focus markings.
Correct the habits that cause missed frames
Don’t set infinity and call it zone focus. Don’t work at f/2.8 with a three-metre zone and expect a close passerby to hold sharpness. Also, don’t stare at the distance scale after the subject appears.
The strongest zone focusing photography feels almost invisible in use. Your camera is ready, while your eyes remain on the street.
Final Thoughts
Advanced zone work gives you a prepared answer to an unpredictable street. It works best when each setting matches the distance, light, and movement directly in front of you.
Practice on ordinary pavements before relying on it in Paris, Naples, or Lisbon. Set the ring to two metres before the tram doors open.
