
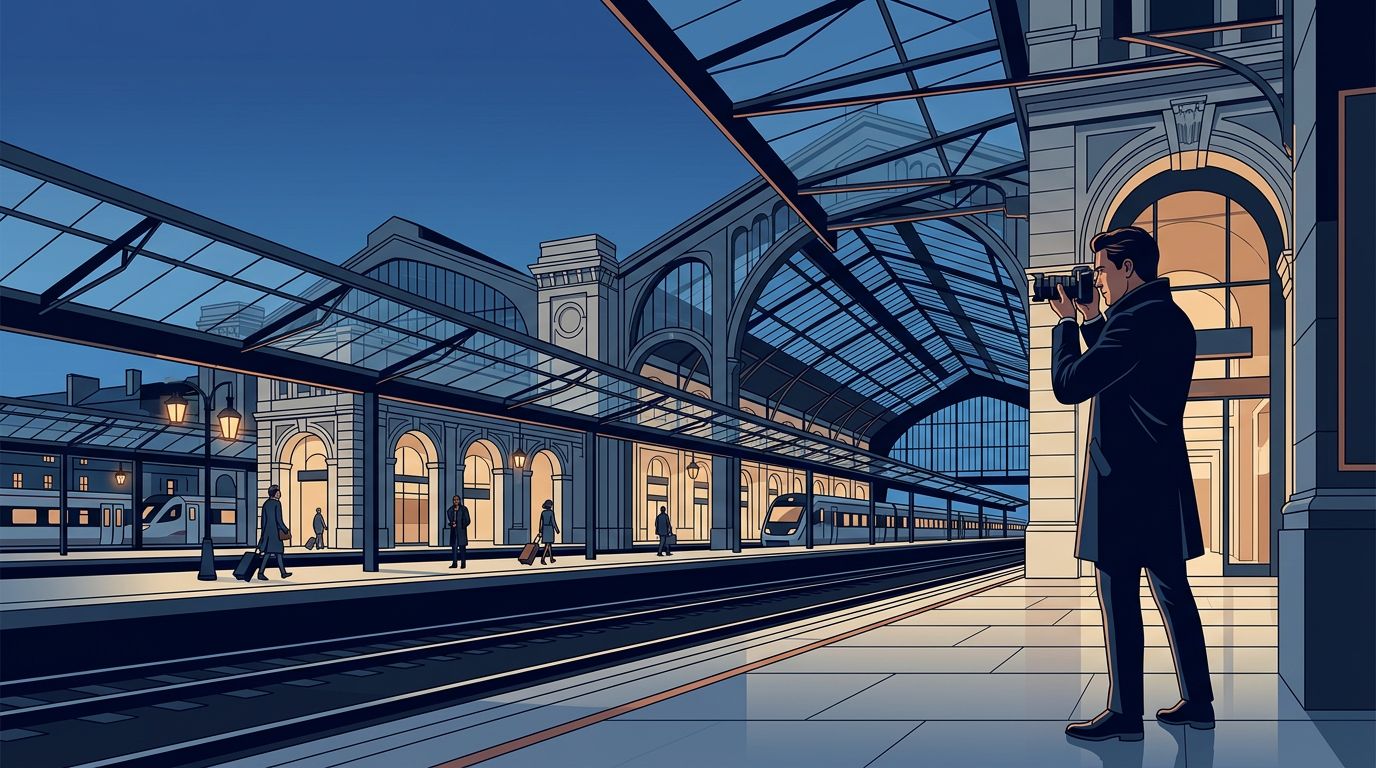
At blue hour, a station’s lamps begin to match the sky, and a place built for hurry briefly holds still in your frame. For European train station photography, that short interval gives stone facades a cool cast against warm interior light that daytime rarely offers.
Your camera doesn’t need to be expensive, but your timing needs to be deliberate. Choose the viewpoint before the crowds thin and the light starts changing.
Plan European train station photography before sunset
Stations are public spaces, but they are also active transport sites. A beautiful facade can lose impact behind roadworks or a temporary barrier, so arrive while you can walk the area unhurriedly.
Scout the building without your camera raised
Arrive 45 to 60 minutes before sunset and walk the building without your camera raised. Search for a clear sightline that includes an entrance arch or roof line, then notice whether a lamppost cuts through it.
Take a phone photo of each candidate angle and note where you could stand. It’s easier to compare those frames than reconstruct a route once twilight has begun.
Large historic stations often have two distinct faces. Network Rail’s history of St Pancras International records the 1865 competition for its facade and hotel, a useful cue to photograph the street elevation separately from the trainshed.
Check access before opening the tripod
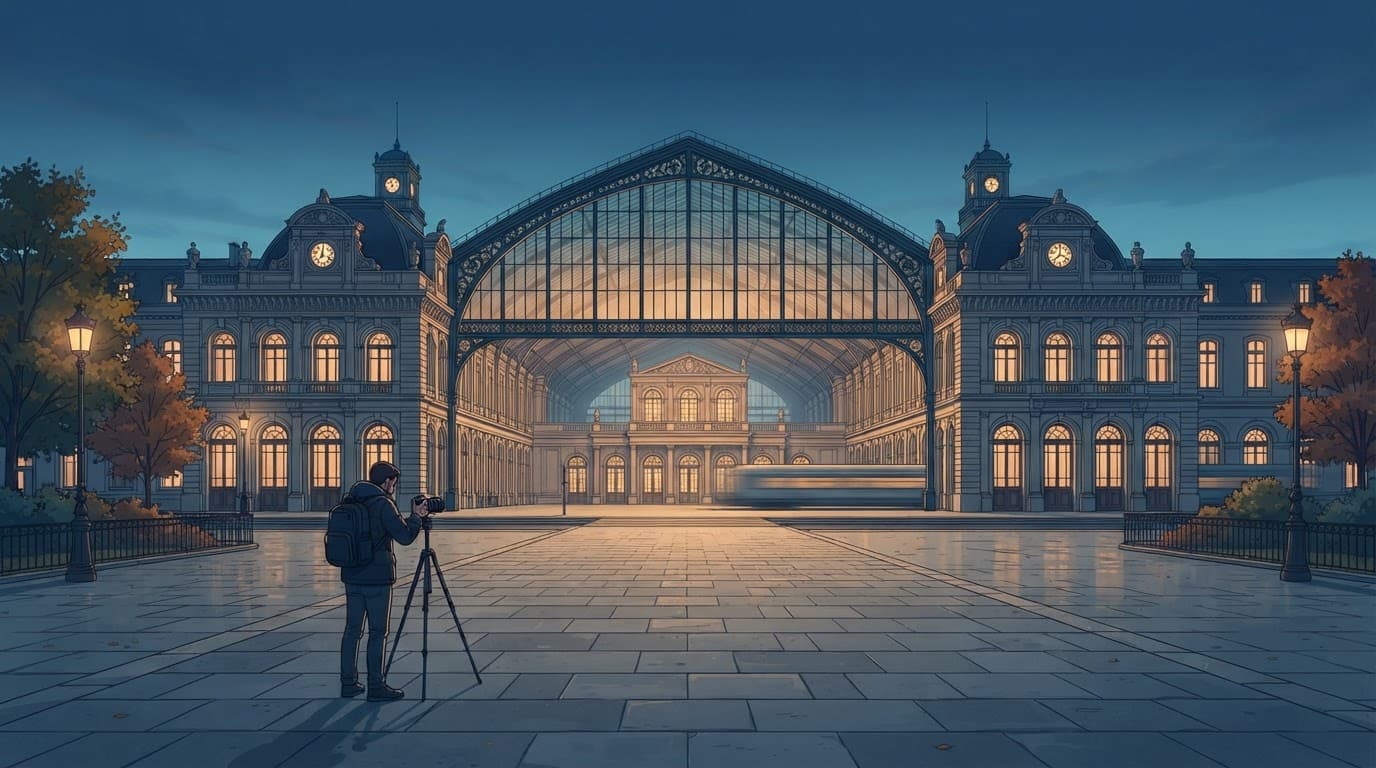
Rules can differ by station, even within one country. In Britain, Network Rail’s station photography guidelines say tripods should be avoided where possible, and you should speak to station staff if one is needed.
Ask before setting up, especially near a platform edge or a main concourse. If staff directs you away from a position, move without argument and choose a handheld composition.
A tripod that blocks a passenger route is a safety problem before it becomes a photographic problem.
Use the actual twilight window
The phrase blue hour creates false confidence. A short window, often 15 to 30 minutes. The sky can still hold color while artificial lighting begins to define the station.
Work from civil twilight, not the clock
Blue hour occurs during civil twilight. Timeanddate’s explanation of civil twilight places the Sun less than 6 degrees below the horizon, although the view at ground level changes with cloud cover and local obstructions.
Because a station’s exterior lights and nearby street lighting turn on at different times, the strongest balance may arrive well after sunset or disappear before the official civil-twilight endpoint, depending on the building’s orientation.
Use a twilight calculator to find the local window, then treat it as a starting estimate. A tall hotel, overhanging canopy, or a bank of low cloud can change the usable light.
Set up while the sky is brighter
Compose and focus before making a test frame. The window moves fast.
During the final minutes, shutter speed may double between frames. Check the histogram after each change, rather than trusting the preview’s brightness in a dark station.
On a cloudy evening, start a little sooner, because low clouds can swallow the blue band early. Keep watching the sky above the roofline instead of relying on a time shown on your phone.
Frame structure before the trains move
The building should carry the image, even when you include a train. Pick a dominant line, such as the canopy curve or a central passage, and let the rest of the frame support it.
Use symmetry without becoming rigid
Many European stations reward a centered exterior, but symmetry works only when the camera is truly level. Put the centerline on your grid and leave deliberate headroom above the roof.
At 24 to 35mm full-frame equivalent, step back until verticals look credible. A 50mm view often works better near a crowded street.
European train station photography becomes stronger when a person appears as a scale cue. Wait until one figure lands clear of an entrance instead of merging with the stonework.
Give the foreground a purpose. Wet paving can lead into the facade, while a dry forecourt may need more sky and less ground.
Let interiors supply repeating lines
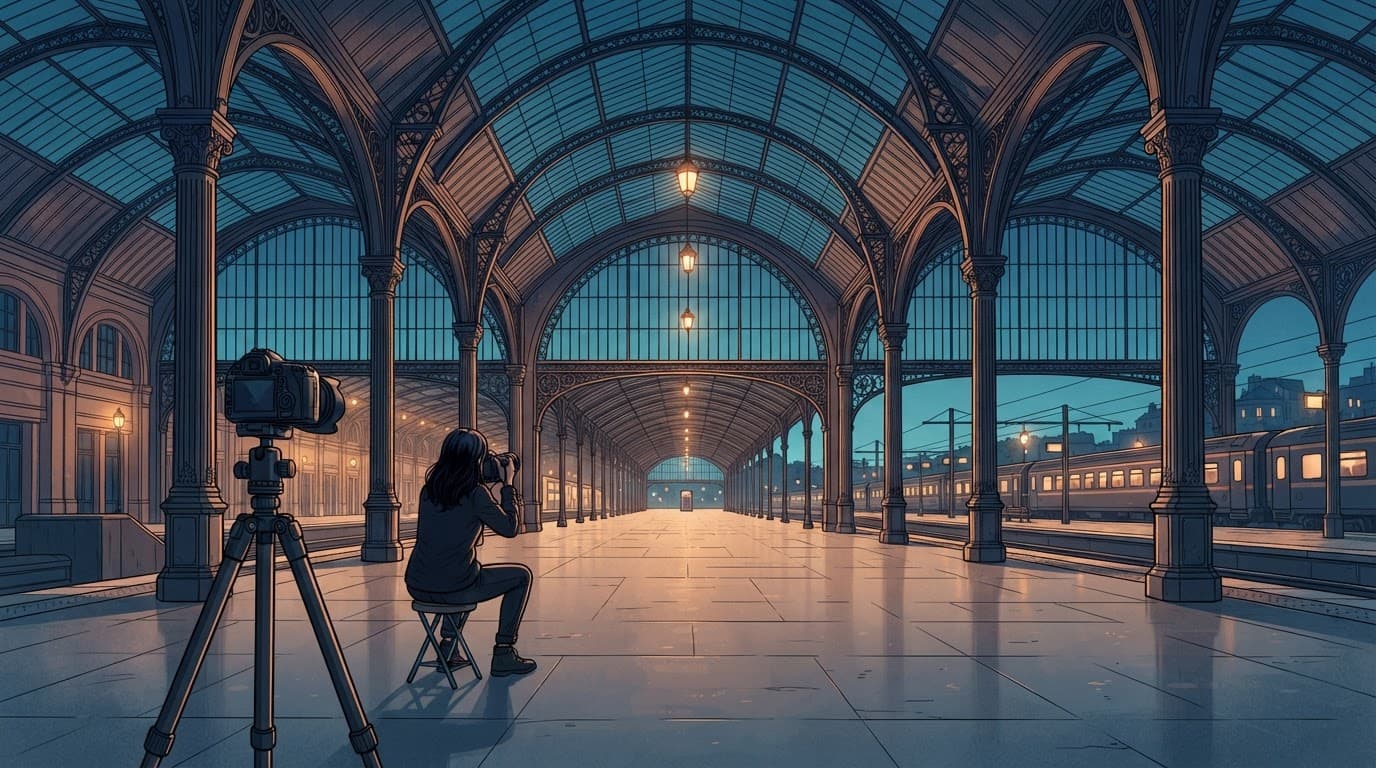
Inside, columns and roof trusses pull attention toward a platform or distant train. Stand near the central aisle, then use a modestly wide focal length to keep the roof in proportion.

Photo by Bingqian Li
At Gare du Nord, the glass roof and parallel tracks give you clear leading lines. The busy scene needs restraint, so crop out clutter rather than forcing every platform into a single frame.
A related lesson comes from Henri Cartier-Bresson. In 1932, he photographed “Behind the Gare Saint-Lazare” through a gap in a fence near the station, where a leaping man made the scene work. Look for access points that create a distinct foreground rather than copying the postcard view.
Keep an eye on white platform lights. They draw attention faster than dark steel, so place them where they support the frame instead of sitting at its edge.
Set exposure for blue sky and warm interiors
Blue hour compresses a bright station’s contrast, but it doesn’t remove it. Protect the brightest windows first, because a blown sign or lamp has less recoverable detail than a shadowed wall.
Begin in manual exposure
Manual exposure makes changes predictable.
With your camera secured, start at ISO 100 and f/8, then lengthen shutter time until the sky sits brighter than black. These are starting ranges, not fixed rules.
Bracket only when the scene has hard contrast, such as a dim exterior facing an open doorway. Make the normal exposure your priority, because rushed blending can leave moving passengers with broken edges.
Focus with magnified live view before darkness settles in. Autofocus can jump to reflective panes once the station’s lights dominate.
Use this small range for a first test frame:
| Scene | ISO | Aperture | Initial shutter |
|---|---|---|---|
| Lit facade with tripod | 100 | f/8 | 1 to 4 seconds |
| Station interior, handheld | 400 to 1600 | f/2.8 to f/4 | 1/30 to 1/80 second |
| Passing train with blur | 100 | f/8 | 1 to 6 seconds |
After that first frame, change one setting at a time. The screen can look bright in darkness, so use your histogram and highlight warnings to judge clipped light.
Keep verticals and highlights believable
With a wide lens, a slight upward tilt makes the facade lean toward the center, and correcting that later can cut away the pavement or roof space that gave the photograph its sense of scale.
Level the camera first, then crop later if you need a tighter frame. If your tripod stays in the bag, brace against a column and use a shutter speed that keeps the lines clean.
Record RAW files when your camera offers it. You will have more room to correct mixed color without flattening the sky.
Use train motion without losing the station
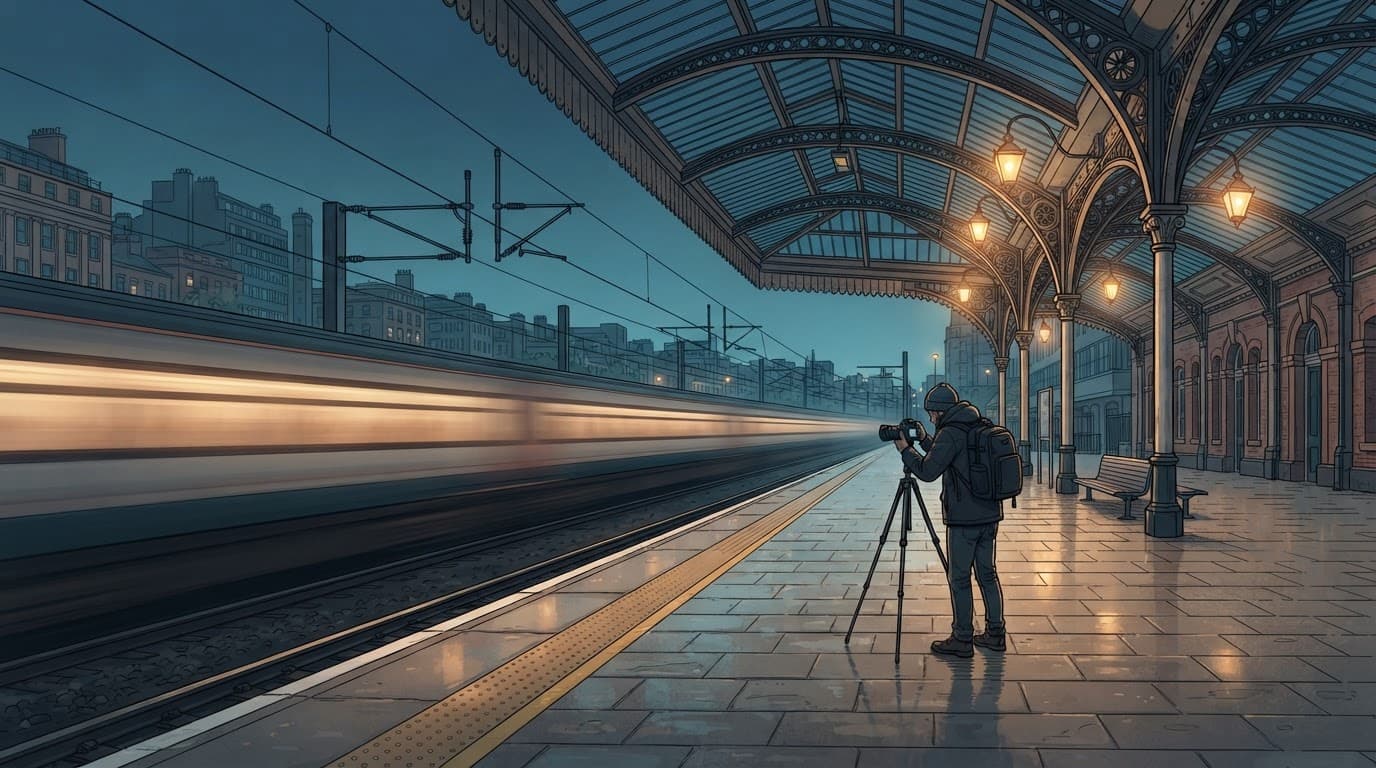
Moving trains can add a bright band or a ghosted form, while the station holds its shape. Choose movement deliberately, because an accidental half-blur usually looks like a missed focus point.
Choose the object that stays sharp
Lock focus on the architecture, not the arriving train. At about 1/30 second, a train may retain some form; exposures around one to several seconds can reduce it to color and light.
Watch several services pass before you commit. The train’s speed and the direction of platform lighting affect the result more than a preset shutter value.
Longer times do more than blur a train. They can soften walkers into faint traces, which keeps attention on the building when the platform has enough space.
However, a crowd near the camera can leave dark smears across the frame. In that case, shorten the shutter or wait for a gap.
Work safely when platforms are crowded
Keep behind every marked boundary and give passengers space to pass. Never place a bag where it can create a trip hazard.
For a tripod exposure, use the two-second self-timer or a remote release, then stand clear of the legs. A long-exposure photography guide offers a useful refresher on low ISO and stable support.
When a platform fills, switch to a handheld frame from the concourse. Don’t be a disruption.
Edit blue-hour files without turning them cyan
Editing should preserve the short-lived relationship between the sky and station lighting. A strong file still looks plausible beside the RAW image, even after you correct its geometry.
Fix structure before color
Apply lens corrections, then straighten the frame. Use vertical transform carefully, because stretched walls and pinched arches look stranger than a slight perspective lean.
Crop to remove a distracting edge, but don’t crop so tightly that the roof loses breathing room. On an exterior, a strip of blue sky gives warm windows their contrast.
Separate warm light from blue shadow
Set white balance after the structural work. If you cool the whole file to force a dramatic blue, platform lights often turn sterile and stone goes cyan.
Instead, hold a neutral overall balance and use local masks to cool the sky or deep shadows. Reduce highlights only enough to restore shape inside bright windows.
Noise reduction belongs late in the edit. Excess smoothing can erase the fine roof members that made you stop in the first place.
Check corners at 100 percent before export. High-contrast rails and roof beams reveal color noise that can hide at full-screen size.
For European train station photography, a modest edit often feels more convincing than a saturated one.
A station changes every minute after sunset
Blue-hour station photographs reward preparation, but the final frame still depends on watching rather than rushing. Return to a familiar station on more than one evening, because its lights may come on differently or wet pavement may alter the foreground.
Keep your camera level and protect the windows while you wait for a train that fits the composition. European train station photography earns its mood in the brief interval when the cobalt sky still matches the warm light under the canopy.
Leave after the last exposure holds detail in the station’s brightest windows and the blue above the glass roof has faded to slate.
