

Focus peaking helps you focus manually by highlighting high-contrast edges in your camera’s live view. Turn the focus ring until the highlights appear on the detail you want sharp, then use magnification when you need a closer look.
That makes it useful when autofocus catches a window instead of the view beyond it, or when a textured doorway sits in dim light. A few adjustments will make the display easier to read as you travel.
What focus peaking shows
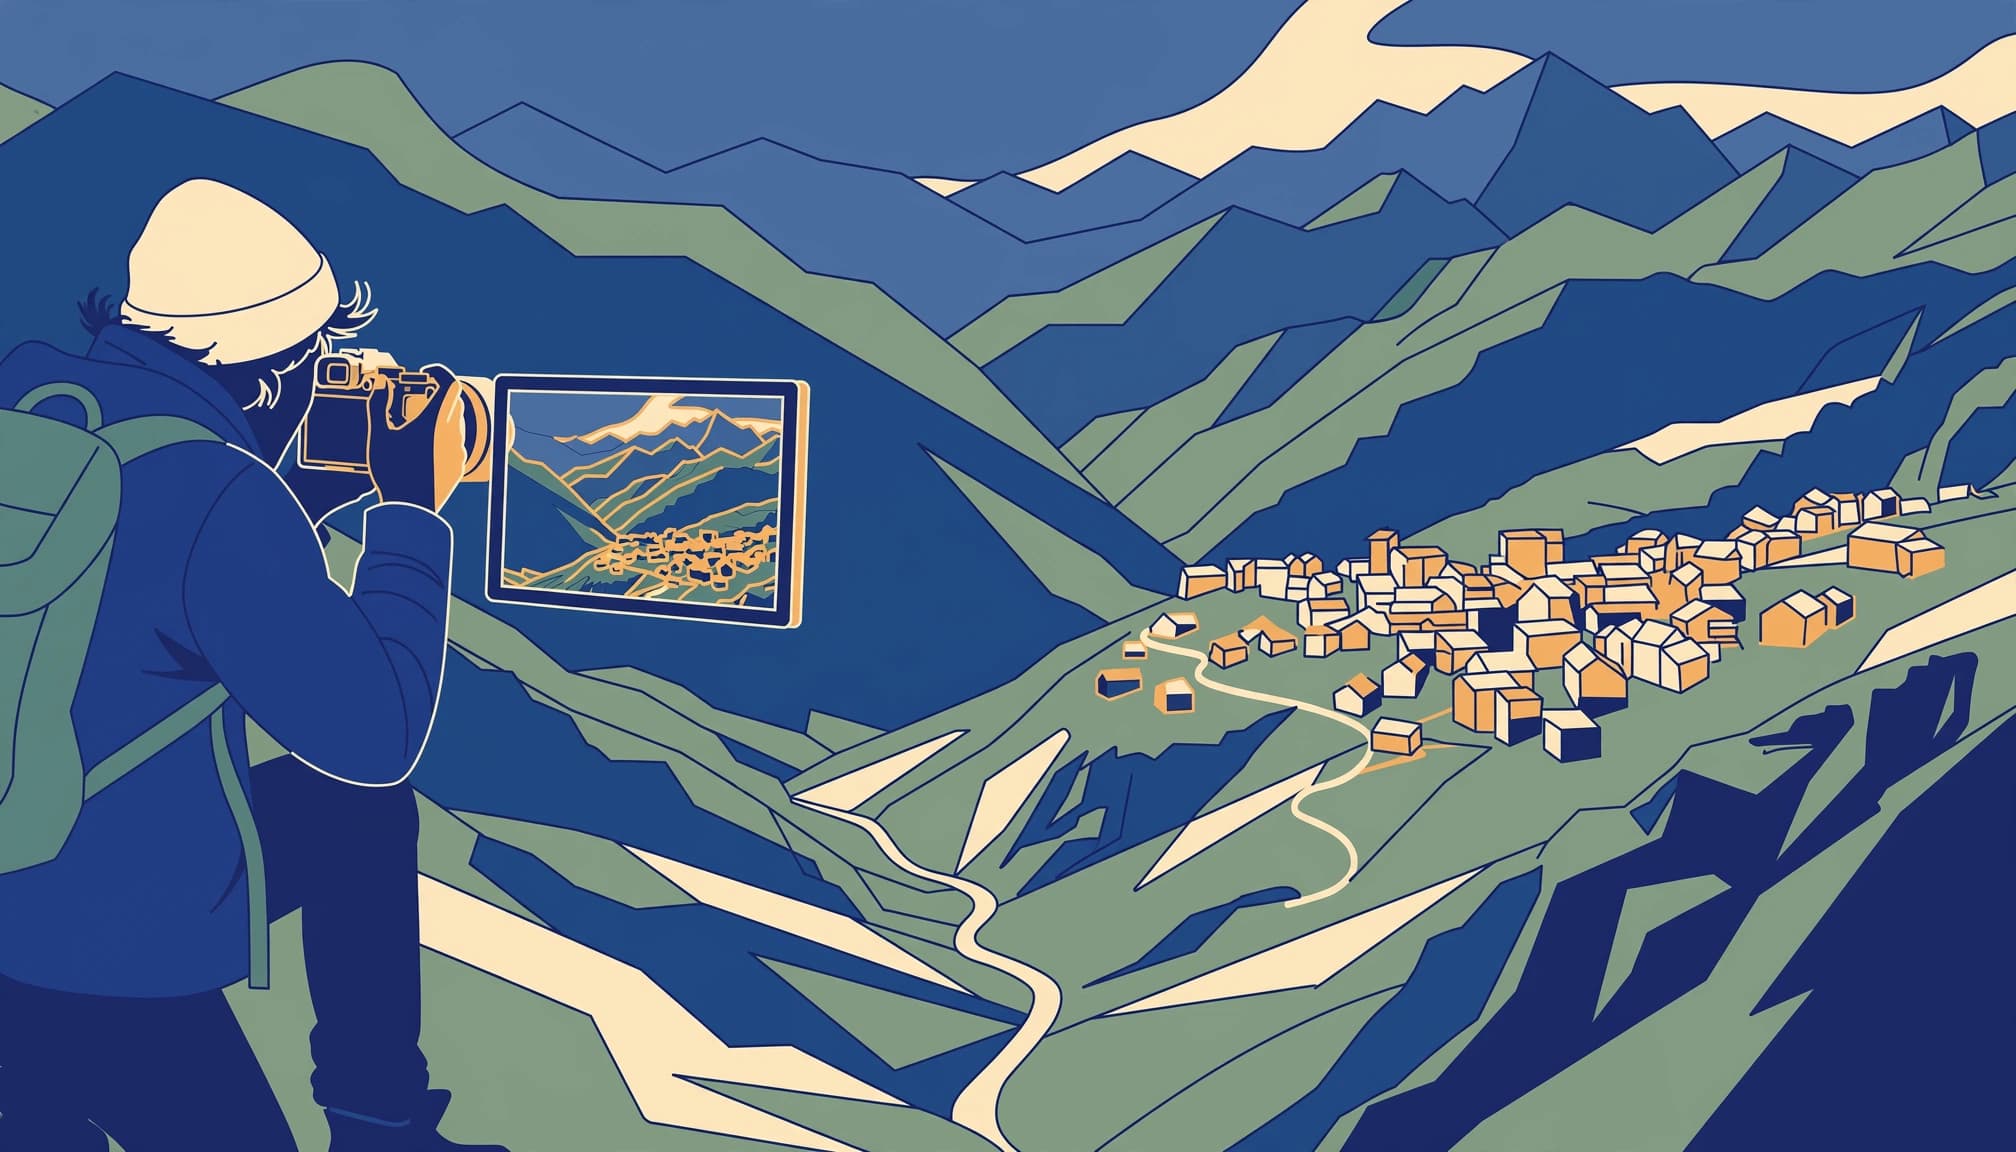
Focus peaking adds a colored overlay to areas of the live image that show strong local contrast. Adobe’s explanation of focus peaking describes it as a real-time focusing aid that highlights those edges.
The overlay is a viewing aid. It doesn’t appear in your photo.
Read the edges as you turn the ring
Point your camera at a row of buildings and slowly turn the focus ring. Highlights will tend to move between near and distant details as the focus distance changes.
Stop when they appear on the edge that matters, such as a window frame on the building you want to emphasize. You may see highlights elsewhere in the scene, too. Your job is to judge whether they cover the detail you chose.
Know when the display can mislead you
Peaking responds to contrast, so a bright reflection or strongly textured surface can attract highlights even when you want to focus elsewhere. Fine errors are also hard to judge on a small screen.
That’s especially relevant for a close portrait at a wide aperture, where the eyelashes might look highlighted while the eye itself isn’t as sharp as you’d like. Magnified live view gives you a better look.
Set up focus peaking on your camera
Controls vary by camera. On Fujifilm X Series cameras, for example, the manufacturer describes peaking as one of several manual-focusing aids. Sony also offers a focus peaking video guide for its cameras.

Make the highlights easy to see
If your camera offers color choices, pick one that stands out against the scene. Red can be easy to spot on pale stone, while another available color may be clearer against red brick or autumn leaves.
Change the color when the highlights disappear into the subject. You want to see the overlay without covering so much of the image that it becomes difficult to judge the underlying detail.
Adjust sensitivity to suit the subject
Some cameras let you adjust the strength or sensitivity of the overlay. A stronger setting can make subtle edges easier to see, but it may also cover a broad area with color.
A lower setting can make the display less busy, though it may leave little to see in flat light. Experiment on a textured subject before a trip so you know what the options look like on your screen.
Pair peaking with magnified live view
Peaking is useful for finding the approximate focus position quickly. Magnification helps you make a finer adjustment on a small part of the frame.
For a portrait, enlarge the eye nearest the camera and turn the ring gently until its detail looks sharp. For a building, move the magnified area to a window frame or carved edge at the distance you care about.
Return to the full composition before shooting. If you or your subject moves, even a small change in distance can matter at a wide aperture. Focus again rather than assuming the earlier setting still holds.
Canon R-series cameras offer magnification alongside peaking and other manual-focus tools, as this guide to Canon R manual focus tools explains. Whatever camera you use, assigning magnification to an accessible control can save time when the light changes.
Focus on landscapes and architecture
A travel scene can contain sharp-looking details at several distances. Before turning the focus ring, decide which part of the photograph deserves the most attention.

Choose a useful architectural detail
For a facade, look for an edge on the part of the building you want to emphasize. A dark window frame against pale plaster is often easier to judge than a blank wall.
Rotate the ring until the frame shows highlights, then magnify it if the pattern or lettering on the building matters. With the camera held at an angle to the facade, the near end and far end sit at different distances, so choose your focus point with that perspective in mind.
Balance foreground and distant views
For a mountain view with a nearby rock, focusing on the distant ridge won’t automatically make the rock sharp. Aperture, focal length and your distance to each feature affect how much of the scene appears sharp.
An aperture such as f/8 is a useful starting point in good light. Focus on an important part of the scene, make a frame, and inspect both the foreground and distance in playback. If the near rock remains soft, move back or reconsider how much foreground to include.
Prepare for moving subjects and train journeys
Manual focus can work when action is predictable. The key is to set the distance before the moment arrives, rather than chasing a moving person with the focus ring.
Set a focus zone on the street
Choose a spot where people are likely to pass, such as a doorway or a strip of pavement. Focus on that spot using peaking, then wait for someone to enter the area around it.
A narrower aperture gives you more depth of field than a wide one, though it can also call for a higher ISO in shade. For pedestrians, 1/500 second is a useful shutter-speed starting point. Adjust it for the movement and light.
Zone focusing for street photography offers a way to prepare the distance before the action starts. After moving into a narrower lane, reset the focus distance for the new scene.
Focus beyond a train window
Glass can draw attention away from a distant landscape. Manually focus on a clear feature outside, such as a church tower or ridgeline, and watch for highlights on that feature rather than on marks on the window.
A fast shutter speed also matters because peaking can’t prevent motion blur. The advice on photographing landscapes through train windows covers shutter speed and reflections as well as focus.
Work with fog, darkness and long exposures
Low contrast can make both autofocus and peaking difficult to use. In mist, look for the clearest edge at your chosen distance, then enlarge it rather than relying on a dense overlay.
A lamp bracket or gutter can give you a more useful focusing target than a blank patch of fog. The same approach helps when photographing foggy mountain villages, where roofs and distant hills may have little contrast.
Find a stable edge in dim light
At dusk, focus on a stationary detail with some contrast, such as the edge of a lit doorway. If highlights appear weak, magnify that area and judge the underlying image.
Keep the camera steady while you focus. A tripod or a firm support helps with a long exposure, but moving branches or people can still blur during the shot.
Focus before fitting a dark filter
For a waterfall or coastal exposure, establish focus before attaching a strong neutral-density filter. Choose a stationary feature near the part of the scene you want sharp, then avoid moving the ring as you fit the filter.
One account of manual focus for long exposures describes a photographer at Bear Lake who focused on wet granite and fitted a six-stop filter. Three frames were sharp, but a glove bumped the focus ring while the photographer wiped away spray, leaving the next frame soft.
It’s a small movement with a visible cost. Recheck focus after handling the lens.
Diagnose a soft photo in the field
When a frame looks soft, zoom in on the captured image and identify where the problem appears. The correction depends on the cause, so avoid turning the focus ring before you know what needs to change.
If the background is sharp but your subject isn’t, the focus distance may be wrong. Return to live view and place the highlights on the subject’s detail. For a close portrait, magnify the eye before another frame.
If the whole image has directional blur, camera or subject movement may be responsible. Raise the shutter speed, brace the camera or use a tripod for a stationary scene. Peaking won’t fix movement during an exposure.
A clean lens matters, too. Mist or spray on the front element can soften highlights even when focus is correct. Wipe the glass carefully, then make sure the focus ring hasn’t shifted.
Practice before your trip
A short walk near home makes the overlay easier to read when you’re working quickly. Photograph a bench at a measured distance, then repeat the exercise with a lamppost farther away.
Try the lens you plan to carry and review the files at full size. Change the aperture and focus distance between frames, noting how the area of acceptable sharpness changes. This also helps you judge how far a person can move before a prepared street focus zone stops working.
Keep the exercise simple. Useful in a crowded station, too. Once you can find a clear edge and adjust the ring without hesitation, you’ll have more attention available for the scene.
Make the next frame count
Before a trip, choose one familiar block for a practice walk. Set your focus on a bench two metres away, then photograph it at a wider aperture and again at f/8.
Compare the files at full size. Pay attention to the lettering or paint texture on the bench, where a small focusing error is easier to see.
