

Silhouette photography works best when you expose for the colorful sky and let your subject fall into darkness. The key is to protect the brightest useful color, rather than asking the camera to brighten everything in the frame.
That balance can be tricky at sunrise or sunset. Your camera may try to lift a dark person or building, leaving the sky pale and featureless.
A few changes to exposure, composition, and editing can help you keep both the outline and the color you came to photograph.
Why a Colorful Sky Turns Pale
A sunset scene often contains a large difference in brightness. The sky glows behind your subject, while the side facing your camera receives much less light.
Your camera’s meter reads the scene and suggests an exposure. If a large dark foreground influences that reading, the camera may brighten the image enough to wash out the orange clouds or the pink band near the horizon. Those colors are harder to restore if their detail wasn’t recorded.
Let the foreground go dark. A silhouette doesn’t need visible clothing or facial features to work. It needs a recognizable edge against a sky that still has tone.
Ansel Adams faced a related choice in 1941 while making Moonrise, Hernandez, New Mexico. With the light changing and his meter out of reach, he used a memorized value for the moon’s brightness to calculate his exposure over the darker settlement. His decision began with the bright subject he wanted to preserve.
Your camera offers quicker ways to review the result, but the principle is useful: decide which bright tones matter before adjusting the dark ones.
Choose a Subject With a Readable Outline
A silhouette depends on shape, so pick a subject that remains identifiable without surface detail. A lone tree, a person in profile, or a distinctive roofline can all work against an open patch of sky.
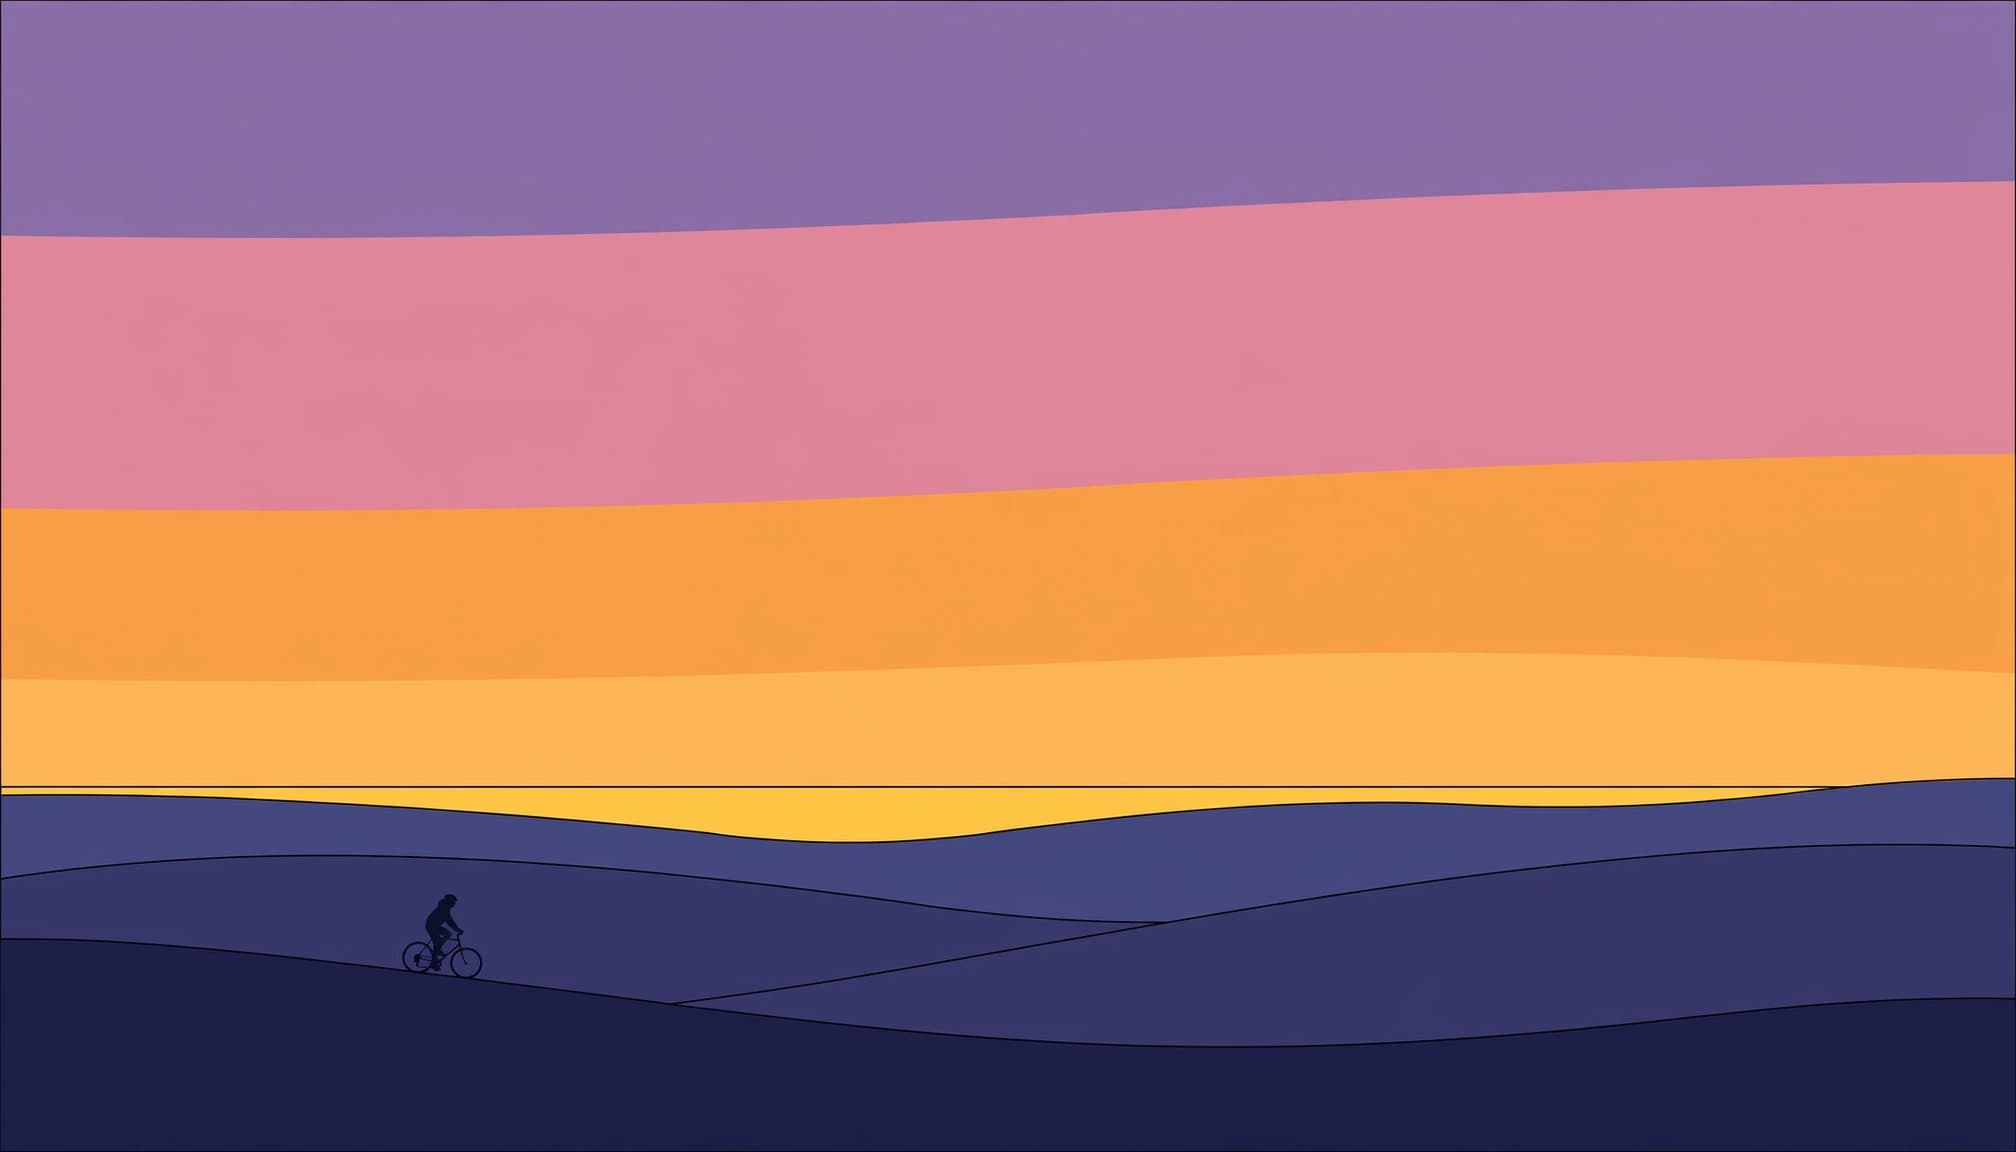
Give the subject some space
Look for gaps between important parts of the outline. A cyclist is easier to recognize when the wheels don’t merge into a dark hillside. A person in profile reads more clearly when their face has some separation from a raised shoulder.
If you’re photographing someone you can direct, ask them to turn slightly or move an arm away from their body. Small changes can make a greater difference than a new camera setting.
For street photography, set your frame around a bright opening and wait for someone to enter it. One clean outline. That’s often enough to give the scene a subject.
Keep the horizon out of the way
Move lower if the horizon cuts through the subject’s head or shoulders. A slight shift can place the full shape against the brighter sky instead of a dark bank of trees.
Watch the edges, too. Branches, railings, and nearby figures can merge into the main silhouette. Before pressing the shutter, scan the outline and reposition yourself if another shape makes it difficult to read.
Expose for the Sky
Point your camera toward the colored sky and make a test frame. Your goal is a sky with visible color and cloud detail, even if the person or building looks nearly black.
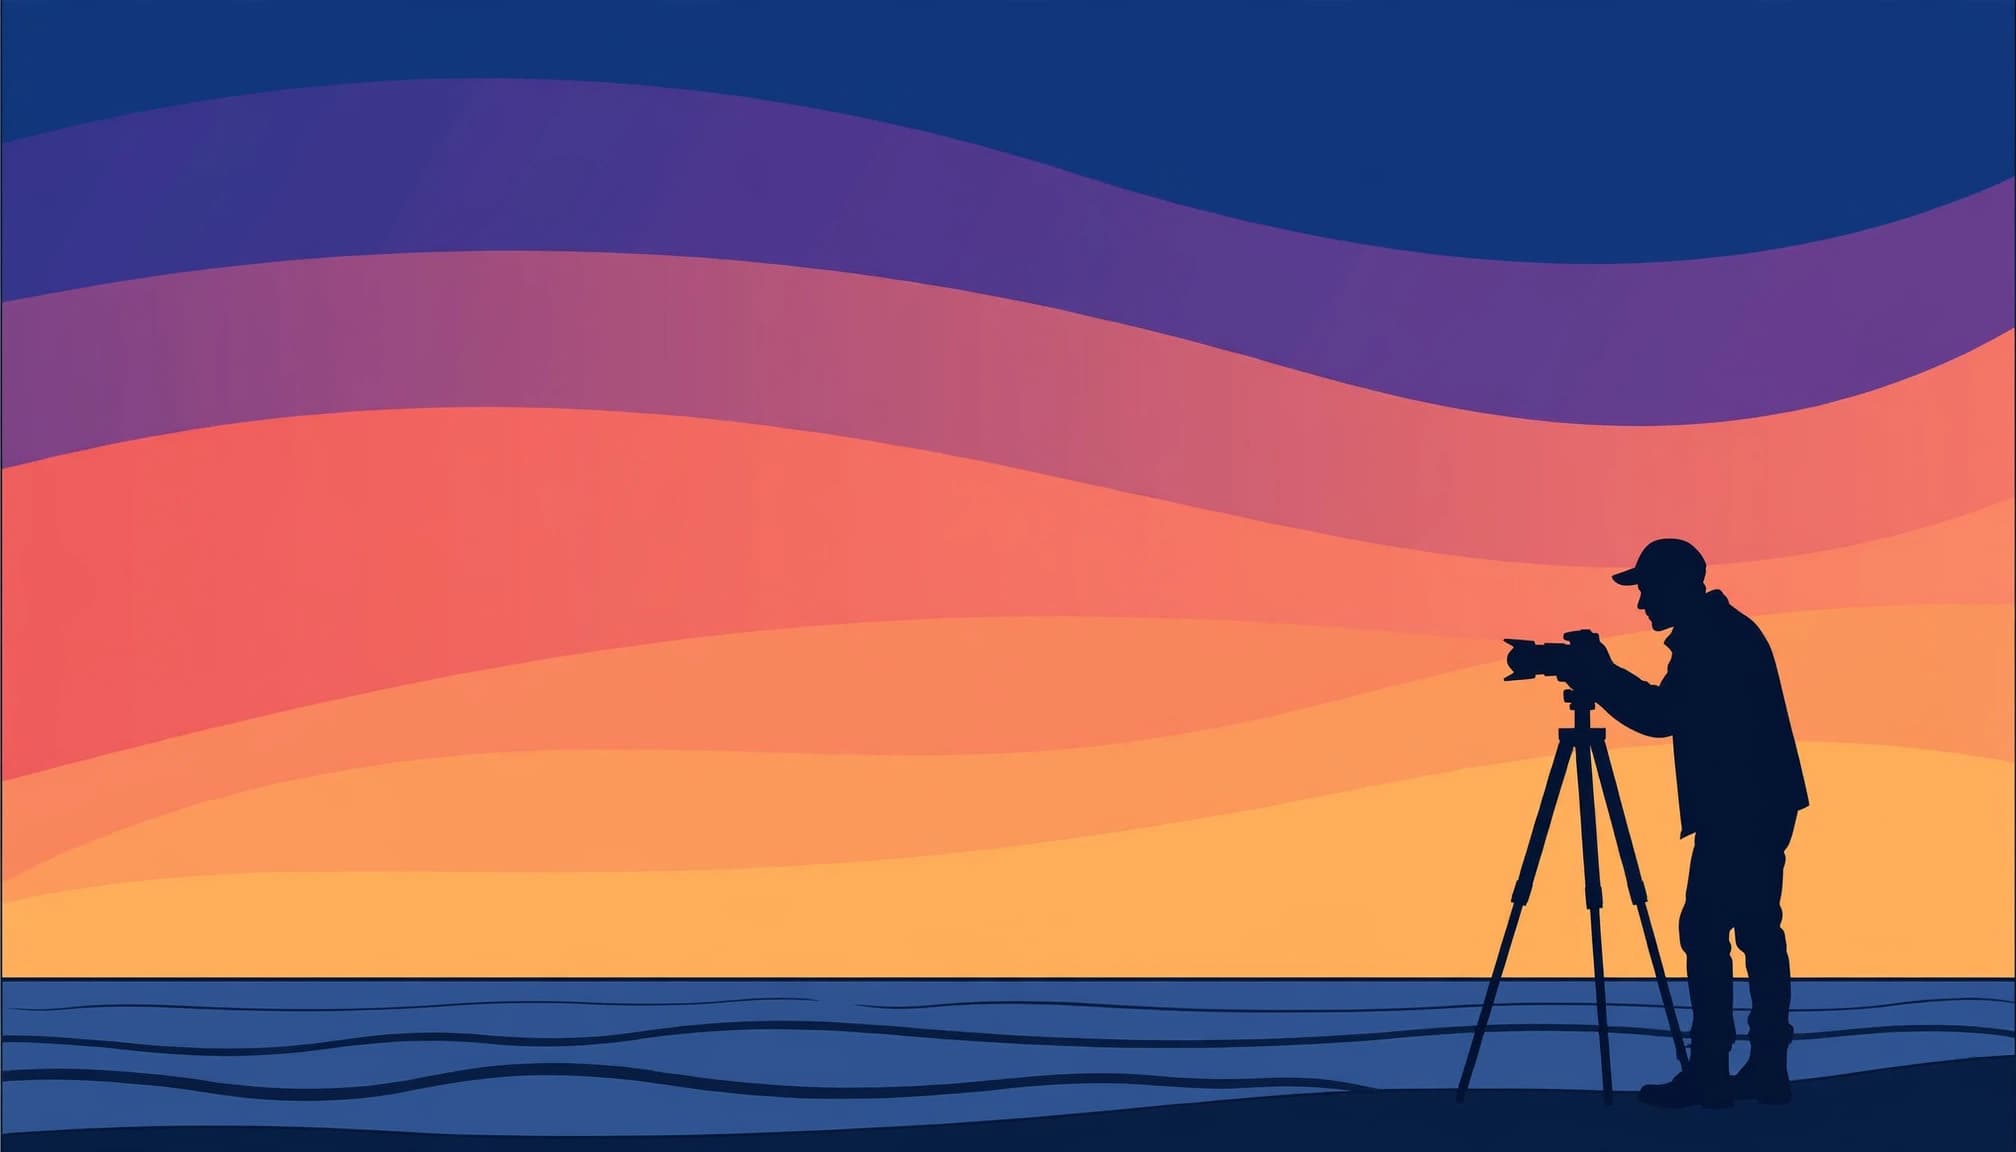
Darken the camera’s suggested exposure
In an automatic exposure mode, use negative exposure compensation if the sky looks washed out. This tells the camera to make the image darker than its meter suggests. Take another frame and compare the colored cloud areas, not only the subject.
Nikon’s exposure compensation guide explains how the control changes the camera’s suggested exposure. The exact adjustment depends on the scene, so stop when the important sky colors look right rather than chasing a fixed value.
Afterward, reset compensation for your next subject. Some cameras retain the setting after you turn them off, as Canon notes in its EOS 1000D manual.
Meter a useful part of the sky
If your camera offers spot metering, you can meter a small area of sky near the subject. Choose a patch with color you want to retain, rather than pointing directly at the sun. Then use exposure lock if your camera supports it and recompose.
Nikon’s metering guide describes how spot metering reads a small area around the focus point on compatible cameras. Metering a pale patch, however, may produce a darker result than metering a richly colored one. Review the picture and adjust for the tones you want.
Read the Histogram Without Chasing the Center
A silhouette photo can have a large peak on the left side of the histogram. That may simply represent the dark foreground. It doesn’t mean you need to brighten the whole photograph.
Pay closer attention to the bright end and to your camera’s highlight warning, if it has one. A small area of intense light may be acceptable, but a broad warning over clouds whose color and texture you want to keep calls for a darker exposure.
The histogram shows how tones are distributed, but it doesn’t tell you whether a bright patch belongs to an important cloud or an unimportant reflection. Compare the graph with the image itself. Our guide to reading a photography histogram covers this distinction in high-contrast scenes.
Don’t rely on screen brightness alone. In strong daylight, the display can make a good exposure look darker than it is, while an unusually bright display can conceal a pale sky. Review the highlight warning and zoom into the areas that matter before changing your settings.
Keep the Silhouette Sharp
Exposure gives you a dark shape, but focus and shutter speed determine whether its edges look intentional. A blurred outline can be difficult to recognize, even when the sky color is excellent.
Focus on an edge with contrast
Place your autofocus point on the boundary between the subject and the sky. A roofline, shoulder, or tree trunk can give the camera a clearer target than the middle of a nearly black shape.
If autofocus struggles, focus on another object at roughly the same distance, then recompose. For a stationary subject, you can also switch to manual focus and enlarge the live-view image to judge the edge.
Focus at the subject’s distance, not automatically at infinity. A nearby person and a distant skyline may need different focus choices, particularly when the lens is set to a wide aperture.
Match shutter speed to movement
A moving person needs a faster shutter speed than a stationary building. If the light falls and the camera selects a slow exposure, raise ISO or use a wider aperture as needed to keep the outline sharp.
A tripod helps with camera movement during a static scene, but it won’t freeze a cyclist or a person who sways during the exposure. Review the subject at magnification, especially around hands, branches, and fine architectural edges. Take another frame if those details look soft.
Work With the Light Around Sunrise and Sunset
Arrive while there’s still time to find a clean viewpoint. The strongest color may appear before sunrise or after the sun has dropped below the horizon, so keep photographing as the light changes.
Clouds can hold color after the foreground has become too dark to show detail. Thin, broken clouds often give you more shapes to work with than a clear sky, although a simple gradient can be an effective background for a bold outline.
If the sun itself overwhelms the frame, move so a building, tree trunk, or hill blocks it. This can reduce glare and make the surrounding color easier to retain. Avoid looking directly at the sun through an optical viewfinder.
As evening turns into blue hour, the sky may shift from orange to cooler blue while windows and streetlights begin to glow. That can produce a different silhouette photograph with the same subject. For exposure ideas once artificial lights appear, see these blue hour photography settings.
Edit the Sky Without Flattening It
A restrained edit begins with a file that already has usable sky detail. If your camera offers RAW, use it when you want more room to adjust color and tones afterward. The choice between RAW and JPEG matters most in difficult light, where large edits can reveal the limits of a JPEG sooner.
Set exposure and white balance first
Adjust overall exposure until the silhouette feels appropriately dark and the sky retains its shape. Then change white balance to suit the light you saw. A warmer setting can bring out gold, while a cooler one can preserve the blue above it.
Compare the edit with the original as you work. If every part of the sky turns the same orange, pull the temperature adjustment back and retain the color changes across the frame.
Lower highlights enough to reveal cloud texture, but avoid dragging them so far that the sky looks gray. Keep the dark subject dark unless a small amount of detail helps its shape.
Adjust color in selected areas
In Lightroom, a sky mask lets you adjust the background without brightening the silhouette. Make small changes to saturation or contrast, then inspect the edge where the mask meets branches or hair.
Strong adjustments can leave a bright halo around that boundary. If you see one, soften the adjustment or refine the mask. A little color often goes further than a global saturation boost that turns every cloud the same intense shade.
Photograph Silhouettes With a Phone
Phones can make strong silhouettes, especially when you give them a clear subject against an uncluttered sky. Tap the colored area near your subject to set exposure, then use the exposure control to darken the image if the sky looks pale.
Because tapping can also change focus on some phones, review the subject’s edge after taking the picture. If the outline looks soft, tap nearer the boundary between the subject and sky, adjust exposure again, and make another frame.
Automatic processing may lift shadows or brighten the foreground more than you want. A phone’s exposure control or available manual mode can give you more say over the result. If RAW capture is available and you plan to edit, it can also give you more flexibility with color.
Clean the lens before shooting toward a bright sky. A smudge can spread glare across the frame and weaken contrast around the silhouette. If flare persists, change your angle or put the sun behind the subject.
Make the Last Frame Count
Before the color fades, review the outline at full size and look for gaps that have closed up. A small step sideways may separate a person’s profile from a branch or lift a bicycle wheel above the ridge.
Then take one more frame with the darkest foreground you want and the colored cloud still visible behind it.
