

A dark spot across every blue-sky photo can turn a good travel day into an evening of retouching. The best sensor cleaning kits give you a way to deal with stubborn spots away from home, without filling your bag with tools you won’t use.
Fit matters more than kit size. Match the swab to your camera’s sensor format, carry a blower for loose dust, and leave wet cleaning for marks that survive a gentler approach. Start by checking whether the spot needs cleaning at all.
When a sensor cleaning kit earns its space
Dust travels. It can enter an interchangeable-lens camera during a lens change on a windy platform or when you open the mount beside a dusty road. Yet the dark fleck you see in one frame might also be on the lens, a filter, or a nearby window.
Test before opening the camera
Photograph an evenly lit wall at f/16, then inspect the image at full size. Sensor dust usually appears as soft, dark marks in the same places across test frames. If a mark moves when you change lenses or remove a filter, investigate those surfaces first.
Small spots may never show in your usual photos at wide apertures. You can leave them alone until you have a cleaner place to work. A hotel room is a better choice than a bench beside a passing train.
Pack for the problem you can solve
A blower and a few sealed swabs take less room than a large maintenance case. Start with air. Wet swabs belong in the bag for spots that remain after the camera’s automatic cleaning cycle and a careful blower attempt.
That distinction matters on a multi-city trip: loose dust often needs no fluid, while an oily or stuck mark may. Neither calls for opening every tool in your kit on the street.
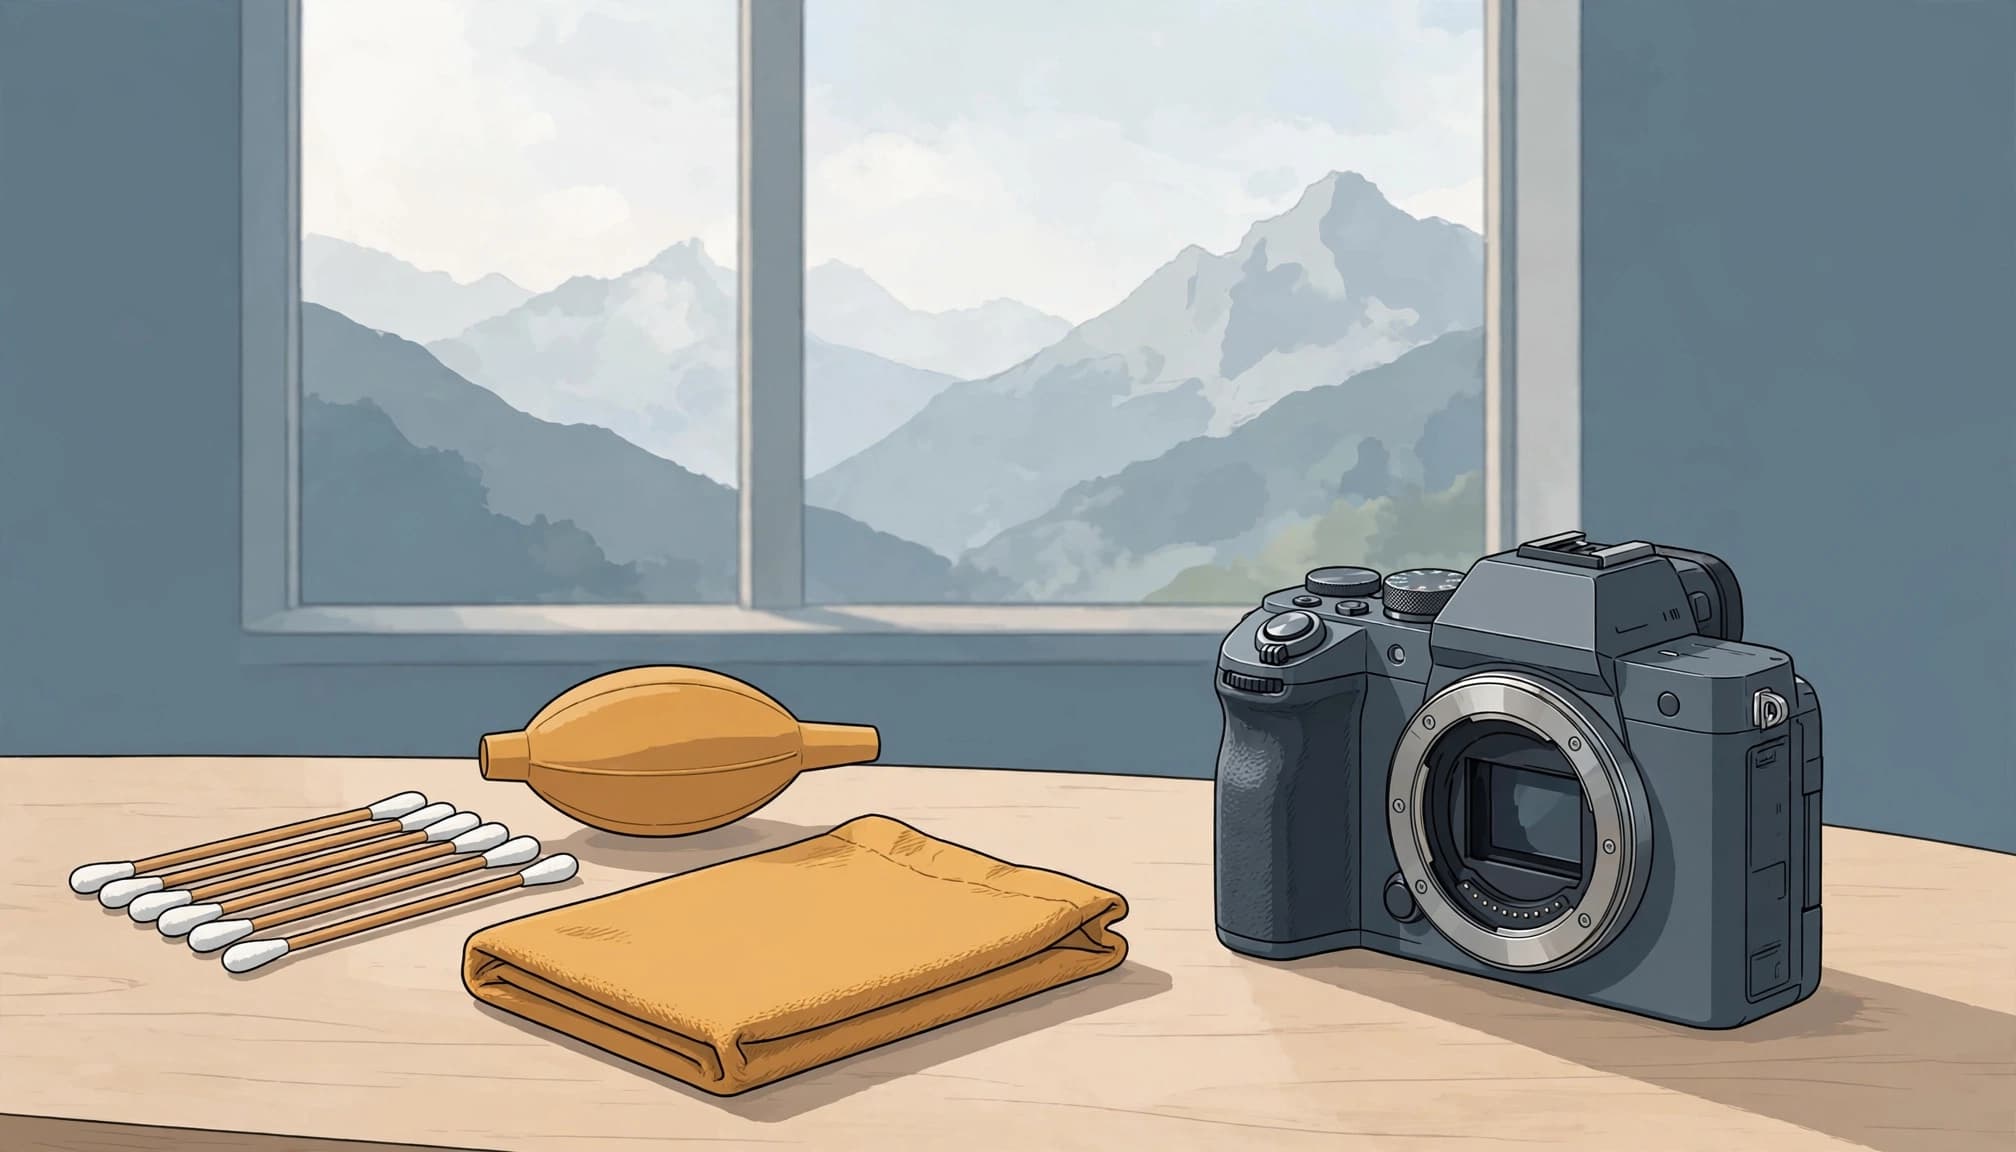
Best sensor cleaning kits at a glance
These are useful starting points for common travel-camera formats. Contents and prices can vary by retailer, so check the exact package before paying.
| Kit | Best match | Confirmed contents or size | Buying note |
|---|---|---|---|
| VSGO VS-S01E | Micro Four Thirds | 12 mm swabs and alcohol-free fluid | Small format-specific kit |
| VSGO VS-S02E | APS-C | 10 swabs and one cleaner | Check your camera’s sensor format |
| Photographic Solutions Sensor Swab ULTRA kit | Several sensor formats | Six swabs and one optic-cleaning fluid | Choose the correct swab size and fluid option |
| VisibleDust Econo Sensor Cleaning Kit | Buyers comparing swab systems | Folded-fabric sensor swabs | Verify the selected size and package contents |
For a single APS-C travel body, the VSGO kit is a straightforward purchase because its contents are clear. If you already carry a fluid you trust, compare the cost of replacement swabs before buying another complete kit. VisibleDust and Photographic Solutions offer more choice, but that makes checking the exact variant more important.
Price snapshots help set expectations, not a fixed budget. German comparison site Idealo listed the VSGO APS-C VS-S02E kit from €19.90. A Galaxus Netherlands listing put the Micro Four Thirds kit at €16.68 including VAT. Availability and delivery charges may change the better buy.
The strongest picks for different cameras
VSGO for Micro Four Thirds and APS-C
The VSGO VS-S01E Micro Four Thirds kit pairs 12 mm swabs with alcohol-free fluid. It’s a sensible fit for a photographer who wants one compact, format-specific wet-cleaning option.
For a larger APS-C sensor, the VSGO VS-S02E kit contains ten swabs and one cleaner. That’s enough swabs for a trip without carrying a bulky assortment. Check the seller’s package details if you’re comparing it with a swabs-only refill.
Photographic Solutions for choice of fluid
Photographic Solutions sells Sensor Swab ULTRA kits with six swabs and a bottle of optic-cleaning fluid. Its Sensor Swab and fluid options include Eclipse or Aeroclipse, with swab versions for several sensor formats.
This is a good choice when you want to select both swab size and fluid. However, don’t mistake a listing for Eclipse fluid alone for a complete kit. One European retailer listed a 59 ml Eclipse cleaner at €25, but that price doesn’t establish the cost of six swabs.
VisibleDust for a different swab design
The VisibleDust Econo Sensor Cleaning Kit is worth comparing if you prefer its folded-fabric swabs. VisibleDust sells multiple cleaning products, so inspect the exact kit’s swab size and contents rather than relying on the brand name.
A European listing may describe an EZ kit, an Econo kit, or replacement Vswabs. Those aren’t interchangeable descriptions. Buy the package that supplies the tools you need for your camera.
Match the swab to the sensor, not the camera’s size
A small mirrorless body doesn’t necessarily have a small sensor. Before ordering, look up the format in your camera specifications: full frame, APS-C, or Micro Four Thirds.
Swab width needs a second check
Retail listings commonly identify VSGO swabs as 12 mm for Micro Four Thirds, 16 mm for APS-C, and 24 mm for full frame. Those are product sizes, not a reason to substitute one format’s swab for another. Check the maker’s compatibility description for the pack in your basket.
If you travel with two bodies in different formats, pack separate swabs for each one, since a full-frame swab can meet the edge of a smaller chamber and a narrow swab may leave an uneven pass. Keep their wrappers separate so you can identify them in poor hotel-room light.
Count usable cleans, not accessories
A kit with ten sealed swabs may suit a long trip better than a case stuffed with cloths and brushes. Each swab is for a single cleaning session according to its instructions; don’t put a used one back in the wrapper.
A microfiber cloth still belongs in your bag for lenses and exterior surfaces. Keep it off the sensor. Likewise, a blower intended for cameras is more useful here than a can of compressed air.
Carry cleaning fluid through European airports carefully
Small bottles are easier to pack, but you still need to check the rules at every departure and connecting airport. Liquid screening arrangements can differ, and a permissive outbound airport tells you little about the return journey.
Check both security and airline rules
Read the current cabin-baggage instructions for your airports before flying. Then check your airline’s restrictions for the particular cleaning fluid, using its packaging or safety information when needed. Don’t assume that a bottle is acceptable solely because it holds 15 ml.
Keep the cap tight and the original label intact. Put the bottle in a sealed bag inside your camera bag so a leak can’t soak swabs, cards, or a camera strap. Carry only the fluid you expect to need.
Keep the kit accessible, but protected
Individually wrapped swabs can sit flat in an interior pocket. A blower needs a little more space, so choose one you’ll carry rather than a large model that stays in your accommodation.
Last spring in Lisbon’s Alfama, one photographer paused to shift a heavy full-frame bag while a friend with a lighter setup caught a yellow tram rounding the corner. Cleaning gear deserves the same packing discipline: it helps only when it fits alongside the camera you actually take out.
Clean a sensor without turning a spot into a smear
Wet cleaning takes a steady surface and the correct camera procedure. If you’re unsure how your model handles its shutter or stabilization mechanism during cleaning, consult its manual before removing the lens. Canon’s EOS 7D Mark II cleaning instructions, for example, describe menu steps for that specific model; they aren’t universal mirrorless-camera directions.
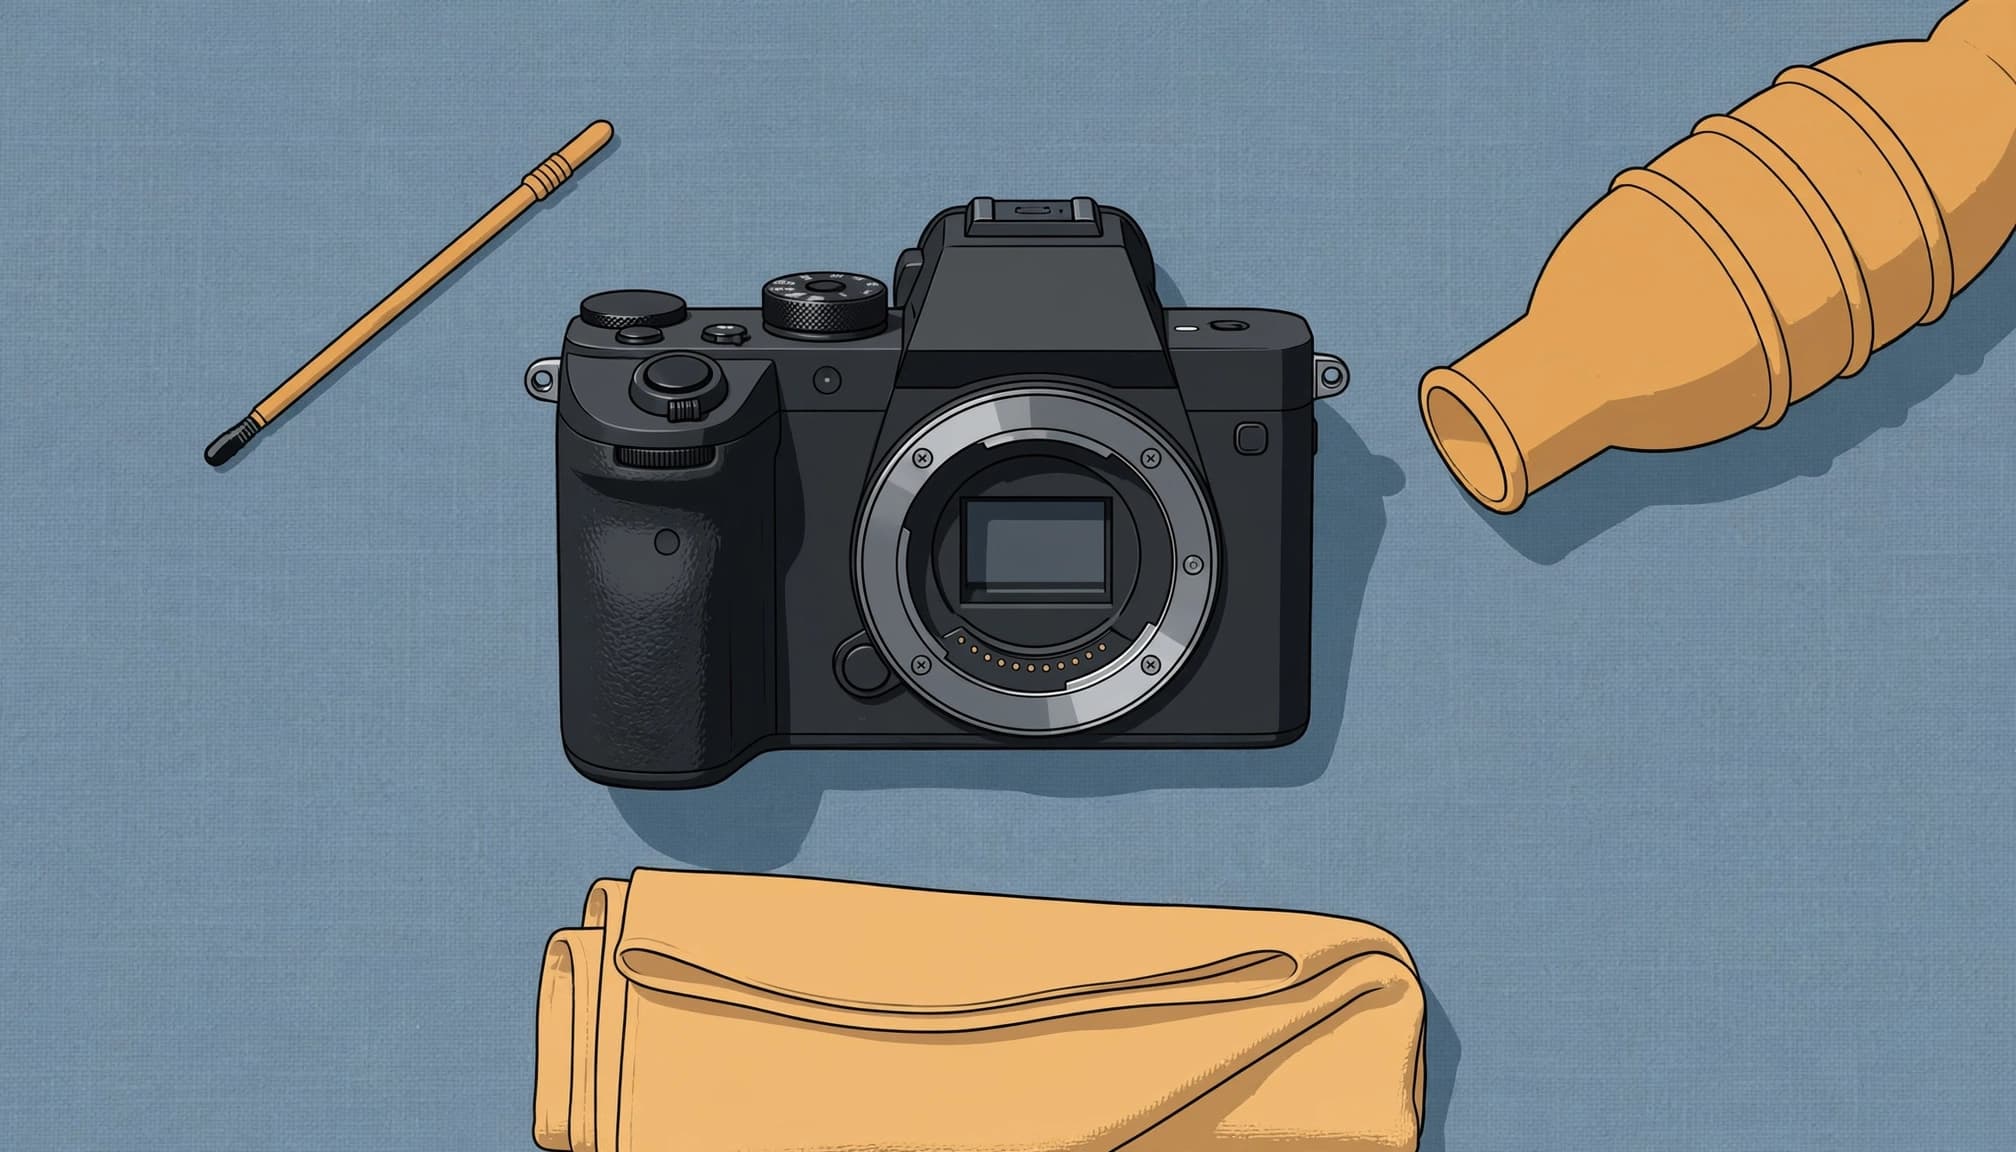
Try the least intrusive method first
Run the camera’s built-in cleaning cycle if it has one, then repeat your test photograph. If spots remain, move to a clean, dry indoor surface. Follow your camera manual’s instructions for accessing the sensor, and use a camera blower without touching anything inside the mount.
Test again before reaching for fluid. A mark that disappears after the blower has saved you an unnecessary wet pass. Don’t use your breath or a general-purpose aerosol: neither offers controlled, clean airflow.
Use a wet swab only when needed
Read the swab and fluid directions together. Apply only the specified amount of fluid, keep the swab free of contact with the table, and make the pass exactly as its maker directs. Discard the swab afterward.
When a spotless sky turns into several dark dots at f/16, a compact kit can save an afternoon of retouching, provided the swab fits your sensor and the room is clean. Stop if residue remains after a careful attempt. Repeated passes with uncertain technique can make a small problem harder to fix; a camera service centre is the safer next stop.
Buy the kit before the itinerary gets complicated
European retailers don’t always use the same product names for complete kits and refills. Compare the photograph of the package with the written contents, then confirm sensor format, swab count, fluid volume, and whether a blower is included. The answer may change which offer is cheaper.
Full-frame photographers should check this carefully. European listings for a VSGO full-frame set have described twelve 24 mm swabs with 15 ml of fluid, while other listings sell swabs alone. One Yellowstore listing put the set at €26; another retailer showed a €23 set out of stock. Neither price is a dependable promise for your departure date.
Order early enough to examine the seals and practice the dust test at home. You don’t need to practice a wet pass on a clean sensor. You do want to know where your camera’s cleaning setting is before a mark appears halfway through the trip.
Key takeaways
- Match sealed swabs to the sensor format, then verify what’s inside the exact kit.
- Use the camera’s cleaning cycle and a blower before opening the fluid.
- Check airport and airline rules for your bottle on every flight.
- Work indoors, follow your camera manual, and stop if a mark won’t clear safely.
Frequently asked questions
Do I need a wet kit for a short city break?
A blower may be enough if you rarely change lenses and your sensor is clean before departure. Still, a few correctly sized swabs add little bulk. Take them if a persistent spot would disrupt work you can’t reshoot, such as paid travel assignments.
Can I use one swab size for APS-C and full frame?
Buy swabs specified for each format. Their widths differ, and the camera chamber limits how comfortably you can make a controlled pass. If you own both formats, label separate storage pockets rather than guessing by wrapper shape.
Should I clean every visible speck before shooting?
No. Check a test frame and your normal photographs first. A faint dot visible only at f/16 against a plain wall may not affect the images you’re taking. Cleaning is worth the risk and effort when the mark appears in actual frames or requires repeated editing.
Conclusion
A stubborn spot shouldn’t dictate the rest of your trip. The most useful sensor kit is small, correctly sized, and reserved for marks that survive a gentler clean.
Before you leave, put the sealed swabs and capped fluid in a protected pocket. Keep the blower where you can reach it first.
