
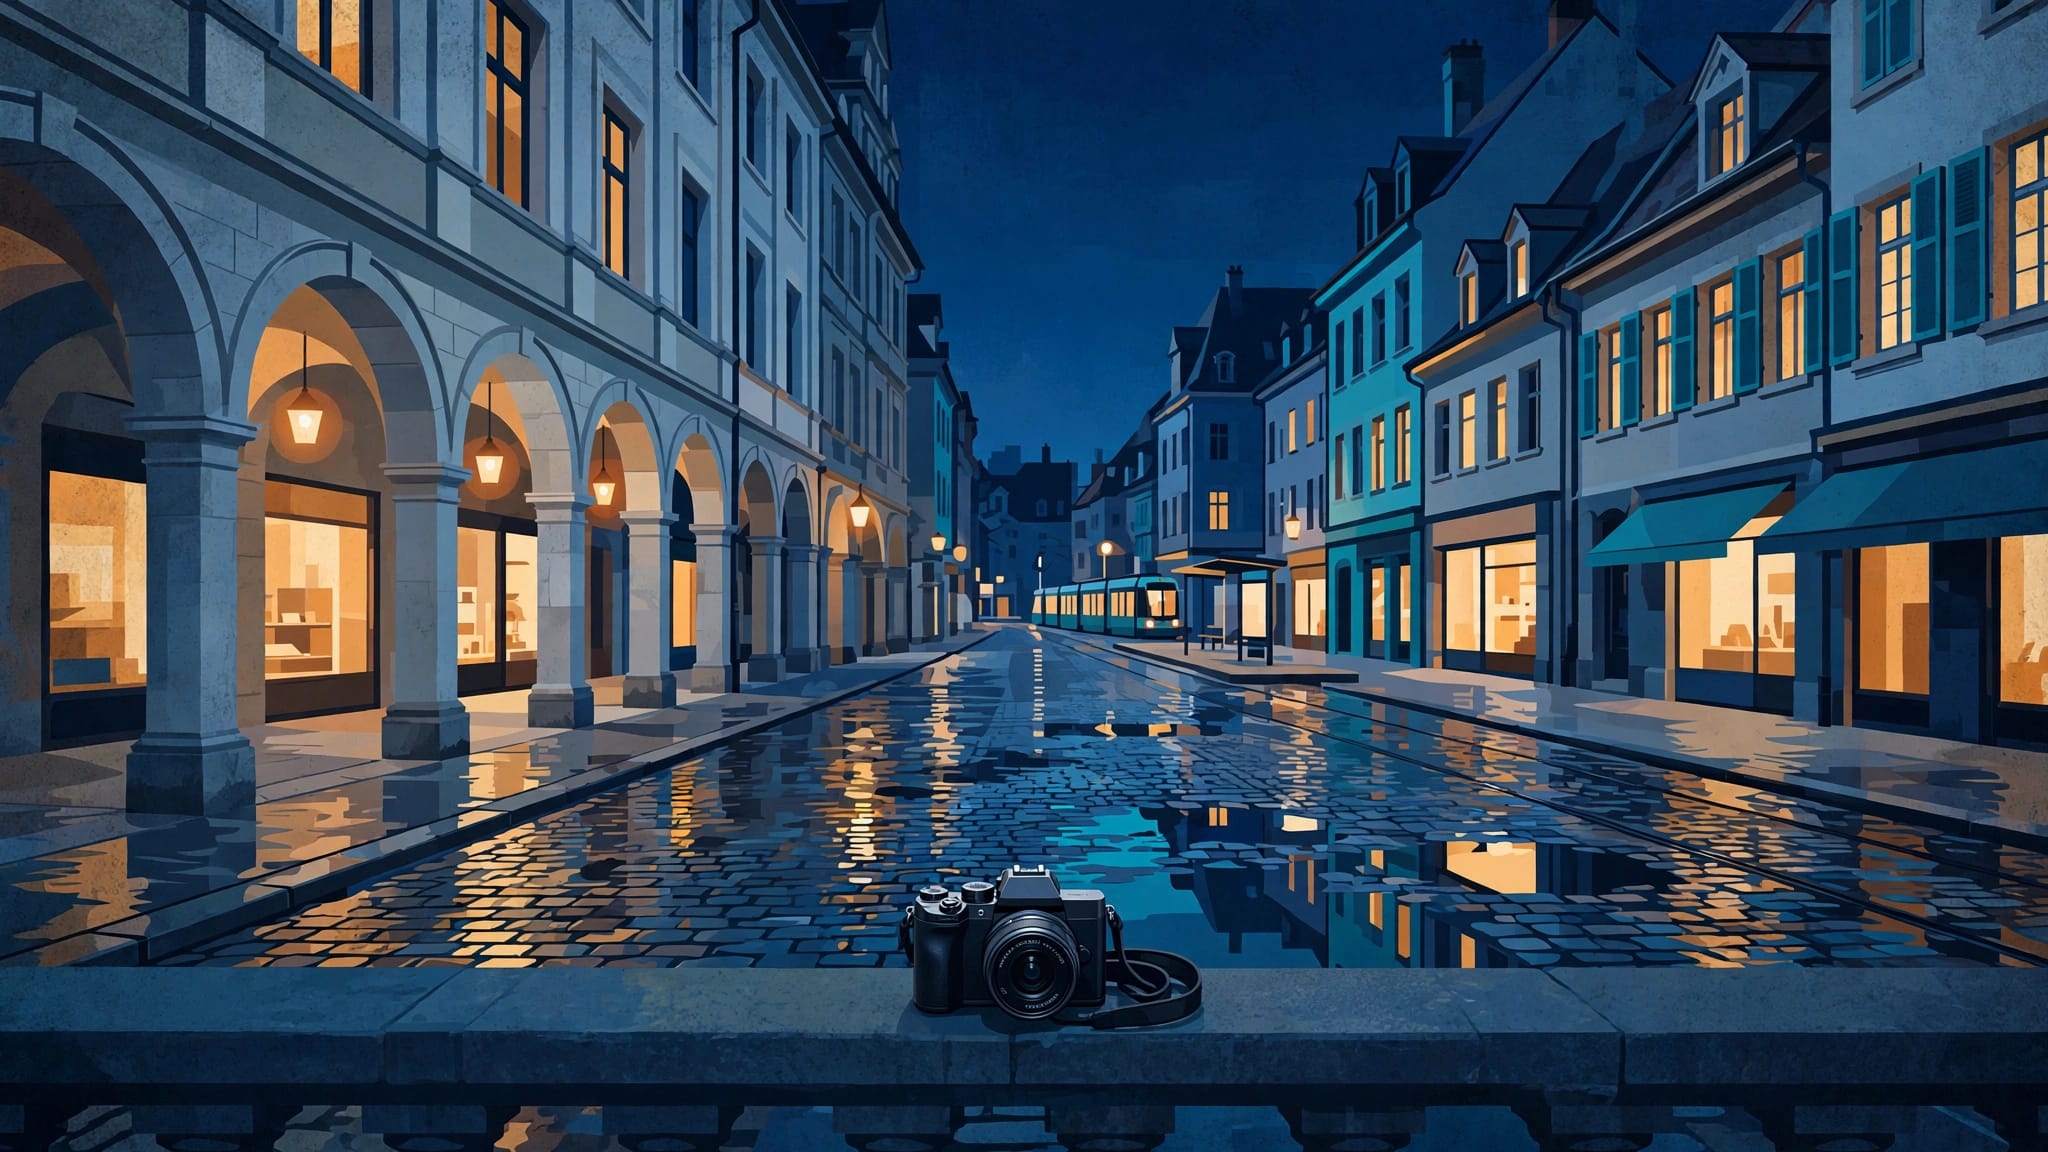
A tripod can stay in the hotel and you can still come home with sharp, atmospheric city images. The secret to successful night photography is not heroic gear. It is knowing when to raise ISO, where to brace your body, and which scenes still work after the sky turns dark.
European streets give you lamps, arcades, shop windows, tram stops, canals, and wet stone. Use those light sources with intent, then travel lighter without sacrificing the photographs that made you stop walking.
Start Before the Sky Goes Black
The easiest handheld night photos happen before full darkness. Blue hour gives you a deep blue sky, lit windows, and enough ambient light to hold a practical shutter speed.
Arrive 20 to 35 minutes after sunset. Start with wider scenes while the remaining sky separates rooftops from dark streets. Then shift toward tighter architectural details as the sky loses color.
Look for light that has a job
A single lamp beside an old doorway can create a stronger frame than a bright plaza with no visual direction. Let the warm light lead toward an arch, a bicycle, or a figure crossing the pavement.
Rain can help. Wet cobblestones stretch lamps and windows into reflections, which adds depth without needing a long exposure. Carry a microfiber cloth, because drops on the front element become obvious against bright lights.

Photo by Johannes Plenio
Stay near dependable surfaces
Railing tops, bridge parapets, stone posts, and covered arcade columns can replace a tripod for one frame. Rest the camera gently, use the self-timer, and keep your strap secure.
Don’t place gear where pedestrians need the surface. A two-second pause for a shot should never turn a narrow bridge or museum approach into an obstacle.
Night Photography Settings Without a Tripod
Manual exposure with Auto ISO is a practical starting point for night photography. You choose the aperture and shutter speed needed for the scene, while the camera lifts ISO as light fades. Canon’s low-light photography guidance also stresses matching shutter speed to the movement in front of you.
Set your camera to RAW when possible. RAW files give you more room to recover shadow detail and correct mixed color from sodium lamps, LEDs, and shop windows.
| Scene | Starting settings | Priority |
|---|---|---|
| Quiet architectural street | f/2 to f/2.8, 1/60 sec | Hold the camera steady |
| People walking past lamps | f/1.8 to f/2.8, 1/125 sec | Freeze faces and gestures |
| Tram, cyclist, or traffic | f/2 to f/2.8, 1/250 sec | Stop subject motion |
| Braced camera on a wall | f/4, 1/15 to 1/30 sec | Use timer and stable contact |
These are starting points, not fixed rules. Watch your shutter speed first, then accept a higher ISO when movement or your hands demand it.
Open the lens before chasing ISO
A 35mm f/1.8, 50mm f/1.8, or 24mm f/1.8 prime earns its place on a city trip. It lets in far more light than a typical f/4 zoom, so you can use a faster shutter speed at the same ISO.
Still, don’t shoot every scene wide open. At f/1.8, focus errors become obvious and building corners may soften. For a flat facade or a couple walking side by side, f/2.8 often gives a safer margin.
A slightly noisy frame with a sharp subject is usually more useful than a clean file blurred by camera shake.
Hold the Camera Like You Mean It
Image stabilization helps, but it cannot freeze a moving subject. Lens or in-body stabilization gives you more freedom with static buildings and statues. Tamron’s explanation of stabilization in low light is useful context, especially if you are choosing a stabilized lens.
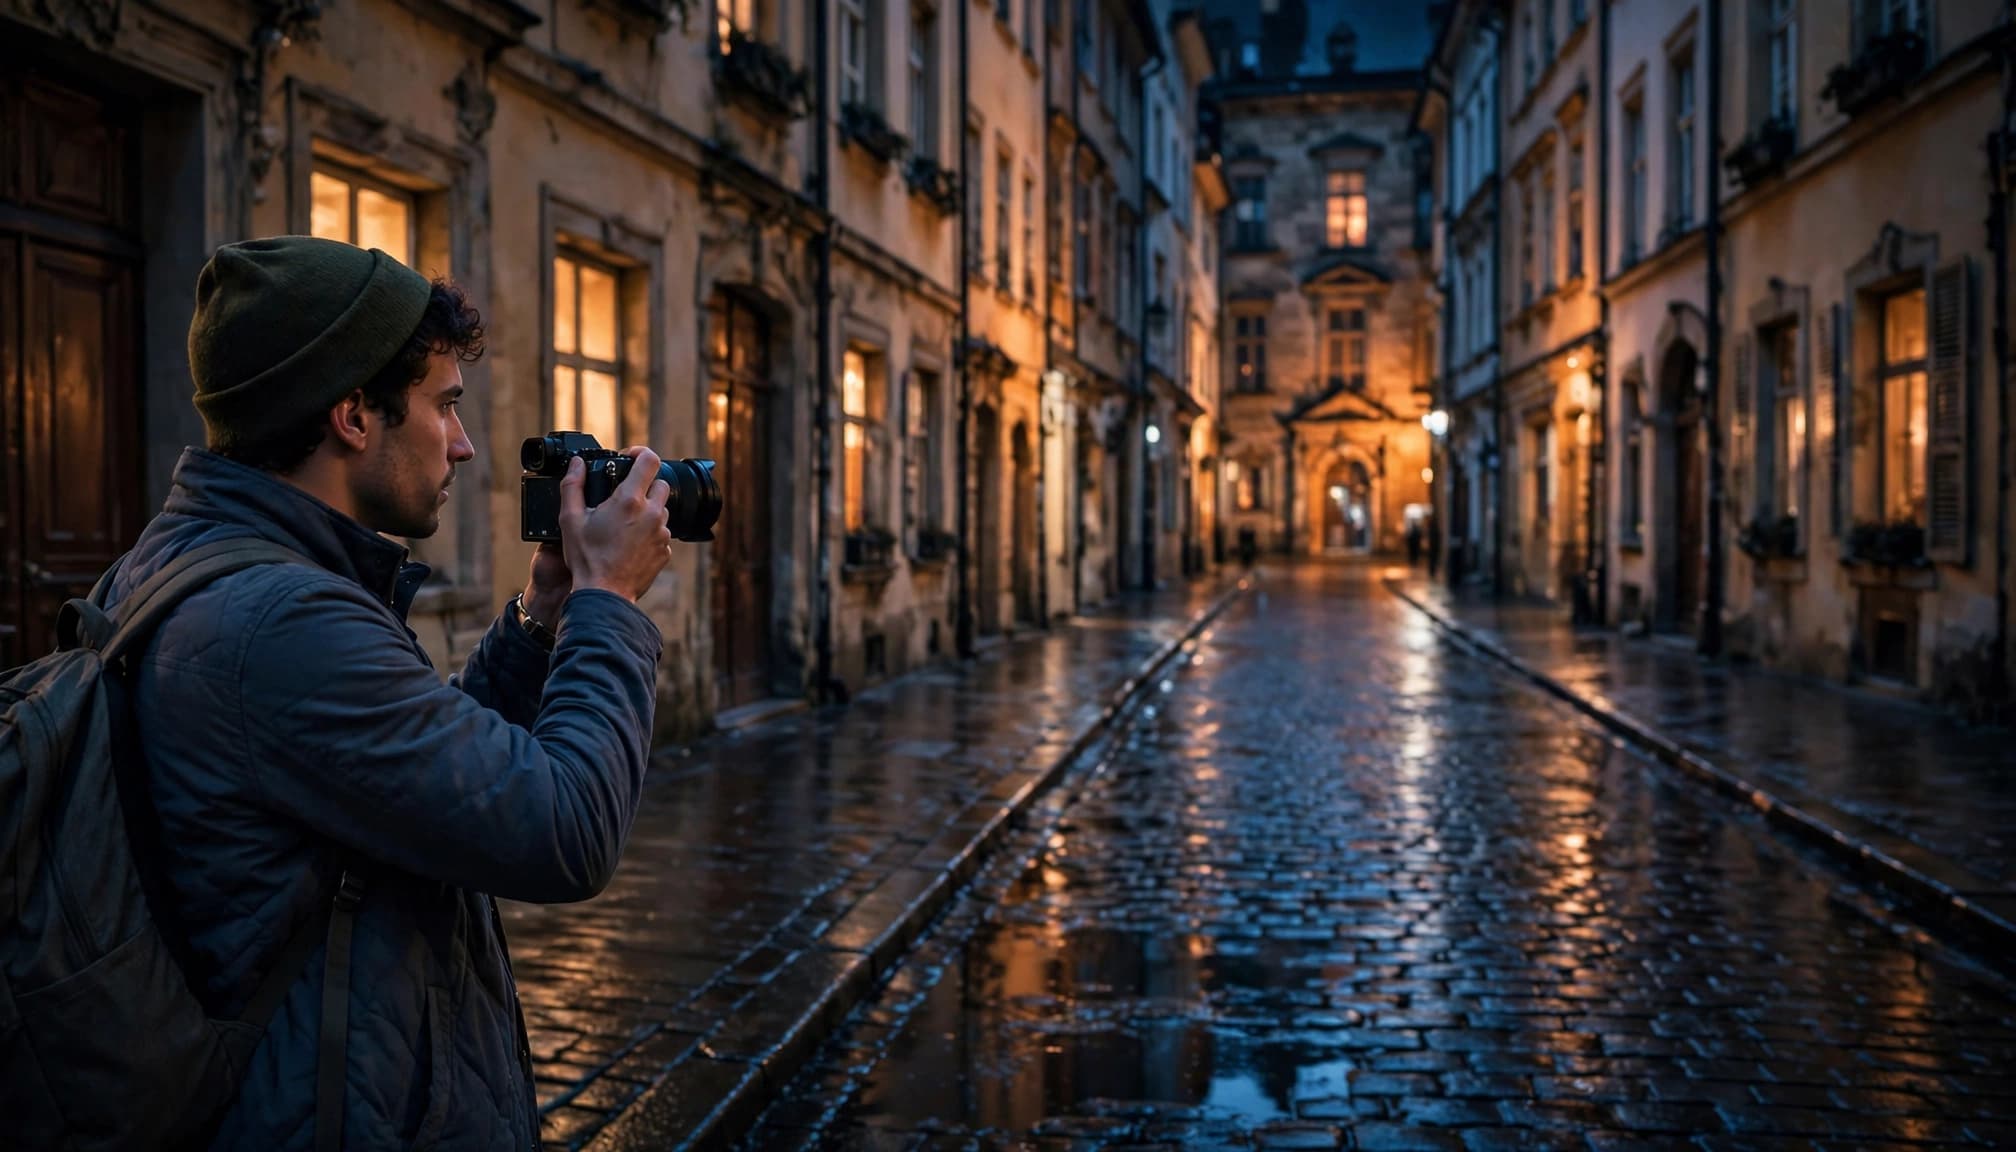
Your posture matters more than people expect. Place your feet apart, tuck your elbows into your ribs, and press the viewfinder gently to your face. If you use the rear screen, pull the neck strap tight against the back of your neck to create tension.
Use controlled bursts
Take three or four frames without changing your stance. One may be sharper because you pressed the shutter between breaths rather than during a small body movement.
This habit also catches better gestures. A passerby may step into the brightest patch of light only briefly, while a tram can block an arcade at the wrong moment.
Check sharpness at full magnification
The rear screen can make a blurred image look fine. Zoom into a lit sign edge, a window frame, or a person’s eye before leaving a rare scene.
Focus on contrast. Dark stone walls often confuse autofocus, but the edge of a lamp, bright doorway, or backlit profile gives the camera something clear to lock onto.
Compose for the Light European Cities Already Offer
At night, wide views can become cluttered. Street furniture, headlights, bright menus, and empty black sky compete for attention. Move closer and give the frame one clear subject.
Arcades in Turin and Bologna are particularly forgiving. Their columns provide repetition, overhead cover, and a natural line toward brighter intersections. Keep the sensor parallel to the facade where possible, then leave extra space around the edges for mild perspective correction later.
Work an angle, not perfect symmetry
A centered portico can look formal, but it can also feel flat. Take a few steps sideways so the nearest arch becomes a foreground frame and the rest recedes into darkness.
On a wet evening on Turin’s Via Po, the rhythm changes after rain: the lamps repeat in the pavement, while the arcade ceiling stays almost black. A person holding an umbrella near the far end gives the image scale without crowding it.
Choose focal lengths with purpose
A 24mm to 35mm equivalent works for streets, interiors, and close architecture. However, a 50mm or short telephoto often makes a more convincing night image because it removes visual clutter.
In Turin, a 70mm to 100mm view from Monte dei Cappuccini can compress rooftops around the Mole Antonelliana’s spire. At Piazza Vittorio Veneto, use the arcades or a passing tram as foreground, otherwise the open square can swallow the building.
Let Motion Become Part of the Frame
People create life, but they are the main reason handheld night images fail. Decide whether you want them sharp or blurred before you set exposure.
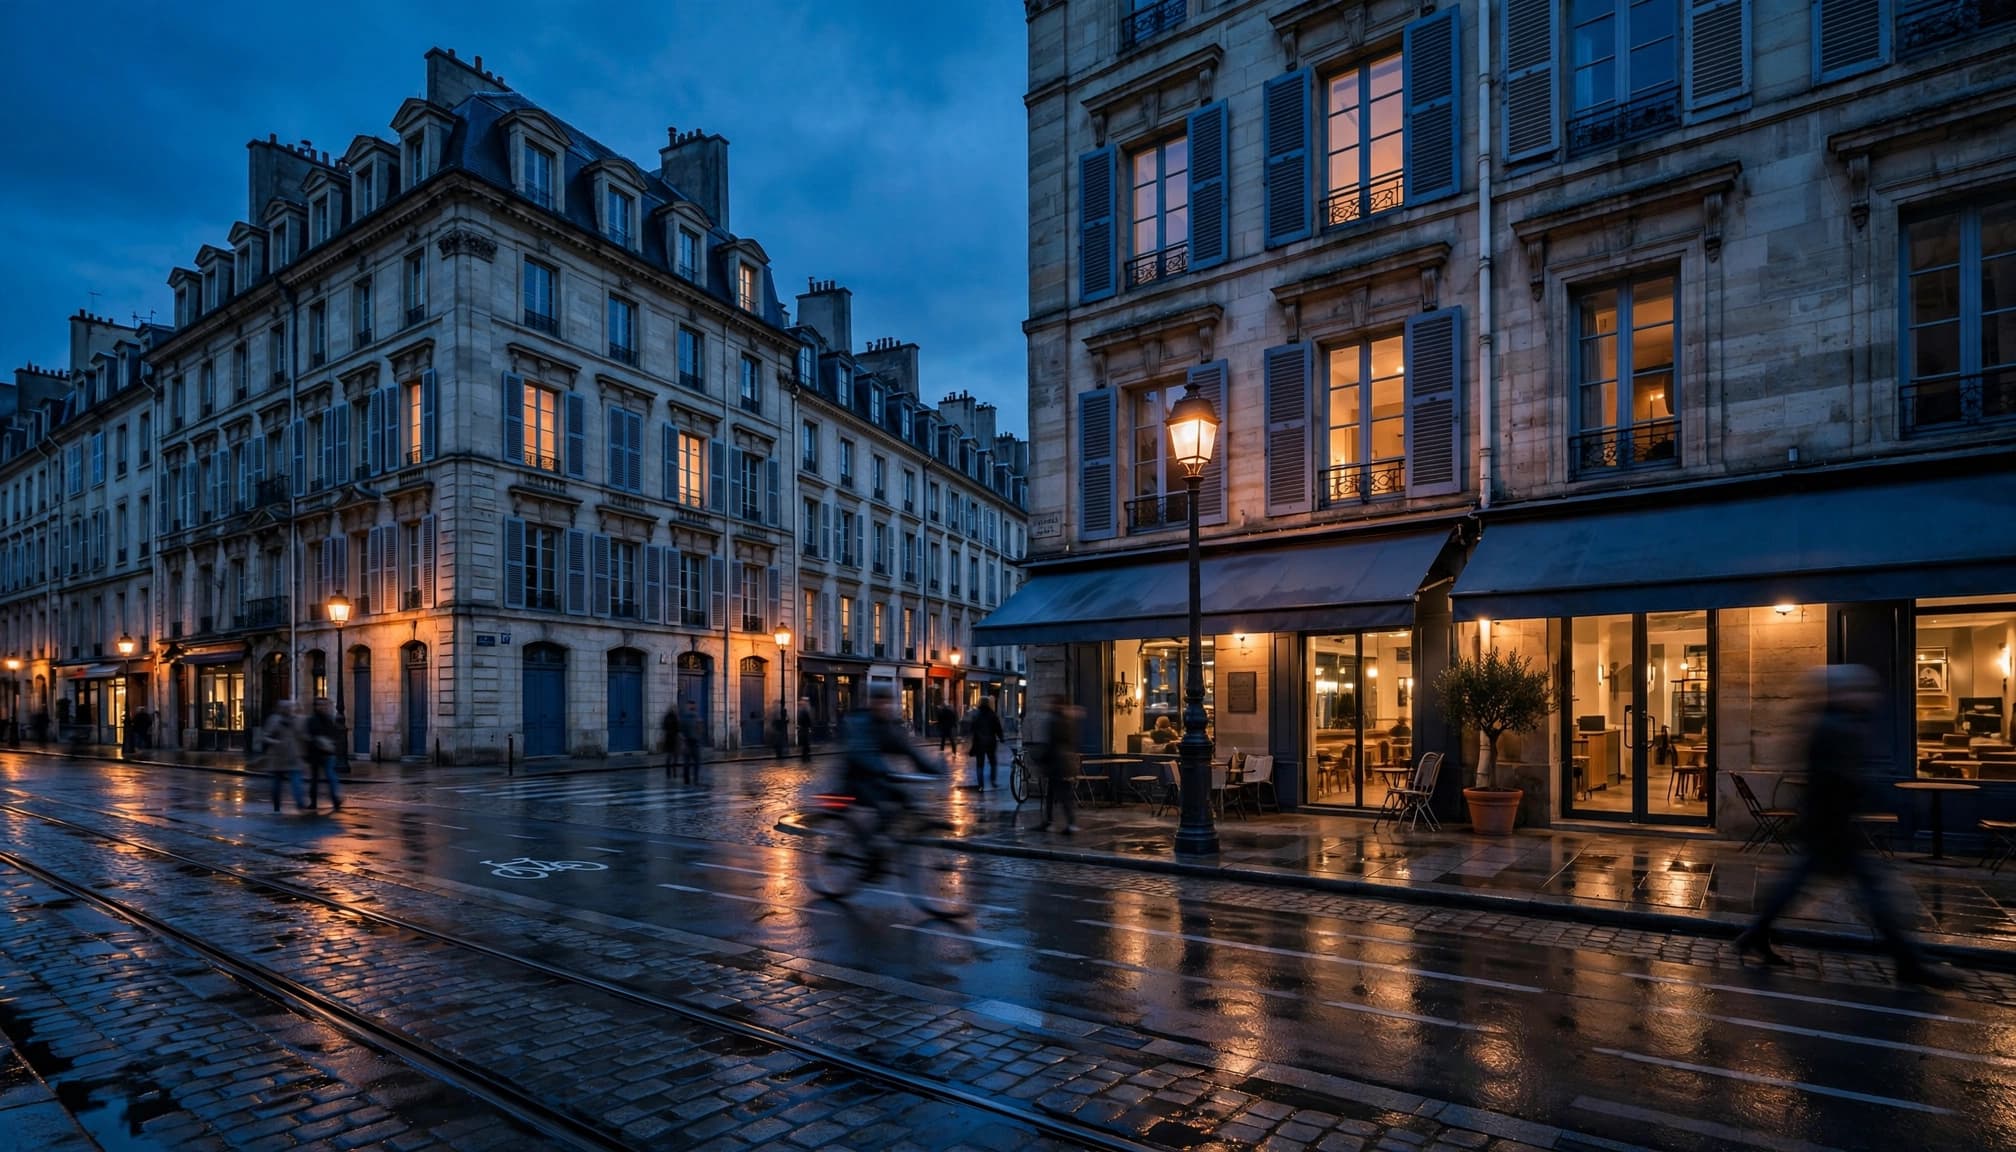
For a readable walking figure, start around 1/125 second. Use 1/250 second for a cyclist, tram, or fast street crossing. Raise ISO rather than letting speed drift lower.
Make intentional motion blur
Slow the shutter to 1/15 or 1/30 second when you can brace the camera. Keep the architecture steady and let pedestrians blur through the scene. The useful target: a crisp sign edge, column, or doorway beside moving shapes.
This works well near Paris’s Bir-Hakeim Bridge. The repeating iron columns point toward the Eiffel Tower, while Metro Line 6 adds vibration and motion overhead. Wait for the train to pass if you need a sharp architectural frame.
Wait for one person, not a crowd
A single figure can anchor a large scene. Several people crossing in different directions often turn into visual static.
Choose a background first. Then wait near the edge of the pavement, camera ready, until someone enters a pool of light. Patience usually beats chasing strangers through a square.
Respect Rules, Crowds, and City Space
Tripods are often restricted for a reason. They take floor space, slow foot traffic, and raise safety concerns in packed landmarks. Rome’s Colosseum generally prohibits tripods, monopods, and selfie sticks inside, so a compact handheld setup is the sensible plan.
Bring a wide lens for interior curves and a short telephoto for distant arches. Stabilization helps with static details, but use a shutter speed that suits people moving through the frame.
Keep your kit small at busy landmarks
A camera body, one lens, spare battery, cloth, and power bank are enough for most night walks. Large bags slow you down in queues and make you less flexible in narrow streets.
In Bologna, work several blocks away from the Asinelli and Garisenda towers instead of forcing the crowded Piazza di Porta Ravegnana viewpoint. Narrow lanes can turn the towers into distant punctuation, while an open piazza gives them room.
For sharp handheld technique beyond basic settings, this practical low-light guide from Fstoppers offers useful advice on stability and shutter control.
Smartphone Night Photography That Looks Natural
Modern phone night modes can make impressive files, although they work best when you hold still. Brace the phone against a railing, wall, or your own body. Tap the brightest important area, then lower exposure slightly if lamps turn into white blobs.
Avoid the ultra-wide camera after dark unless the scene is well lit. Its smaller sensor often adds more noise, softer corners, and smeared details. The main camera or 2x lens usually produces a cleaner image.
Skip digital zoom
Move closer when you can. If you cannot, take the main-camera frame and crop later rather than pinching to 6x or 10x.
Use the phone’s burst mode for moving scenes when available. For a static scene, take several frames and compare them at home. Noise is usually acceptable. Double-exposure ghosting and accidental blur are harder to rescue.
Edit for Night, Not Neon
Night files often need less editing than you think. Correct lens distortion first, then adjust exposure and highlights before adding contrast. Keep some shadow detail, but let parts of the frame remain dark.
Mixed lighting is normal in European cities. A warm cafe window beside a cool LED street lamp can look more believable than a perfectly neutral image. Reduce extreme orange or green casts without stripping the scene of its atmosphere.
Cull with a strict eye
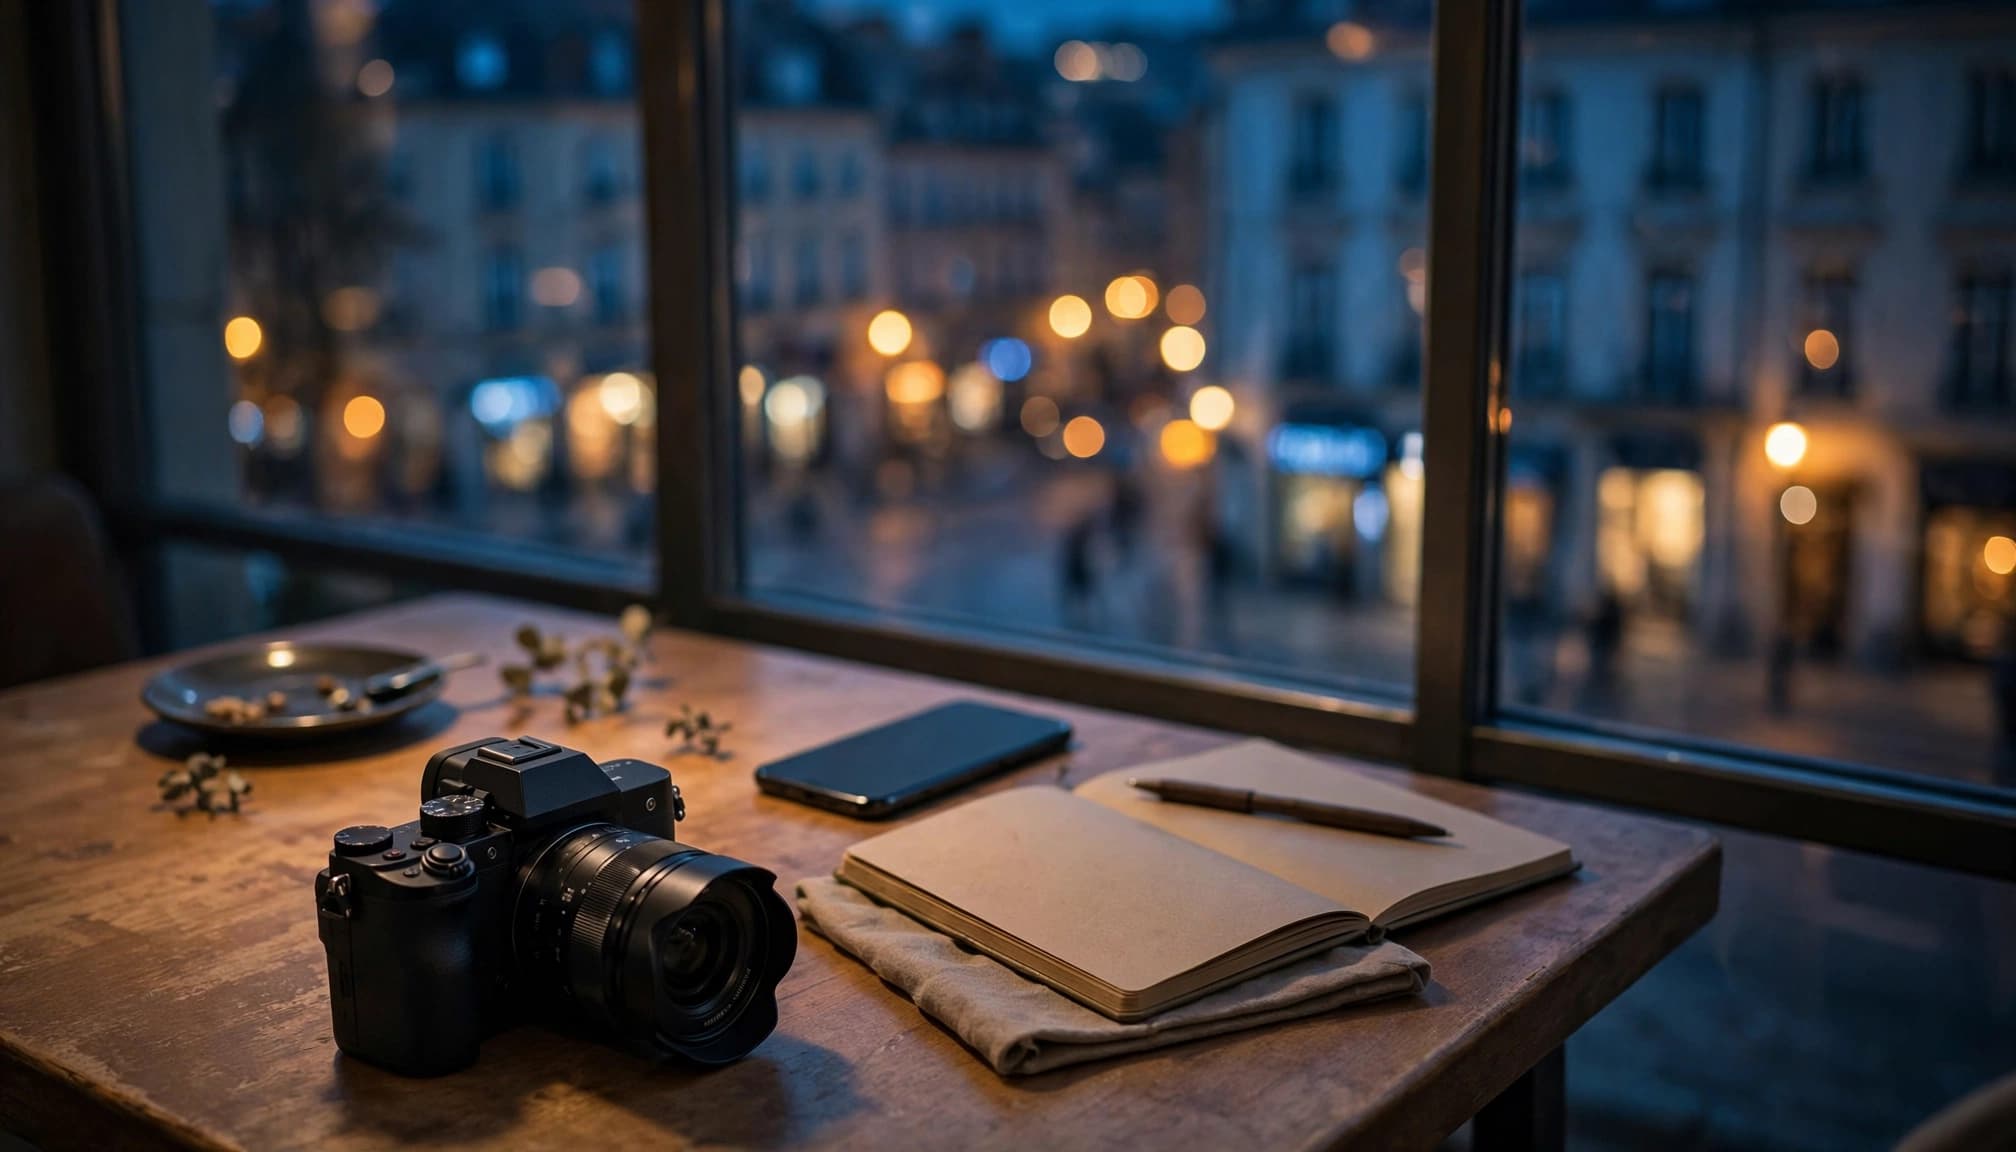
At 100 percent magnification, look at the detail that matters most. Check a face, the nearest arch, or the lettering-free edge of a building. Delete frames with obvious blur, then choose the image with the best light and gesture.
Don’t over-sharpen noise. Modest noise reduction and restrained sharpening preserve stone, rain, and old plaster better than waxy smoothing.
Conclusion
Good handheld night photography depends on preparation, posture, and a willingness to let ISO rise. Blue hour, a fast lens, and a stable surface turn many supposedly tripod-only scenes into practical travel photographs.
Keep the camera ready as you walk, because city light changes fast. The frame you remember may be a tram passing beneath Turin’s Via Po arcades at 1/125 second.
