
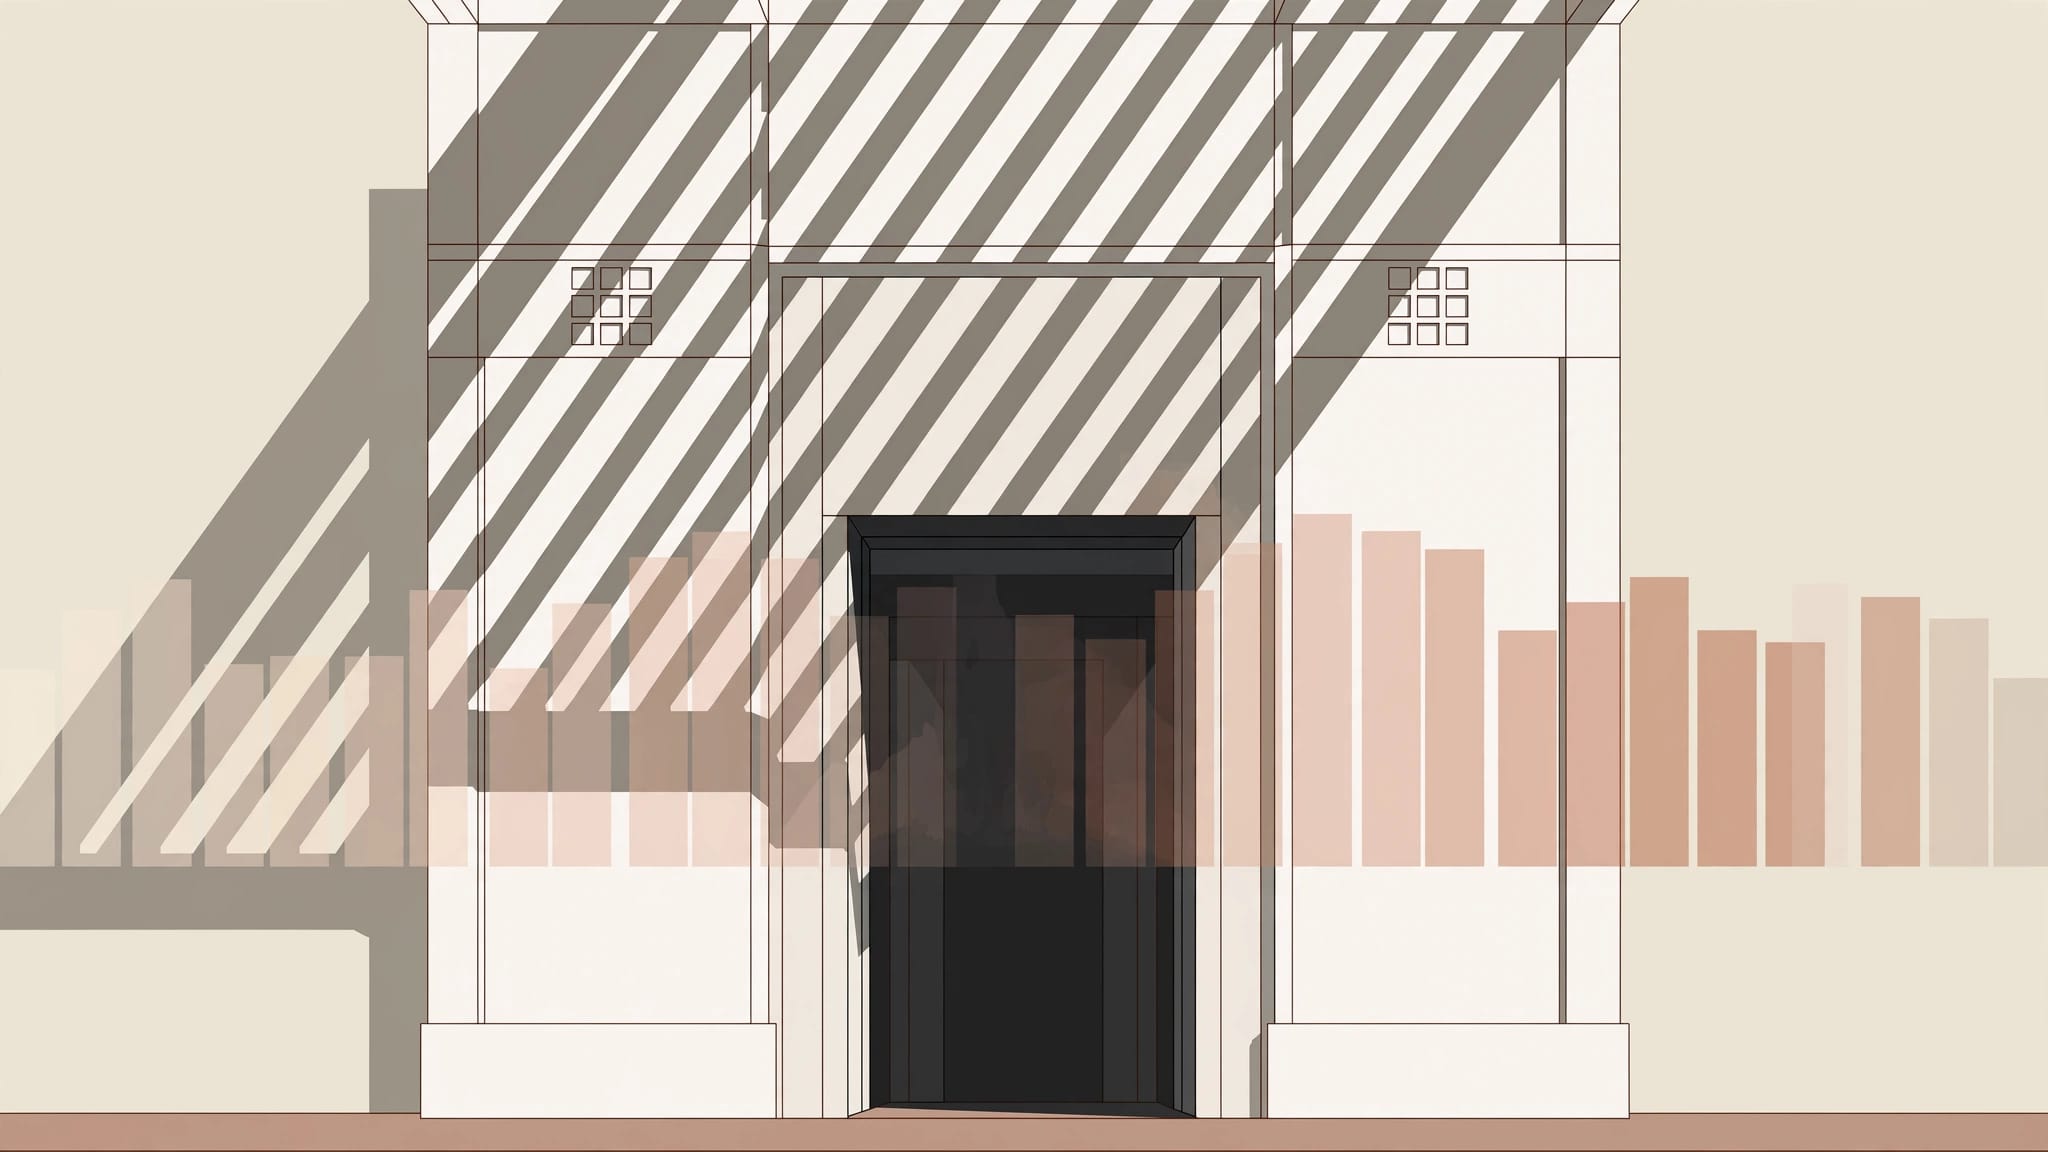
A white facade can lose its texture while the doorway beneath it looks nearly black. On your camera screen, both areas may seem fine until you get home. A photography histogram helps you spot that exposure problem while you can still change the shot.
You don’t need a perfect-looking graph. You need to know which bright and dark areas matter, and whether your file can hold them. Start by reading what the histogram measures.
What a photography histogram actually shows
A histogram maps the tones in an image. The left edge represents black, the right edge represents white, and the space between holds the darker and lighter grays. Its height shows how many pixels fall at each tonal value.

Read the ends before the middle
For architecture, look first at the edges. A peak near the right may come from sunlit limestone or a window. A peak near the left may come from an arcade ceiling. Neither is automatically a problem.
Clipping is the concern. When tones pile up against an edge, some parts of the image may have reached pure white or black. Check the photograph or a clipping warning to find out where. Canon’s guide to camera histograms also explains the difference between brightness and color-channel displays.
Treat the shape as a description
A building with bright walls and deep recesses may produce two separated peaks. That’s a reasonable description of the scene, not a failed exposure. A low valley between them simply means fewer pixels have middle tones.
A narrow spike. It might be one bright window, a strip of sky, or a large pale wall. The graph won’t tell you which one. You still need to look at the frame.
Why buildings push tones toward both edges
Architecture often puts unlike surfaces side by side: a sunlit wall above a shaded portico, or a bright skylight above dark stairs. Your eyes adjust as they move between those areas. The camera records them in one exposure.
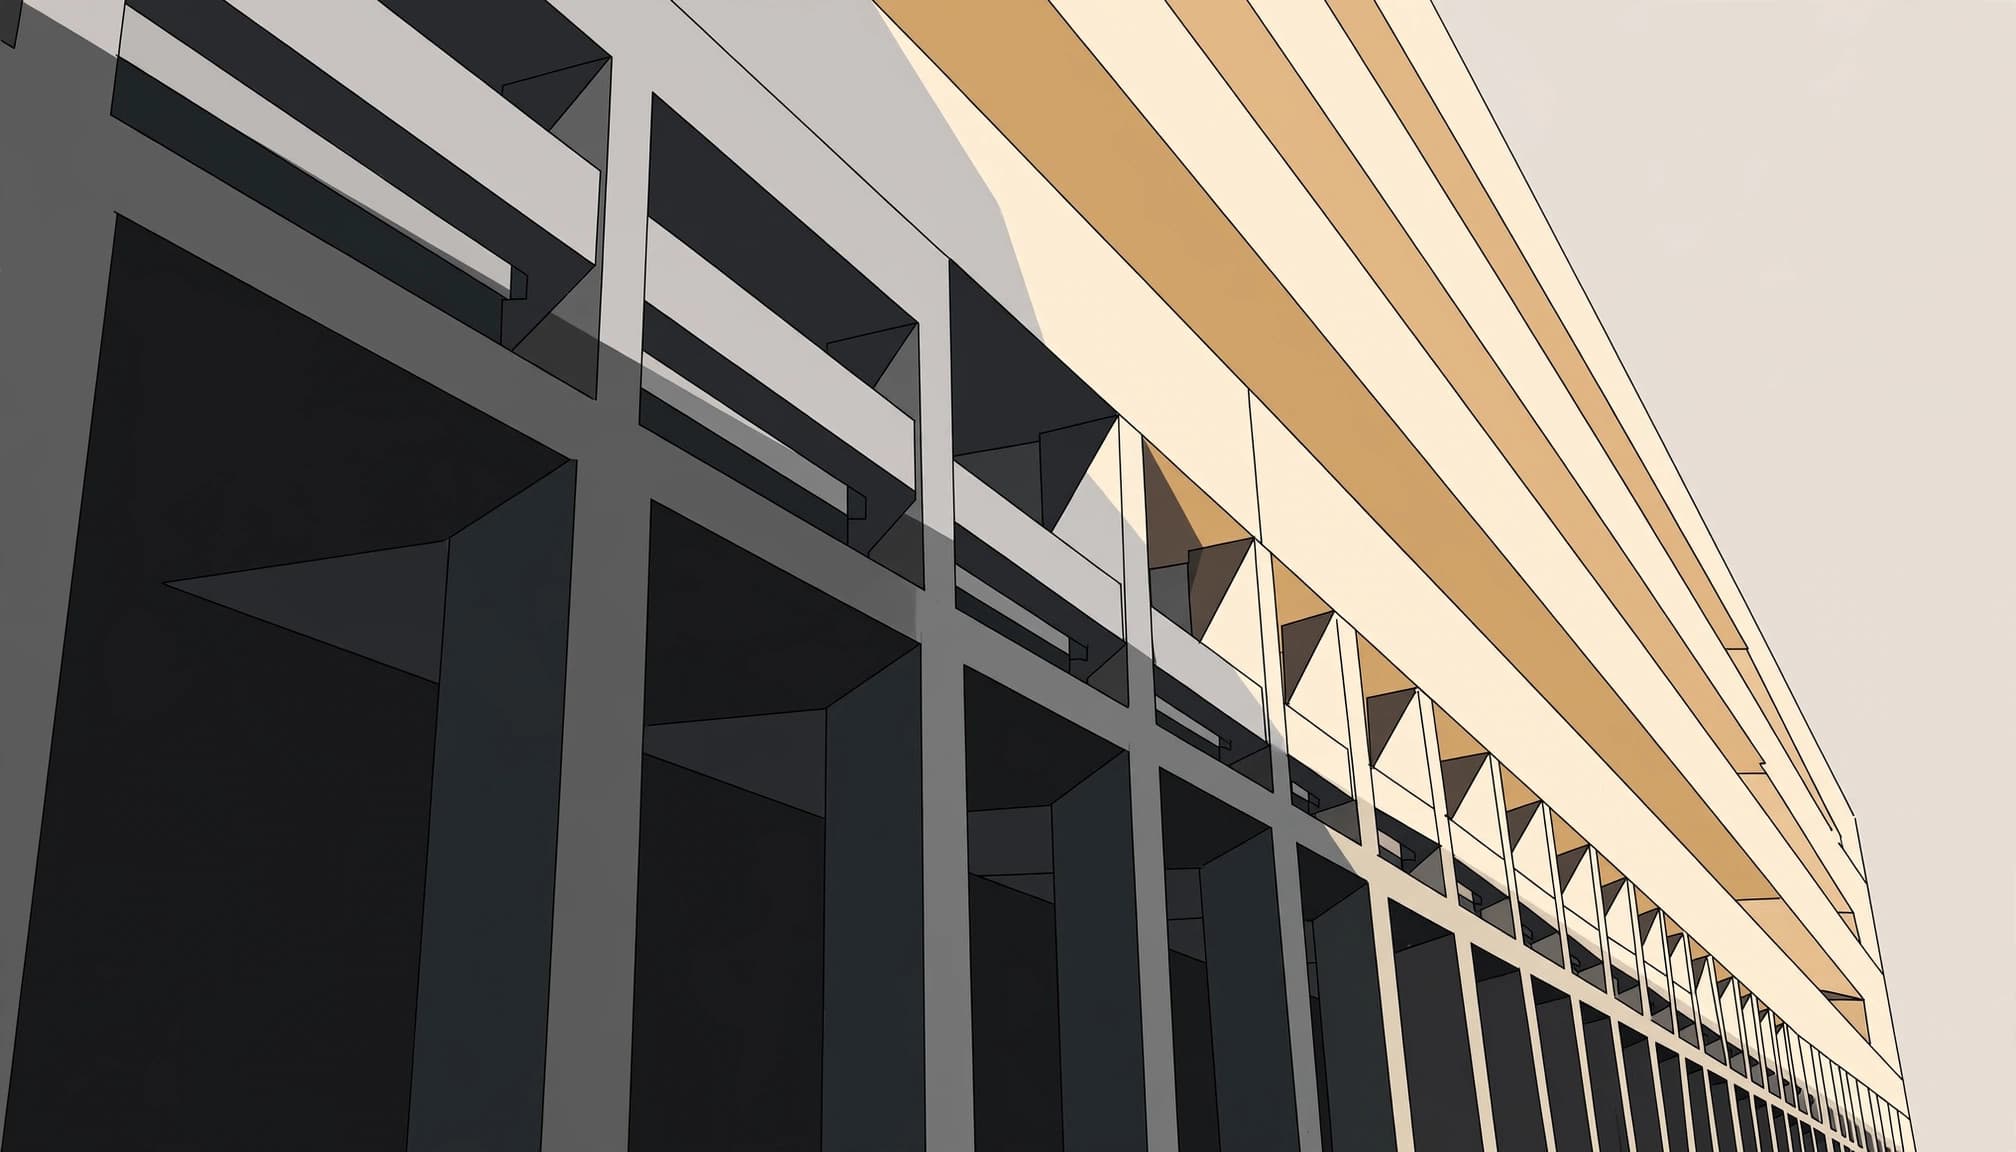
The important question is where you need detail. If carved plaster is the subject, a blank white patch across it is costly. If the shadow beneath an arch gives the composition its shape, opening every dark area may weaken it.
Ansel Adams faced a quicker version of that choice in 1941 while making Moonrise, Hernandez, New Mexico. Unable to find his meter before the light changed, he used his memorized value for the bright moon to set an exposure over the dark settlement. Your camera gives you a histogram instead, but it can’t choose the important tones for you.
Recognize clipping without fearing every bright pixel
The edge of a histogram deserves attention, but it isn’t a verdict. Location and subject matter decide whether lost detail matters.
Check highlight warnings against the building
Many cameras can flash a warning over very bright areas during playback. If the warning covers a pale cornice or the carved edge of a column, shorten the exposure and shoot again. If it appears only in a tiny specular reflection on glass, you may prefer to leave it.
Don’t assume a histogram touching the right edge means the whole wall has blown out. The brightest pixels could occupy a small, unimportant corner. Zoom in and inspect the surface you meant to photograph.
Check shadows and individual colors
Deep black under a stair can be useful. Still, if an entrance needs visible stonework, inspect the left edge and the doorway itself. A file can have black pixels without losing the details that matter.
When your camera offers separate red, green, and blue histograms, check them around saturated materials. A bright red sign or colored glass can lose color detail even when the overall brightness graph looks comfortable. Protect the color if it’s central to the frame.
Make an exposure decision on location
You can use the histogram in a short, repeatable sequence. Buildings usually stay still, so take the time to inspect the first frame.
Set a stable starting point
For a static exterior in good light, ISO 100 and f/8 are sensible starting settings. Adjust shutter speed to suit the light, and use a tripod if the exposure becomes too slow to handhold. If a person is crossing the frame, prioritize a shutter speed that keeps them as sharp as you want.
Take one photograph, then review the histogram and the brightest important surface. If the pale facade has lost texture, reduce exposure a little. In aperture priority, negative exposure compensation is a convenient way to do that.
Verify the change in the image
A photography histogram can’t identify the wall it describes. After adjusting exposure, compare the warning overlay with the actual stone, glass, or sky. Check one shadow area too, so you know what the darker exposure costs.
Protecting a bright wall is useful only if the resulting shadows still contain the detail your photograph needs.
Shoot RAW when your camera allows it. RAW offers more room for later adjustments, but it won’t restore a broad area recorded without usable detail. Also, don’t chase the brighter exposure associated with exposing to the right if it puts a white facade at risk. This explanation of exposure and clipping provides more background on that technique.
Handle bright windows in dark interiors
A window inside a church or atrium can dominate the right side of the graph while most interior surfaces gather on the left. That’s expected. The hard decision is whether you want detail outside the window, inside the room, or both.
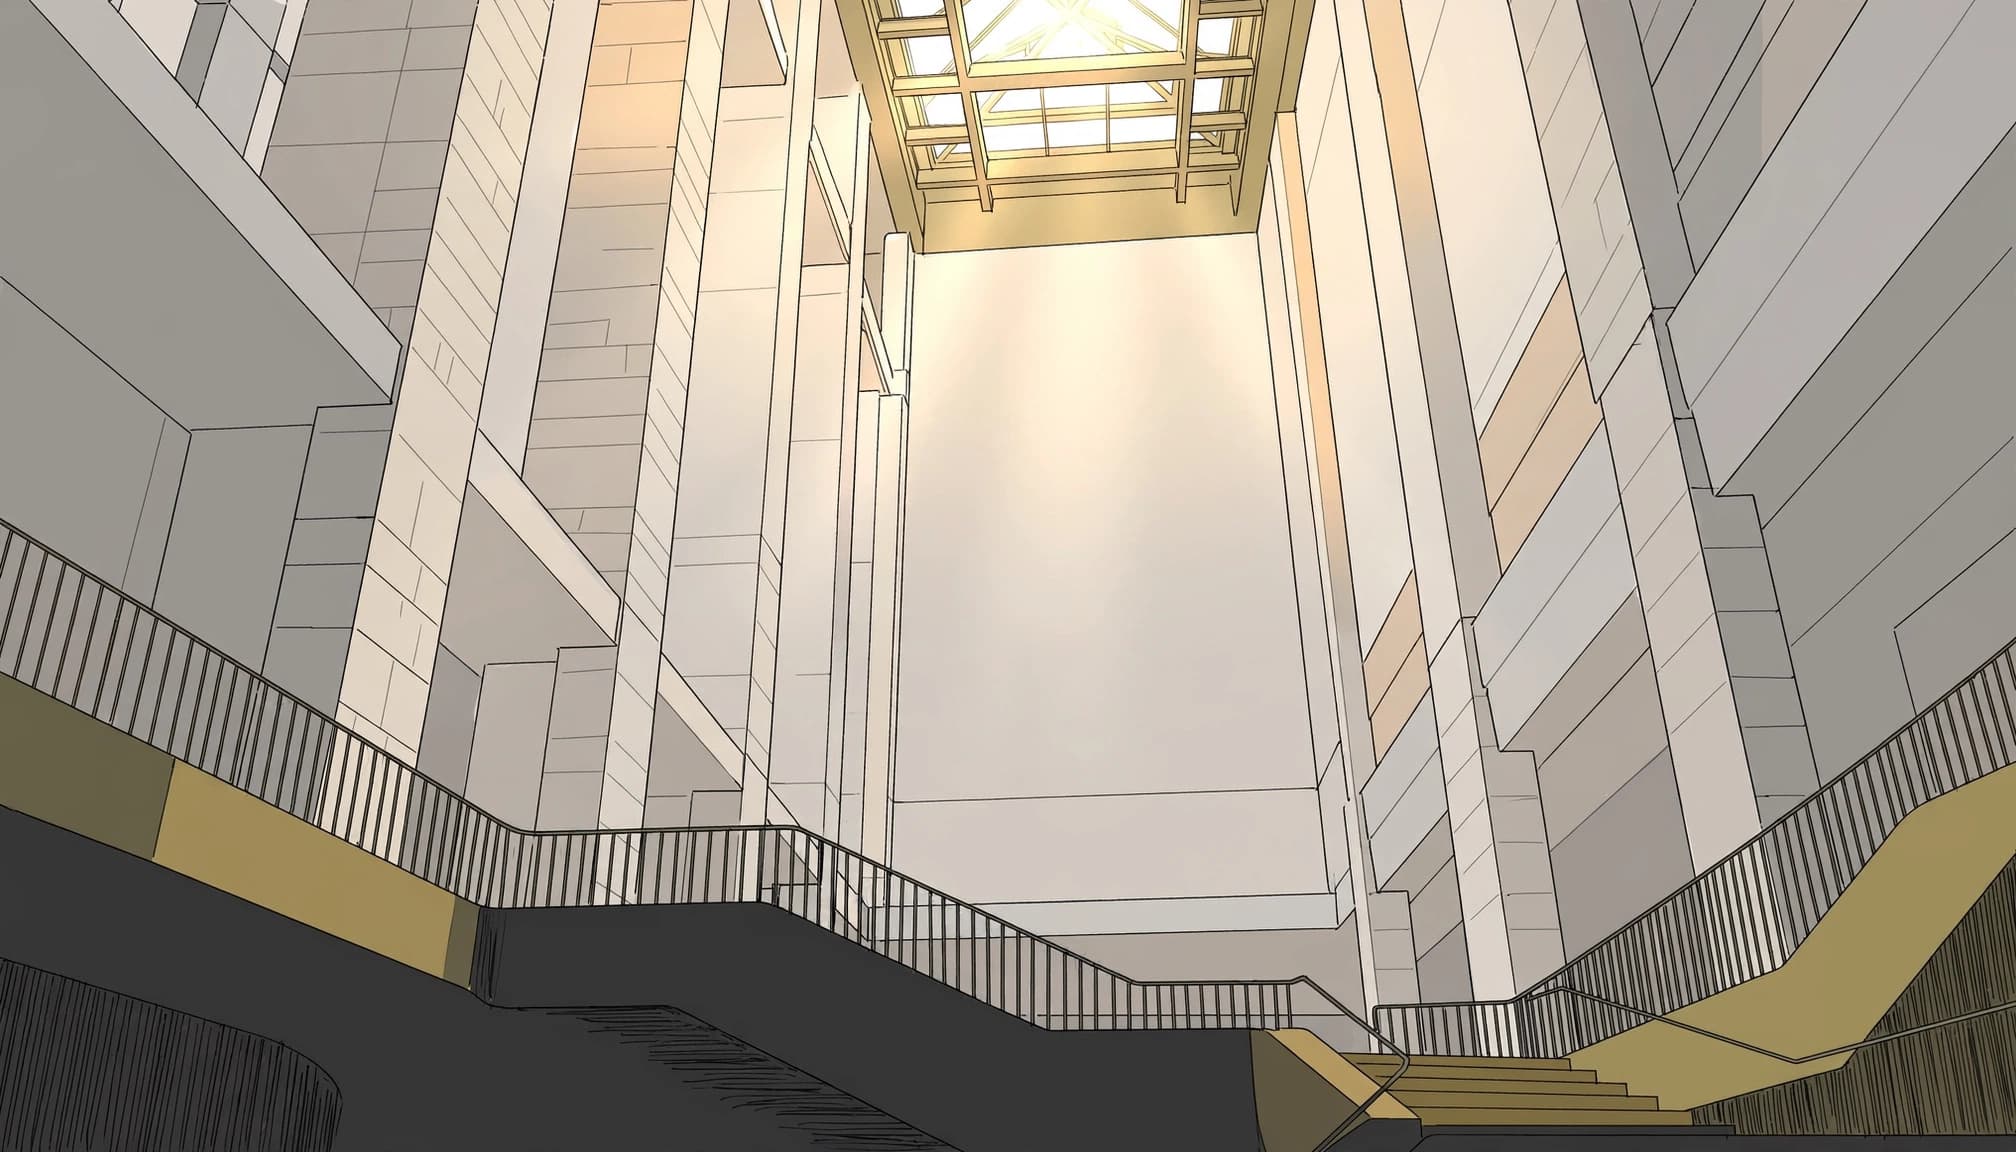
If the window’s shape or stained glass matters, expose until its important colors remain visible. The room may look dark on the camera display. Inspect a pillar or stair edge before deciding to brighten it; displays can make shadows look harsher than they will in an edited RAW file.
An ordinary window that isn’t part of the subject can go white. Conversely, if the room’s masonry matters more, a little lost detail outdoors may be the better trade. Keep the camera level and leave room around the frame if you’ll straighten converging verticals later. That correction will crop the edges.
Bracket when one exposure can’t hold both sides
Sometimes every single exposure sacrifices something important. The histogram can help you recognize that limit before you leave.
Decide whether the scene needs a bracket
Try an exposure that preserves the window or pale wall. Then check whether the doorway or interior stone can be brightened without objectionable noise. If it can’t, a bracket gives you separate files for the bright and dark areas.
Bracketing is most useful when the building is static and both extremes carry information. It won’t help much if moving people occupy the areas you plan to blend, unless you’re prepared to deal with their changing positions.
Keep the frames easy to combine
A three-frame bracket is a practical starting point: one exposure near your chosen setting, one darker, and one brighter. Keep aperture and ISO fixed so depth of field and noise stay consistent. Change shutter speed between frames, or use your camera’s auto-bracketing feature.
A tripod helps align window frames and fine masonry. If you shoot handheld, hold your position and work quickly. Later, blend only what the scene needs. Shadows can stay dark; a bright courtyard doesn’t require every recess to look sunlit.
Use the histogram again while editing
The camera histogram helps you capture the file. Your editor’s histogram helps you judge what your adjustments do to it. After straightening verticals and cropping, recheck the tones because the amount of bright sky or dark pavement in the image may have changed.
In Lightroom, clipping indicators show affected areas rather than leaving you to infer everything from the graph. Adobe’s histogram guidance describes the shadow warning and how to display it.
Start with the surfaces you care about. Reduce highlights enough to recover shape in stone or glass, then lift shadows only where structural detail helps. Inspect the result at high magnification. Strong shadow lifting can reveal noise, while heavy noise reduction can smooth away carved edges and brick texture.
A balanced edit doesn’t require a centered histogram. A shaded arcade should still read as shade. If all its tones move toward the middle, compare the edit with the original scene rather than the graph alone.
Avoid common histogram misreads
The tallest peak isn’t necessarily your subject. A wide strip of sky can create a large bright peak even when a small doorway is the reason you made the photograph. Likewise, a dark foreground can dominate the left side without being underexposed.
Don’t use screen brightness as your only check. Strong sunlight makes a camera display difficult to judge, and a bright display can disguise weak shadow detail. The histogram and clipping overlay give you another view, but neither replaces looking closely at the image.
Finally, remember that a histogram doesn’t show where a tone sits. Two frames of the same building can have similar graphs while one loses detail in a cornice and the other loses it in an empty patch of sky.
Key Takeaways
- Read the histogram’s edges first, then find those tones in the photograph.
- Protect important pale surfaces without insisting that every reflection retain detail.
- Let purposeful shadows remain dark, especially beneath arches and stairs.
- Bracket a static scene when both the bright and dark areas need detail and one RAW file can’t hold them.
FAQ
Should an architectural histogram be centered?
No. A high-contrast facade can naturally produce peaks near both ends with fewer middle tones. Judge the result by checking whether the building’s important surfaces retain the detail you want.
Does touching the right edge always mean overexposure?
No. A small reflection or a bright sky patch may reach white without harming the photograph. If a large section of textured plaster reaches white, reduce exposure and check it again.
Can RAW recover a blown-out white wall?
RAW gives you more adjustment room than JPEG, but it can’t reliably recreate texture that wasn’t recorded. Check the wall on location and take a darker frame when its detail matters.
When should I use separate RGB histograms?
Use them when strong color is important, such as stained glass, painted panels, or colored exterior lighting. A color channel can clip before the brightness histogram makes the problem obvious.
Conclusion
The next time a white facade rises above a dark doorway, check the graph, then look back at the building. Keep the detail where it counts. Before you leave, zoom in on the bright edge of the stone directly above the doorway.
