
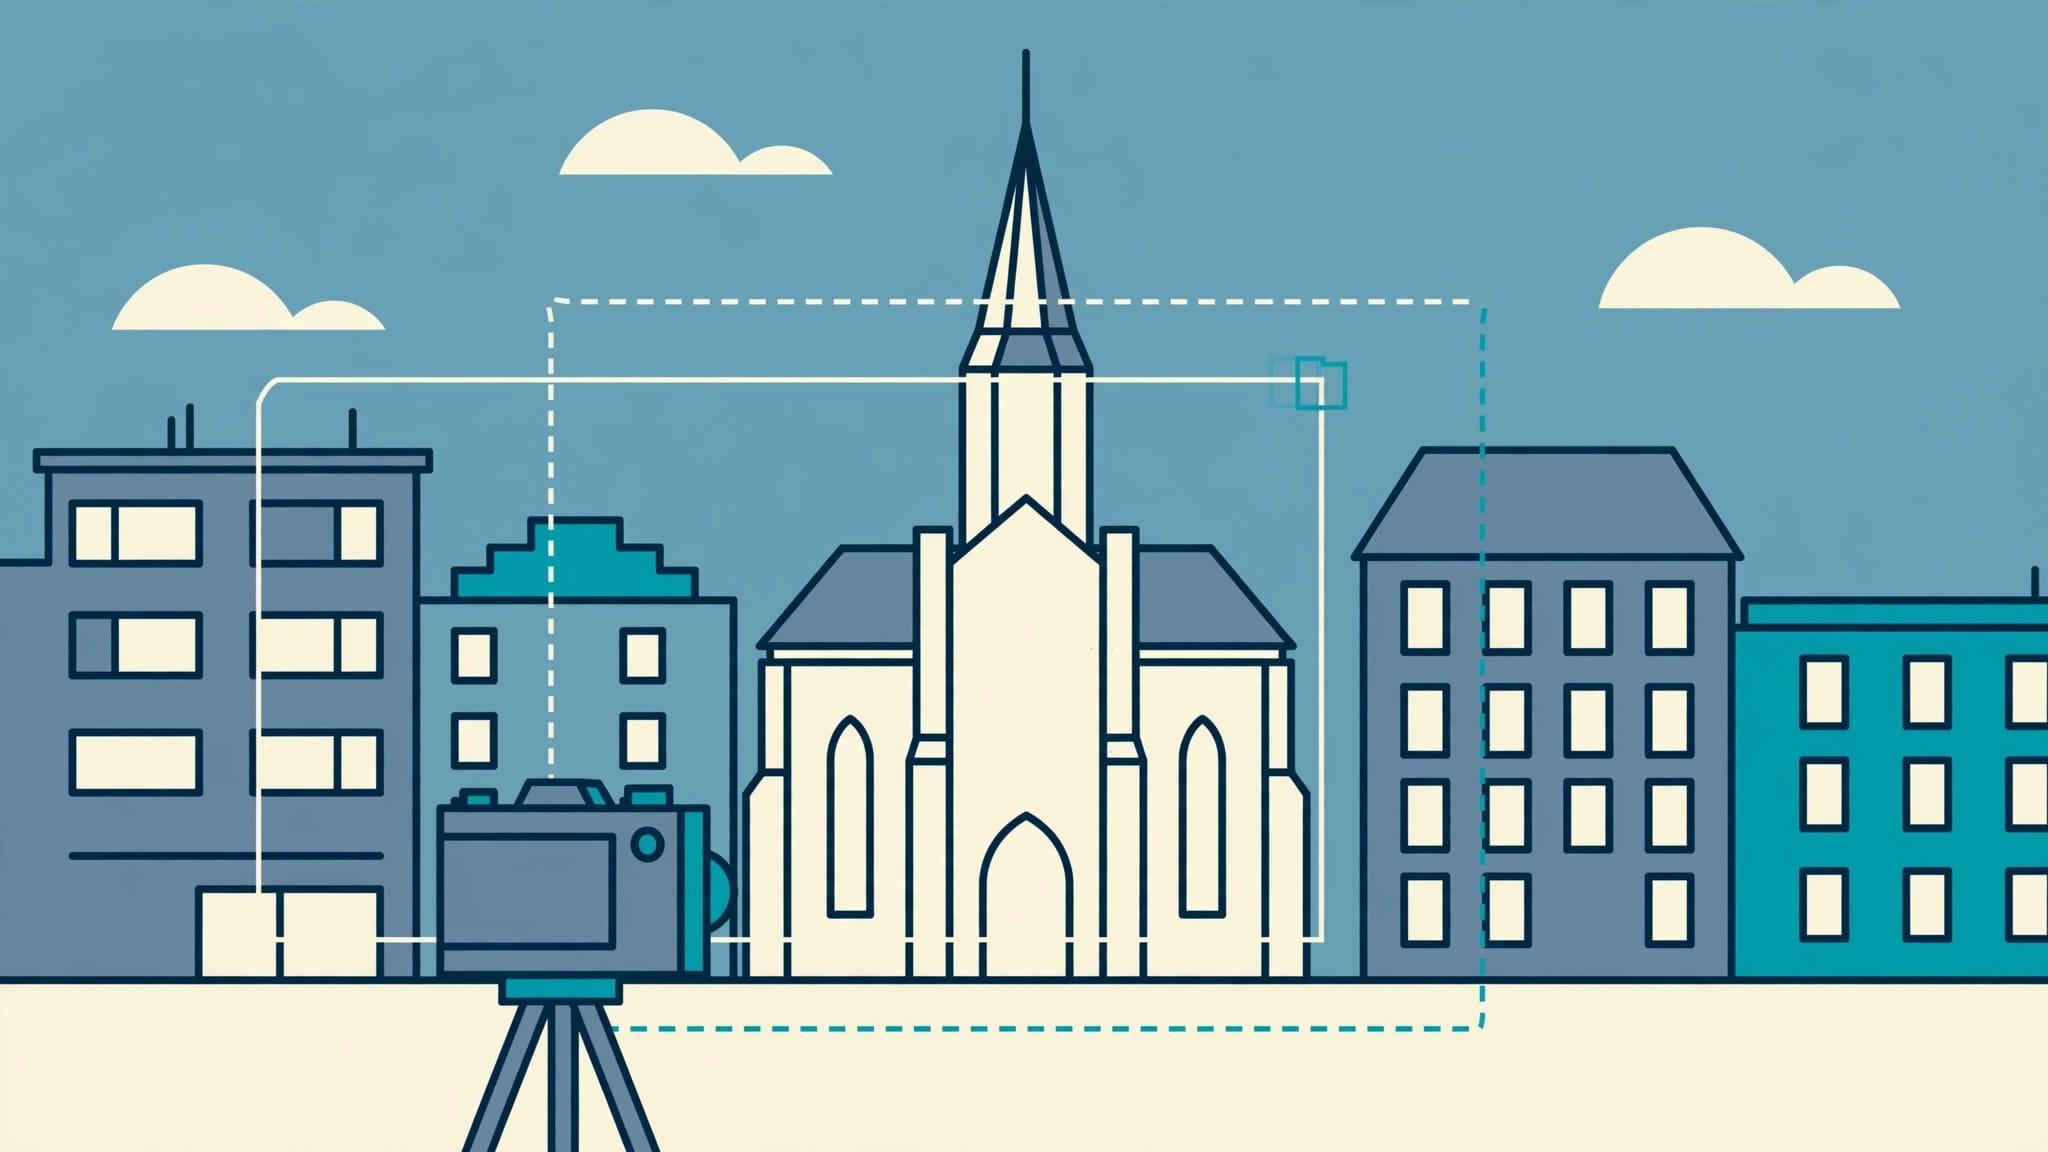
Your panorama can have a flawless sky and a cathedral that looks ready to topple. Good panoramic photo stitching starts with camera position, because software can’t fully repair a sequence shot while you wandered sideways.
Keep the camera level. Then choose a projection that suits the scene rather than accepting whichever preview fills the widest rectangle.
Before shooting your next square or waterfront, learn to separate capture errors from the compromises of fitting a wide view onto a flat image.
Identify Why Your Buildings Look Wrong
Separate lens distortion from perspective
Lens distortion can bow a straight wall even in an individual photograph. Barrel distortion pushes lines outward, while pincushion distortion pulls them inward. A suitable lens profile can correct these optical errors.
Converging verticals have another cause: camera tilt. When you point upward, the tops of buildings appear narrower than their bases. That’s perspective, and a lens profile won’t remove it.
Check the original frames first. If every tower already leans inward, the stitcher inherited that geometry rather than creating it.
Recognize parallax and projection errors
Parallax appears when nearby and distant objects shift relative to each other between frames. A railing may align perfectly while the building behind it splits into two incompatible positions.
If a nearby lamp post moves across a distant window as you rotate the camera, the stitching software cannot align both objects perfectly without moving a seam or distorting part of the image.
Projection errors look different. Windows near the edges may stretch, or a long cornice may curve smoothly. These changes can appear even when every source frame is sharp and properly aligned.
Capture Frames That Give Buildings Room
Choose your viewpoint before your focal length
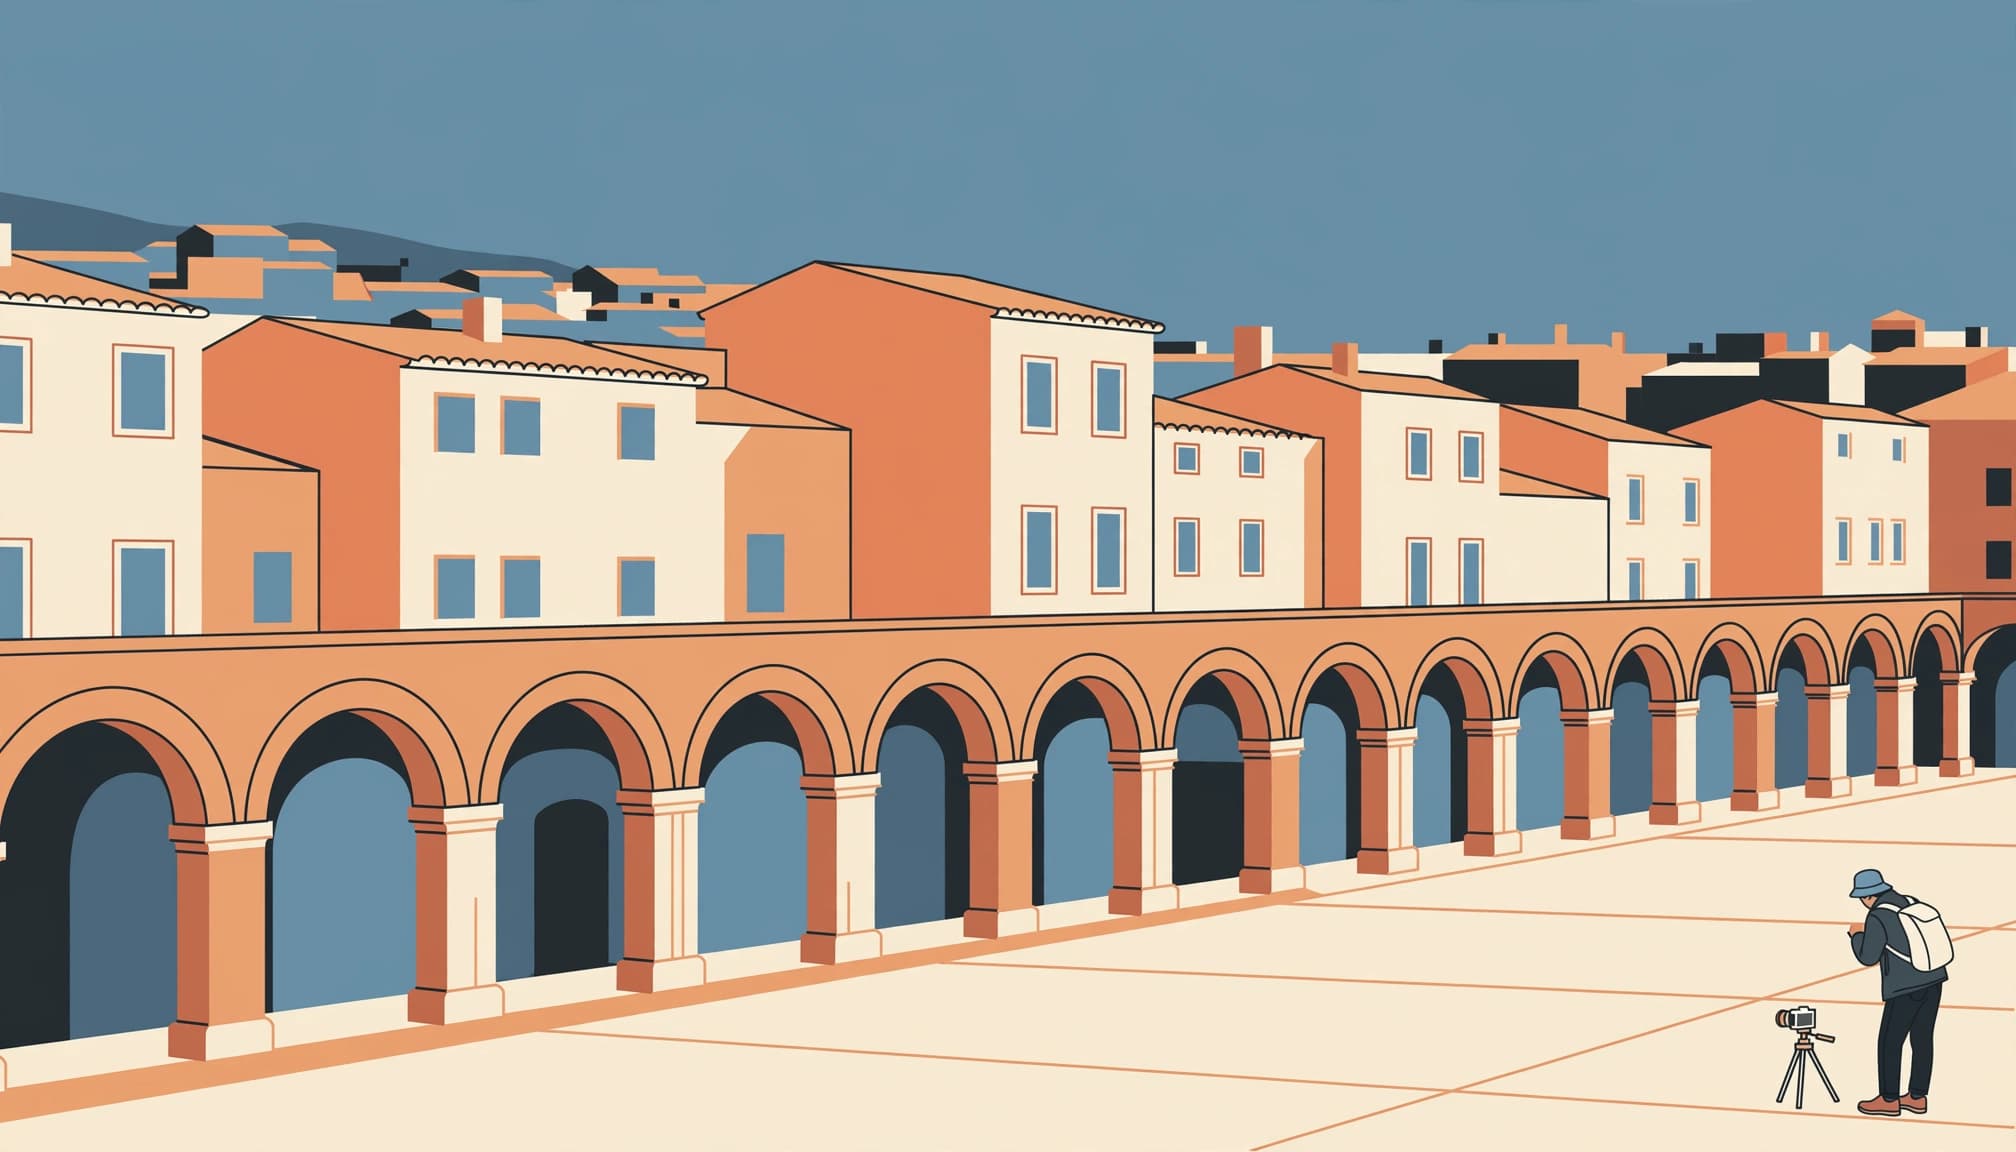
Step back where access allows. More distance reduces the difference between nearby foreground objects and the facade, making alignment easier.
A standard zoom often works better than an ultra-wide lens for architectural panoramas. Try a 35mm or 50mm full-frame-equivalent view, then stitch several frames to recover the breadth. This won’t remove perspective, but it gives you useful detail without making distant architecture tiny.
Leave room above the roofline. A little breathing room. That spare space protects balconies and cornices when you straighten and crop later.
Portrait-oriented frames can provide useful vertical coverage while you sweep horizontally across a square.
Rotate around a fixed position
Turn the camera without walking sideways. For distant skylines, careful handheld rotation often works. For close railings or narrow streets, a panoramic head with an adjustable rail gives you better control.
Its purpose is to position the lens’s entrance pupil over the rotation axis. Photographers often call this the nodal point, although that terminology isn’t optically precise.
To test the position, align a nearby vertical object with a distant building edge, then rotate left and right while adjusting the rail until their relative positions change as little as possible.
Also level the rotating base, not just the camera at the starting position. Otherwise, the horizon can rise and fall during the sweep.
Keep Exposure and Focus Consistent
Use about 30% to 50% overlap as a practical starting point. Repeated windows can confuse matching, so include distinctive corners or other fixed details within overlapping areas.
Lock exposure once you’ve checked the brightest facade. Manual exposure prevents each frame from changing brightness as the camera crosses sunlit stone and deep shade. Keep aperture and ISO unchanged throughout the sequence.
For a daylight exterior, f/8 and ISO 100 are reasonable starting settings. Choose shutter speed for the light and your support. Focus on the building, then switch to manual focus so a passing pedestrian doesn’t pull focus forward.
Set a fixed white balance, or synchronize it across the RAW files before merging. Consistent color helps prevent visible transitions.
On a wet November evening in Lisbon’s Praça do Comércio, a photographer beside the arcade used a compact tripod for a two-second exposure while nearby visitors braced phones against a column. Passing headlights became soft trails around the square.
That kind of support also helps keep a panorama sequence steady at blue hour. However, photograph moving traffic quickly enough that individual cars don’t become incompatible shapes across overlapping frames.
Choose a Projection for Panoramic Photo Stitching
Use rectilinear for a restrained architectural view
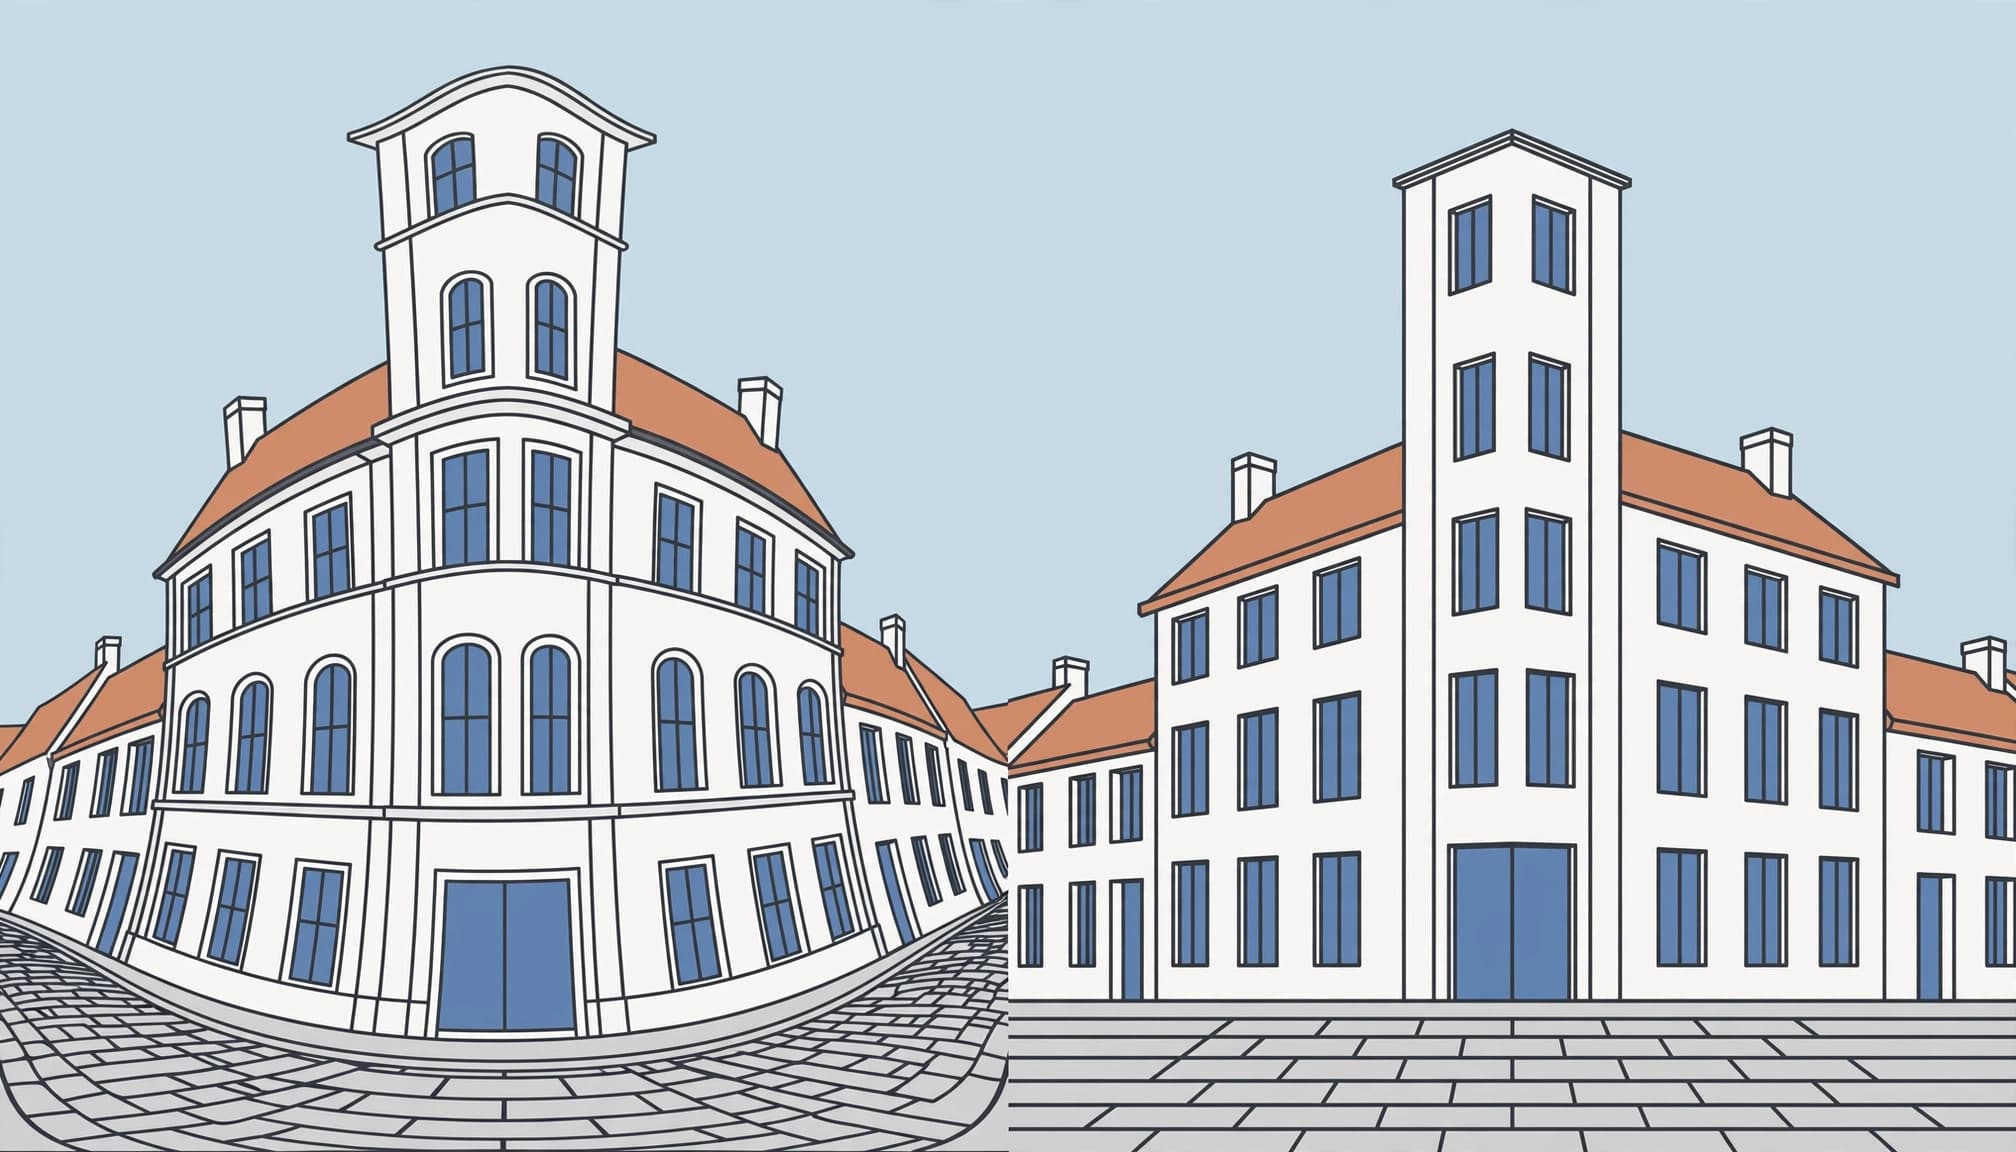
Rectilinear projection preserves straight lines. Lightroom calls its comparable panorama option Perspective, which makes it a useful first choice for a facade or a moderately wide architectural scene.
However, stretching increases toward the edges as the field of view grows. A tower can remain straight while becoming implausibly broad. Keeping an important building near the center reduces this problem.
The PTGui projection guide explains the trade-offs between projection types. Rectilinear output cannot cover 180 degrees, and practical architectural limits arrive well before that.
If edge buildings look swollen, narrow the composition. A smaller panorama can look more convincing than a wider one with strained proportions.
Use cylindrical for a broad skyline
Cylindrical projection handles wide horizontal sweeps without the extreme side stretching of rectilinear output. With the panorama properly leveled, vertical building edges remain straight.
The compromise is horizontal geometry. A cornice extending across much of the frame can bow, especially above or below the horizon. Therefore, cylindrical projection suits separated skyline buildings better than one continuous facade.
Spherical projection works for very wide or multi-row panoramas, but it also changes how straight architectural lines appear.
Straight verticals don’t guarantee an undistorted building. Compare window proportions and the width of edge towers before accepting a projection.
For panoramic photo stitching, choose the geometry that protects your main subject. No projection preserves every line and proportion across an extremely wide flat image.
Build a Clean Stitch Before Editing Its Shape
Lightroom Classic is convenient when your source files already live in its catalog. PTGui offers more control over projections and alignment. Hugin is a free, open-source option with control-point tools.
Start with a simple sequence:
- Prepare matching source frames. Apply consistent white balance and exposure adjustments. Handle lens correction through the editor or stitcher, but avoid applying the same distortion correction twice.
- Create the first merge. In Lightroom Classic, select the frames and choose Photo Merge, then Panorama. Compare Perspective with Cylindrical before committing.
- Inspect the uncropped edges. Disable automatic cropping temporarily so you can see which projection stretches the architecture and how much coverage remains.
- Merge conservatively. Save the result, then inspect it at 100% before making further perspective adjustments.
Adobe’s Lightroom panorama instructions cover the available projections and Boundary Warp. That slider stretches the panorama’s boundary to fill empty areas.
Use it cautiously around architecture. Filling every blank corner can bend paving lines or pull an edge building out of proportion. A crop often costs less visually than aggressive warping.
Also resist combining frames merely because you captured them. Removing an unnecessary end frame may eliminate the most distorted building without weakening the composition.
Straighten Verticals Without Flattening the Scene
Correct the panorama’s overall roll first. Then assess vertical convergence. Otherwise, you may compensate for a tilted horizon with an excessive perspective adjustment.
In Lightroom, Guided Upright lets you draw guides along building corners or door frames. Choose edges that are genuinely vertical, preferably well separated across the image. Avoid using an old wall that visibly leans.
Hugin’s vertical control-point documentation describes how vertical constraints can adjust a panorama’s orientation. These constraints help align architectural lines, but they don’t resolve parallax.
After correction, inspect window widths and the building’s height-to-width relationship. If the facade becomes unnaturally thin or the foreground paving stretches, reduce the adjustment.
Standing in a narrow lane naturally creates some upward perspective. Preserving a restrained amount can make the photograph feel more believable than forcing every wall into perfect parallel alignment.
Compare the corrected image with an ordinary single frame from the same viewpoint. That reference helps you notice when a tower has lost its familiar proportions.
Keep color editing until the geometry is settled. Cropping and perspective changes can alter which bright surfaces dominate the image, so contrast decisions often work better afterward.
Repair Seams Without Stretching Whole Buildings
Check every seam. Look closely at rooflines and balcony rails, where even a small mismatch becomes obvious.
When only one overlap fails, inspect its matching points rather than warping the entire panorama. In PTGui or Hugin, remove matches on moving people, then place reliable points on fixed architectural details.
Repeated windows require care: matching one window to its identical neighbor can produce a convincing-looking but incorrect alignment.
If foreground parallax remains, move the seam away from the conflicting object or use masking to retain that object from one source frame. This works only when the surrounding coverage supports a clean blend.
PTGui’s viewpoint correction tutorial describes an advanced correction for images taken from different viewpoints when the relevant surface is approximately flat. It isn’t a general repair for a street containing objects at many distances.
A close railing against a distant cathedral may remain impossible to align throughout. In that case, crop away the railing or choose a different sequence.
Finally, watch for duplicated pedestrians. A technically straight building won’t rescue a person who appears twice beside its entrance.
Conclusion: Inspect One Window Before Exporting
Before exporting, compare a window near the center with a similar window at the edge. If the outer one looks much wider, reconsider the projection or shorten the crop.
Then check the roofline at full resolution, with particular attention to overlaps. Keep the original sequence so you can revisit the merge without repeating heavy corrections.
Make your last inspection a specific architectural detail: the balcony rail crossing the seam beside the right-hand doorway.
