
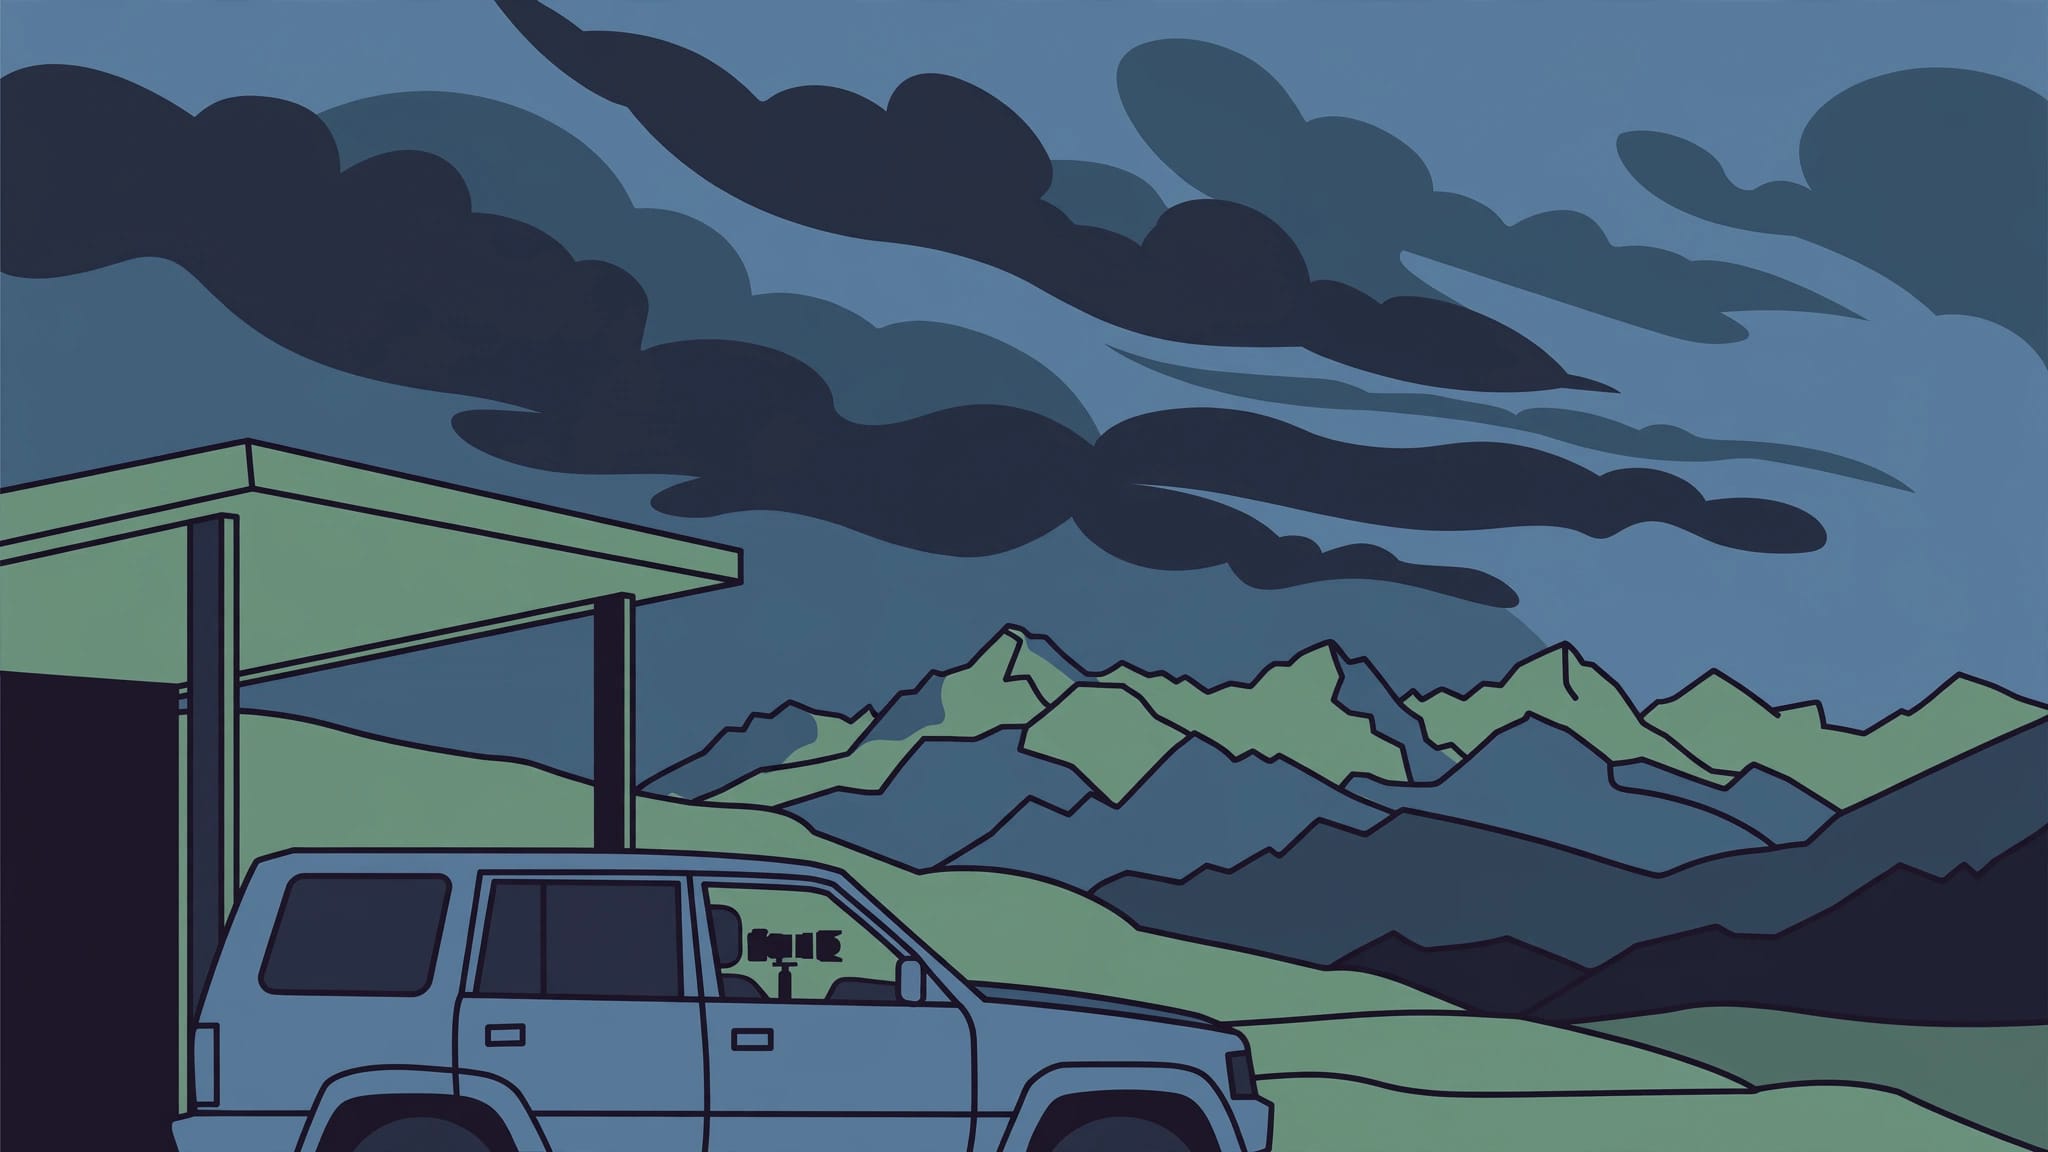
Good safety planning starts with distant weather checks and a reliable route to an enclosed building or hard-topped vehicle, confirmed before you choose a viewpoint and with enough time to reach shelter before conditions worsen. If you hear thunder, stop shooting and move to proper shelter, because lightning can strike your position even when clouds still look distant, before you can pack your gear. Shelter first.
The strongest cloud photographs rarely require standing beneath the weather. A longer lens lets you frame distant weather for storm photography without approaching it. Keep your vehicle keys in a pocket, not buried in your camera bag.
Key Takeaways
- Check the mountain forecast and radar before choosing a route, download the route before losing reception, and plan enough time to reach proper shelter.
- Thunder means stop shooting and move to a substantial enclosed building or an enclosed, hard-topped vehicle with its windows closed. Wait at least 30 minutes after the last rumble before going outside again.
- Leave ridges and summits early. Getting below treeline, sheltering under an isolated tree, or waiting beneath an open-sided roof doesn’t provide proper lightning protection.
- Use longer lenses and lower viewpoints to photograph distant storm clouds without approaching them. Prepare rain protection for your camera, but don’t let gear or a desired frame delay your retreat.
- Preserve cloud highlights and adjust exposure to the conditions. A trigger can help capture daytime lightning, while a tripod and intervalometer give you repeated chances at night, from proper shelter when conditions are threatening.
1. Plan alpine photography around an exit
Read the forecast before choosing the route
Use the National Weather Service mountain forecast, including its hourly thunderstorm outlook.
RadarScope and RadarOmega help track the thunderstorm’s movement and estimate its approach. Check several radar frames, since mountains can block coverage and delay updates. Weak mobile reception can leave displays outdated.
Download your route before leaving reception. Carry a waterproof shell and an insulating layer, since getting cold while stationary can make packing and descending harder.
Budget the entire retreat
Weather can reach you faster than you can descend a steep trail. Set your turnaround time around the full walk back to proper shelter, not the distance to the nearest trees.
An early start reduces exposure to afternoon weather, but dangerous conditions can still develop in the morning. A dawn departure isn’t a safety guarantee.
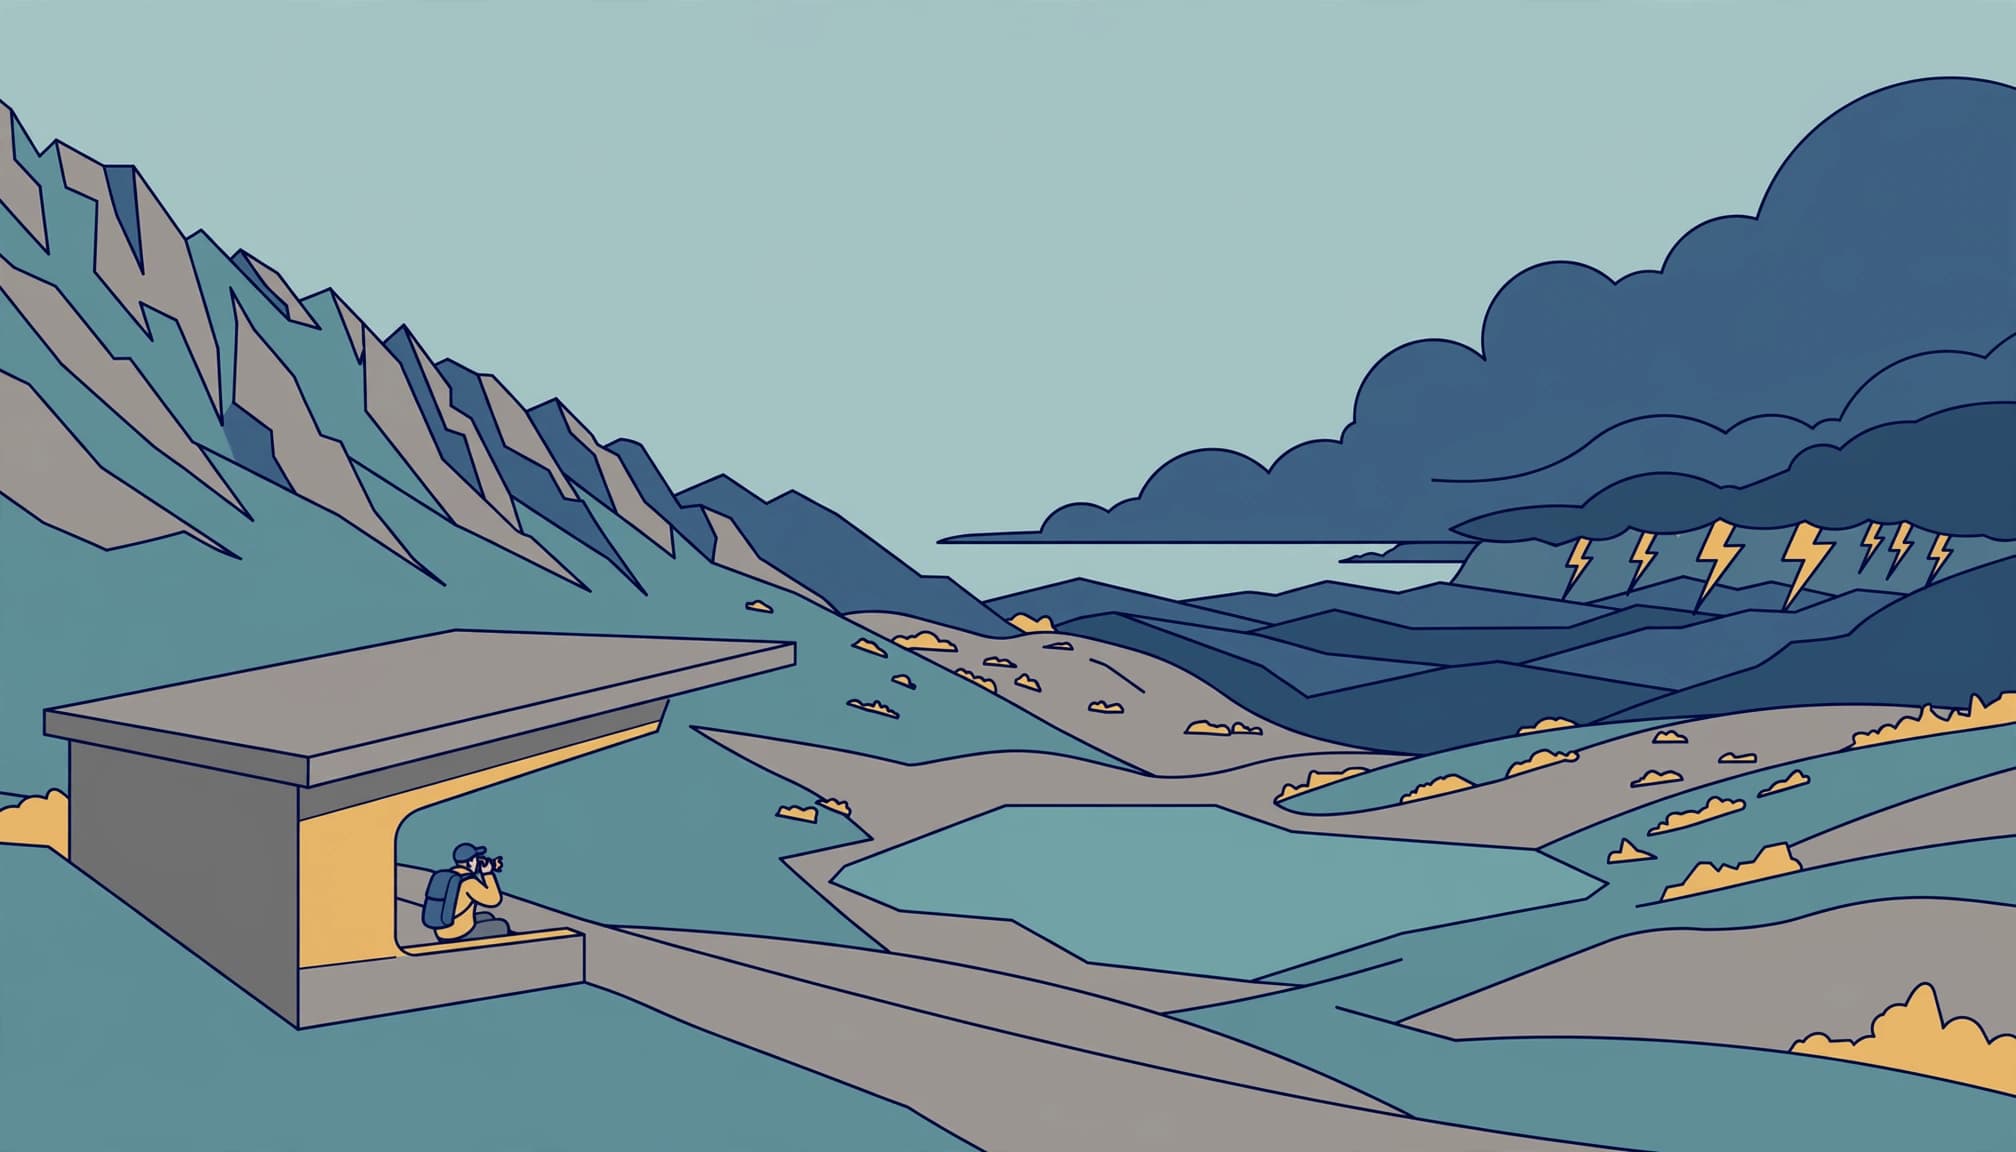
An open-sided roof offers rain cover, not lightning protection.
If you can’t retreat safely from the exposed section, choose a lower viewpoint near proper shelter instead.
2. Treat thunder as your stop signal
Distance helps, but it doesn’t guarantee safety
Adobe’s storm photography guide suggests photographing a subject from 5 to 20 miles away. That distance can reveal the cell’s overall shape instead of an indistinct ceiling overhead.
However, five miles isn’t a safety boundary. Lightning can strike beyond the precipitation area, and new cells can develop between you and the original subject.
Weather photographer Jim Reed’s warning is straightforward: if you hear thunder, you’re at risk of a strike.
Stop shooting outdoors immediately. Don’t wait for rain.
Know what counts as shelter
The National Weather Service’s lightning safety guidance identifies substantial enclosed buildings and enclosed, metal-topped vehicles with closed windows as safe shelter options.
Inside a building, avoid plumbing and equipment connected to electrical outlets. Stay away from windows while photographing or reviewing images.
A hard-topped vehicle offers substantial protection, but no arrangement removes every risk. Keep the windows closed and avoid contact with conductive parts connected to its exterior.
An awning, open hatch, tent, or picnic roof can keep your gear dry while leaving you exposed to a strike.
Remain sheltered for at least 30 minutes after the last rumble. Restart that wait whenever another rumble occurs.
3. Leave exposed mountain terrain early
Ridges and summits are poor places to wait for storm light. Descend before the weather arrives, while visibility and footing still let you move deliberately.
The National Park Service’s mountain lightning advice calls for leaving elevated terrain immediately when lightning threatens. Getting below treeline doesn’t automatically put you in safe shelter.
Avoid isolated trees and power lines. Don’t shelter beneath a cliff overhang or beside a lake, and never lie flat on the ground.
Some older advice recommends crouching low on tiptoes to minimize ground contact. Don’t rely on that posture: it doesn’t make an exposed location safe or replace reaching proper shelter.
If shelter isn’t immediately reachable, keep moving toward it and avoid exposed high ground. Lower terrain reduces some risks, but you’re still outdoors.
Consider the descent itself. Hail can make rock slippery, and heavy rain can turn gullies into drainage channels. Don’t choose a narrow gully simply because it looks lower.
The temptation often sounds harmless: “One last frame.” Pack and retreat before that becomes a negotiation.
4. Build a compact, rain-ready camera kit
A wide-angle lens covers broad cloud structures. Add a short telephoto for tighter ridge layers without walking closer.
For extended exposures, use a sturdy tripod and cable release. Keep the center column low in wind, and avoid hanging a bag where it can swing. No camera setup justifies staying outside when conditions turn dangerous.
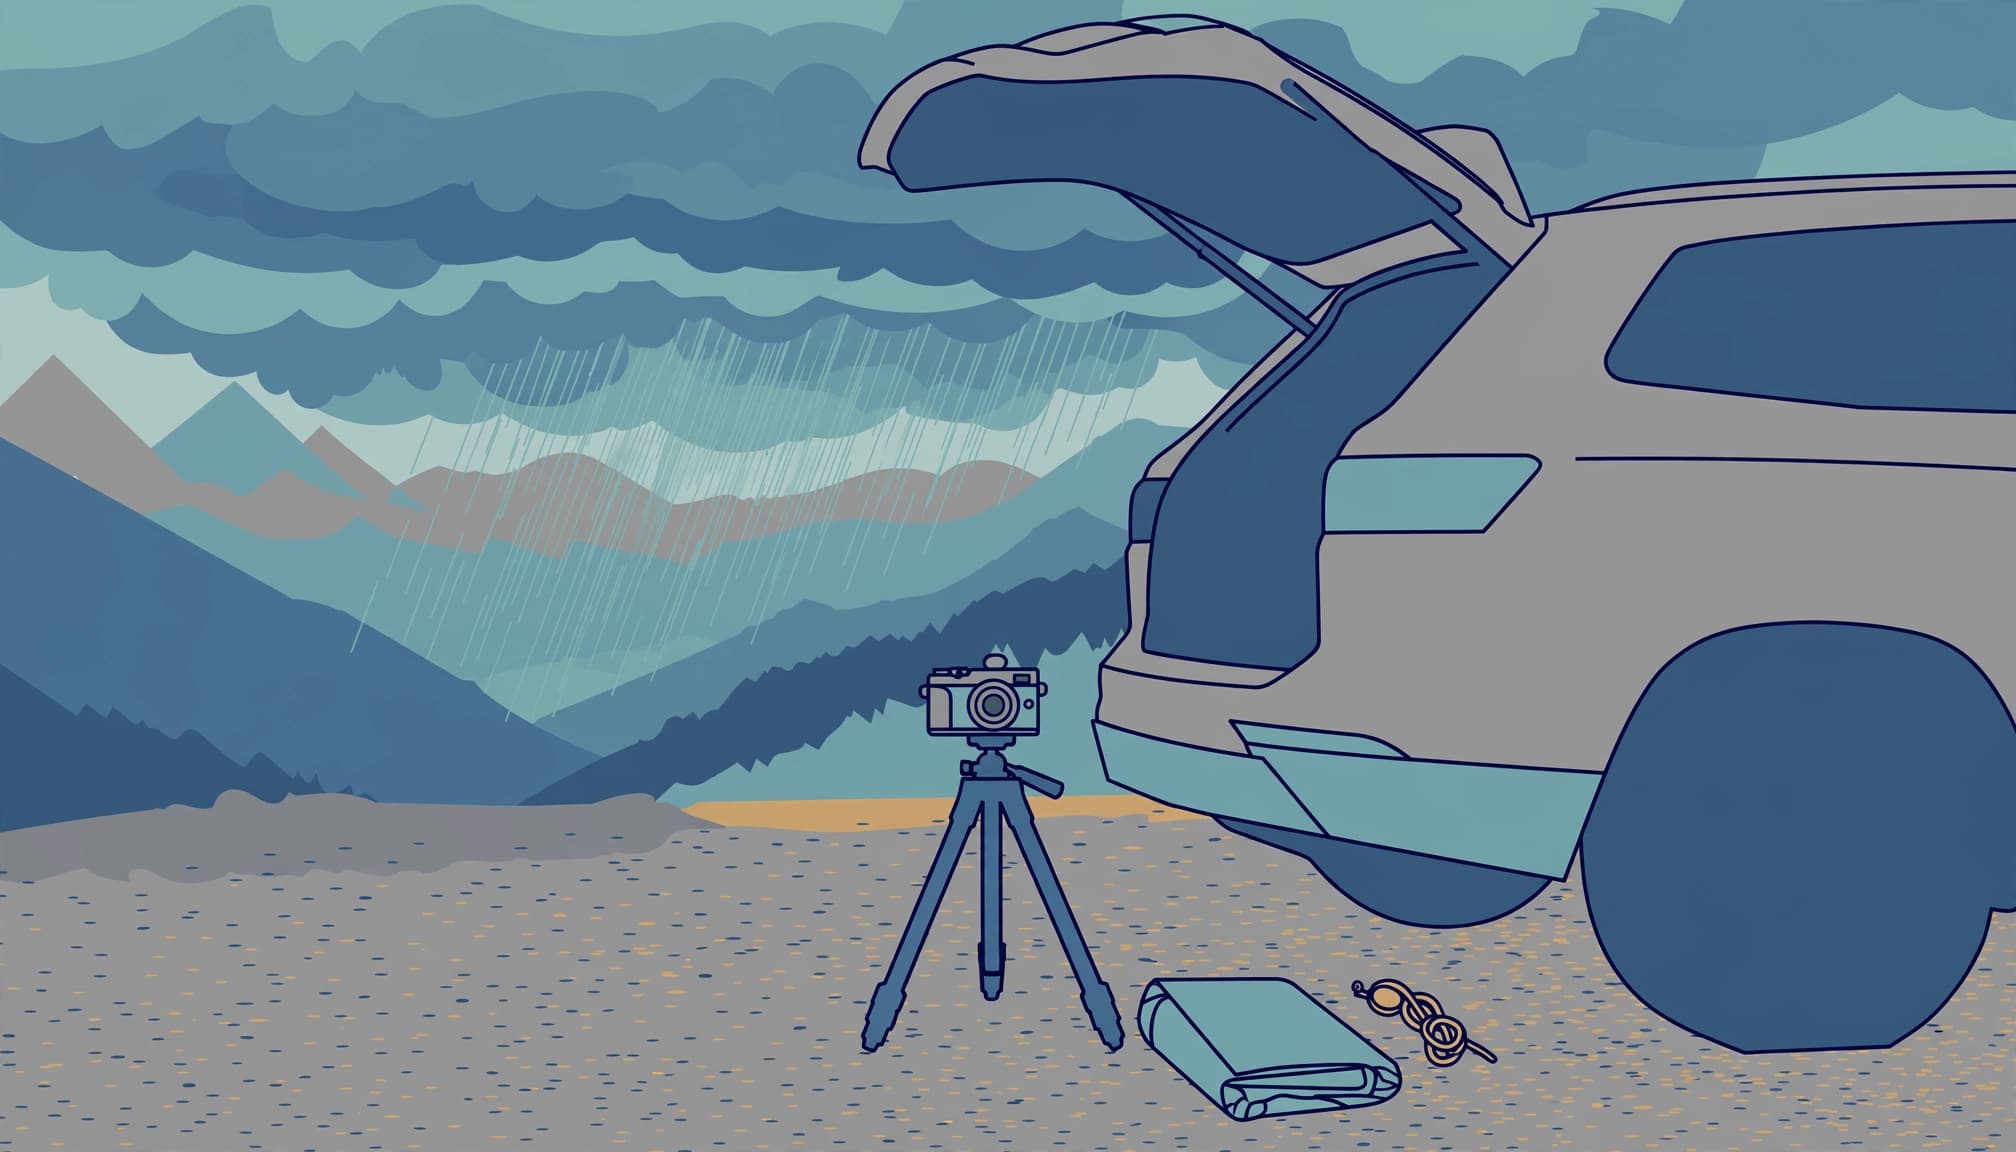
An open hatch: rain protection only. During electrical activity, get inside and close the vehicle.
Precipitation can reach you miles from the main cloud bank. Fit a waterproof sleeve before droplets arrive, and keep a dry microfiber cloth in a sealed pocket. Shooting through a closed vehicle window preserves shelter, though glass can cause reflections.
Caleb Wray’s WildSnow essay describes water as a leading camera killer. Treat this as practical guidance, not a measured failure statistic: weather sealing doesn’t make equipment waterproof.
An umbrella can help in ordinary showers, but avoid it in strong wind or threatening electrical weather. A fitted waterproof camera shell is less awkward.
5. Set exposure for clouds and daytime lightning
Preserve cloud texture first
Record RAW files and start near ISO 100 with an aperture around f/8. Many lenses perform well there, but f/8 isn’t a universal minimum-distortion setting.
Adjust the exposure using the histogram and highlight warnings. Bright cloud edges should retain texture, even if the landscape initially looks dark.
These settings are starting points, not fixed exposures.
| Subject | Initial settings | Adjustment |
|---|---|---|
| Daytime cloud landscape | ISO 100, f/8, 1/250 second | Change exposure for the light |
| Distant daytime strike | ISO 100, f/8, 1/125 second, trigger | Balance ambient light first |
| Distant nighttime strike | ISO 100, f/8, 10 seconds | Review strike brightness |
For close wildflowers, f/11 or f/16 may increase depth of field. Diffraction can soften fine detail.
Use a trigger for daytime strikes
A lightning trigger detects a flash and releases the shutter. In daylight, lightning is difficult to capture without overexposing the scene.
A lightning trigger gives you a chance to record a strike, but it can’t control brightness or guarantee success. Camera shutter lag and the strike’s duration also matter.
Expose the landscape manually first, then connect the trigger. If the frame is too bright, shorten the exposure or stop down. Check compatibility and maximum usable shutter speed for your equipment.
6. Use repeated exposures for lightning after dark
Stabilize and focus before starting
Work from proper shelter whenever conditions become threatening. A long exposure never justifies staying outdoors in dangerous conditions.
Secure the camera on a tripod and use a cable release to avoid nudging it. Focus on a distant illuminated edge, magnify the preview, then switch to manual focus so the lens doesn’t hunt between frames.
Start around ISO 100, f/8, and 10 seconds. Review a captured strike before committing to a long sequence.
If highlights lose all detail, try f/11 or a lower ISO. Shortening the exposure mainly reduces ambient light unless it also changes how many strikes enter the frame.
Let an intervalometer repeat the sequence
An intervalometer fires at regular intervals, giving you repeated chances to capture a strike as it occurs unpredictably. Set the intervalometer with only the gap your camera needs between exposures.
Shorter exposures retain more cloud structure. Longer ones can record several bolts, but they also accumulate ambient brightness.
Keep ISO between 100 and 400 when that produces a useful exposure. However, 400 isn’t a universal ceiling: modern cameras can deliver useful files above it.
Likewise, 1/30 second isn’t a dependable handheld threshold. Focal length and stabilization matter, while wind makes slower exposures harder. Raise ISO rather than accepting camera shake.
7. Compose the clouds without climbing higher
Use layers instead of exposed viewpoints
A lower valley position can place dark foreground slopes beneath illuminated storm clouds. Those layers show scale without requiring a summit.
With a telephoto, isolate a curtain of precipitation against a lighter ridge. For storm photography, use a wide-angle lens to include enough of the mountains to establish the setting, but avoid filling the bottom half with empty ground.
Check the frame edges before releasing the shutter. A clipped peak or bright roadside object can pull attention away from the weather.
Keep shutter speed purposeful. A fast exposure preserves turbulent cloud edges, while a long one softens movement. For handheld telephoto work around 200mm, approximately 1/400 second is a more realistic starting point than 1/30, especially in wind.
Borrow Lindahl’s framing decision, not his exposure to weather
When photographer Larry Lindahl photographed weather building over Ice Lake above 12,000 feet, hail dappled the water. Vertical framing let him remove hikers and retain foreground wildflowers beneath billowing clouds.
That sequence offers a useful composition lesson: changing orientation can remove distractions without abandoning the foreground.
It doesn’t establish that staying beside a mountain lake during severe weather is safe. Make similar framing decisions before conditions deteriorate, or photograph retreating clouds after the required sheltered wait.
Keep the camera packed until the wait ends
Once you’re sheltered, resist stepping outside when a brighter opening appears behind the clouds. A break in the weather doesn’t mean the lightning risk has passed.
Review your histogram from shelter instead of returning to the viewpoint. Wait at least 30 minutes after the last thunder before taking another outdoor frame.
Frequently Asked Questions
What should I do when I hear thunder?
Stop shooting outdoors and move to a substantial enclosed building or an enclosed, hard-topped vehicle with its windows closed. Wait at least 30 minutes after the last rumble, and restart the wait if thunder sounds again.
What counts as proper shelter during a storm?
A substantial enclosed building or an enclosed vehicle with a hard metal top and closed windows offers shelter. An awning, open hatch, tent, or picnic roof can keep rain off but doesn’t protect you from lightning.
How can I photograph daytime lightning?
Expose the landscape manually first, then use a compatible lightning trigger to release the shutter when it detects a flash. A trigger can’t control the strike’s brightness or guarantee a capture, so adjust exposure if the frame is too bright.
What are good starting settings for nighttime lightning?
Start near ISO 100, f/8, and 10 seconds, using a tripod and cable release. Review a captured strike, then adjust the exposure; an intervalometer can repeat exposures at regular intervals.
