
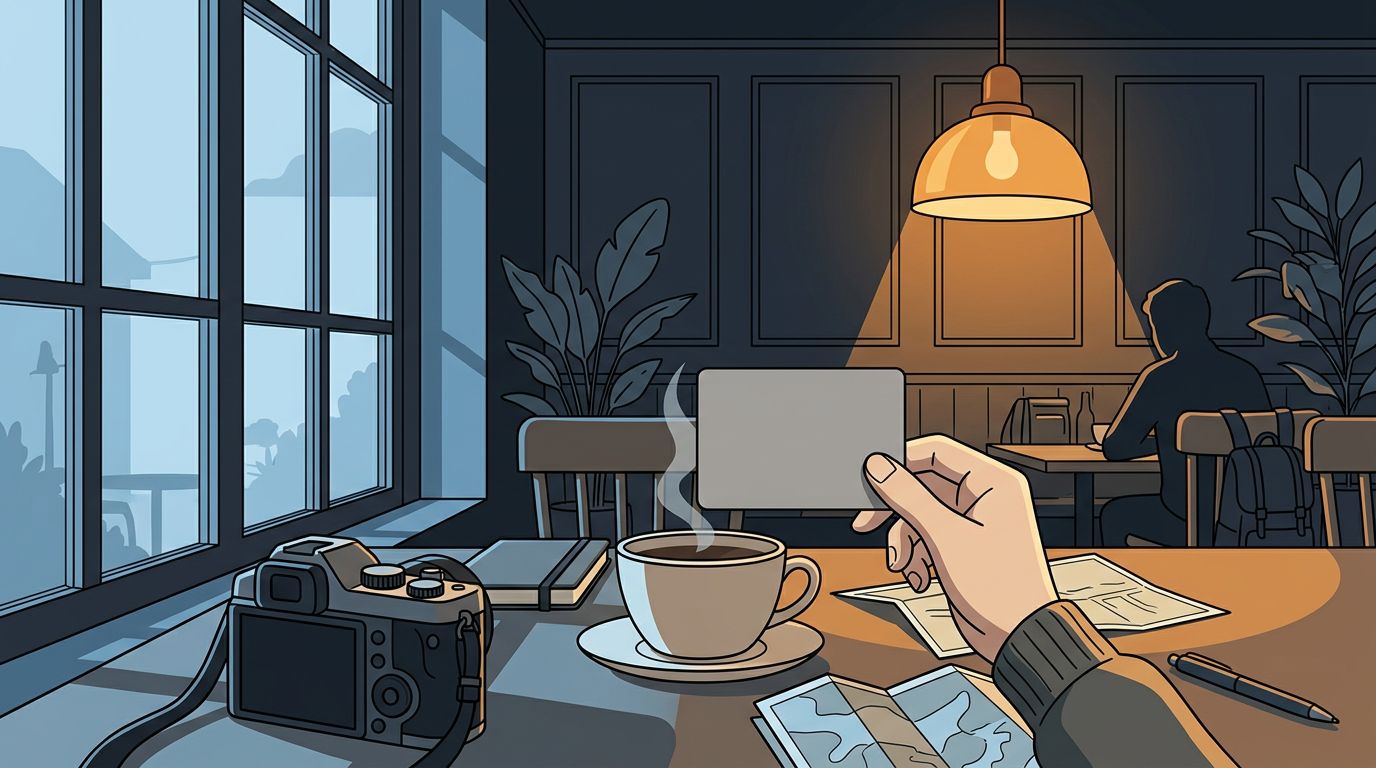
To set custom white balance in mixed lighting, photograph a neutral reference card under the light falling on your main subject, then use that reference to set your camera’s white balance. The setting gives you a consistent starting point, even when windows and lamps create different colors in the same scene.
The aim is believable color, not a photograph stripped of every warm or cool tone. Start by deciding which part of the scene matters most.
Why Mixed Lighting Changes Your Colors
A camera’s white balance adjusts the overall color of an image to make neutral surfaces look neutral under a particular light. Mixed lighting makes that decision harder because different parts of the frame can receive different colors of light.
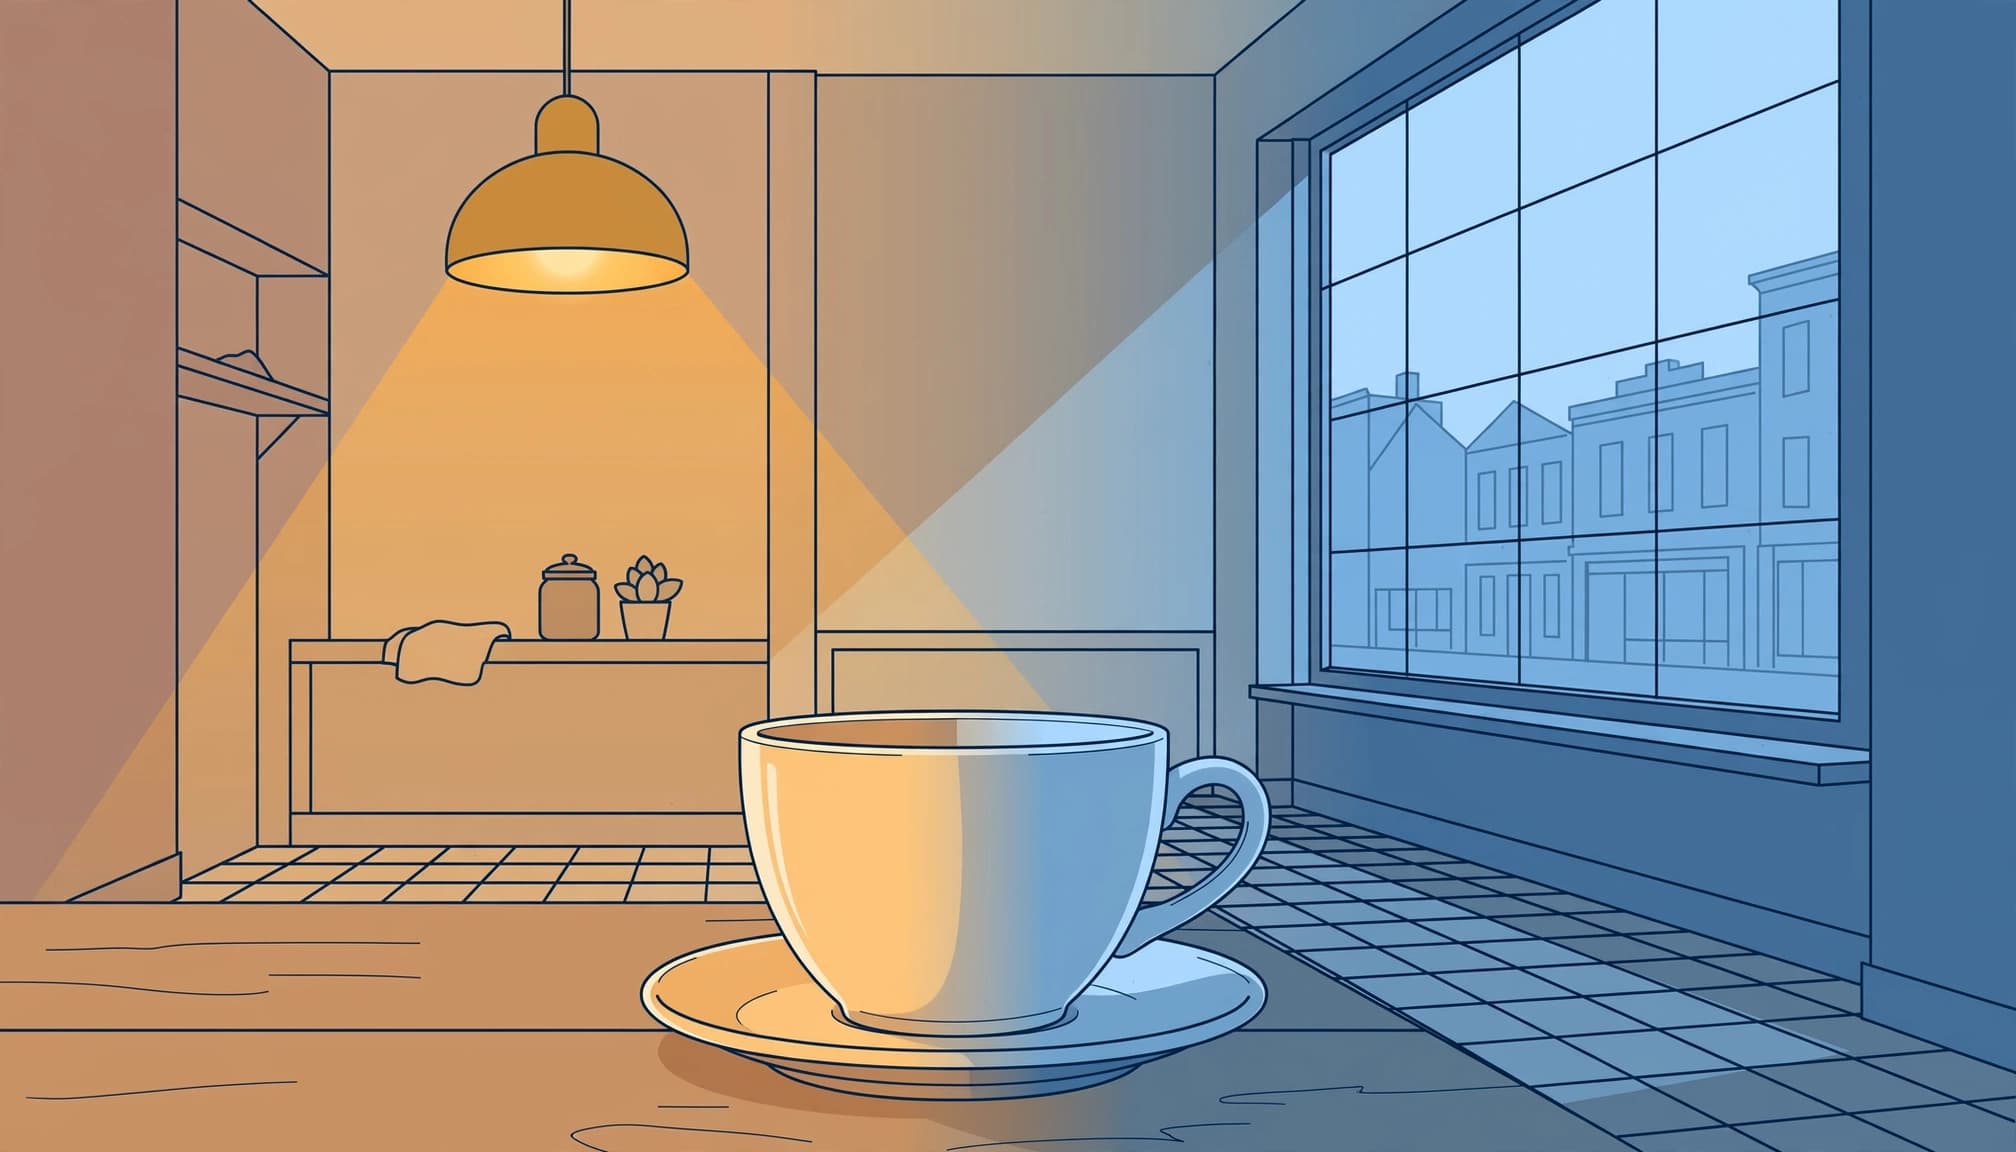
Daylight and lamps compete
A cafe table beside a window might receive cool daylight on one side and amber light from a pendant lamp on the other. If you balance for the window, the lamp may look warmer. Balance for the lamp, and the window light may turn blue.
That’s a normal part of the scene. Your task is to decide which color difference looks natural and which distracts from the subject.
Auto white balance can shift
Auto white balance estimates a setting for each frame. It often does a good job, but its choice can change when you point the camera toward a bright window or include more of a warm wall.
That variation becomes noticeable in a panorama or a sequence of portraits. A fixed setting keeps the camera’s starting point consistent while the light stays stable.
Choose a Neutral Reference
A neutral gray card gives the camera a known surface to measure. Look for a card made for photographic white balance rather than relying on a colored wall or a receipt.
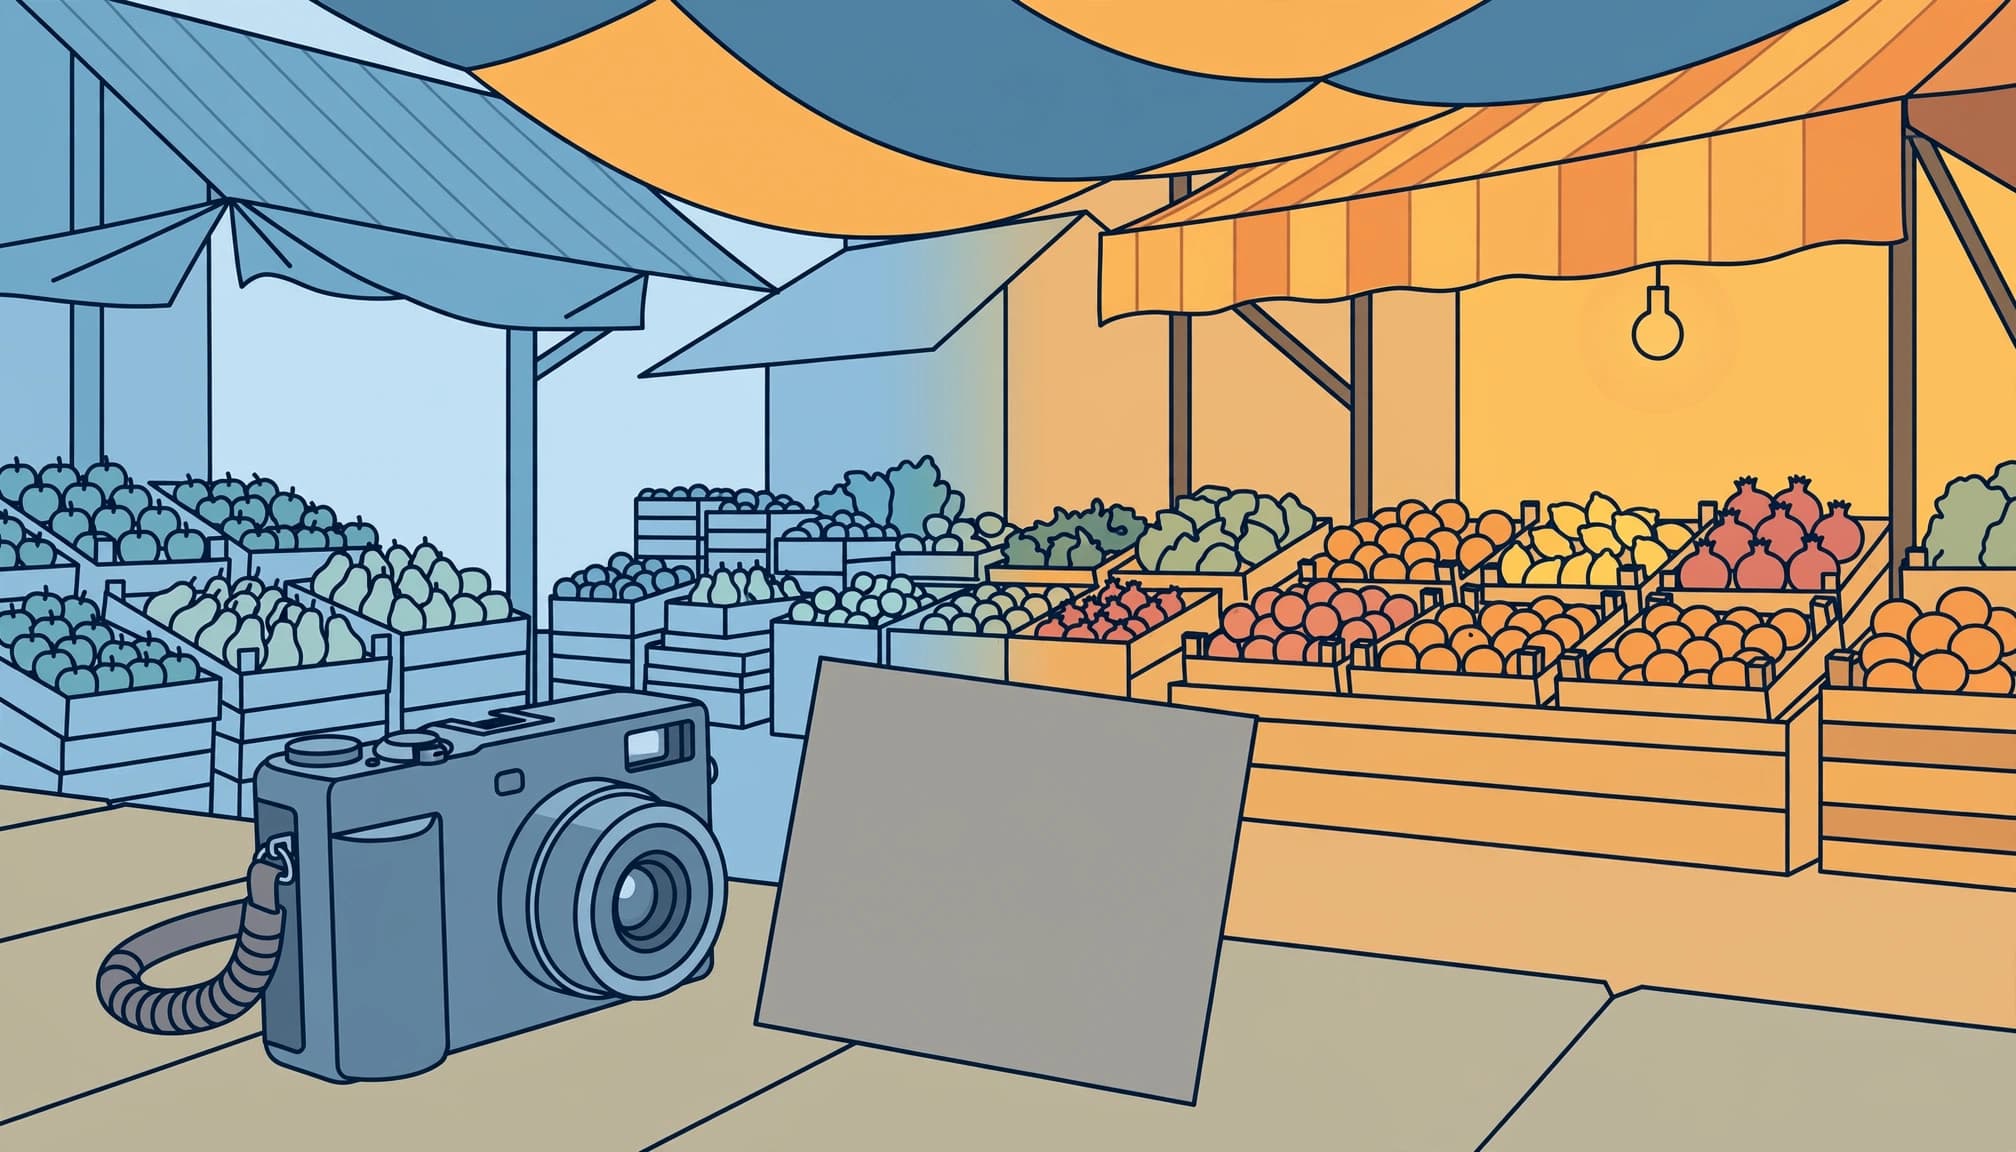
Place the card at your subject
Put the card where your subject will be, under the same combination of light. If you’re photographing a person beside a window, hold the card near their face rather than measuring the light at your own position across the room.
Keep the card out of shadow. Your body, camera, or a nearby bag can block the light you’re trying to measure. Angle the card toward the camera without catching a bright reflection.
Avoid surfaces with hidden color
White paper can look neutral but contain brighteners or a slight color cast. Painted walls, tablecloths, and stone can also influence the reading. A purpose-made card is more dependable when color matters.
The card’s exposure matters too. Aim for a visible midtone rather than a clipped white patch or a nearly black frame. This gray-card guide covers the reference technique in more detail.
Set Custom White Balance in Camera
The exact controls vary by camera, but the workflow follows the same idea: make a reference under the subject’s light, then tell the camera to use it.
Capture the reference
Select a custom or preset white-balance option on your camera. Depending on the model, you’ll either take a dedicated reading or photograph the card and select that image as the reference.
Fill the relevant metering area with the card. Filling the frame is a practical approach when the card is large enough. Focus doesn’t need to be precise, but the reference should be evenly lit and free of glare. The Click Community comparison of white-balance methods describes using a gray-card photograph for this purpose.
Apply the setting and review
Activate the custom setting before taking the photograph you want to keep. Make a test frame with your subject, then look at a familiar neutral surface or skin tone on the rear screen.
A camera screen is a useful preview, although its brightness and surrounding light can affect your judgment. If the result has a strong cast, make a fresh reference in the subject’s light. Nikon owners can also consult this Nikon DSLR white-balance guide for the available controls.
Decide Which Light to Balance
Start with the main subject. A useful reading depends on where you place the card, so make that decision before you photograph it.
If you photograph a person beside a station window while overhead lamps illuminate the concourse, decide whether the face or the architecture needs the most faithful color before making the reference frame. For a portrait, the face will usually guide the choice. For an architectural photograph, a pale stone wall may be more useful.
A card under the main light gives you a reference for that part of the scene. Other areas can retain a visible cast, particularly when colored lamps illuminate them.
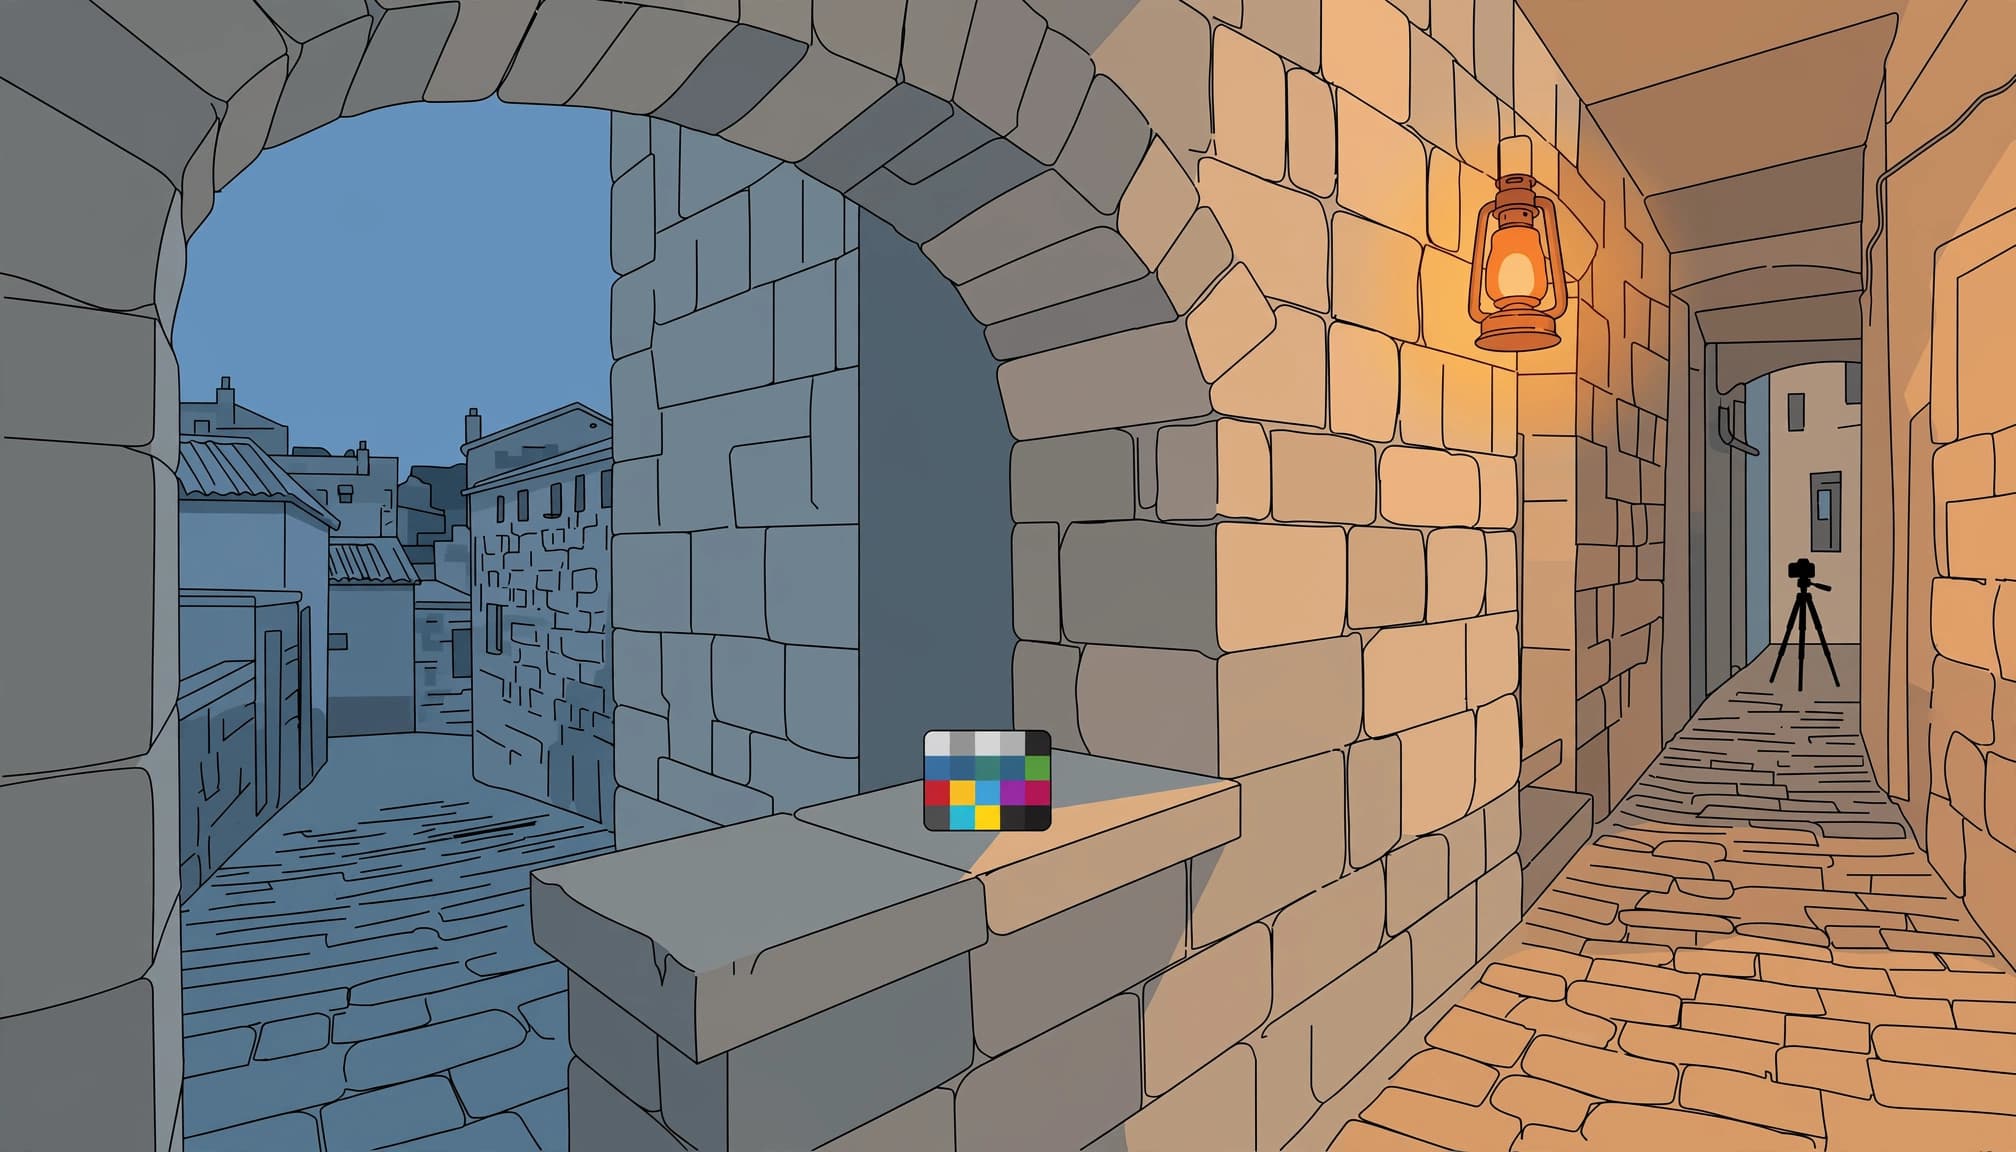
Keep the Colors That Belong
Correcting the light doesn’t mean making every object gray or white. Some colors belong to the place itself. A warm lamp, for example.
Preserve warm and cool contrast
A blue evening sky and warm windows can give a street photograph a sense of time and place. If the building looks believable and the lights aren’t distracting, allow that contrast to remain.
For blue-hour city photography, a fixed setting around 3,600K to 4,200K can be a starting point. Adjust it to suit the lamps and your subject rather than treating it as a rule.
Recognize the subject’s own color
When William Eggleston made The Red Ceiling in Greenwood, Mississippi, he photographed a bare bulb against a red ceiling. The room’s painted surface was part of the image’s color, not a cast that a neutral reference could remove.
The same distinction helps in a market or church. A red wall can reflect red light onto nearby surfaces, while stained glass can color a patch of floor. Decide whether that color helps the photograph before editing it away.
Adjust When the Light Changes
A custom reading is useful while the light remains similar. On a travel day, that may be a few minutes or a whole sequence.
Moving between shade and sun
Retake the reference when your subject moves from a shaded arcade into sunlight, or when you move from a window-lit room into a lamp-lit corridor. The card needs to receive the light that reaches the subject.
Clouds can also change the balance near a window. If the light changes during a portrait session, make another reference before continuing. Keep the earlier reference frame with its corresponding images so you can distinguish the two lighting conditions later.
Photographing at blue hour
As daylight fades, lamps become more prominent. A fixed setting prevents the camera from making a different color choice for each frame, but it won’t follow the changing balance of light for you.
For a panorama or exposure bracket, keep one setting throughout the sequence. If the sky changes substantially before your next composition, make a new reading or adjust your fixed setting for that next set.
Solve Common Mixed-Light Problems
Some color problems need a change in position or lighting rather than another menu setting.
Green or magenta casts
White balance includes a tint adjustment as well as color temperature. Temperature changes the blue-to-amber balance; tint addresses the green-to-magenta direction.
Fluorescent and LED lighting can produce casts that a temperature adjustment alone doesn’t remove. Use the neutral card for the initial reading, then make a small tint correction if the subject still looks green or magenta. Some LEDs have unusual color output, so a correction may improve the image without making every color look natural.
Colored signs and flickering lights
A bright sign can cast saturated color onto a face or wall. Moving the subject away from that spill may work better than trying to remove it across the whole frame.
LED lighting can also produce bands or uneven color between frames. White balance alone won’t fix flicker. The guide to preventing LED flicker bands covers shutter and camera options that can help.
When you can’t use a card
In a busy museum or a fleeting street scene, taking a reference may interrupt the moment. Use a fixed preset that suits the main light, or use auto white balance and photograph in RAW if your camera offers it.
A neutral object in the scene can help during editing, but only if it’s genuinely neutral and receives the same light as the subject. Don’t assume that every white-looking surface is a reliable reference.
Refine Mixed Lighting in RAW
RAW is useful for important travel photographs because it gives you more room to change white balance afterward. A JPEG can also be edited, but large color changes may reveal artifacts sooner.
Set the overall color first
In an editor such as Adobe Lightroom, begin with the camera’s recorded white balance. Adjust temperature until the main subject looks believable, then use tint if a green or magenta cast remains.
If you photographed a neutral card, use the editor’s white-balance sampling tool on the card. Apply that starting point to images made under the same light, then compare adjacent frames before making individual changes.
Correct small areas with restraint
A global adjustment affects the whole photograph. If a warm lamp makes only one wall too orange, use a local mask on that wall instead of cooling the entire image.
Keep some difference between the warm and cool areas. The same principle applies when editing blue-hour station photos: warm platform lights and blue shadows can coexist without either becoming neutral.
RAW gives you flexibility, but it can’t restore detail the sensor didn’t record. Protect important highlights when you shoot, especially pale stone and bright windows.
Before You Leave the Scene
Keep the reference photograph beside the images it describes. When the light changes, take another card frame before starting the next sequence.
For a final review, look at the subject and the brightest surface that matters. Then make one frame with the gray card held beside the subject, out of your shadow.
