
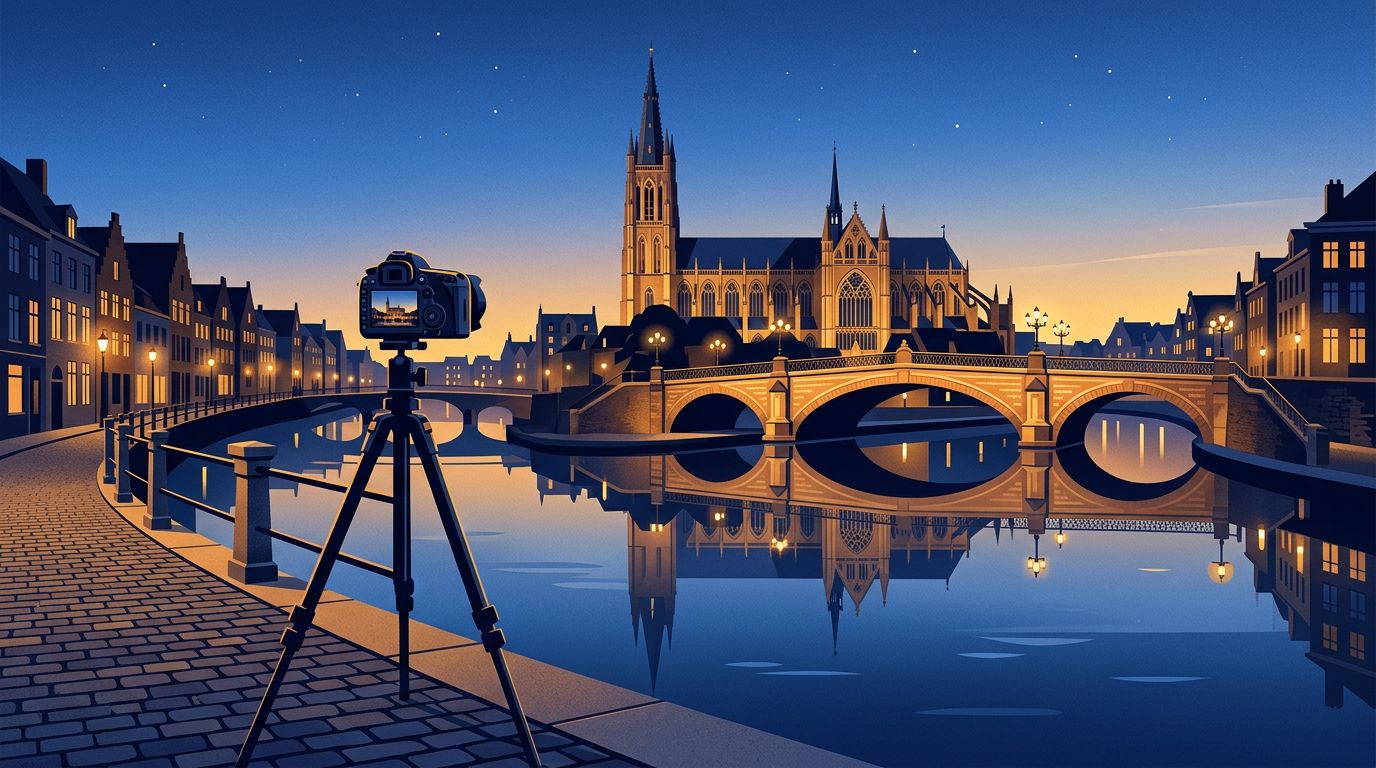
European cities often look their most balanced after sunset, when amber streetlights meet a cobalt sky. Blue hour photography gives you that balance, but its workable light can disappear before you finish one composition.
Cathedrals, bridges, canals, and tiled squares all need slightly different exposure choices. Still, a reliable starting point and a few deliberate adjustments will keep highlights intact without turning stone facades into black silhouettes.
Set up early, then let the changing light guide each frame.
Know When Blue Hour Starts in Your Location
Blue hour isn’t a fixed 60-minute appointment. Depending on latitude, season, cloud cover, and surrounding hills, you may have 15 to 40 useful minutes after sunset, with another chance before sunrise.
The useful period often overlaps civil twilight. A twilight reference for photographers places civil twilight while the sun sits 0 to 6 degrees below the horizon, while nautical twilight follows at 6 to 12 degrees. City lights can look strongest during the transition between them.
Use a sun-based forecast, not a generic weather app
Check your exact location before leaving the hotel. Apps such as PhotoPills’ blue-hour planner calculate twilight for a chosen date and place, which matters when northern cities have long summer evenings and short winter windows.
In Lisbon, a western-facing overlook can hold color later than a narrow street. In Venice, buildings can block the sky well before official twilight ends. Therefore, plan for the view in front of you rather than the time shown on a map.
The color disappears quickly.
Arrive while the scene still looks ordinary
Reach your position 30 to 45 minutes before sunset. Find a clear sightline, level the tripod, and decide where the brightest lamps will fall in the frame before the pressure starts.
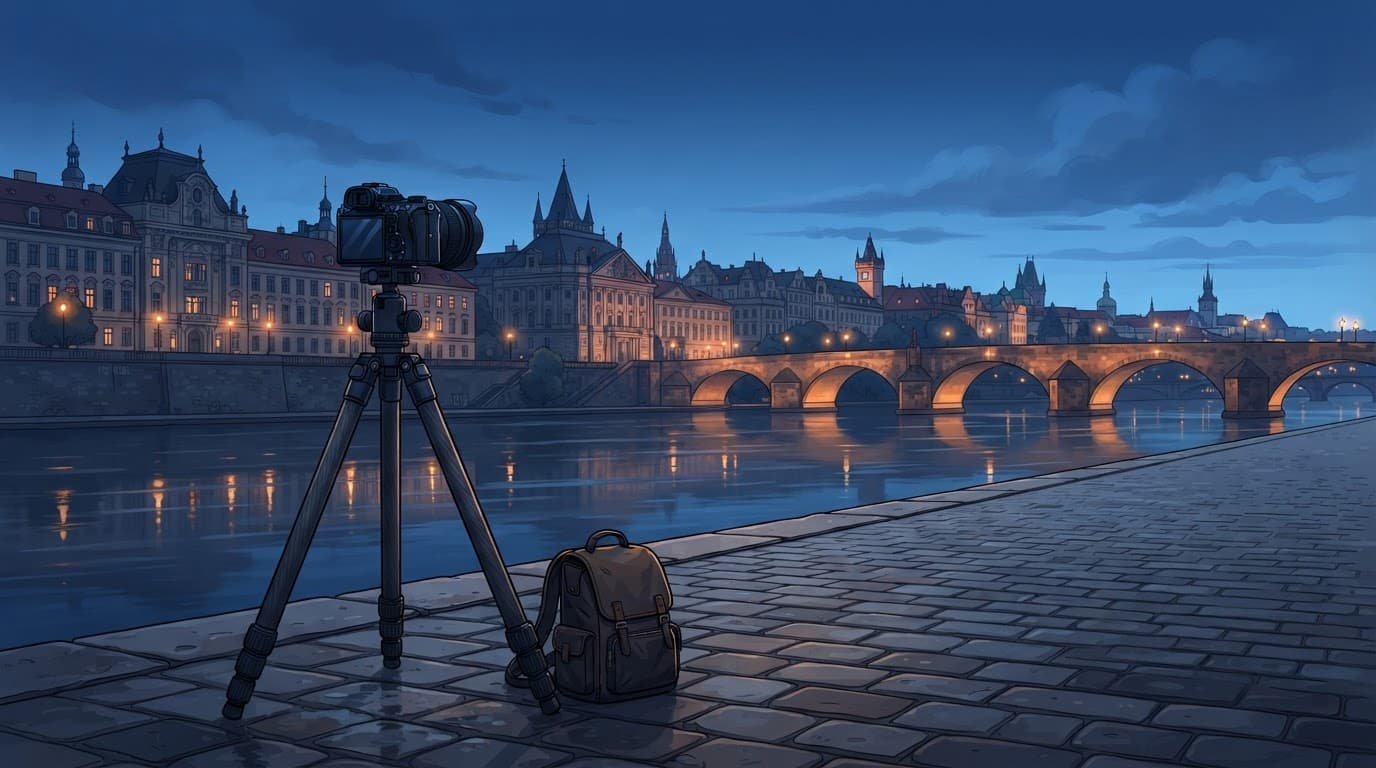
At Prague’s Charles Bridge on a wet November evening, one loose tripod leg can cost the five minutes when the lamps first match the sky. That small delay often means a pale sky or black water.
Tripods make the difference. Canon also recommends one for long exposures because it removes camera shake when shutter speeds lengthen in low light, as explained in its low-light photography guide.
Best Camera Settings for Blue Hour Photography
For a still cityscape on a tripod, Manual mode gives you the most predictable result. It keeps the camera from changing exposure as bright shop windows, dark alleys, or car headlights enter the frame.
Start with a low ISO, a mid-range aperture, and a shutter speed long enough for a clean exposure. Then adjust one setting at a time after checking the histogram.
Start with these dependable baseline settings
These settings give beginners a practical first frame. They are starting points, not fixed rules.
| Scene | ISO | Aperture | Starting shutter speed |
|---|---|---|---|
| Static cathedral or bridge | 100 | f/8 | 1 to 5 seconds |
| Canal with moving boats | 100 to 400 | f/5.6 to f/8 | 1/4 to 2 seconds |
| Handheld street scene | 800 to 3200 | f/1.8 to f/4 | 1/60 second or faster |
For architecture, use your camera’s base ISO, often ISO 100 or 64. Noise is easier to control at low ISO, and a tripod gives you room to extend the shutter speed instead.
An aperture around f/8 usually keeps buildings sharp across the frame without pushing diffraction too far. If you need more depth in a close foreground, try f/11, then inspect the image at high magnification.
Protect the blue sky before it turns gray
Meter a clear patch of sky away from direct lamps, then check the histogram. If the sky looks washed out, shorten the shutter speed. If stone buildings disappear into shadow, lengthen it in small steps.
Because European city centers often mix very bright lamps with dark stone, a single exposure can struggle to hold every detail when the contrast is high. Bracket two or three frames only when you need it, keeping the aperture and ISO unchanged.
Let Shutter Speed Describe the Scene
Shutter speed controls more than brightness. It decides whether water looks textured or smooth, whether walkers appear solid or ghosted, and whether traffic becomes a distraction or a streak of light.
Keep architecture crisp with a stable setup
For bridges, facades, and skylines, a two-second self-timer or remote release prevents vibration when you press the shutter. If your camera supports electronic front-curtain shutter, use it for long tripod exposures.
Turn off lens or in-body stabilization if your camera manual recommends it on a tripod. Some current systems detect a tripod automatically, but checking your model avoids subtle blur.
At ISO 100 and f/8, exposures often move from fractions of a second to several seconds as twilight fades. Watch for wind, too. A lightweight travel tripod can tremble beside an exposed river or on a bridge deck.
Choose motion blur on purpose
A shutter speed around 1/125 second can freeze a cyclist or a person walking toward you. However, 1/4 second can leave a gentle blur around pedestrians while keeping a stone plaza sharp.
For car trails, start around two to five seconds after the streetlights come on. A long-exposure guide for light trails also recommends Manual mode and a low ISO when the camera is mounted on a tripod.
Blue hour photography works well for motion because the sky still has detail. Once it turns black, headlights can dominate the entire frame.
Focus, White Balance, and File Choices
Exposure gets attention, yet a soft clock tower or muddy color can spoil an otherwise strong photo. Set these controls before the light falls away.
Focus before the contrast fades
Use single-point autofocus on a bright edge, such as a window frame, rooftop, or illuminated sign shape. Then magnify the image and confirm the detail is sharp before switching to manual focus if needed.
For wide scenes with a close foreground, don’t automatically focus at infinity. Focus farther into the scene, review the near edge and distant building, then adjust if either area looks soft.
A narrow window of workable light.
Use RAW and a steady white balance
Shoot RAW files. They retain more highlight and color data than JPEGs, which gives you room to recover a bright lamp or fine-tune the blue sky later.
Although Auto White Balance can look appealing on a single frame, it can shift noticeably between exposures as lights brighten, and that makes a panorama or sequence harder to edit consistently. Begin around 3,600K to 4,200K, then adjust for the actual lamps in the scene.
Warmer settings make the blue sky softer and more violet. Cooler settings deepen the blue, but they can make skin and sandstone look cold. There is no universal correct value.
Adapt Settings to European Streets, Rivers, and Landmarks
Europe’s historic centers combine reflective water, uneven lighting, narrow lanes, and large stone landmarks. Each feature changes the exposure balance.
Give canals and rivers extra attention
Water doubles the number of bright points in your frame. Meter for the brightest reflections, then inspect the highlight warning after your first shot. A 1 to 3-second exposure can smooth small ripples while keeping the reflected lights recognizable.
For Berlin’s Bode Museum, the Spree adds reflection and movement under the same twilight sky. Keep the horizon level, because even a slight tilt is obvious when architecture meets water.
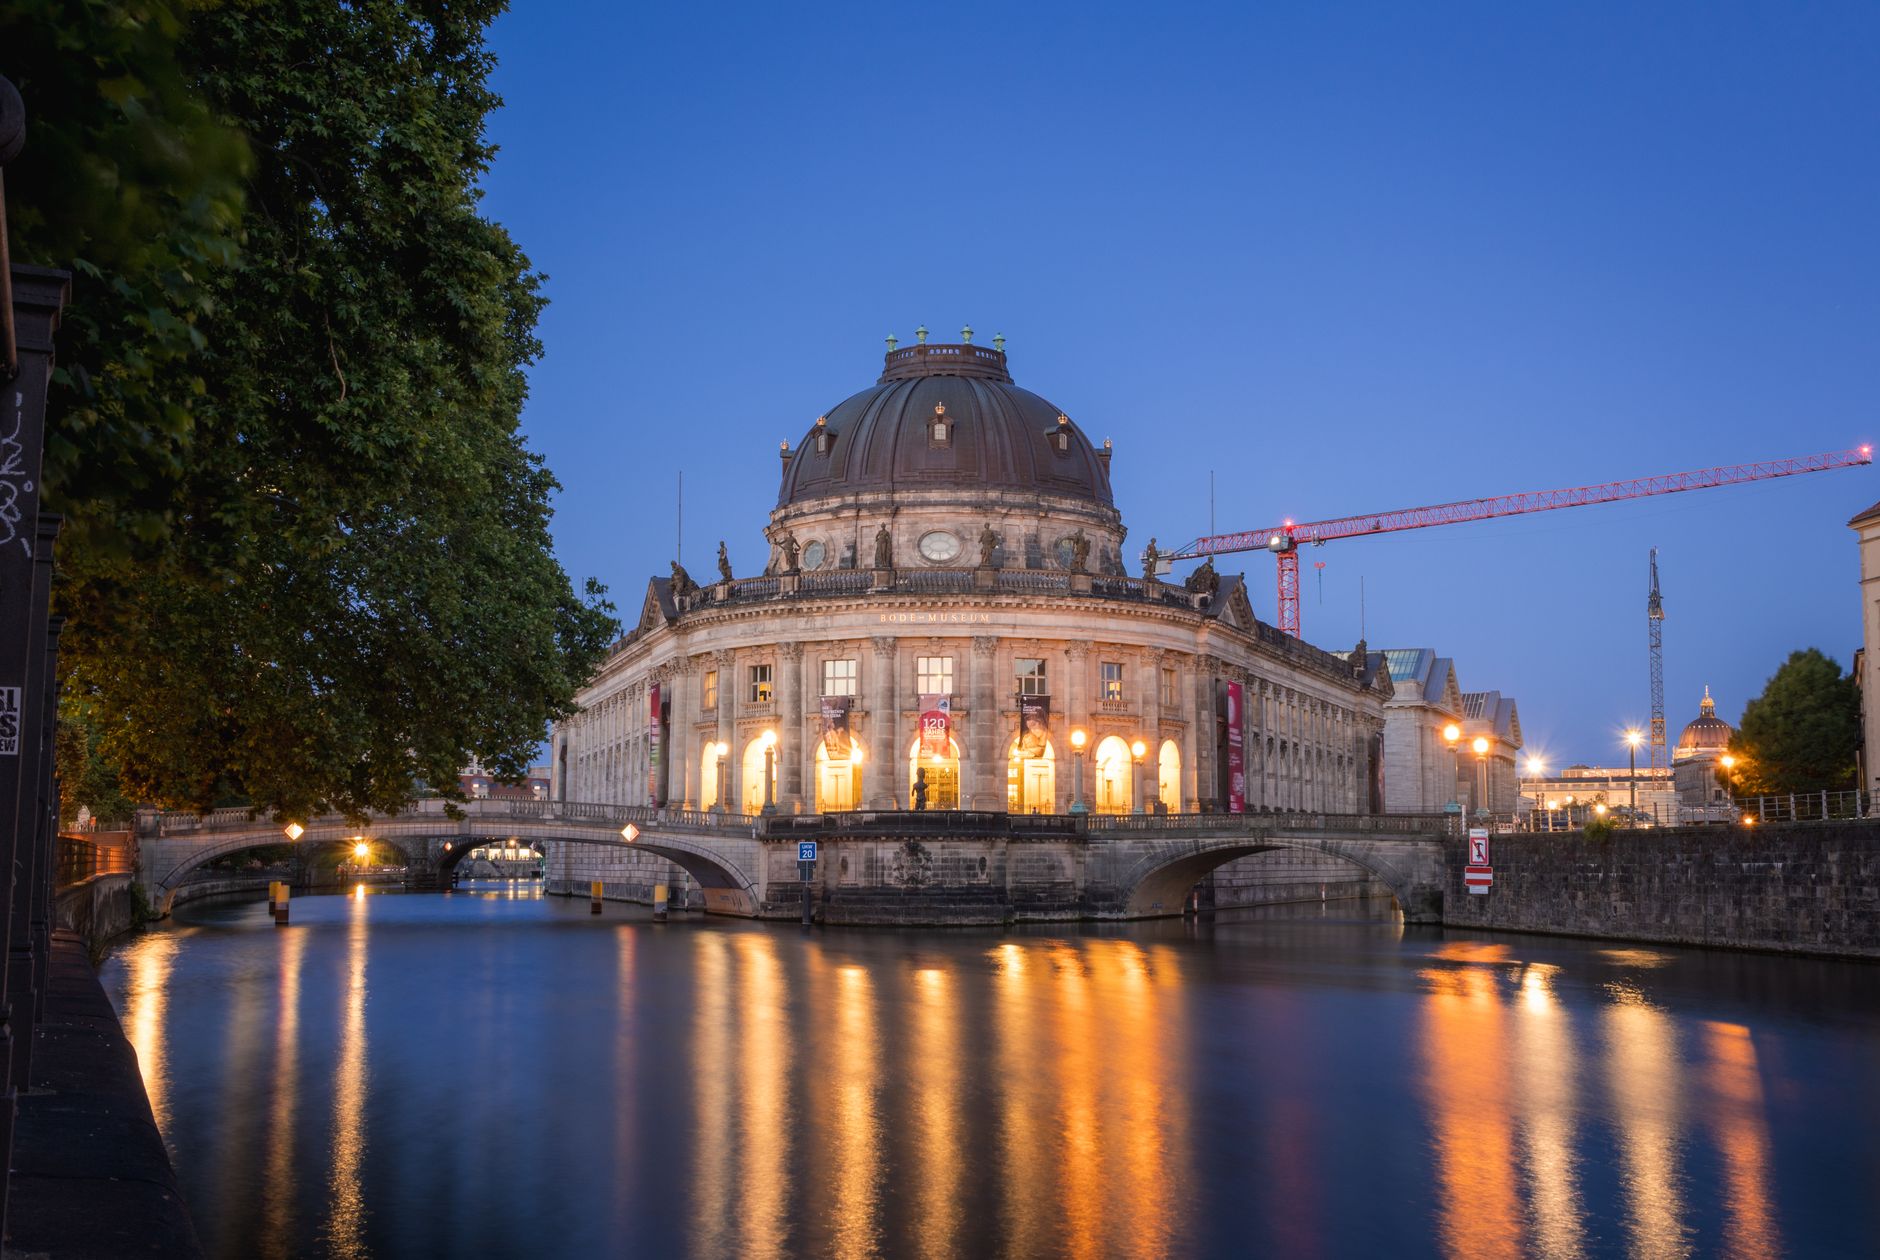
Photo by Niklas Jeromin
Work around narrow streets and bright landmarks
In Krakow, Florence, or Porto, tall buildings can hide much of the sky. Compose upward only when the architecture has a clear shape. Otherwise, include pavement, a doorway, or a distant opening to give the image depth.
For a landmark with strong floodlights, move slightly off-center. This reduces flare and stops the brightest area from sitting in the middle of the composition. A lens hood also helps when a lamp sits just outside the frame.
Correct Common Exposure Problems on Location
Review the first few frames at full zoom, not only on the rear screen’s small preview. A fast correction is easier than rebuilding the setup after the best color has passed.
- A pale blue sky usually needs a shorter shutter speed or a slightly lower ISO.
- Blown-out lamps call for a shorter exposure, even if darker stone needs later shadow recovery.
- Soft images at f/11 may come from wind or tripod vibration rather than missed focus.
- Leaning buildings often need a lower camera position, a level tripod, or lens correction during editing.
During blue hour, protect highlights first. You can often lift shadows in a RAW file, but clipped lamp detail rarely returns.
Make the Most of the Short Window
Good blue-hour frames come from preparation, not frantic adjustments after sunset. Arrive early, begin at low ISO and f/8 for static scenes, then let shutter speed respond to the remaining sky color.
The final difference may be small: changing a two-second exposure to 1.3 seconds before the church clock lights overwhelm the blue above the roofline.
