
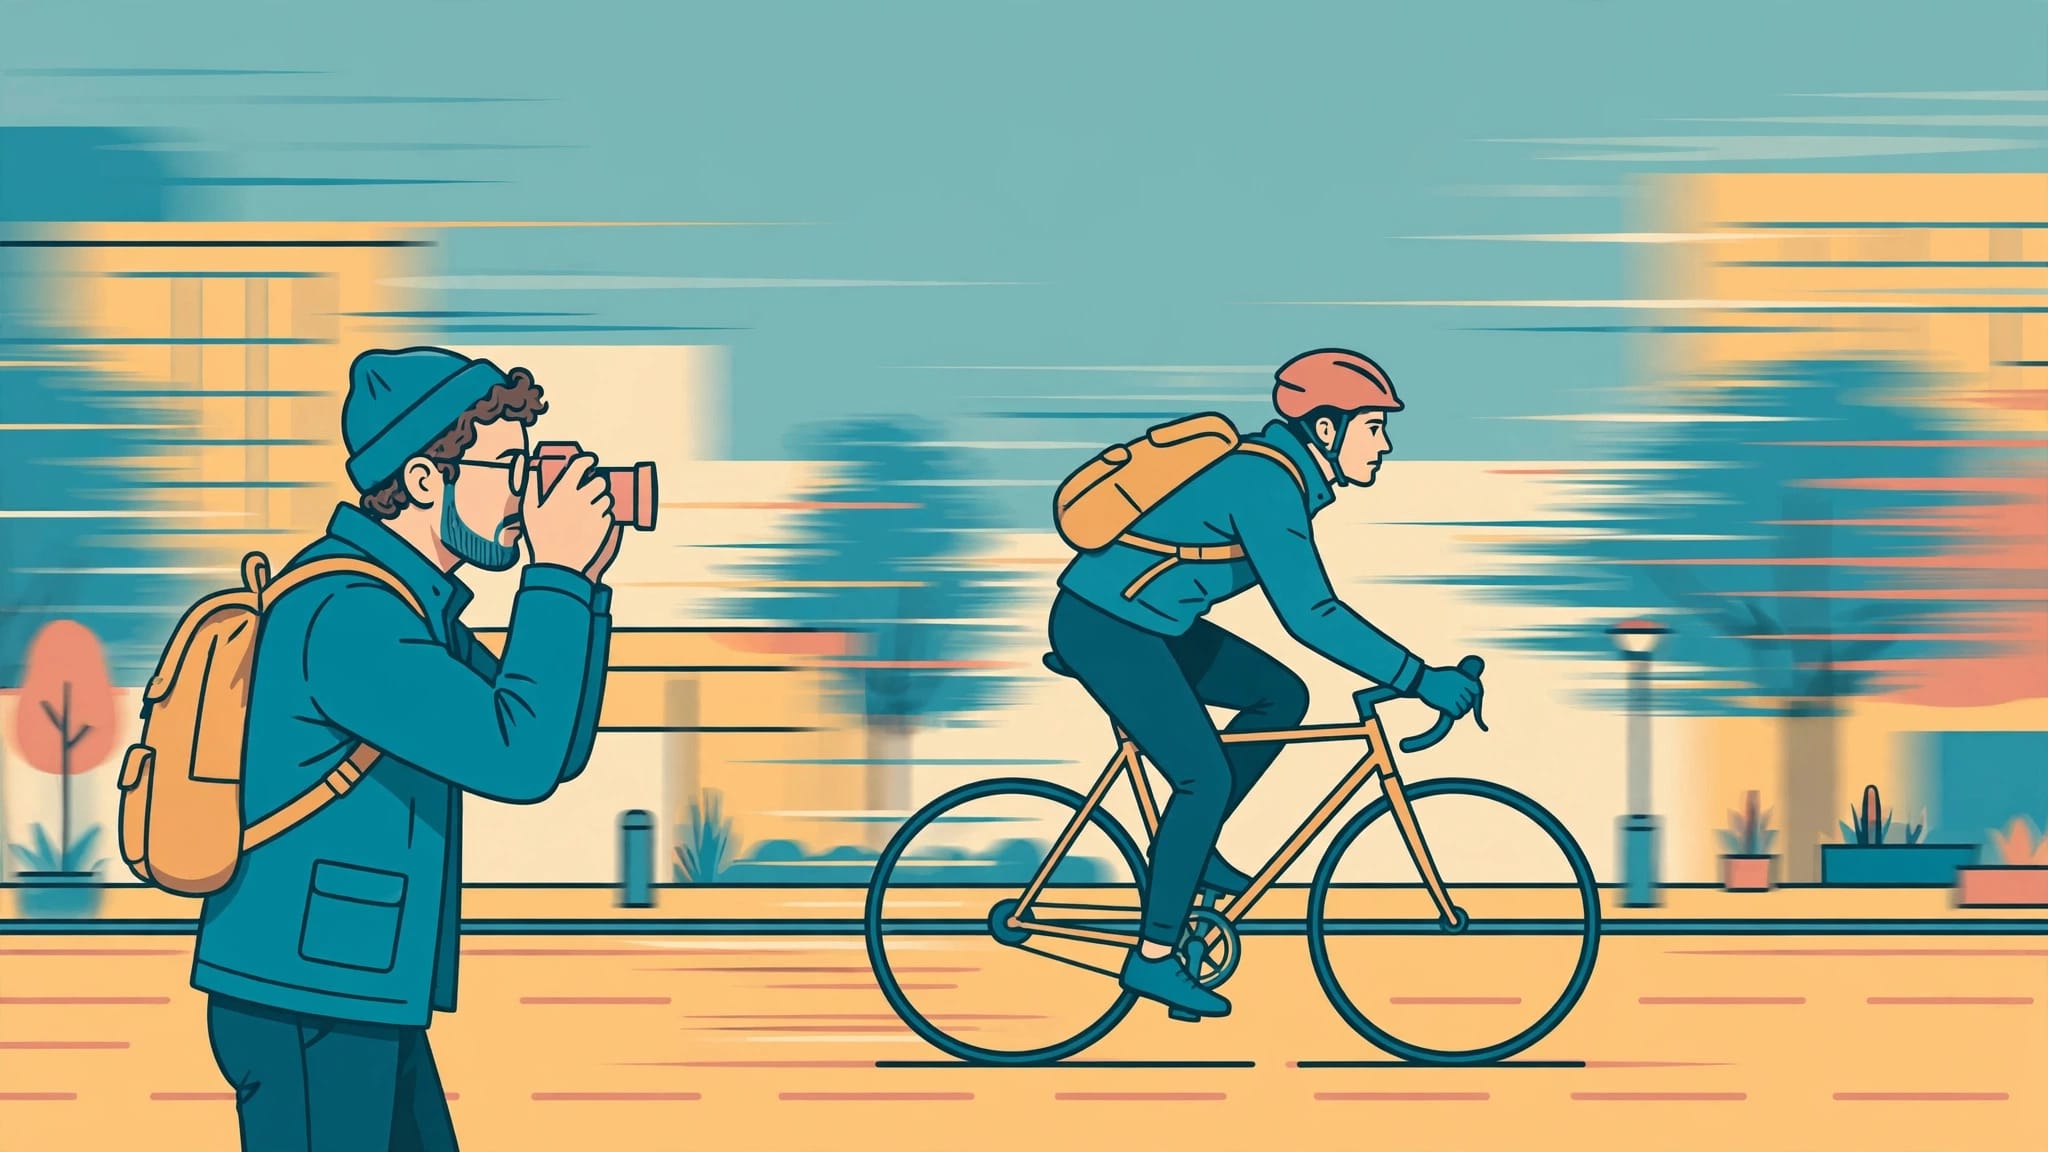
Camera panning captures a moving subject against a blurred background by following it with your camera during a relatively slow exposure. The goal is a recognizable, sharp subject with enough background streaking to show movement.
You don’t need a racing circuit or a long lens to practice. A cyclist crossing a street or a tram passing a row of buildings can provide plenty of opportunities.
Start by understanding what the camera needs to follow.
How Camera Panning Creates a Sharp Subject
When you pan, you rotate the camera in the same direction and at roughly the same speed as your subject. If the subject stays in nearly the same place in your frame during the exposure, parts of it can appear sharp while the background stretches into horizontal streaks.
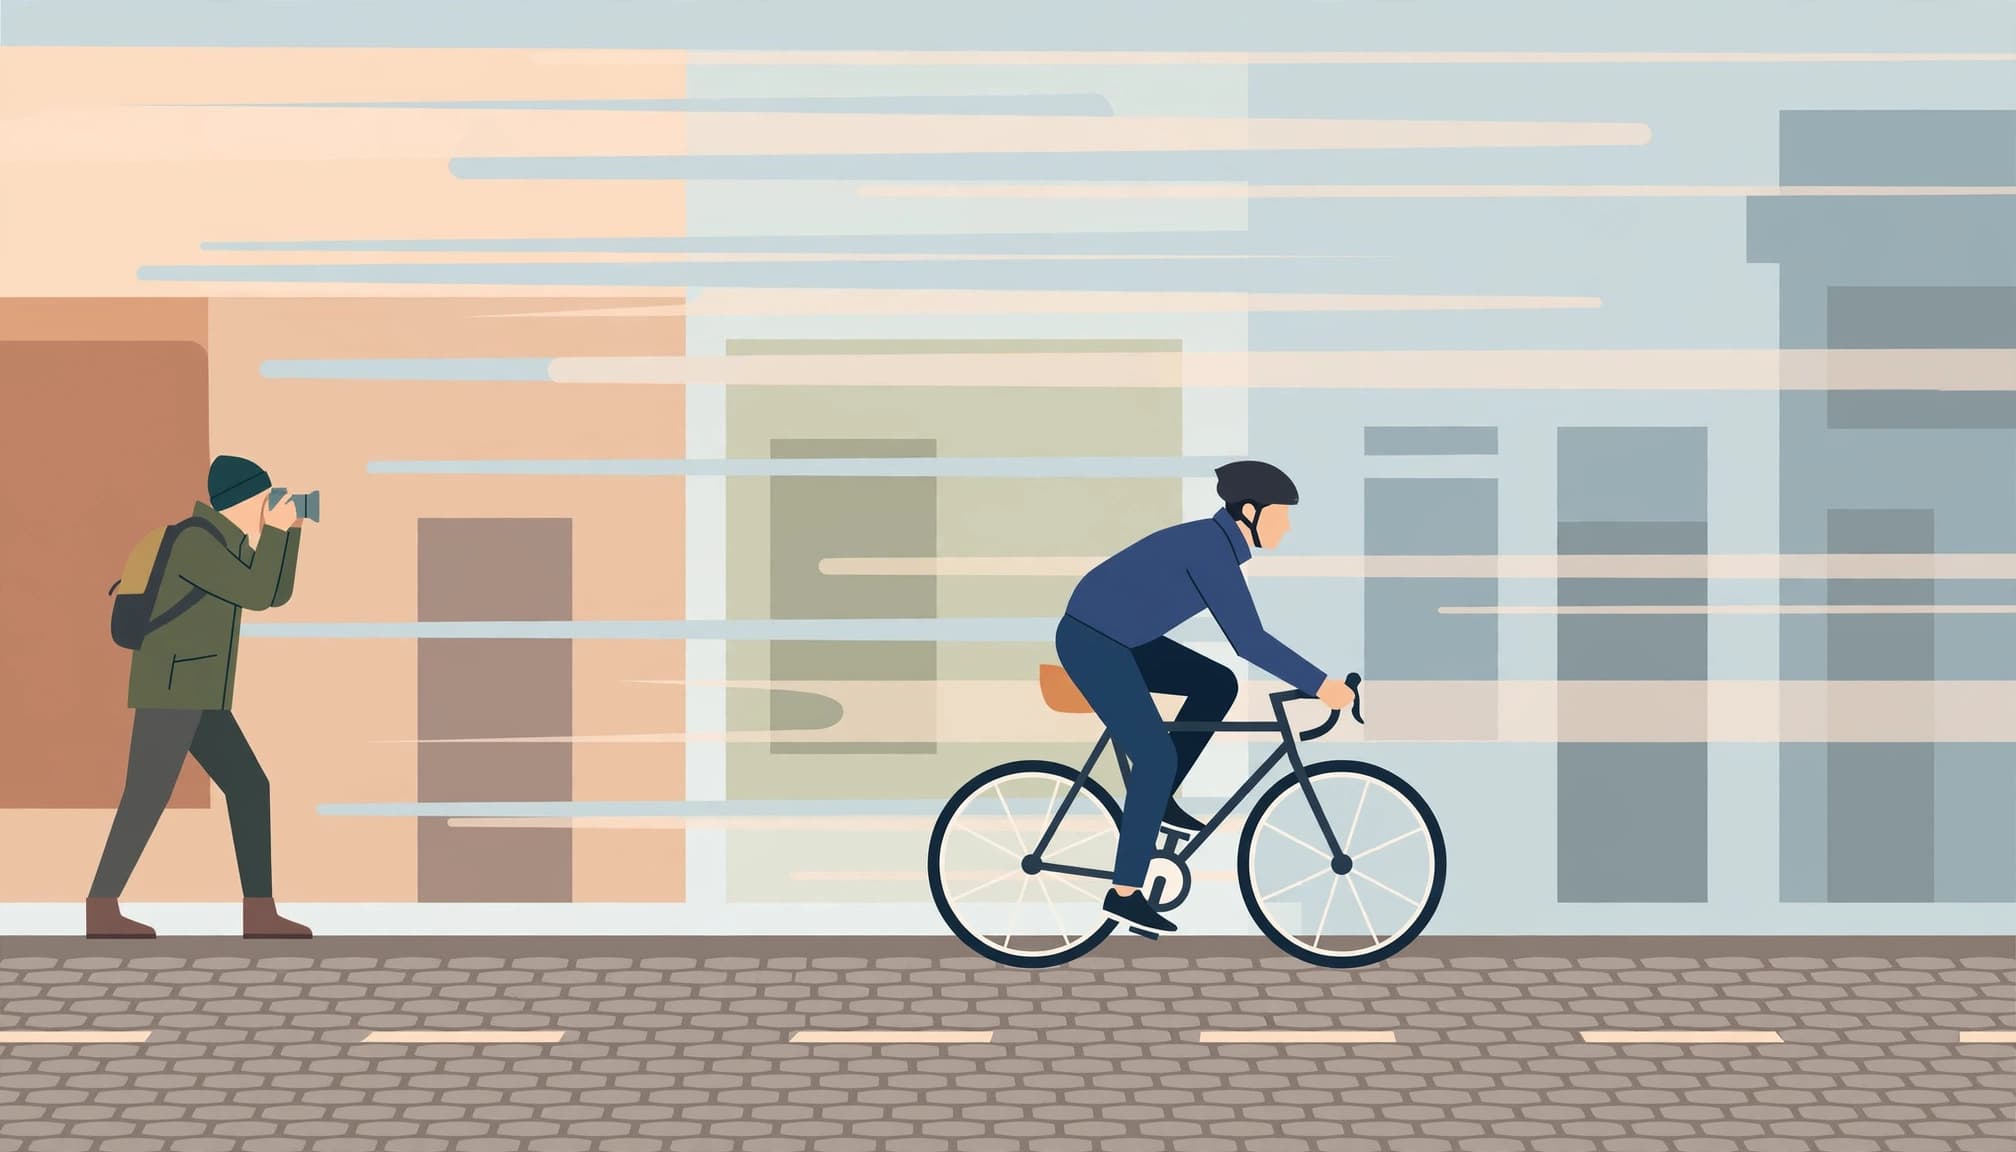
The effect is different from holding the camera still and letting a cyclist blur across the picture. With panning, the camera moves too. Nikon’s camera panning guide describes the basic technique as moving with the action while choosing how much motion to freeze or blur.
Expect some movement within the subject. A cyclist’s torso may look clear while the wheels and legs blur, because those parts move differently from the bicycle as a whole. That variation can make the picture feel lively.
A subject moving across your view is usually easier to follow than one coming straight toward you. Start with a predictable path and give yourself several chances.
Choose a Shutter Speed for the Subject
Shutter speed controls how long the camera records movement. A slower exposure gives the background more time to streak, but it also makes accurate tracking harder.
For a cyclist, begin around 1/60 second. Nikon uses that speed as an example in its panning masterclass. If the subject stays sharp and the background looks too still, try 1/30 second. For more pronounced streaks, experiment with 1/15 second.
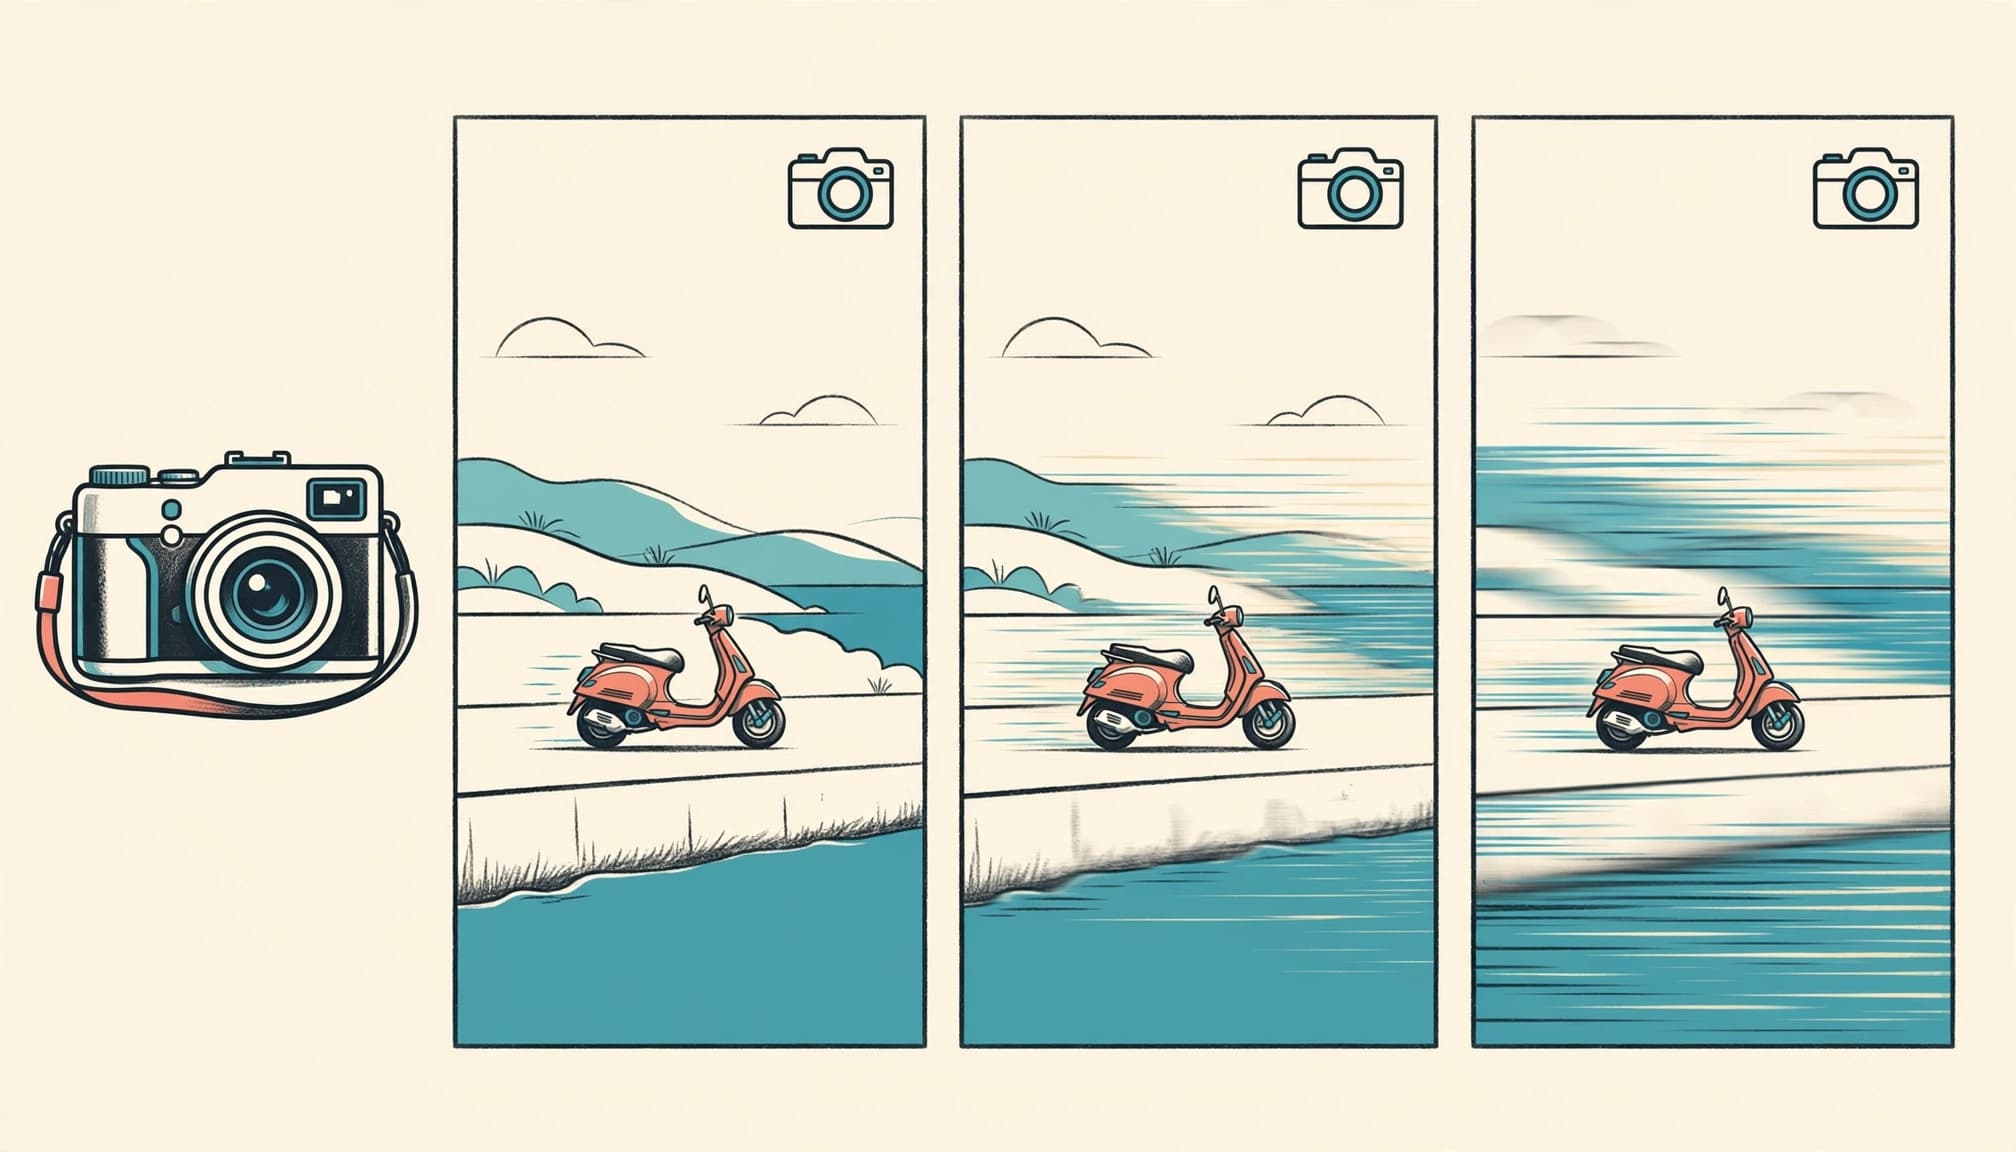
The starting range for panning cyclists is useful, but distance and apparent speed matter. A bicycle close to you crosses the frame faster than one farther away, even if both riders travel at the same speed.
Start Faster When Tracking Feels Difficult
Try 1/125 second if you struggle to keep the subject recognizable. You may get less background blur, especially with a distant walker, but the shorter exposure gives you more room for small tracking errors.
Once you can follow the subject smoothly, slow the shutter in stages. Compare the frames at the same magnification rather than relying on the small camera preview.
Slow Down for Stronger Streaks
At 1/30 or 1/15 second, even a small change in your tracking speed can soften the subject. Take several photographs and watch a detail that should stay relatively still, such as a cyclist’s helmet or a tram window.
There’s no single speed for every street. The right choice depends on how quickly the subject moves across your view and how much blur you want.
Set Exposure Without Losing Control of Motion
Shutter priority is a convenient starting mode. Choose the shutter speed, and the camera adjusts the aperture for the available light. On many cameras, the mode is marked S or Tv.
Manual mode gives you control over both shutter speed and aperture. With Auto ISO available, you can hold those choices as you move between sun and shade, within the camera’s exposure limits. This guide to using Auto ISO for travel photography explains how that approach handles changing light.
Watch the Aperture in Bright Sun
At 1/30 second on a bright street, a lens may need a narrow aperture to avoid overexposure. Start with a low ISO, such as ISO 100 or 200, and inspect the exposure.
If the camera reaches its smallest available aperture and the image remains too bright, use a faster shutter speed or move into shade. A neutral density filter can also reduce the light entering the lens while you keep the slower speed.
Leave Room for Changing Light
In shade or near dusk, the opposite problem appears. The camera may need a wider aperture or a higher ISO to maintain your chosen shutter speed.
A setting around f/5.6 or f/8 can provide useful depth of field when light allows, but don’t force it in a dim street. A slightly noisy image with a recognizable subject is often more useful than an underexposed frame.
Find a Travel Scene That Supports the Pan
Look for a route where people or vehicles pass through the same area repeatedly. A cycle lane beside a row of shopfronts can give you time to compose before the next rider arrives.
Stand somewhere safe and stay out of the traffic’s path. Leave space for pedestrians, and avoid setting up where your attention to the camera could block a narrow pavement.
Pick a Side-On View
A subject traveling across the frame gives you a clear direction to follow. Try to position yourself so the cyclist or tram passes roughly parallel to you, rather than approaching at an angle.
When the subject changes distance quickly, its apparent size changes during the exposure and focus becomes harder to maintain. A more consistent distance gives you a simpler first attempt.
Background distance matters too. Nearby walls and signs tend to sweep across the frame more quickly than distant mountains, so they can create stronger streaks at the same shutter speed.
Leave Space in Front of the Subject
Give the cyclist or vehicle room to move into the frame. Include enough background to establish the place, but watch for poles or bright patches that cut across the subject.
In a one-lens travel photography account, a photographer paused to change lenses as Lisbon’s Tram 28 rounded a bend at blue hour. By the time the swap was finished, the tram had passed. A split second too late.
The lesson for a busy street is practical: choose a useful focal length before the action arrives, then keep the camera ready.
Move Your Camera Smoothly
Good camera panning starts before you press the shutter and continues afterward. Rather than waiting for the subject to reach the center of the frame, begin following it early enough to settle into its pace.
Set Your Stance
Plant your feet comfortably and keep your elbows close to your body. Face the point where you want to take the photograph, then turn your upper body toward the approaching subject.
As it passes, rotate through the frame without shuffling into traffic or twisting so far that you lose balance. If the route runs beyond your comfortable range, choose an earlier or later release point.
Keep the camera level where possible. A horizon that tilts during the pan can make the streaks uneven and leave you with less usable space after cropping.
Follow Through After the Exposure
Track the subject before pressing the shutter, press gently, and keep turning after the exposure. Stopping abruptly as you press can create an unwanted change in speed while the shutter is open.
If a rider moves faster than your camera, the rider will drift across the frame during the exposure; if you swing past too quickly, the same detail can smear in the opposite direction.
Stay relaxed and repeat the motion. A smooth pan matters more than a forceful one.
Keep the Subject in the Same Part of the Frame
Choose a visible detail on the subject and follow it consistently. For a cyclist, a helmet or upper body is usually easier to track than a spinning wheel. For a tram, try a window or a fixed feature on its side.
Begin tracking while the subject is still some distance from your chosen release point. Give the camera time to focus, then maintain your framing as the subject passes. If the subject moves behind a pole or another person, wait for a clear view rather than trying to correct everything during the exposure.
Leave some room around the subject while you practice. A tight composition makes it easier to clip a wheel or a person’s head when your tracking drifts.
Make several frames over successive passes. You can refine the crop later, but you can’t restore a part of the subject that fell outside the original frame.
Diagnose Blur Before Changing Everything
A successful panning photo can contain both sharp and blurred areas, so inspect the part you intended to keep clear. Magnify a helmet, a face, or a fixed detail on the vehicle.
When the Subject Is Soft
If the background has attractive streaks but the subject is smeared, try a faster shutter speed first. Then concentrate on matching the subject’s pace through the exposure.
Check focus as well. A sharp background with a soft rider may indicate that the camera focused behind the subject. Choose a clearer view and start following earlier.
Remember that hands, feet, and wheels can move independently. Judge the frame by the detail you deliberately tracked rather than expecting every part to be motionless.
When the Background Looks Too Still
If your subject is clear but the scene lacks movement, slow the shutter one step at a time. You can also choose a closer background with visible detail, such as a textured wall or a row of windows.
Avoid changing both the location and the shutter speed after every attempt. Keep one variable steady long enough to see what the other does.
Also look at the subject’s speed across your frame. A distant pedestrian may need a slower exposure than a nearby cyclist to produce similar streaks, which makes the pan harder to execute.
Use the Gear You Already Carry
A standard travel zoom is enough for many street scenes. A moderate focal length gives you room to follow a passing subject without needing to stand close to the road.
Longer lenses can isolate a distant rider, but they also narrow the frame. That makes it harder to keep a moving subject positioned consistently. If you already carry one, these travel telephoto lens tips can help you decide when the extra reach is useful.
A tripod isn’t essential for handheld panning. You need freedom to rotate, and a simple stance is often easier on a crowded pavement. Stabilization can help with some camera movement, but it doesn’t freeze a subject’s own motion.
For bright conditions, an ND filter is useful if you can’t reach a slow enough shutter speed without overexposing. Keep the setup uncomplicated while you learn the movement.
Build a Short Practice Routine
Find a safe spot beside a cycle lane or another route with repeated traffic. Set 1/60 second, compose with room around the subject, and follow each pass through the frame.
After several attempts, inspect the results at full magnification. If the subject stays clear, try 1/30 second. If it doesn’t, return to a faster speed and work on a smoother turn.
Practice on different backgrounds too. A close wall can produce a distinct streak, while a distant skyline may stay relatively recognizable. As Canon’s photography guidance points out, panning works beyond racing scenes, so look for movement that belongs to the place you’re visiting.
Keep the Camera Ready for the Next Pass
Choose a position where you can follow the action comfortably and remain clear of other people. Give yourself enough time to start tracking before the subject reaches your chosen spot.
Then wait for a cyclist to pass the wall, follow the helmet through the frame, and keep turning after you press the shutter.
