
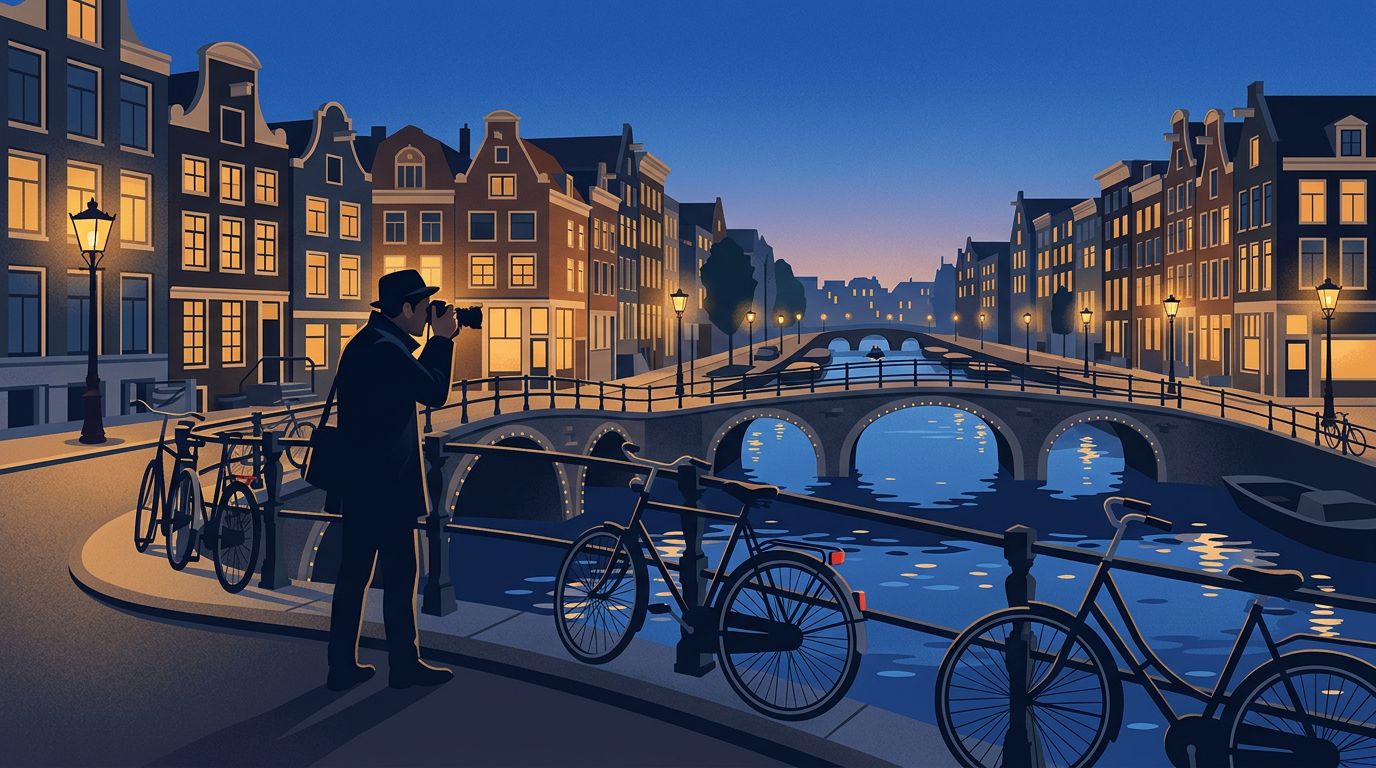
Blue hour lasts less time than most photographers expect. On Amsterdam’s canals, that brief window turns dark water into cobalt glass and sets warm windows against a sky that still holds detail.
Amsterdam canal photography works best when you slow down, walk a compact route, and give each frame time to settle. Arrive early. Light moves fast.
Key Takeaways
- Scout your bridges before sunset, then photograph when the sky and lamps balance.
- Choose one short route instead of chasing every famous canal in one evening.
- Use reflections, bridge arches, and receding canal lines to build depth.
- Start with a stable exposure, then adjust for bright lamps and moving boats.
- Keep cameras down around Red Light District windows and doorways.
Time Blue Hour Before You Leave
Blue hour begins after sunset, but its useful length changes with the season and weather. In summer, Amsterdam’s twilight can feel generous. In December, it compresses quickly and arrives long before dinner. Cloud cover can also soften the contrast, which often helps preserve detail in bright lamps.
Check the sunset time on the day of your walk, then arrive at your first location 30 to 45 minutes beforehand. That gives you time to test compositions while there is still enough light to see canal edges, railings, and uneven pavement.
Start shooting before the sky reaches its strongest blue. Early frames often hold more detail in the façades and water. As daylight falls, windows, bike lamps, and houseboats start to glow, while the canal becomes a darker mirror.
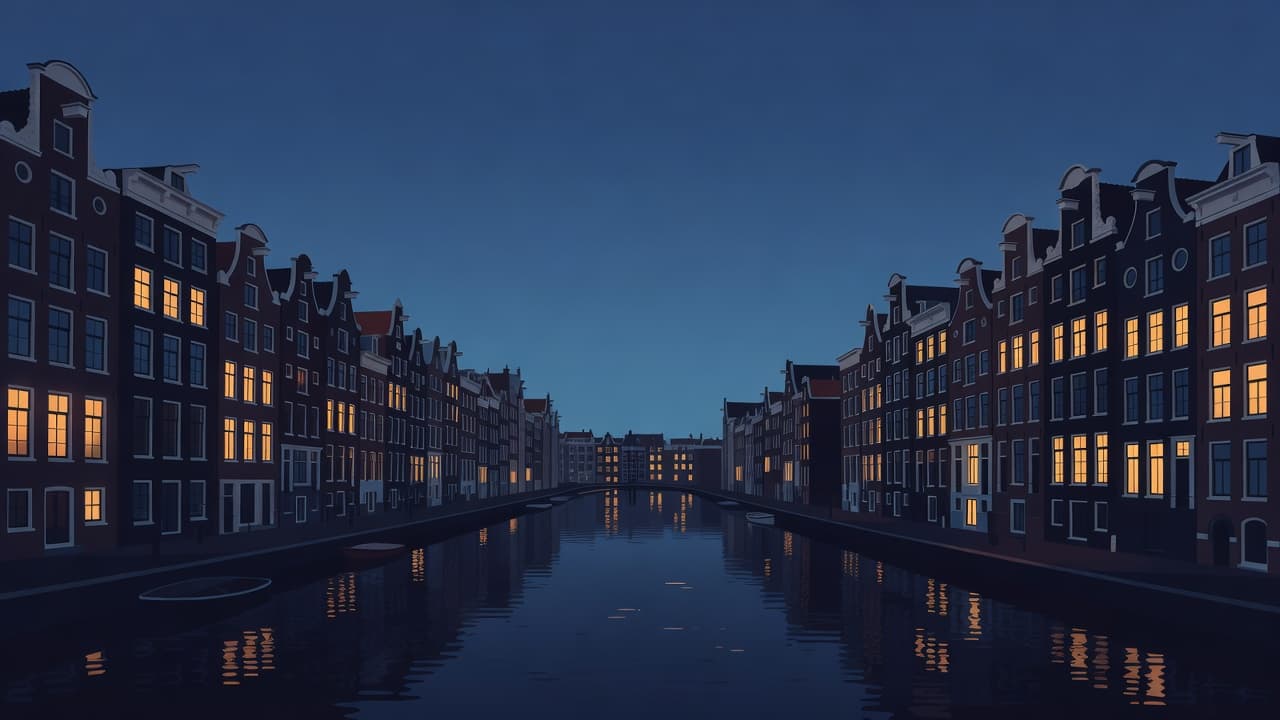
A scene built on opposites: cool sky, amber windows, black water.
If rain has passed through, stay out. Wet cobblestones add highlights, and canal-side lamps bounce across the pavement. However, dry conditions are easier if you plan to use a tripod on a narrow bridge.
The finest blue-hour frames usually happen after you have already made the obvious photograph and waited another five minutes.
For visual ideas before your trip, this Amsterdam photography guide shows how the city’s water, narrow houses, and bridges work together in a frame.
A Walkable Canal Route with Strong Frames
Trying to cover the entire canal belt during blue hour leads to rushed compositions and tired feet. Pick a route that you can scout in daylight, then revisit with purpose as the lamps come on.
Begin at Brouwersgracht and Prinsengracht
Start where Brouwersgracht meets Prinsengracht, near the northwestern edge of the canal ring. The water is broad here, and the old warehouses create a heavier, more textured skyline than the slim homes farther south.
Face along Brouwersgracht and look for a bridge that layers several façades behind one another. Move a few steps left or right until a moored boat stops blocking the reflection. Small shifts matter more than changing lenses.
On one November evening, I watched a photographer set up on the first bridge and wait for an empty canal. Every boat that passed seemed to spoil the reflection. Then a single low tour boat crossed beneath the lamps, leaving a soft golden wake that gave the image its focal point.
Pause at Leliegracht
Walk south along Prinsengracht to Leliegracht, one of Amsterdam’s most reliable canal views. The canal is narrow enough for reflections to feel close, while the bridge provides a clean foreground edge.
Stand on the bridge and photograph down the canal. Keep the buildings vertical, then let the water pull the eye into the distance. A 35mm or 50mm equivalent lens often feels more natural here than an ultra-wide lens, which can stretch the houses at the frame edges.
Westertoren may appear above the rooftops depending on your position. Don’t force it into every frame. The canal itself is enough when the lamps have begun to glow.
Finish near Reguliersgracht
If you still have light, head toward Reguliersgracht and the view often called the Seven Bridges. This spot demands patience because pedestrians and cyclists cross the bridge constantly. Set your composition first, then wait for a clean gap.
A longer focal length can compress the arches and make the repeating bridges feel almost theatrical. On the other hand, a wider lens can include the canal edge and the first bridge as a strong foreground shape.
For more location ideas, this roundup of popular Amsterdam photo locations includes the Amstel and Blauwbrug, both worthwhile choices when you want wider water and more open sky.
Camera Settings for Blue Hour Canal Photos
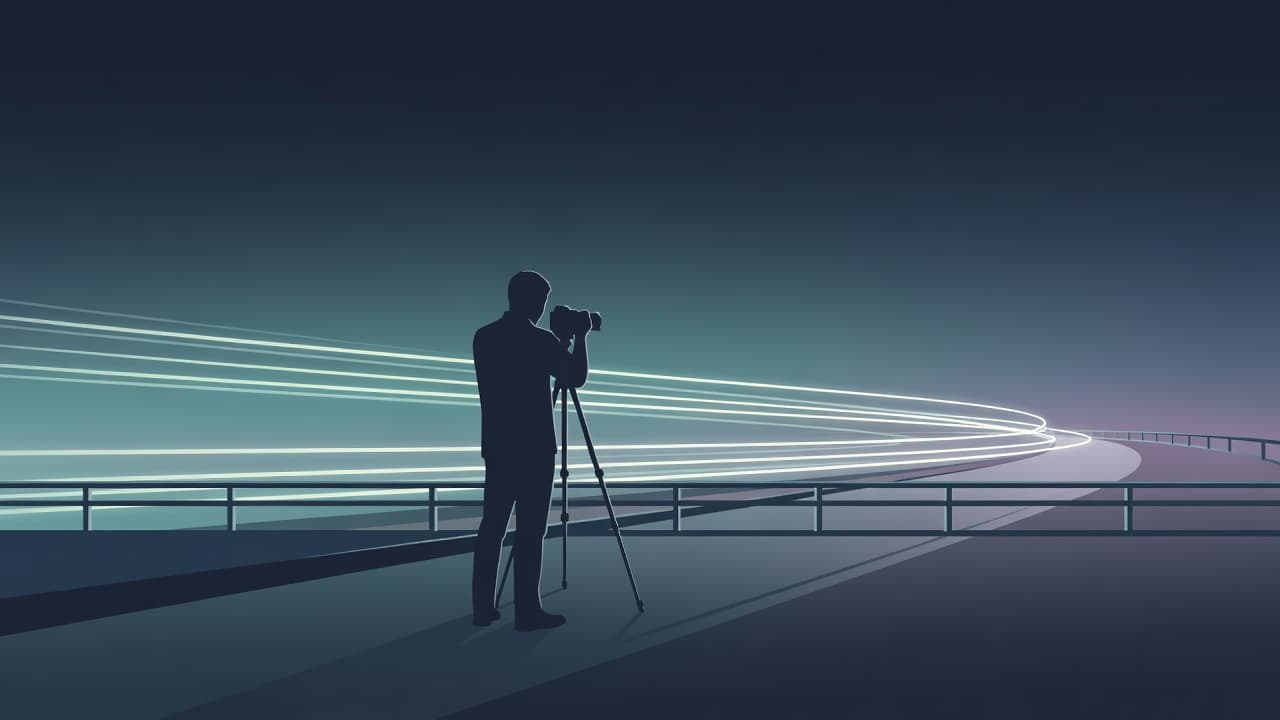
Handheld shooting works during the first part of blue hour, especially with a camera that handles high ISO well. Still, a tripod opens up slower exposures that smooth the canal surface and turn passing bike lights into thin lines.
Keep the kit small. A camera, one lens, a compact tripod, and a cloth for rain are enough for most canal walks. A heavy backpack becomes awkward on bridges, especially when cyclists need room to pass.
Use these settings as a starting point, then watch the histogram and highlight warnings rather than trusting the rear screen.
| Scene | Starting settings | What to adjust |
|---|---|---|
| Handheld canal view | f/2.8 to f/4, ISO 800 to 1600, 1/60 sec | Raise ISO before dropping below a safe shutter speed |
| Tripod canal reflection | f/8, ISO 100, 2 to 8 sec | Shorten exposure if lamps lose detail |
| Bike or tram light trails | f/8 to f/11, ISO 100, 5 to 20 sec | Extend shutter time for longer trails |
| Bridge arches at dusk | f/5.6 to f/8, ISO 200 to 400, 1/4 to 1 sec | Bracket when the sky is much brighter than lamps |
The takeaway is simple: protect highlights first. Blown lamps look harsh and are difficult to recover, while dark canal water can often be lifted later.
Manual focus helps once autofocus starts hunting. Focus on a bright building edge, bridge railing, or lamp post, then switch to manual focus so the camera doesn’t change its mind between exposures. Turn off image stabilization when the camera sits on a tripod.
Because Amsterdam’s lamps can be far brighter than the twilight sky, a single exposure may leave either the windows too bright or the canal too dark, so take a darker frame and a brighter frame if the scene has extreme contrast.
Work Light, Water, and People With Care
Bridges are busy infrastructure, not private platforms. Set your tripod close to the railing, leave room for pedestrians, and listen for bicycles before stepping backward. Amsterdam cyclists move quickly and often travel through spaces that appear empty.
A cross-body strap keeps your camera secure while you adjust filters or check your phone. If you shoot alone, choose well-lit bridges with foot traffic and keep valuables out of sight. If the weather turns rough, use a simple rain cover and wipe the front element often.
De Wallen requires extra care. Don’t photograph people, windows, doorways, workers, or clients in the Red Light District. The respectful choice is to keep the camera in your bag there and photograph the broader canal architecture elsewhere. This guide to photography in the Red Light District offers useful context on why restraint matters.
Privacy also extends beyond that area. Before posting, inspect shop windows, reflective glass, and water for identifiable faces. A frame can feel anonymous in person but reveal far more detail on a large screen.
Edit Without Erasing the Evening
Blue-hour edits often go wrong when the sky becomes electric blue and every window turns orange. Keep the color contrast believable. Lower highlights first, lift shadows with restraint, and correct vertical lines before adding saturation.
A subtle crop can remove a distracting bollard or parked scooter. However, leave enough water in the frame for reflections to feel intentional. If the bridge edge anchors the composition, don’t crop it away for a tighter image.
Local adjustments are useful for balancing the sky and the façades. Add clarity carefully to brickwork, but avoid sharpening water until it looks brittle. Grain can suit a handheld night frame, especially when it matches the softness of canal light.
The Walk Is Part of the Photograph
A blue-hour canal image depends less on finding a secret spot than on reading the light at a familiar one. Walk slowly, choose a bridge with a clear view, and wait for the water to settle into the frame.
The strongest Amsterdam canal photographs hold both movement and stillness, a passing bike lamp above the canal and a wavering reflection below it.
At Reguliersgracht, wait for one bicycle light to cross the nearest bridge.
