
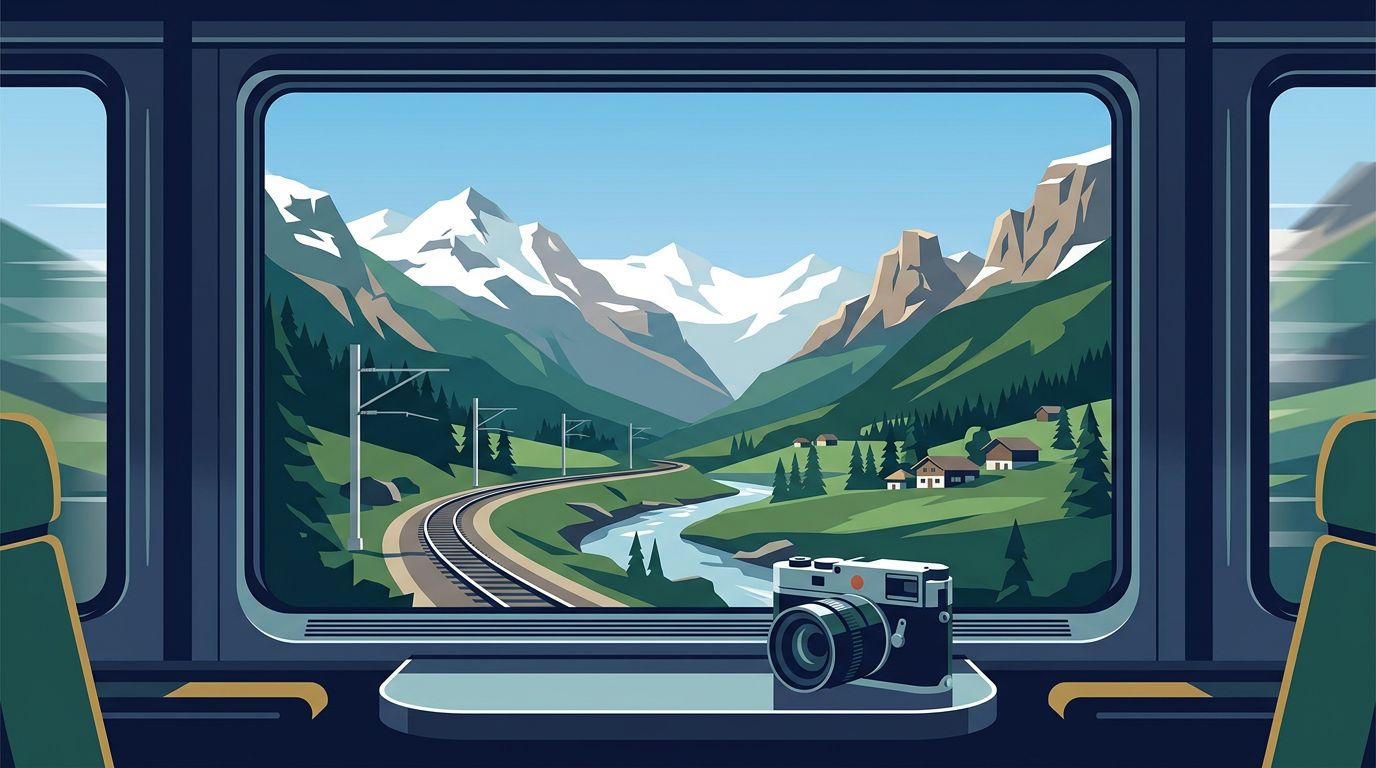
The best view of the Alps or a Dutch polder may last only seconds. With train window photography, sharp results depend less on luck than on a fast shutter speed, a clean viewing angle, and quick decisions before the scenery arrives.
Train glass adds reflections, vibration, and uneven light. Still, a moving carriage can produce photographs that feel more immediate than a roadside stop.
Set the camera before the train leaves the station.
Key Takeaways
- Use at least 1/500 sec for nearby scenery, then raise it toward 1/1000 sec on fast routes.
- Sit close to the window and block cabin reflections with a dark jacket or lens hood.
- Focus on distant terrain, not dirt or raindrops on the glass.
- Let ISO rise when needed. A sharp ISO 1600 image beats a blurred ISO 100 image.
- Shoot short bursts as a clear view opens, especially near bridges and valleys.
Train Window Photography Settings That Freeze Motion
A train moves fast, but the distance to your subject changes what the camera sees. Distant peaks barely shift in the frame. Nearby trees and fence posts streak past like a picket fence in a storm. Your settings must account for both.
Speed beats stabilization. Image stabilization helps with your own hand movement, but it cannot halt motion outside the carriage. Begin in shutter-priority mode or manual mode with Auto ISO. That keeps your priority clear when the light changes between open fields, tunnels, and forests.
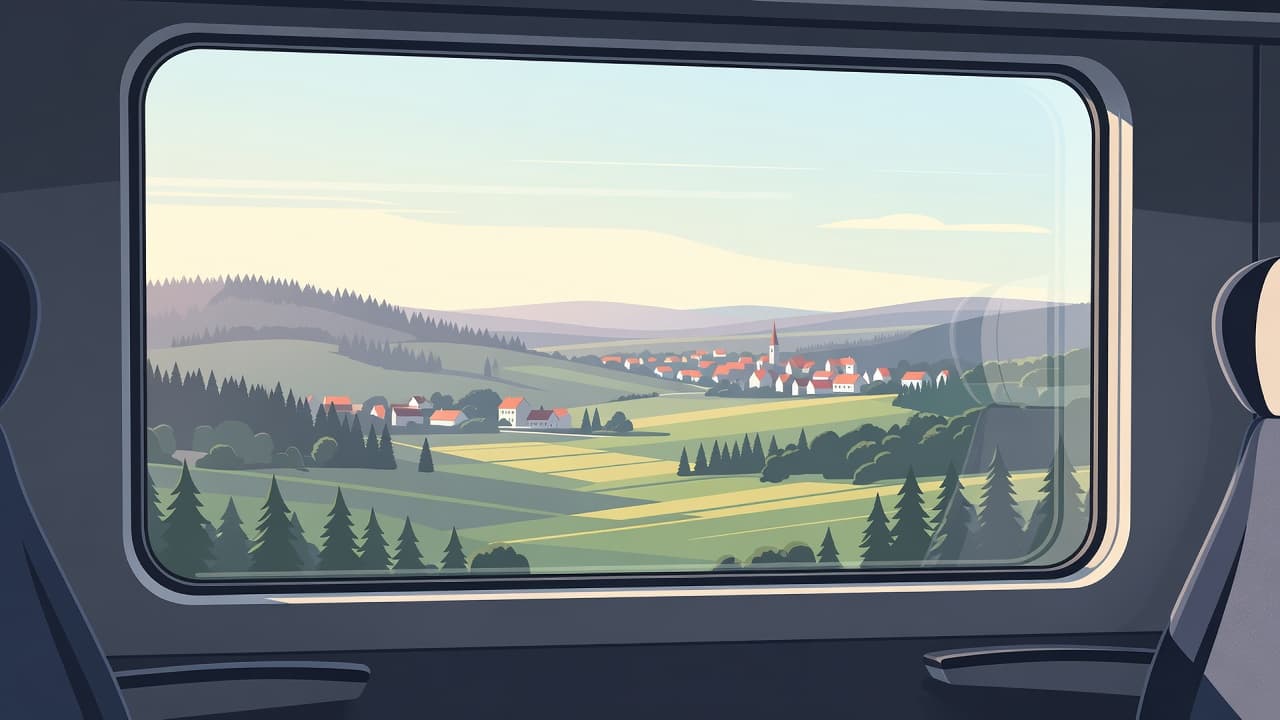
Start with a fast shutter speed
Use 1/500 sec as a practical minimum for distant hills, coastlines, and towns viewed across broad fields. Move to 1/800 sec or 1/1000 sec for close subjects and higher-speed services such as Italy’s Frecciarossa or France’s TGV.
The advice in this guide to shooting from a train also recommends speeds faster than 1/500 sec for reducing blur. That figure is a starting point, not a finish line. A train accelerating away from a station needs more speed than a slow regional service rolling beside a lake.
At 1/125 sec, a mountain ridge may look sharp while foreground branches turn into gray brushstrokes. That effect can be attractive when intentional. It won’t rescue a photograph of a village where every roofline needs definition.
For a sharp frame, judge shutter speed by the closest important object, not the distant view.
Use aperture and ISO with purpose
Set an aperture around f/5.6 to f/8 in good light. Most lenses are sharp there, and you gain enough depth of field for a landscape beyond the glass. Wider apertures such as f/2.8 can help in shade, yet they make focusing errors more obvious and may render window grime more prominently.
Auto ISO is useful because European rail routes rarely hold one level of light for long. The camera can compensate as the train passes under cloud cover or into a wooded cutting, while your shutter speed stays fixed.
These starting points work for most daylight journeys:
| Scene outside the window | Starting shutter speed | Aperture | ISO range |
|---|---|---|---|
| Distant mountains or coast | 1/500 sec | f/5.6 to f/8 | 100 to 400 |
| Fields with nearby trees | 1/800 sec | f/5.6 | 200 to 800 |
| Fast train beside close buildings | 1/1000 sec or faster | f/4 to f/5.6 | 400 to 1600 |
| Overcast valley or late afternoon | 1/500 sec | f/4 to f/5.6 | 800 to 3200 |
The table’s numbers protect detail before they protect low noise. Modern full-frame cameras handle ISO 1600 well, while many recent APS-C bodies produce usable files at ISO 3200 with careful editing.
A hard constraint: tunnel exits can fool any meter. Dial in minus 0.3 to minus 0.7 exposure compensation when bright clouds or snow fill much of the frame. Check your histogram after a burst, because clipped highlights on Alpine snow are hard to recover.
Beat Reflections Before They Ruin the Frame
The window is often the real obstacle. Interior lights, pale shirts, and empty seats can float across an otherwise perfect view. Reflections show most strongly when the cabin is brighter than the landscape outside.
Sit on the side with less direct sun. If you can choose, pick a seat where the sun falls behind or beside the train rather than onto the glass. On many routes, a seat reservation map lets you select your side in advance, so check the direction of travel and the time of day before booking.
Clean glass matters. Wipe a small patch with a microfiber cloth if it needs it, but don’t press against the window. The carriage vibrates, and lens-to-glass contact can pass that vibration into your camera.
Hold the lens close to the pane without touching it. A rubber lens hood can shield side light, although it may create a reflection if pressed against curved or dirty glass. A dark jacket, scarf, or black cloth held around the lens barrel often works better because it blocks cabin light without covering the view.

Photo by Suki Lee
Turn off the overhead light above your seat if the carriage permits it. Also dim a bright phone screen and move any white map or ticket away from the window. These small changes often matter more than a polarizing filter, which can cost valuable shutter speed and create uneven dark patches through modern train glass.
I once photographed the approach to Landwasser Viaduct on the Bernina line after leaving the camera in aperture priority. The preview looked acceptable until the train crossed a sunlit clearing, when the shutter fell to 1/160 sec and the viaduct’s stone edges softened. The next clear view received 1/1000 sec and a higher ISO, and the difference was obvious at full size.
Focus Beyond the Glass, Not on It
Autofocus can lock onto fingerprints, raindrops, window scratches, or the faint reflection of a seat headrest. Give it a clear instruction.
Use a single autofocus point or a small flexible zone. Place it on a high-contrast, distant feature such as a church tower, ridgeline, or far shoreline. Continuous autofocus, called AF-C on Nikon and Sony cameras and AI Servo on Canon bodies, helps when your framing changes quickly.
For an uninterrupted distant view, focus once and switch to manual focus. This prevents the camera from hunting every time a passing pole crosses the frame. At f/5.6 with a wide-angle lens, focusing near infinity leaves ample depth of field for most open scenes.
Avoid the very edge of the frame if the window bends or has a dotted safety pattern. Place the horizon slightly off-center, then wait for uncluttered space between poles, signal masts, and other tracks. Shoot in bursts. Three or four frames can cover a sudden shake or a reflection that appears for half a second.
A small RAW buffer is your friend. RAW files preserve more highlight and shadow detail than JPEGs, which helps when the view contains bright sky and a dark forest. However, don’t spray hundreds of frames at the same scene. Watch the rhythm of poles and shadows, then release the shutter during a clean gap.
Read the Route and Light Before Departure
European rail travel gives you a useful advantage: the route is fixed. Study the line on a map before you board. A west-facing window can catch warm evening light on a journey through the Rhine Valley, while a north-facing seat may suit softer light beside Switzerland’s lakes.
Morning is often easier because cabin lights are dimmer and haze can be lower. Yet overcast weather has its own strength. Clouds soften contrast, so you can hold detail in green valleys and pale stone villages without extreme exposure compensation.
On the Glacier Express, wide windows improve the view but amplify reflections. On older regional trains, opening windows may be possible, but only follow railway rules and never put a camera outside the carriage. Wind pressure and trackside objects create a genuine safety risk.
If you use a phone, activate its main camera rather than the ultra-wide lens. Tap a distant subject to focus, lower exposure slightly, and brace the phone with both hands near the glass. Phones often apply heavy noise reduction in low light, so daylight scenes deliver the cleanest results.
A Fast Editing Routine for Window Images
Window shots need a restrained edit. Start by correcting the white balance, because train glass can add a green, blue, or gray cast. Then reduce highlights before lifting shadows. This protects cloud detail without making the entire image look flat.
Inspect the file at 100 percent. If the distant subject is sharp but the foreground has motion blur, keep it if the blur supports the sense of movement. Crop out bright reflections at the frame edge when possible, but don’t crop so tightly that the photograph loses its sense of place.
Local adjustments work well on hazy views. A modest dehaze adjustment can restore a far ridgeline, while a selective contrast mask can separate a village from a surrounding hillside. Push either control too far and window smears become more visible.
Keep the image honest. A trace of reflection can remind viewers that the photograph came from a moving train, with a route and a moment attached to it.
Final Frame
Sharp train window photography starts with shutter speed, then relies on glass control and disciplined focus. Fast settings let you respond when a railway curve reveals a valley for only a few seconds.
Pack a microfiber cloth, reserve the better side of the carriage, and set 1/800 sec before the next clear stretch of track.
