
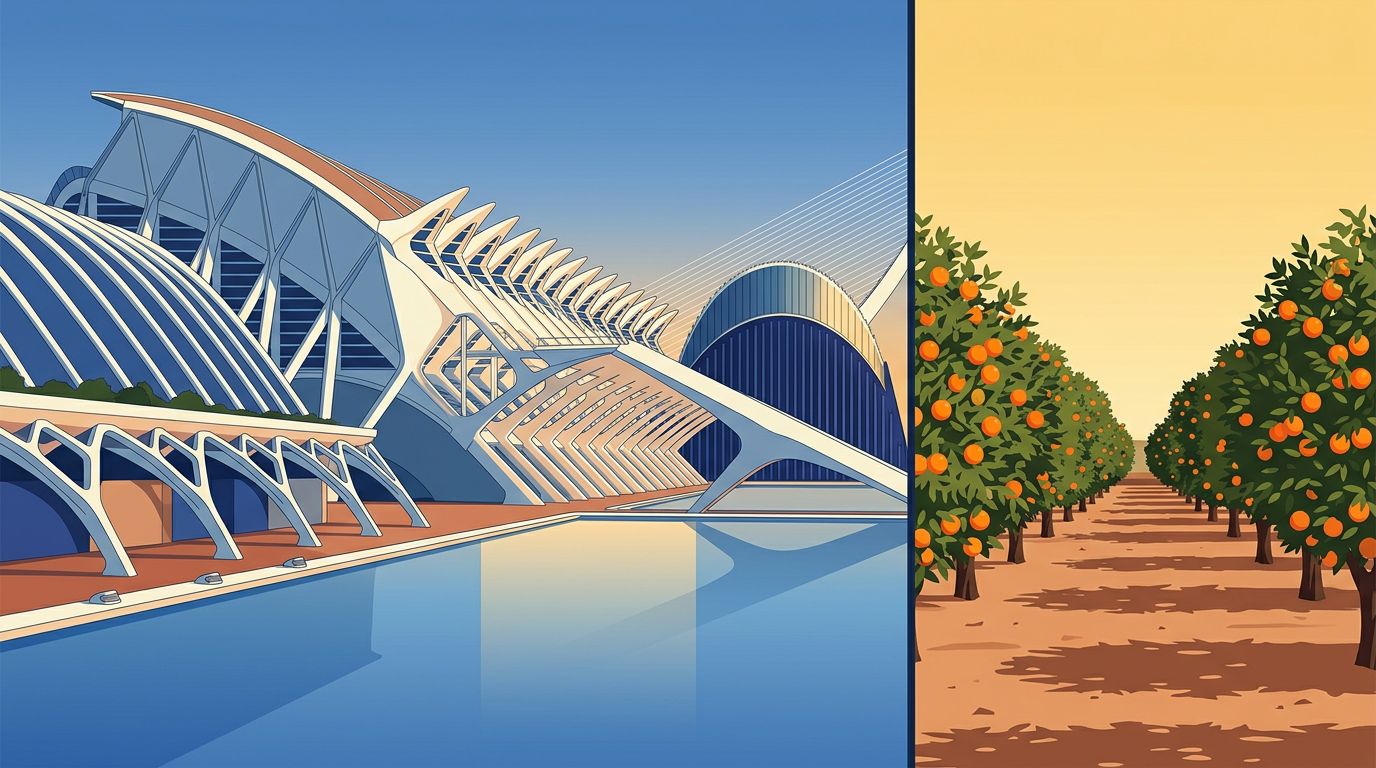
Valencia rewards photographers who look twice. White concrete curves catch hard Mediterranean sun, while a short train ride away, orange trees line quiet agricultural roads.
This Valencia photography guide uses the City of Arts and Sciences as its modern anchor, contrasting modern architecture with the historic quarter and orange-growing countryside. It brings architectural photography and travel photography together, with the best light moving quickly across pale façades and reflective water.
Begin before the pavement heats up.
Key Takeaways
- Give Valencia three full days to combine the historic quarter, the City of Arts and Sciences, and an orange-grove or Albufera outing.
- Photograph the historic center early, when El Carmen, La Lonja de la Seda, Mercado Central, and the Torres de Serranos are quieter and easier to frame.
- Visit the City of Arts and Sciences during late afternoon and blue hour, using reflections, white curves, repeating ribs, and low viewpoints to build strong compositions.
- Travel to Carcaixent or another permitted citrus-growing area for rows of trees, irrigation channels, farm buildings, and a wider sense of the Valencian huerta.
- Protect highlights on white façades, carry a tripod for reflections and night photography, and adapt your route to wind, heat, weather, and access restrictions.
Plan Your Valencia Photography Guide Around Light and Distance
Give Valencia three full days if architecture and orange groves both matter to you. Two days works for the old city and City of Arts and Sciences, but a third day creates room for an unhurried orange-grove outing, a return visit at blue hour, or a weather backup. If weather disrupts the groves, Albufera Natural Park offers a separate third-day alternative.
The historic center, including much of the historic quarter, is compact enough to cover on foot. Meanwhile, the Turia Gardens form a long green corridor between Ciutat Vella and the modern complex. A bicycle makes that connection easy, especially when you need to carry a small tripod. Metro, bus, and taxi rides save energy when afternoon heat builds.
For the old-city portion, plan a route through the historic quarter and walk the historic center before 9 a.m. Start in El Carmen, pass the Miguelete tower, and look for historic monuments suited to quiet street photography. Save the City of Arts and Sciences for late afternoon, then remain through dusk. On white surfaces, lower natural light brings out ribs, shadows, and curvature that midday can flatten.
Valencia’s light changes with the season. Summer golden hour starts early and sunset arrives late, so architecture shoots can stretch well into the evening. In winter, golden hour sits lower, making façades easier to photograph without harsh overhead light. Check the forecast for wind, too, since calm water makes a far bigger difference than a small change in cloud cover.
A photo-location overview of the complex helps when you want to scout angles before committing an evening to one viewpoint. Still, leave time to walk without a route. The strongest compositions often sit one footpath away from the obvious view.
At the complex, wind decides whether the pools act as mirrors or textured foregrounds. Check the surface before unpacking a tripod.
Bring a rain cover. Heat arrives fast.
Medieval Lines in the Historic Center
Ciutat Vella gives this historic-city route its counterweight. The historic quarter is full of compressed spaces, heavy stone, iron balconies, and tiled thresholds. Sudden squares let sunlight strike like a spotlight. The historic center also concentrates Gothic churches and historic monuments within a short walking route.
La Lonja de la Seda and Mercado Central
Start at La Lonja de la Seda, Valencia’s Gothic silk exchange. On the quieter side of the historic quarter, the exterior is strongest in side light. Crenellations and carved details then cast small, legible shadows. Use a 24mm to 35mm lens outside if you want the building to retain its shape. A wide-angle lens works too, but keep the camera level and correct verticals later with restraint.
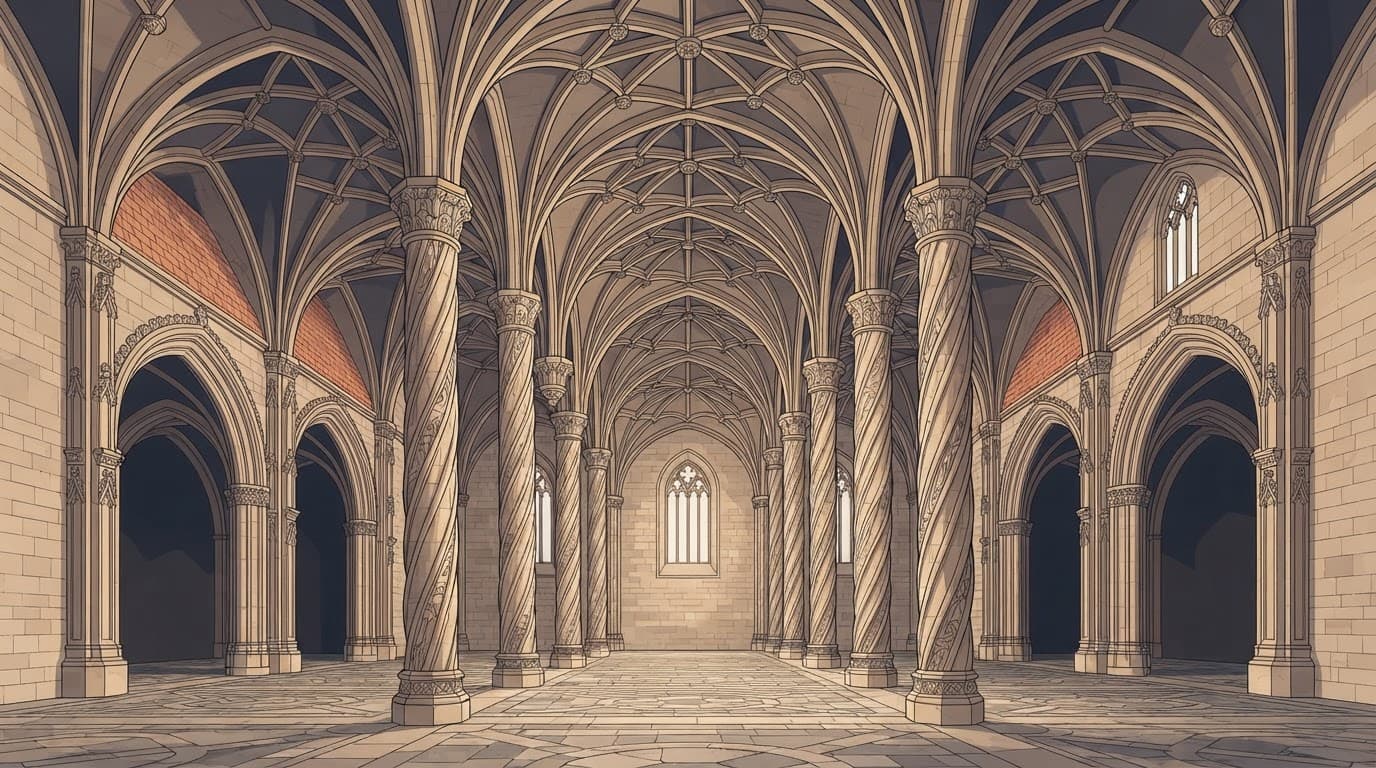
Inside, if photography rules allow it, look for the twisting columns and the way they pull the eye upward. Expose for the bright windows, not the darkest corners. A small amount of shadow detail can disappear without hurting the image. Blown highlights in stone usually look worse.
Across the street, within the historic quarter, Mercado Central offers an entirely different rhythm. Work around the exterior first, using a standard zoom or 50mm equivalent to frame its busy entrances. Inside Mercado Central, study the Modernista ironwork, glass, and ceramic facades, then step closer to isolate repeated ornament. At Mercado Central, respect vendors and customers. For street photography, a long lens can capture gestures and colour without putting a camera in someone’s face.
El Carmen, Torres de Serranos, and Miguelete tower
El Carmen works best when you stop trying to photograph every wall. In this historic quarter, search El Carmen for one pairing: weathered plaster against a bright painted door, a narrow passage framing a palm, or ceramic facades around a tiled residential doorway. For street photography in El Carmen, use a 35mm or 50mm lens to keep the scene intimate and avoid visual clutter.
The Torres de Serranos are more graphic from a slight angle than head-on. Walk across the bridge approach and let the stone towers fill one side of the frame. Early morning keeps the area calmer and gives you a chance to use the bridge’s lines without a crowd cutting through the composition.
For height, climb the Miguelete tower when access permits. The view is less about a single perfect postcard and more about layered roofs, cathedral geometry, and historic monuments, all showing how dense old streets meet the broader city. A short telephoto helps isolate domes and roof patterns. From the Miguelete tower, study distant roofs and check the wind before raising your camera.
One March morning, a photographer waiting beside the Torres de Serranos noticed the towers’ shadow had reached only half the bridge. Rather than photograph the full façade, she used street photography to frame a cyclist moving through that strip of shade, with one sunlit tower beyond. The image depended on timing, not another lens.
Use Turia Gardens as Your Visual Connector
The former Turia riverbed is now Turia Gardens, a long park linking many of Valencia’s photographic zones. It offers a practical reset between the dense streets of the historic quarter and open parkland.
Enter near the historic center in the morning and use the bridges as framing devices. The stone arches of Puente de la Trinidad or Pont de la Mar create useful contrast with palms, runners, and bicycles below as the historic quarter recedes behind you. For street photography, keep the shutter speed above 1/250 second to avoid accidental blur.
As you move east through Turia Gardens, the city becomes more open, while a bridge or path can frame the distant Miguelete tower. Paths widen, sightlines lengthen, and the white forms of the City of Arts and Sciences begin to appear above the trees. A 70mm to 200mm telephoto lens can compress a bridge or palm frond against the structures, a welcome break from ultra-wide images.
For a calm scene, sit near a path and wait. A figure moving through an arch or a cyclist crossing a patch of light supplies scale without turning an architectural frame into a crowd scene.
City of Arts and Sciences: Reflections, Curves, and Blue Hour
The City of Arts and Sciences is Valencia’s defining modern architecture location and a strong setting for architectural photography. Santiago Calatrava designed the major sculptural buildings, while Félix Candela designed the striking roof structures at L’Oceanogràfic. The complex extends along the old Turia riverbed and contrasts with the historic quarter. It opened in stages, beginning with L’Hemisfèric in 1998.
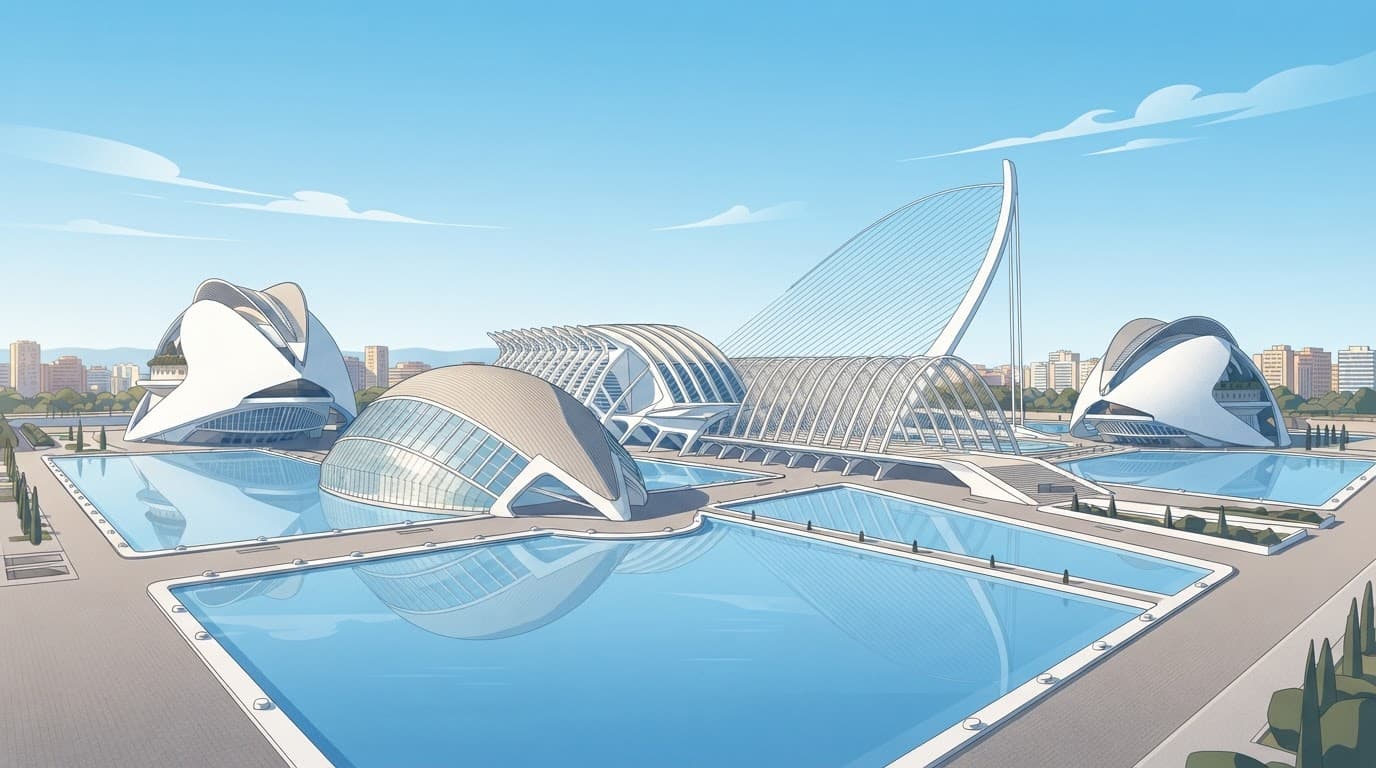
L’Hemisfèric is the clearest place to begin. Its oval profile resembles an eye, and still reflection pools can complete the shape. Stand low at the water’s edge with a wide-angle lens from 16mm to 24mm, and keep the sensor parallel with the central axis for symmetry. Move a few steps off-center when the reflection has more character than the building itself.
The long, white ribs of the Museu de les Ciències Príncipe Felipe reflect Santiago Calatrava’s design language and reward diagonal compositions. Place a repeating element near the foreground, then let it recede through the frame. At 24mm, this can feel immersive without excessive distortion. With a telephoto lens, isolate overlapping curves and shadow patterns instead.
From the Turia Gardens, the City of Arts and Sciences unfolds as a connected sequence of white forms. Palau de les Arts Reina Sofía is harder to simplify because it has sweeping planes and an enormous feather-like roof. Walk around it rather than settling for the first view. The eastern side often gives cleaner backgrounds, while the footbridge can provide a strong lead-in line. A detailed City of Arts and Sciences photo guide offers useful additional viewpoints and lens ideas.
Before the crowds
Arrive early for spare compositions. During golden hour, use the hard sun intentionally by putting a white wall into the light and letting the sky go deeper blue. Protect the highlights first, because the structures can clip fast.
For blue hour, return 20 to 35 minutes after sunset, then stay until the sky loses visible colour. The pools gain depth as lights come on, and the white architecture separates from the sky. A tripod changes the result.
Use manual exposure and start around ISO 100, f/8, and 2 to 10 seconds. Review the histogram after every meaningful shift in light. If bright lamps flare, shield the lens with your hand outside the frame or adjust your position by a few degrees.
A practical scene at L’Hemisfèric explains why patience matters. When a breeze ruffles the pool, shoot the building’s curved reflection as an abstract ribbon rather than forcing a symmetrical image. After a lull, take the cleaner reflection frame. Both versions have a purpose.
The complex includes L’Hemisfèric, the science museum, L’Umbracle, Palau de les Arts, L’Àgora, and L’Oceanogràfic. A short guide to the City of Arts and Sciences can help you decide which areas fit your available time. If you prefer direction on location, a one-hour exterior photo walk is another option.
Orange Groves Beyond the City
Beyond Valencia’s dense historic quarter, citrus imagery needs more than a fruit stand or orange close-up. Look for orderly rows, irrigation channels, old farm buildings, ceramic facades, and light falling through leaves. The subject is the huerta as much as the fruit.
Carcaixent, south of Valencia, is a strong target because it is closely associated with the Orange Route. Huerto Ribera, a historic orange estate in the area, pairs orchard structure with a 19th-century house. Nules and Marina Alta also have citrus routes, although travel times increase. Albufera Natural Park offers a complementary wetland and agricultural option, not another orange route.
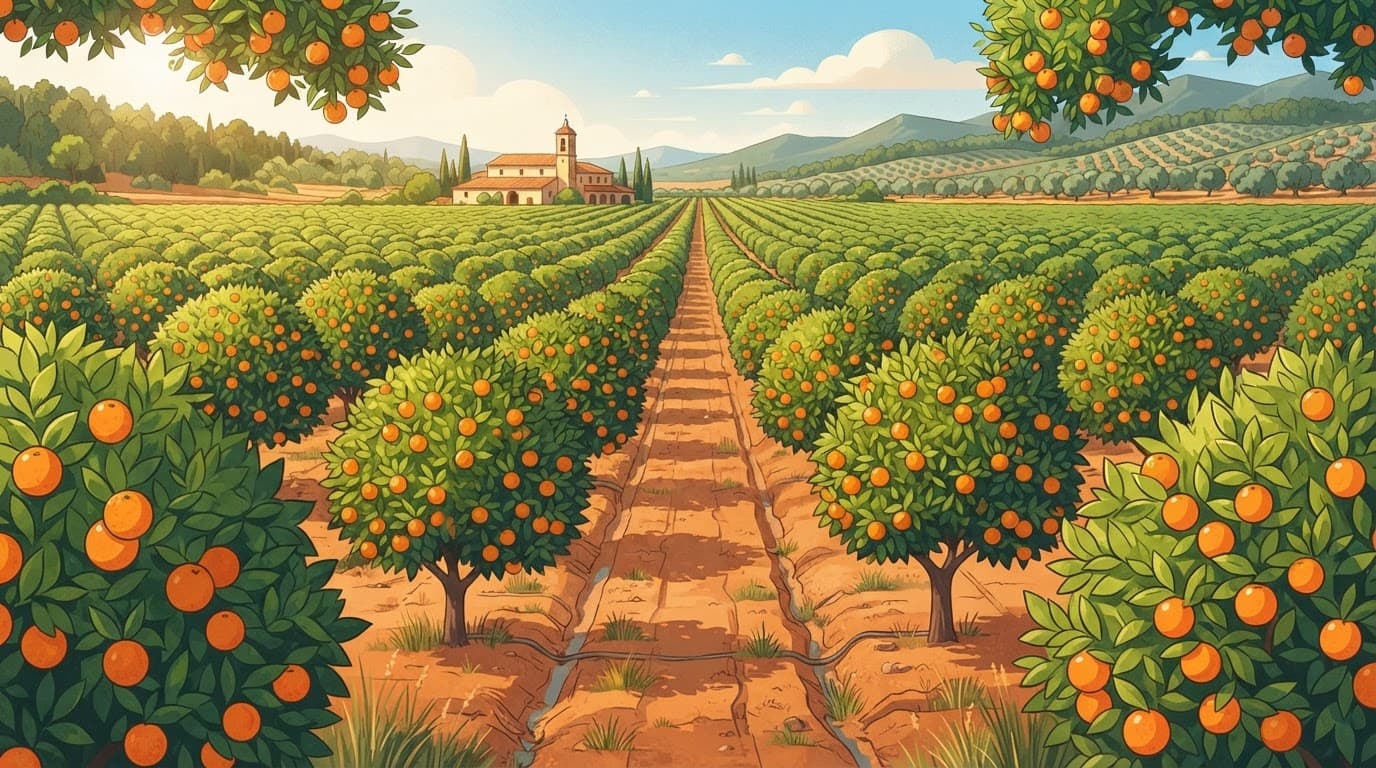
Late winter and early spring can bring blossom, while fruit and foliage create stronger colour contrast in other months. For a different landscape sequence, Albufera Natural Park offers wetlands instead of citrus rows. Conditions vary, so ask before entering private land; use public roads or arrange a permitted visit, never stepping between planted rows.
A 70mm to 200mm telephoto lens lets you stack lines of trees and separate oranges against green foliage. Use a 35mm lens for a more immersive view beneath the canopy. At golden hour, natural light can make leaves translucent, but it also produces strong flare. Shade the front element with a lens hood, then expose for the highlights.
Avoid turning every shot into a product image. A single orange against leaves is pleasant, but travel photography needs a wider sense of place. Include a dirt track, irrigation channel, or distant mountains. Keep an eye on utility wires and plastic crates, then move a few metres before making the image.
Camera Settings for White Facades and Night Photography
You don’t need brand-specific camera equipment for Valencia. A weather-sealed mirrorless or DSLR body helps during rain and coastal spray, but composition and exposure matter more than the logo on your camera.
This compact kit covers most situations:
- Carry a 16mm to 35mm wide-angle lens for the City of Arts and Sciences, large interiors, and narrow streets in the historic center.
- Add a 24mm to 70mm or 24mm to 105mm standard zoom for Mercado Central, El Carmen, and quick changes between details and wider scenes.
- Pack a 70mm to 200mm telephoto if you enjoy isolated shapes, rooftop views, and compressed orange-grove rows.
- Use a sturdy travel tripod, circular polarizer, lens cloth, spare battery, and a small power bank.
White limestone, pale concrete, glazed tile, and blue sky produce difficult contrast. Start with aperture priority or manual exposure at ISO 100. Set highlight alerts and expose until the brightest important surface sits below clipping, especially at blue hour. A polarizer can reduce glare on leaves and some non-metallic surfaces, but it can produce uneven skies with an ultra-wide lens.
Bright façades and deep arches in the historic quarter call for exposure bracketing: three to five frames at two-stop intervals. Keep the camera still, then blend the frames subtly during post-processing. Heavy HDR can make historic stone and Calatrava’s white structures look artificial.
| Scene | Starting settings | Adjustment to watch |
|---|---|---|
| Bright white architecture | ISO 100, f/8, 1/250 sec | Lower exposure to preserve highlights |
| Narrow old-city street | ISO 100 to 400, f/4 to f/5.6 | Raise shutter speed for people |
| Sunset pool reflection | ISO 100, f/8, 1/30 to 1 sec | Watch wind blur in reflections |
| Evening architecture | ISO 100, f/8, 2 to 10 sec | Use a tripod and check lamp flare |
| Orange grove backlight | ISO 100, f/4 to f/5.6, 1/500 sec | Add exposure carefully for leaves |
Raw files give you more room to recover a bright façade or deepen a faded sky. However, a good histogram in the field beats rescue work at a laptop. Patience makes the difference.
Safety, Access, and a Workable Shooting Routine
Carry less than you own. A small shoulder bag or backpack is easier to manage in the historic quarter than a large rolling case. Keep your phone, wallet, and passport in separate secure pockets, and keep camera equipment close around crowded market approaches, busy transport, and beach areas. Practice street photography calmly around pedestrians and vendors.
At Malvarrosa Beach, don’t leave a camera bag on the sand while walking to the waterline. Put it between your feet when seated, and keep one hand on it when people pass close behind. After dark, choose well-lit routes back through the illuminated arts complex. Keep night photography discreet, and avoid displaying equipment while checking directions.
Respect barriers, security staff, and photography restrictions inside cultural sites and historic monuments. Ask briefly before photographing from places such as the Miguelete tower. A tripod can draw attention or block a walkway even where still photography is allowed, so accept a no without debate.
For a three-day sequence, photograph the historic quarter at dawn on day one, starting in the historic center near El Carmen. Use day two for Turia Gardens, the City of Arts and Sciences, and blue hour. Reserve day three for Carcaixent or Albufera Natural Park, then revisit a favorite Ruzafa neighborhood location if weather improves.
Frequently Asked Questions
How many days do you need for photography in Valencia?
Three full days are ideal if you want to photograph the historic quarter, the City of Arts and Sciences, and the orange groves without rushing. Two days can cover the city highlights, but a third day allows time for Carcaixent, Albufera Natural Park, or a weather backup.
When is the best time to photograph the City of Arts and Sciences?
Late afternoon offers directional light on the white façades, while blue hour brings deeper skies and illuminated reflections in the pools. Arrive early for spare compositions, or return 20 to 35 minutes after sunset with a tripod.
Where can you photograph orange groves near Valencia?
Carcaixent is a strong choice because it is closely associated with Valencia’s Orange Route and includes historic estates such as Huerto Ribera. Nules and Marina Alta are other options, but always use public roads or arrange permission before entering private land.
What camera equipment is useful in Valencia?
A 16mm to 35mm wide-angle lens, a standard zoom, and a 70mm to 200mm telephoto cover most architectural, street, and grove scenes. A sturdy travel tripod, lens cloth, spare battery, and circular polarizer are especially useful for reflections, bright façades, and backlit foliage.
How do you expose white buildings without losing detail?
Start around ISO 100 and expose for the brightest important surfaces, checking the histogram and highlight alerts. For scenes with deep shadows, keep the camera still and use subtle exposure bracketing rather than heavy HDR.
A City Built for Contrasts
Valencia gives architectural photography a rare pairing of old and new. Trade-shaped Gothic stone defines the historic quarter, while the City of Arts and Sciences provides its modern counterpart. Beyond the orange groves, Albufera Natural Park adds a slower visual language through wetlands, repeating trees, and agricultural lines.
Work with changing light rather than fighting it. At golden hour, protect the white highlights, wait for still water, and let the city reveal its geometry at your own pace.
Leave the final frame for L’Hemisfèric’s oval reflected in a pool under a cobalt-blue sky.
