
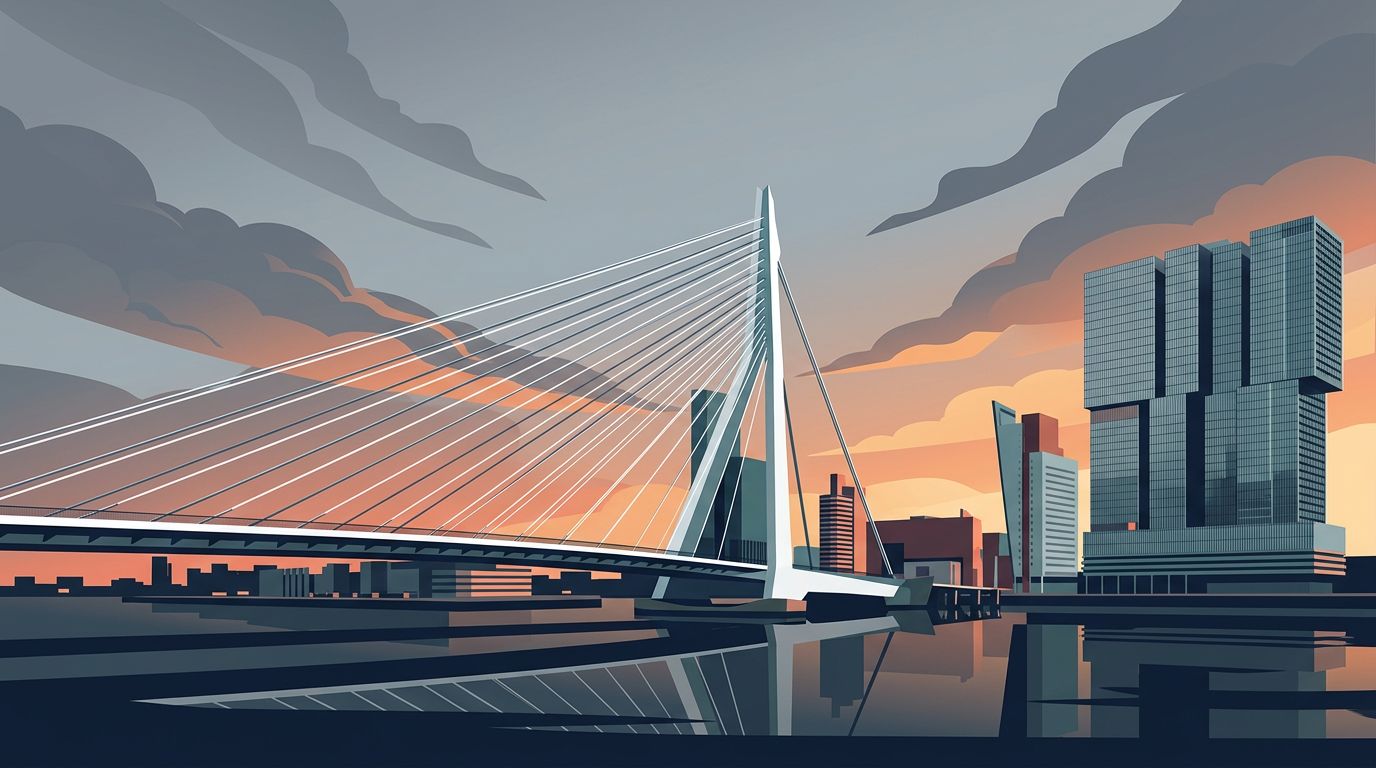
Rotterdam rewards photographers who look up, slow down, and wait for the weather to shift. Its modern architecture gives every walk a strong visual rhythm, from glass towers and tilted homes to bridges and the working waterfront.
Rotterdam architecture photography works best when you treat light as part of the subject. A gray morning softens concrete, while a clear blue-hour sky makes steel and glass feel almost theatrical.
Harbor weather changes the urban landscape. Plan your route around it.
Key Takeaways
- Plan Rotterdam architecture photography around changing light: start at Blaak in the morning and finish by the Maas or Wilhelminapier at blue hour.
- Use different viewpoints for each landmark, from low angles at the Cube Houses and Rotterdam Centraal to compressed telephoto views of Erasmus Bridge and De Rotterdam.
- Protect architectural detail with controlled verticals, a tripod for waterfront exposures, careful bracketing, and restrained editing.
- Follow local rules for tripods, commercial photography, and interior access, especially at De Markthal, Kijk-Kubus, and museum spaces.
- Let weather, reflections, boats, trams, and cyclists add movement and scale instead of treating buildings as isolated subjects.
Plan Rotterdam architecture photography around light
Although a single afternoon can cover Blaak, Centraal, and the river, a two-session plan lets you use low side light on facades and blue-hour exposures after office lights appear across Wilhelminapier.
Start early at Blaak, then work toward the river later. This avoids racing between landmarks when the light is at its least useful.
An earlier Rotterdam photo story offers a useful cue. During post-war reconstruction, Cas Oorthuys was among the photographers commissioned to document the new city in books, as described by the Rotterdam reconstruction archive. Photograph the city as a record of reinvention, not a parade of isolated buildings.
First light at Blaak
Blaak gives you two very different subjects within minutes. Piet Blom’s Cube Houses create jagged diagonals, while De Markthal offers a sweeping curve and dense interior color.
Arrive before market traffic builds. Then use the open space around the Cube Houses to isolate their yellow facades against a plain sky.
The exterior courtyard is freely accessible, while the Kijk-Kubus museum house requires a ticket for interior access. A 16-35mm lens helps indoors, yet a 35mm or 50mm lens often makes stronger exterior frames by removing visual clutter.
At blue hour
Blue hour favors Rotterdam Centraal, Erasmus Bridge (Erasmusbrug), and the towers near the Maas. Bring a stable tripod if you want clean water, crisp building lights, and low ISO files.
Wind breaks reflections first. If the Maas is choppy, move toward Rijnhaven, where sheltered water can be calmer.
Pack a microfiber cloth. Harbor spray and drizzle show up quickly on front elements and filters.
Architecture photo spots beyond the obvious postcard
Rotterdam’s famous buildings deserve attention, but each rewards a different approach. Repeating the same front-on view rarely shows what makes the design work.
Cube Houses and De Markthal at Blaak
The Cube Houses were designed by Piet Blom and completed in 1984. Their tilted cube form turns windows, rooflines, and walkways into diagonal puzzles. The city’s architecture sights guide helps place them within Rotterdam’s wider mix of experimental buildings and Dutch architecture.
An architectural photographer uses composition techniques to balance clean lines, negative space, and viewpoint. Shoot low beside the pedestrian paths to exaggerate the incline. Crop tightly around one cube edge and a single window for a graphic frame. A wide view can become busy fast.
De Markthal works differently, showing another side of modern architecture. Its horseshoe form contains a market hall below apartments. The huge ceiling artwork by Arno Coenen and Iris Roskam changes with your shooting angle. Stand near the center for symmetry, then shift toward an edge to let the arch pull the eye upward.
Commercial image recording inside the hall requires permission from management. Check current rules before bringing a tripod, lighting, or a client.
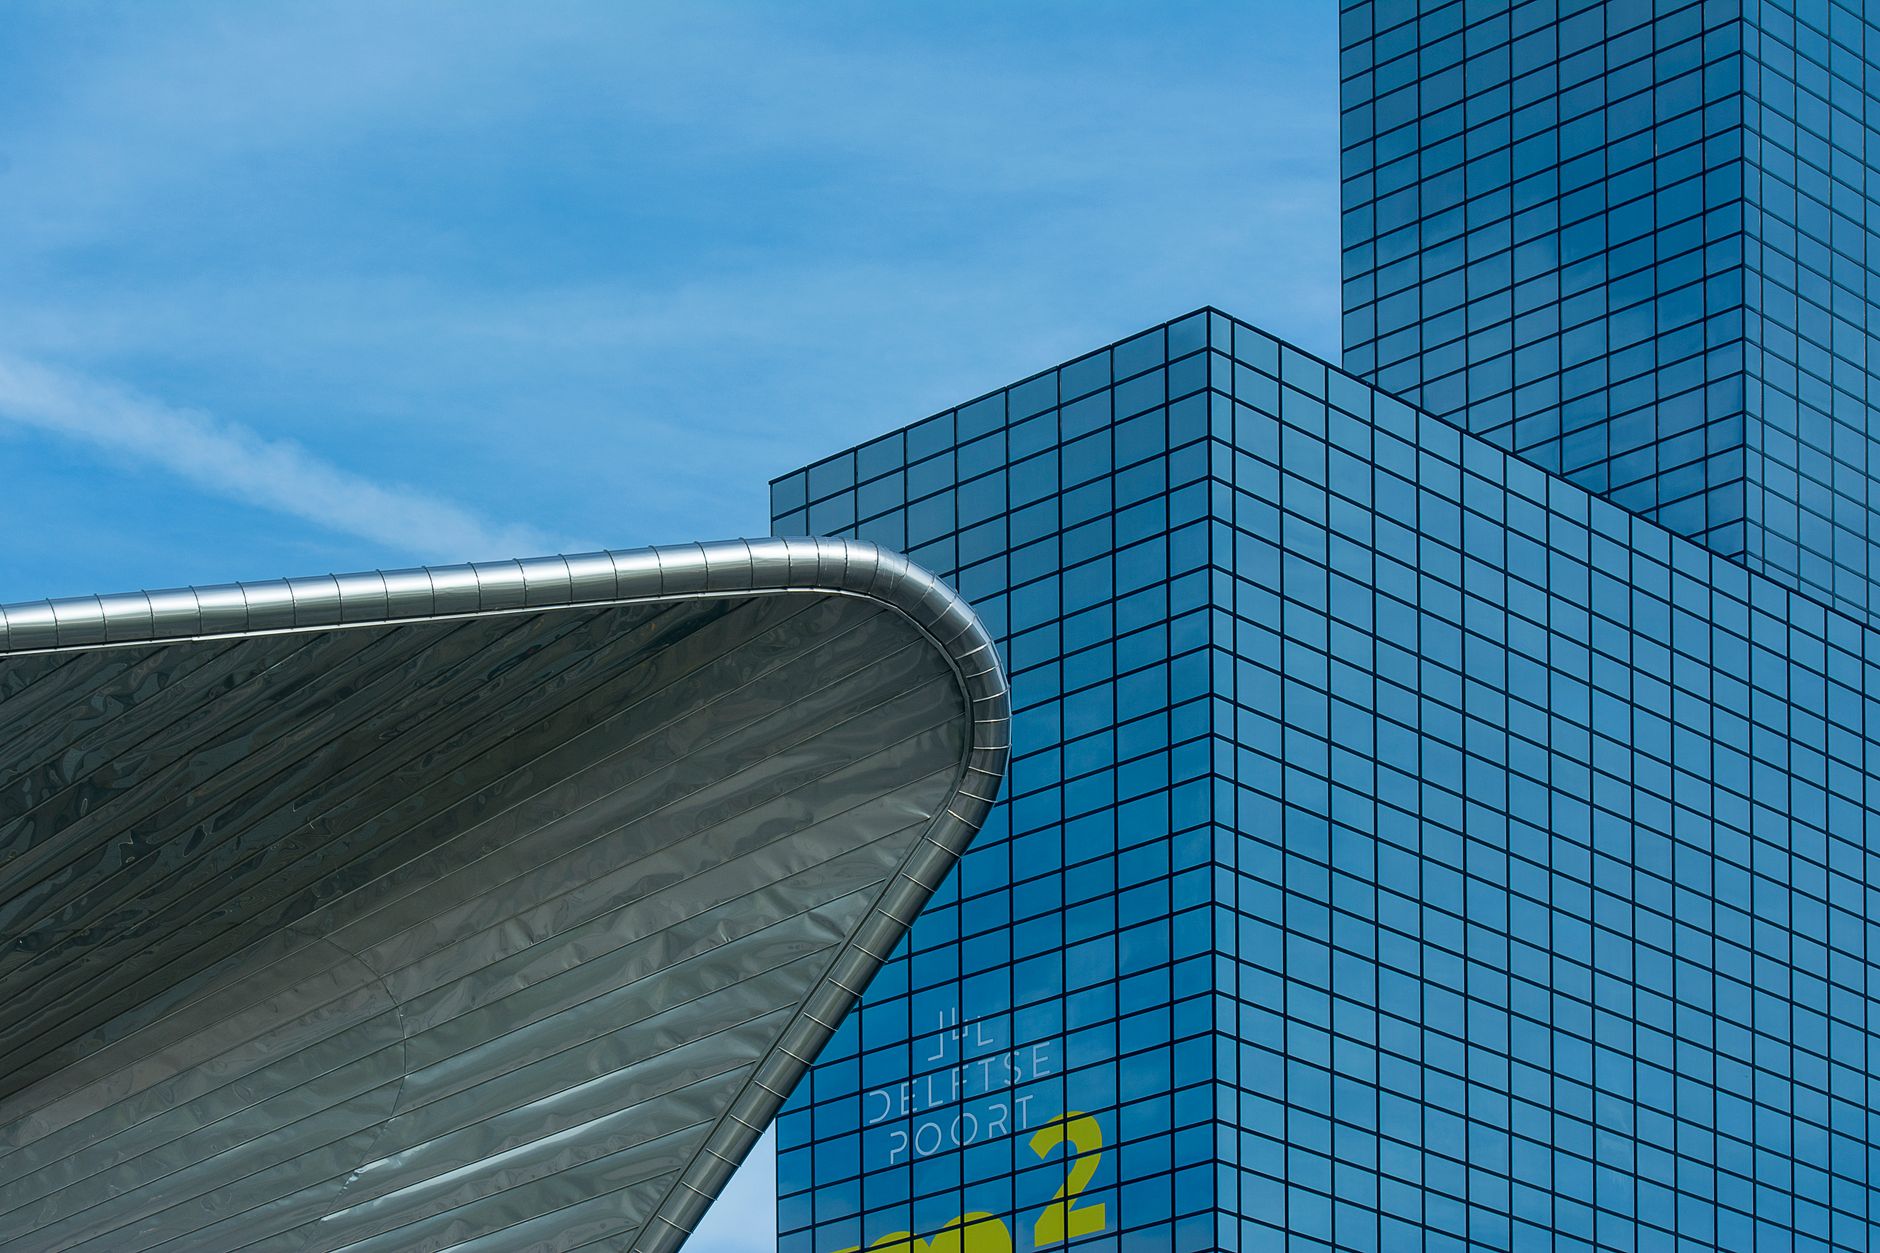
Photo by Jan van der Wolf
Rotterdam Central Station (Rotterdam Centraal) and the mirrored Depot
Rotterdam Centraal’s sharply angled entrance suits a low viewpoint. Use the paving lines, tram tracks, or passing cyclists to lead toward the roof rather than placing the building flat in the middle of the frame.
Near Museumpark, the mirrored bowl of Depot Boijmans Van Beuningen offers a useful contrast. Its curved surface reflects trees, clouds, and nearby towers. The elevated view from the Euromast offers a cleaner skyline perspective. Look for a section of reflection that distorts the skyline into an abstract pattern.
Strong architecture photography often depends on subtraction. One clean line against open sky can say more than an entire skyline.
Follow the water for bridge and tower reflections
The riverfront around Kop van Zuid is a broad waterfront area, pairing big forms with open sightlines. From Euromast, an elevated viewpoint, the river skyline compresses into bridges, towers, and a skyscraper. This setting also asks for patience, because wind, boat traffic, and changing clouds can disrupt the water’s surface within seconds.
Erasmusbrug and De Rotterdam
Erasmus Bridge, known locally as the Swan, gives you cables, a white pylon, and long deck lines. Photograph the bridge broadside for structure, or move closer and use a longer focal length to compress its cables against the towers.
Across the water, De Rotterdam forms a stacked mass on Wilhelminapier. When you photograph De Rotterdam across the Maas from a slightly raised public path, leave space above the towers and below the quay, because a tight crop makes its stacked volumes look flat.
A reflection does not need to be perfectly still. Small ripples can turn a rigid tower into a useful counterpoint to its sharp edges.
For a quieter composition, place the bridge or tower off-center and wait for a single boat to cross the frame. The wake can add movement without hiding the structure.
Santos warehouse and Rijnhaven
Rijnhaven harbour offers brick, water, cranes, new housing, and tower views in a compact area, with historic buildings beside new development. The renovated Santos warehouse now anchors this newer district, making its architectural heritage visible beside contemporary housing.
The Nederlands Fotomuseum, also known as the national museum of photography, opened in the Santos warehouse on 7 February 2026, in the Katendrecht neighbourhood. The Droom en Daad Foundation helped establish the warehouse as the museum’s new home. The museum’s official opening announcement confirms the date and documents the Droom en Daad Foundation’s role.
Photograph the facade when side light catches the brick texture. Then step back toward the harbor edge to combine it with cranes or the modern buildings across the water. Ask staff about exhibition photography rules before shooting indoors.
Use camera settings that protect shape and detail
Modern buildings reveal technical mistakes quickly. Tilted verticals, clipped windows, and excessive HDR can make a carefully designed facade look careless.
Keep verticals under control
Use a level, grid overlay, or electronic horizon. Keep the camera parallel to the facade when possible, then include more foreground and crop later.
A shift lens gives the cleanest control, but it isn’t mandatory. With a standard wide-angle lens, leave extra room around the building because perspective correction will crop the edges.
These camera settings cover common Rotterdam scenes:
| Scene | Starting point | Practical note |
|---|---|---|
| Bright exterior | ISO 100, f/8 | Adjust shutter speed for the highlights. |
| Blue-hour waterfront | ISO 100, f/8, tripod | Use a delayed shutter or remote release. |
| Handheld street scene | f/4 to f/5.6, 1/125 sec | Let ISO rise before motion blur appears. |
| Interior architecture | f/4, 1/60 sec | Watch mixed light and posted camera rules. |
Edit for material, not spectacle
Correct lens distortion before adjusting contrast. Then pull back verticals in small increments. Aggressive correction can make wide facades look unnaturally narrow.
Bracket exposures when bright sky sits behind a dark building. Blend only enough to preserve window detail and cloud texture. If every shadow looks bright, the image loses the hard-edged character that brought you to Rotterdam.
Glass often picks up green, blue, or magenta casts from nearby signs and LEDs. Local color adjustments work better than pushing global saturation.
Shoot with permission and a workable route
Public space is generous, but interior access and commercial use have boundaries. Respecting them keeps a short photo walk from becoming an awkward conversation.
Tripods, interiors, and public movement
At Kijk-Kubus, handheld photography is usually the simplest option. Ask before setting up a tripod indoors, even with a ticket.
At De Markthal, management permission is needed for commercial imagery. Avoid blocking market entrances, cycle lanes, platforms, or waterfront paths while you set up. A compact travel tripod and a small shoulder bag cause fewer problems than a full stand-and-light setup.
For a self-guided structure, Rotterdam’s 7-kilometer city walking route connects central architecture with water, art, and public spaces. Add Santos Warehouse, home to the Fenix museum backed by the Droom en Daad foundation, if it fits your route.
When a photo tour makes sense
A guided photo tour helps if you have limited time or want composition feedback from an architectural photographer. Choose a photography workshop for hands-on instruction rather than another list of landmarks.
Current Rotterdam photo tour listings include architecture-focused walks and professionally photographed city experiences.
Before booking a photo tour, check the route, group size, departure time, and whether the guide gives shooting advice. A sunset tour is useful for bridge light, while a morning walk suits Blaak and Centraal.
Bring your own camera even if you shoot mostly on a phone. The best guide cannot control the weather, but they can help you react when it changes.
Frequently Asked Questions
What is the best time for Rotterdam architecture photography?
Early morning works well at Blaak, when the Cube Houses and De Markthal are less crowded. Blue hour is ideal for Rotterdam Centraal, Erasmus Bridge, and the illuminated towers along the Maas.
Which Rotterdam architecture photo spots should I prioritize?
Start with the Cube Houses and De Markthal, then continue to Rotterdam Centraal, Depot Boijmans Van Beuningen, Erasmus Bridge, and De Rotterdam. Rijnhaven and the Santos warehouse add brick, cranes, water, and newer housing to the route.
Do I need a tripod for architecture photography in Rotterdam?
A tripod is useful for clean blue-hour exposures, still water, and low ISO files along the waterfront. It is less practical indoors or in busy public areas, where a handheld setup helps you avoid blocking movement.
How can I keep buildings from looking distorted?
Keep the camera parallel to the facade and use a grid, level, or electronic horizon. Leave extra space around the building so you can correct perspective later, or use a shift lens for more precise control.
Can I use Rotterdam architecture photos commercially?
Some locations require permission for commercial photography, including De Markthal and certain interiors. Check current rules with management or staff before using a tripod, lighting, or a client setup.
Let the city keep some tension
Rotterdam’s strongest frames find tension in Dutch architecture. Old brick meets mirror glass, rigid towers rise above restless water, and bright spaces sit beneath dark skies.
Treat each landmark as a shape first. Then wait for the harbor, a tram, or a passing cyclist to give that shape a sense of scale.
Finish at the Maas when the office lights appear, and wait for a blue-hour tram to pass beneath the south edge of Erasmus Bridge.
