
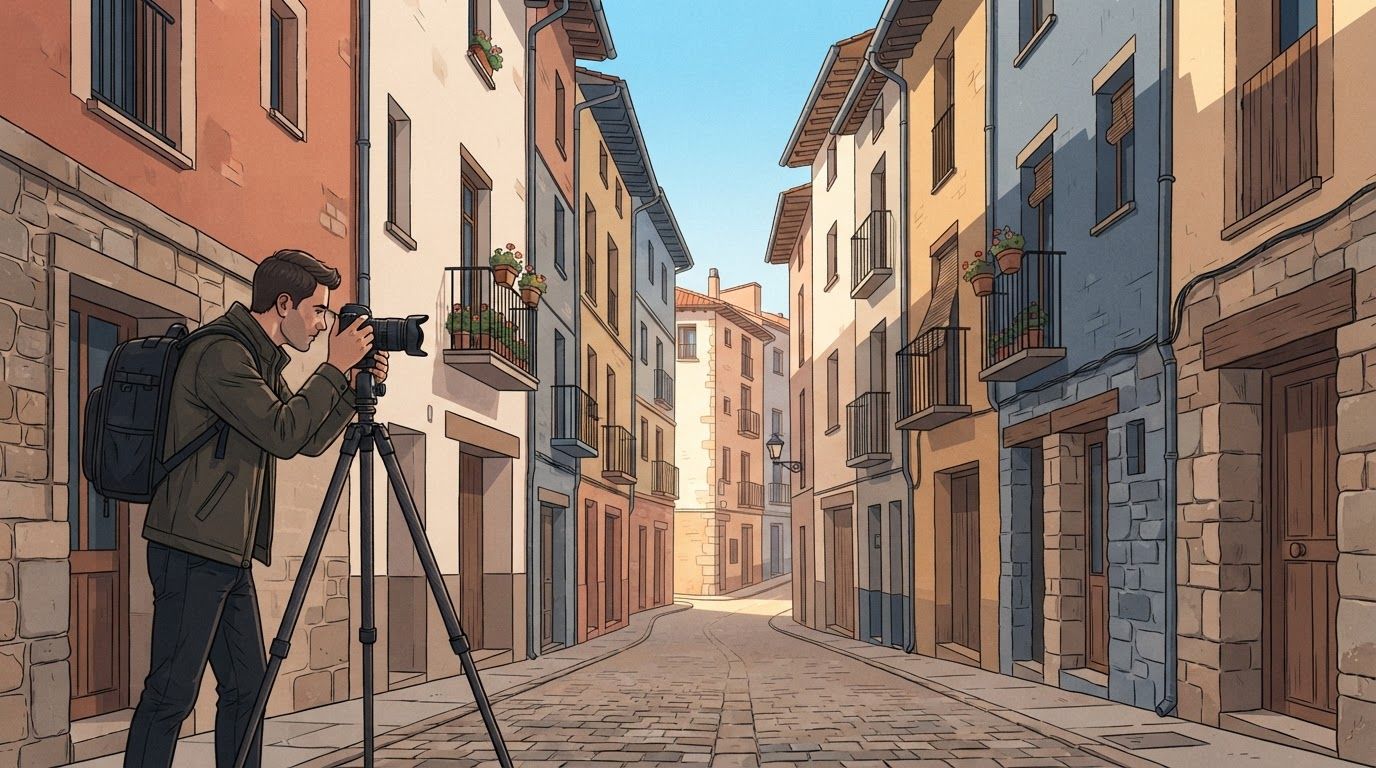
Narrow streets turn ordinary camera choices into hard limits. In architecture photography, you may have one wall behind you, a thin strip of sky, and traffic that closes the view before you finish framing.
The temptation is to go ultra-wide and point upward. However, that often creates leaning facades, stretched windows, and a picture that feels more frantic than the street itself.
Strong images come from controlling those limits rather than fighting them.
Read the Street Before You Raise the Camera
Old quarters rarely offer a clean view of an entire building. Instead, a narrow lane gives you layers: a foreground wall, a bend in the pavement, and facades that overlap as they rise.
Walk the street once without shooting. Notice where the sun reaches the lower walls, where a doorway breaks the repetition, and which junction gives you a wider angle on the facade.
No Room to Retreat
Start by finding the farthest usable point from your subject, even if it is only a few steps away. Move your feet first. A shift of half a metre can remove a drainpipe from the edge or place a balcony against a clear patch of sky.
When the alley is only a few paces wide, moving back won’t solve the composition, so use a position near the centre line, keep the camera parallel to the facade, and let the street’s narrowing geometry remain visible.
Avoid pressing against a wall by default. That position can make the nearest facade loom too large and hide the street’s depth. Instead, try a corner, a recessed doorway, or the opposite curb when it is safe.
Let Street Life Set the Scale
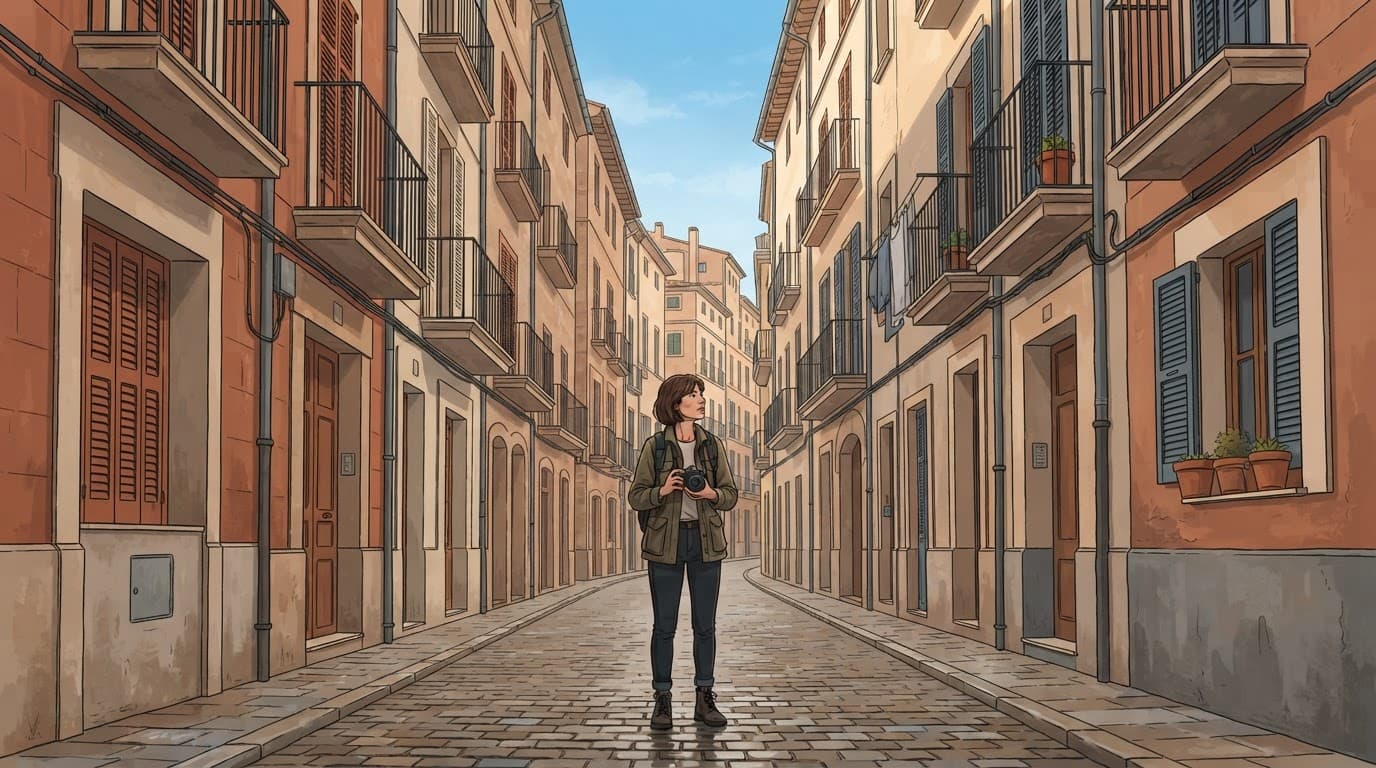
A lone pedestrian can show how tall a facade feels. Wait until they separate from dark doorways and bright patches of pavement, then take the frame before they merge into the background.
You don’t need a busy scene. A bicycle left against a wall or an open shutter can do the same job without taking attention from the building. For architecture photography in tight streets, small human details often make a stronger image than a crowded lane.
Choose Focal Length and Settings With Care
A wider lens helps, but it doesn’t rescue weak framing. Start around 24 to 35 mm on full frame, or roughly 16 to 24 mm on APS-C. Those ranges usually show enough of the street without making nearby walls swell at the edges.
An ultra-wide lens has a place when the architecture itself feels compressed. Still, use it with restraint, because a 14 mm view can turn a graceful lane into a tunnel.
Use Wide Lenses Without the Fisheye Look
Keep important windows and door frames away from the outermost edges. They will look more natural near the middle of the frame. Also, leave room around the building for later perspective correction.
A standard zoom is often more useful than a specialty lens on a city trip. It lets you try a broad scene, then isolate a balcony or a patterned facade when the full view feels cluttered. This architectural lens overview explains why wider focal lengths and shift lenses solve different problems.
Set a Reliable Starting Exposure
Static buildings give you time to work deliberately. Use aperture priority or manual exposure, then check highlights on pale stone and bright sky rather than trusting the overall brightness of the screen.
| Situation | Starting point | What to protect |
|---|---|---|
| Handheld in open shade | f/5.6, 1/125 sec, Auto ISO | Sharpness from camera shake |
| Bright street with deep shadows | f/8, ISO 100, bracket exposures | Detail in sky and sunlit walls |
| Person used for scale | f/5.6, 1/250 sec, Auto ISO | A crisp moving subject |
If your camera has a histogram, use it. A bright facade can fool the meter into underexposing the rest of the street.
Build the Frame From Fragments
A full building is not always the strongest subject. In many historic districts, the memorable picture is a fragment that shows age, proportion, and the squeeze of the street.
Look for a composition that gives the eye a route through the frame. A line of paving stones can lead toward a darker arch, while a bright upper facade holds the viewer near the top.
Use Repetition, Then Find the Break
Rows of shutters, iron balconies, or repeated windows create rhythm. Give that rhythm one interruption, such as a curved corner or a single open window. The change prevents the frame from feeling like a record shot.
Keep the interruption intentional. If a modern satellite dish or parked van breaks the pattern, shift position or wait. Architecture photography rewards patience because visual clutter rarely improves with a faster shutter press.
Keep Foregrounds Simple
A wall close to the lens can add depth, but it can also block the scene. Let it occupy a narrow edge rather than half the frame unless its texture is the subject.
Rain changes the street. Wet cobblestones can reflect a pale facade and give a dim lane more light, although they also introduce umbrellas and puddles that may complicate your composition.
Architecture Photography: Keep Vertical Lines Honest
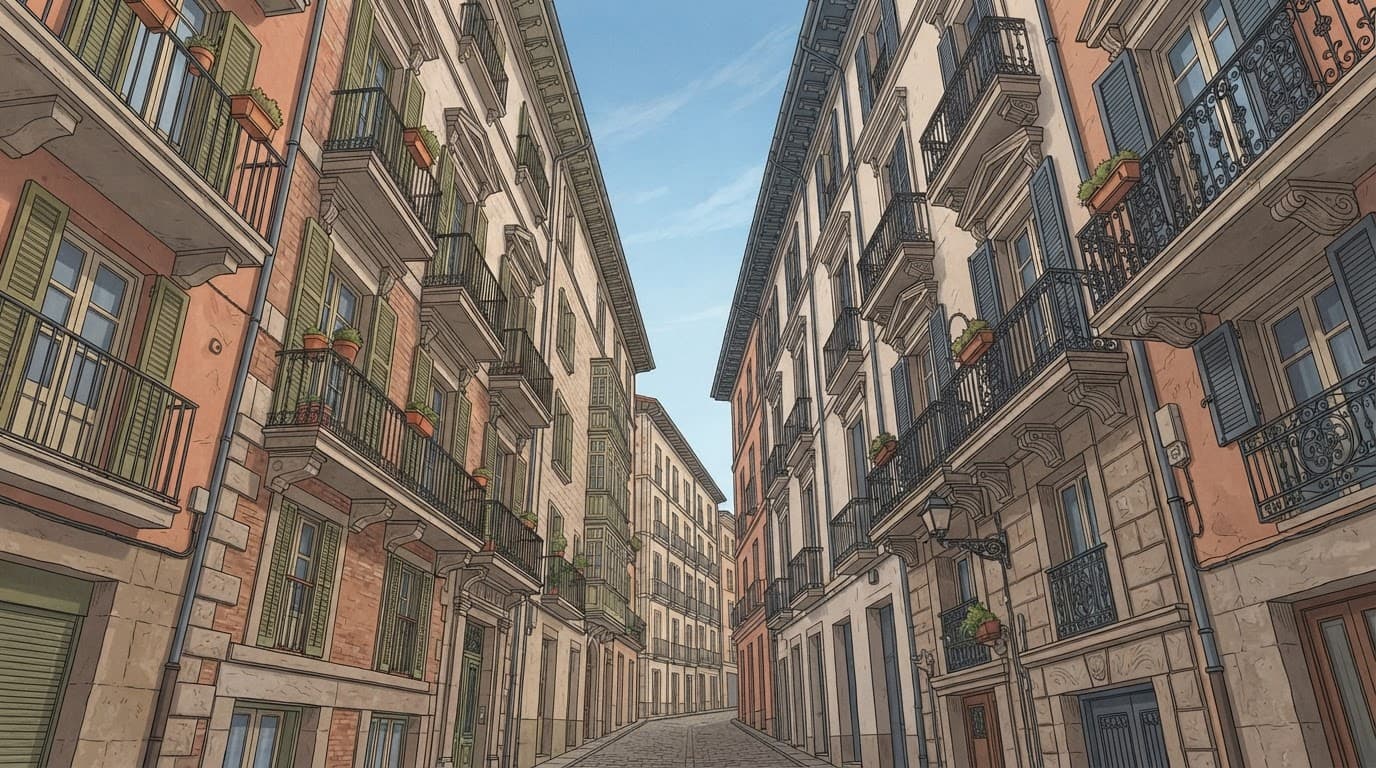
Perspective is part of the experience of standing between tall buildings. The problem begins when tilting the camera upward makes every wall rush toward the middle of the frame.
Keep the camera level whenever possible. Then include more street and sky than you think you need, because you can crop after correcting vertical lines.
Raise the Lens, Not the Camera Angle
A shift lens lets you frame higher parts of a building while the camera body stays level. That preserves straighter verticals at capture. A tilt-shift lens is useful for frequent architectural work, though it is not a required purchase for travel photography.
The practical alternative is a level camera, a slightly wider frame, and moderate editing later. A tilt-shift lens primer shows how lens movements change perspective without forcing the camera to tilt upward.
Correct Carefully in Post-Processing
Lightroom, Capture One, and similar editors can straighten verticals with guided perspective tools. Place guides along clearly vertical edges, such as door frames or building corners. Then inspect the whole image at full size.
If a correction pulls a window too far or produces stretched paving near the lower edge, reduce the amount, because a believable trace of the original viewpoint looks better than a mathematically rigid but thin-looking building.
Correcting every vertical can erase the feeling that you were standing in a lane barely wider than a delivery cart.
Wait for Light That Reveals the Facade
Narrow streets create dramatic contrast. Midday can leave one wall blazing white while the opposite side disappears into heavy shade. That contrast may suit a graphic image, but it often hides masonry and carved details.
Early morning and late afternoon bring lower-angle light. It can skim across stone, reveal plaster texture, and leave enough shadow to show depth.
Work With Shade Instead of Avoiding It
Open shade is useful for colour and detail. Expose for the brighter wall, then lift shadows gently later if the file allows it. Patience pays in shade.
Eugene Atget often photographed Paris streets early in the day, when quieter pavement and soft light allowed the buildings to hold attention. His approach still works when you need time to compose without a stream of pedestrians.
For broader ideas about balancing buildings with street activity, see this city and urban photography guide.
Manage Mixed Light and Colour Casts
A narrow passage can combine blue sky light, warm reflected stone, and orange shop lighting. Set white balance for the dominant light, then correct local colour casts with a mask if needed.
Bracket exposures when the scene has bright sky above dark paving. Three frames are usually enough if the buildings are still and your camera remains steady.
Work Respectfully in Busy Old Towns
A good viewpoint is never worth blocking a resident’s doorway or stopping people on a narrow pavement. Keep your bag close, take the frame quickly, and move aside after reviewing it.
Tripods can create problems even when space allows one. They slow foot traffic and may need permission in managed areas.
Know When to Shoot Handheld
Canon Europe notes in its city photography advice that some cities restrict tripod use. Check rules for museums, religious sites, private courtyards, and protected monuments before setting one up.
A stabilized lens and a steady posture often replace a tripod during daylight. Brace lightly against a wall only when you are not obstructing the passage, and use a faster shutter speed when people brush past.
Take the Clean Frame, Then Leave
Wait for a brief gap rather than asking strangers to move. The street belongs to residents and visitors before it belongs to your photograph.
When a shop opens or a delivery vehicle arrives, accept that the scene has changed. Return later if the facade matters enough. Narrow European streets reward repeat visits more than rushed frames.
The Frame Is Already There
A narrow lane won’t offer a flawless postcard view. It offers angles, shadows, and visual limits that can make a building feel rooted in its actual street.
Return when the light reaches the cobblestones, keep the camera level, and give the facade room to breathe. Which corner will you revisit when the sun finally clears the roofline?
