
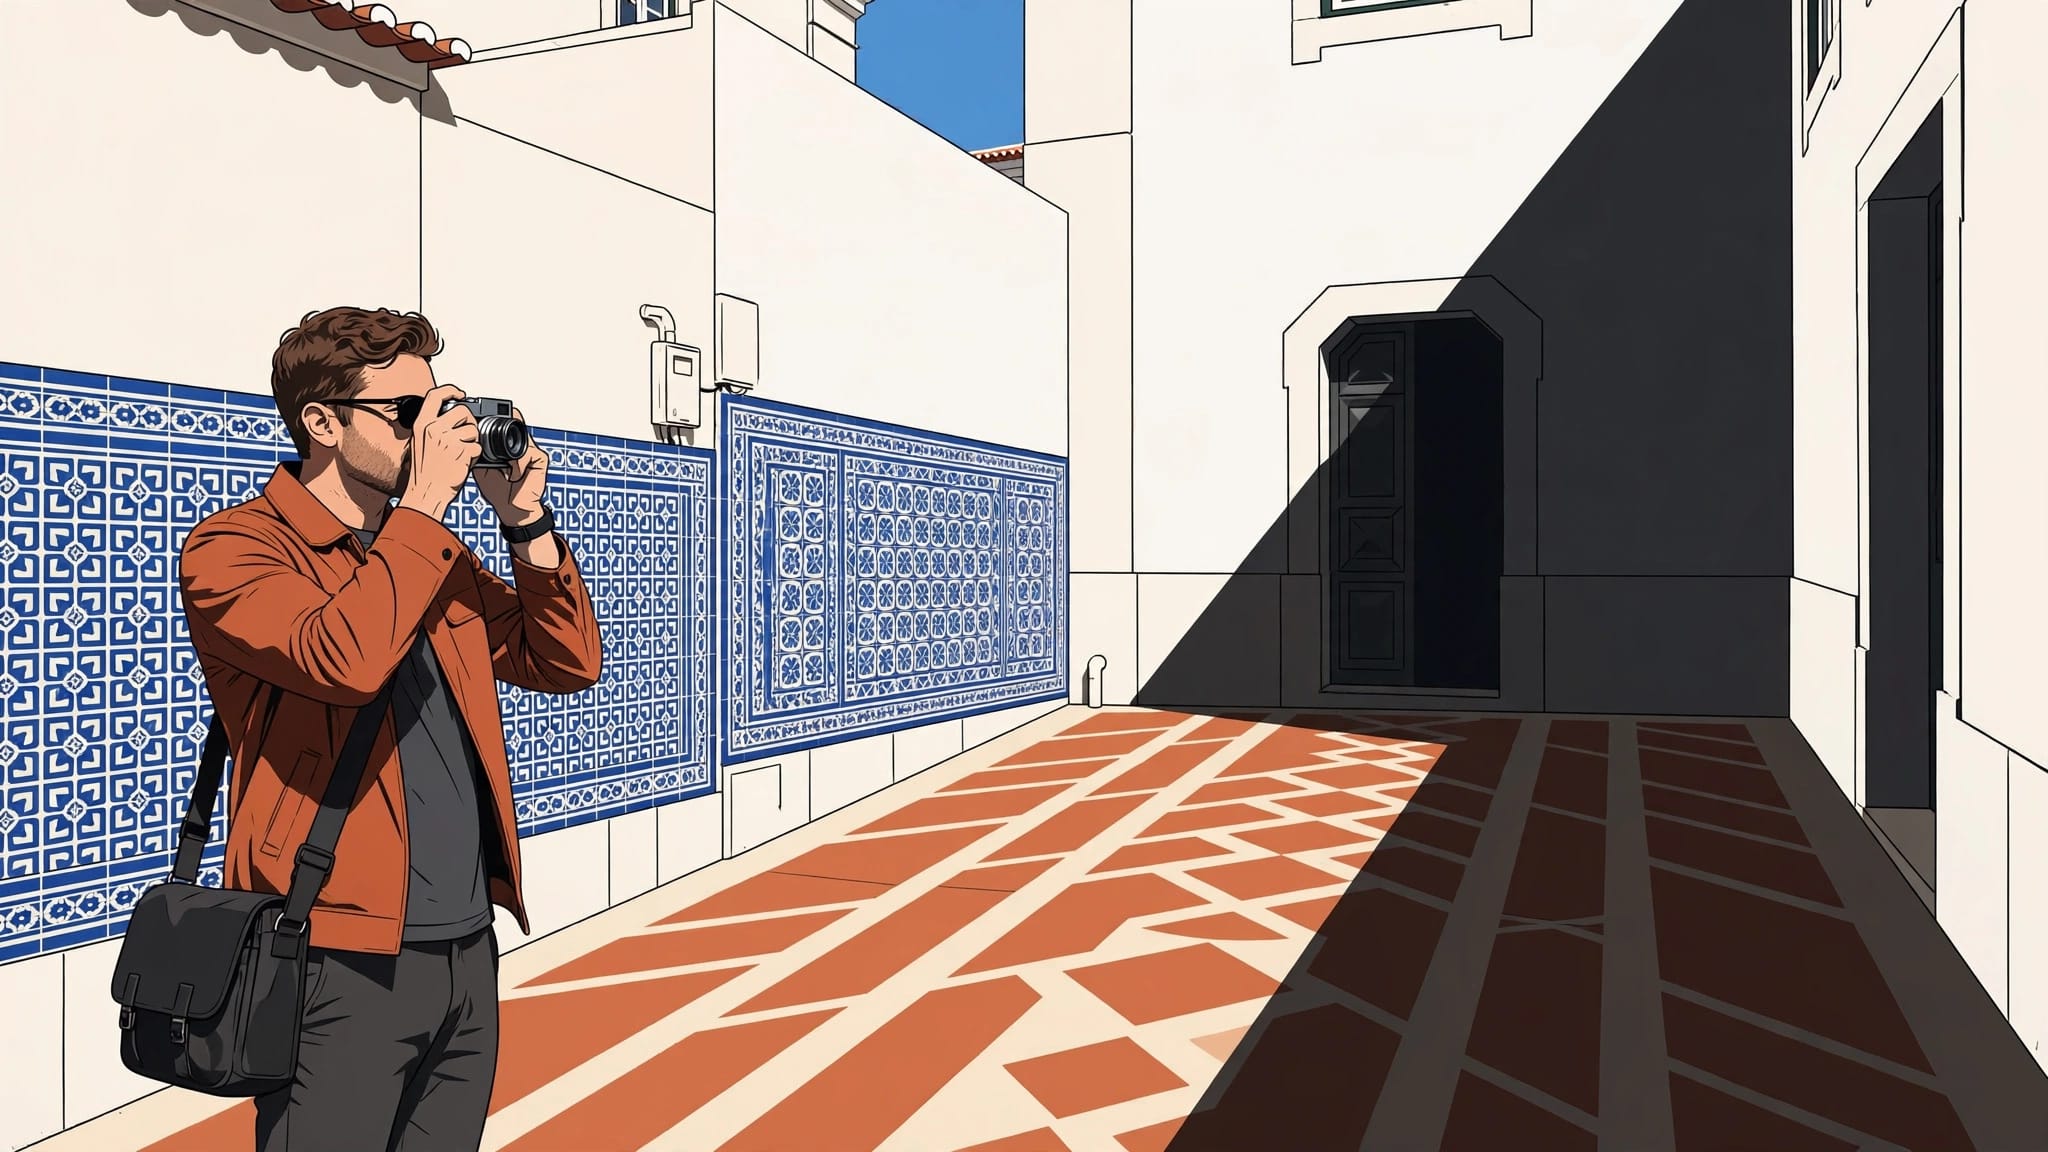
Midday can make a beautiful European street look flat, glaring, and unforgiving. Yet European street photography doesn’t have to stop when the sun sits high above tiled roofs and pale stone walls.
The trick is to stop chasing soft light. Instead, use the hard-edged shadows, bright façades, and sudden patches of shade that noon creates.
Midday changes the rules. Once you see the light as a subject, even a crowded square can offer a strong frame.
What harsh midday light does to a street scene
At noon, direct sun creates intense contrast. White walls can lose detail, while doorways turn nearly black. Skin often looks harsh, and a blue sky can pull attention away from the street.
However, these extremes give European cities their graphic character. Lisbon’s tiled walls, Rome’s shutters, and Budapest’s broad boulevards all gain bold shapes when sunlight strikes them directly.
Hard light, no safety net
Harsh light exposes messy compositions. A bright pavement patch can compete with your subject, and a tilted horizon becomes more obvious beside strong architectural lines.
Start by simplifying. Remove anything that doesn’t help the frame. A person against a bright wall, or a bicycle entering a deep shadow, often says more than a wide photo of every building on the block.
For practical guidance on handling glare and exposure, these tips for shooting in direct sunlight are a useful reference before you leave your hotel.
Look for light with a clear job
Don’t photograph a scene simply because it is famous. Watch what the sun does to it. A narrow Venetian lane may be dull in open light but compelling when one sliver of sun hits a passing figure.
Use bright areas as stages. Let the darker areas frame them.
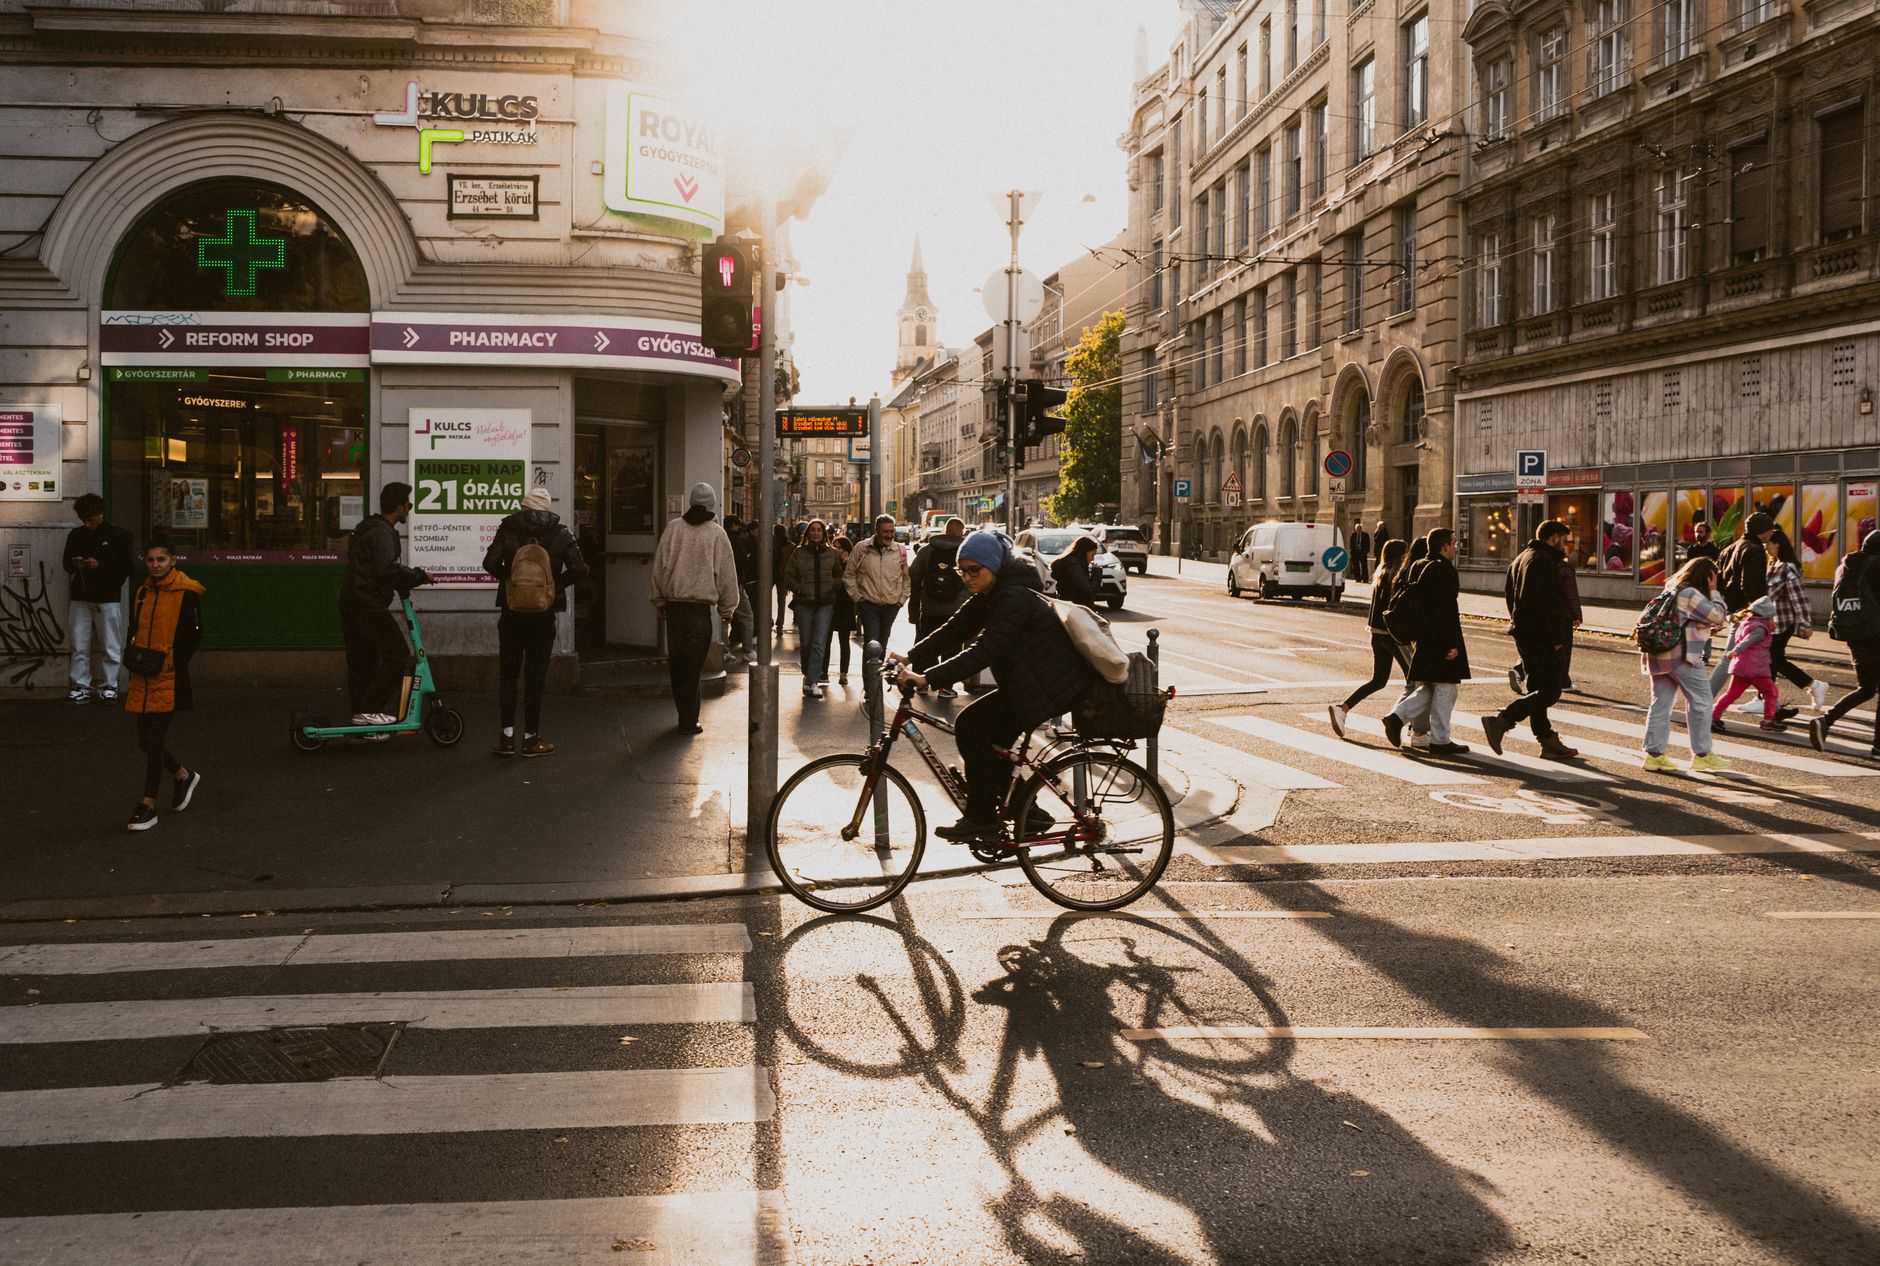
Photo by Uiliam Nörnberg
Find shade before you look for subjects
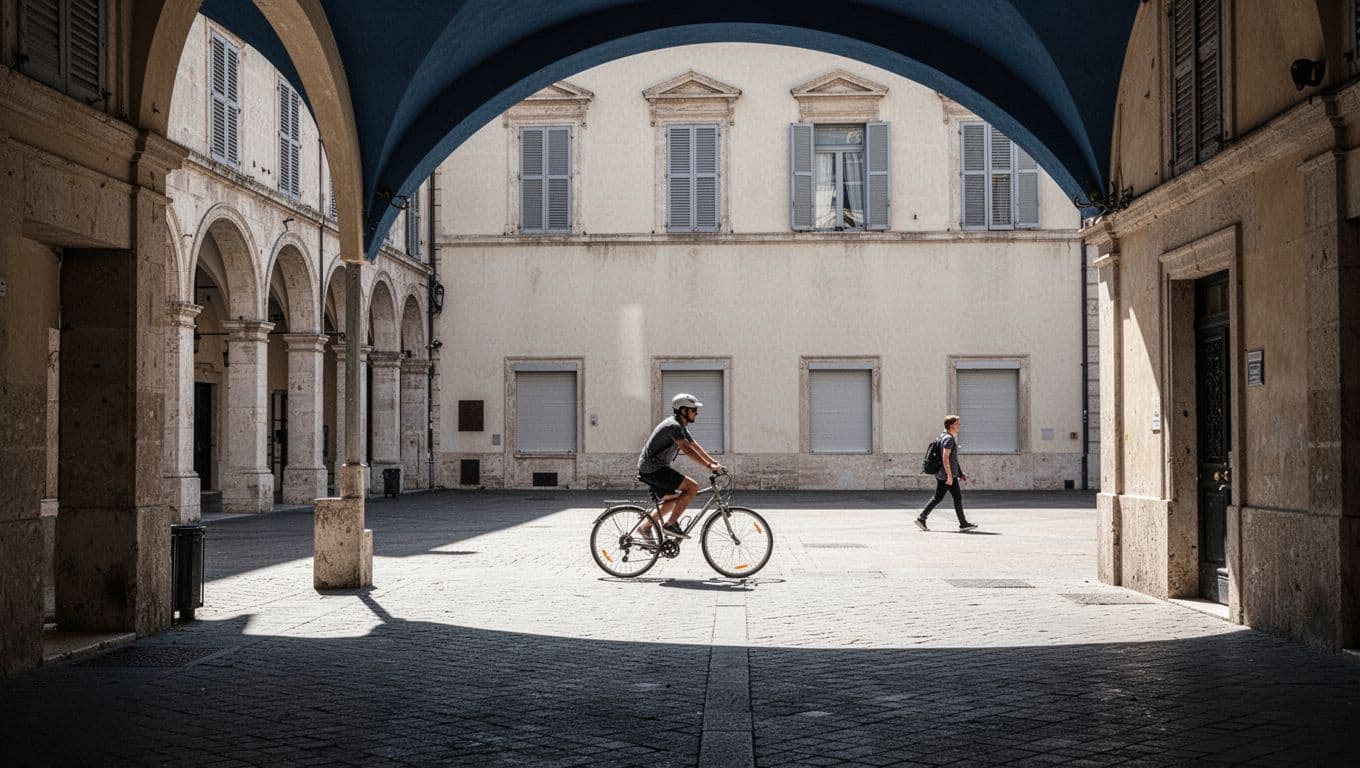
Shade isn’t a fallback when the weather disappoints. It is one of the best tools for midday street work. Covered arcades, church entrances, passageways, and building corners create controlled darkness beside glowing sunlight.
Shade becomes your studio. It lets you wait with the camera ready while people step into a clean strip of light.
Work the boundary between sun and shadow
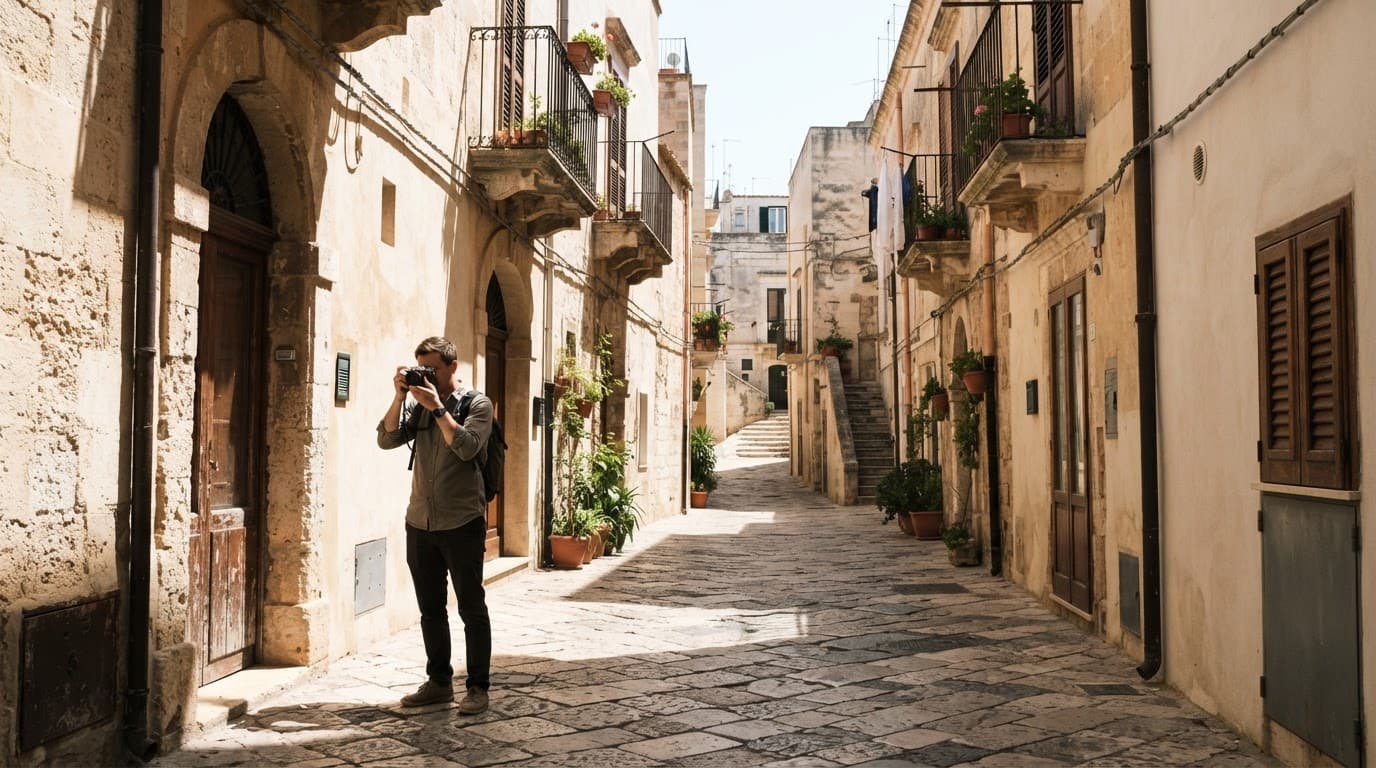
Find the edge where shade meets direct sun. Then compose before anyone enters. Put the bright zone where you want your person to appear, and leave enough dark space around it to make the figure stand out.
This approach works especially well on streets with tall buildings. In Barcelona’s Gothic Quarter or central Bologna, the sun often falls in narrow bands across the pavement. Those bands can turn an ordinary walker into the main subject.
Avoid placing the boundary through a face when possible. A face split by intense sunlight and darkness usually feels accidental unless you want a deliberately severe portrait.
Wait longer than feels comfortable
A useful scene may stay empty for several minutes. Keep walking slowly between locations, but wait when you find a strong frame. Tourists often rush past the first good composition because they mistake movement for progress.
One July afternoon in Seville, I found a striped wall of shadow beneath an arcade near Plaza del Salvador. For ten minutes, every passerby carried a distracting shopping bag or crossed outside the light. Then a man in a white shirt stepped through the bright rectangle with a folded newspaper under his arm. One frame was enough.
Patience does the rest.
European street photography with graphic shadows
European street photography often rewards photographers who treat buildings as structure rather than scenery. At midday, sharp shadows can divide façades into panels, erase unwanted detail, and guide the eye to a small human moment.
You don’t need a landmark in every photograph. A cropped arch, patterned paving, and one well-placed figure can feel more rooted in a place than a postcard view.
Use architecture to make the frame
Look for repeated windows, colonnades, stair rails, or balconies. Then position yourself so the sunlight makes those elements clearer. Strong angles are helpful, but keep the subject separate from busy lines behind them.
A low viewpoint can make shadows stretch toward the camera. A higher viewpoint, perhaps from steps or a bridge, can reveal blocks of sun and darkness on the street below. Both approaches work when the geometry is intentional.
In harsh sun, the shadow often carries more visual information than the illuminated wall. Meter carefully, then let darkness shape the image.
Let people complete the composition
Set your frame first and wait for a person, cyclist, or dog to enter it. This is often easier than chasing a subject through a tourist crowd.
Watch the direction of travel. If light falls across the street, a figure moving perpendicular to the shadow edge usually creates a cleaner separation. A person walking directly toward you may work better when their shadow reaches forward and becomes part of the shape.
Camera settings that protect bright highlights
Your camera can handle midday light, but it needs clear instructions. Automatic modes often brighten dark shadow areas too much, which can burn out pale stone, clouds, and white shirts.
Shoot RAW if your camera offers it. RAW files hold more editing latitude than JPEGs, especially when you need to recover some highlight detail later.
Start with a fast, stable exposure
On a sunny day, ISO 100 is a sensible starting point for most cameras. Try f/8 when you want a person and surrounding architecture reasonably sharp. If you want starbursts around the sun or more depth across a scene, f/11 can work well.
Shutter speed will often land between 1/500 and 1/2000 second. That range freezes walkers and protects against camera shake with a normal lens.
| Scene | Starting approach |
|---|---|
| Person crossing a bright wall | ISO 100, f/8, 1/1000 second |
| Layered street with foreground detail | ISO 100, f/8 to f/11, 1/500 second |
| Moving cyclist in direct sun | ISO 100, f/5.6 to f/8, 1/1600 second |
These are starting points, not fixed rules. Check the brightest important part of the scene after every major change in direction.
Use exposure compensation with intent
If you use aperture priority or program mode, dial in negative exposure compensation when pale buildings dominate the frame. Start at -0.7 EV, then inspect the result. You can lift dark areas later, but clipped highlights rarely return with natural texture.
Many mirrorless cameras show zebra patterns or a highlight alert. Canon’s highlight alert instructions explain how blinking playback areas identify overexposed pixels. Use that warning as a prompt to check the scene, not as a demand to darken every image.
Some clipped sun reflections are fine. A large blank patch on a cream-coloured façade usually isn’t.
Photograph people without flattening the moment
Midday streets are busy, especially near major museums and transport hubs. Crowds can help your photographs, but random faces often create clutter. Give each frame one clear subject or one clear action.
Keep your distance when you can. A 35mm or 50mm equivalent lens lets you include enough environment without turning a stranger’s face into the entire image.
Seek gestures, not perfect faces
In hard light, gestures read well. Look for a hand shielding eyes, a hat brim cutting a shadow, or a person stepping from an arcade into the open street. These details explain the heat without needing an obvious tourist scene.
Backlight can also help. Put the sun behind a subject and expose for the brighter background. Their outline may become a silhouette, while hair, a shoulder, or a bicycle rim catches a thin bright edge.
Keep walking slowly. Sudden camera movements draw more attention than calm, predictable behaviour.
Respect the street you’re in
Local customs and comfort levels differ across Europe. If a person notices you and seems uneasy, lower the camera and move on. A strong photograph never requires an argument.
When the scene centers on someone rather than the street, a smile or a small gesture toward your camera can make the interaction clearer. If you ask for a portrait, show them the result afterward.
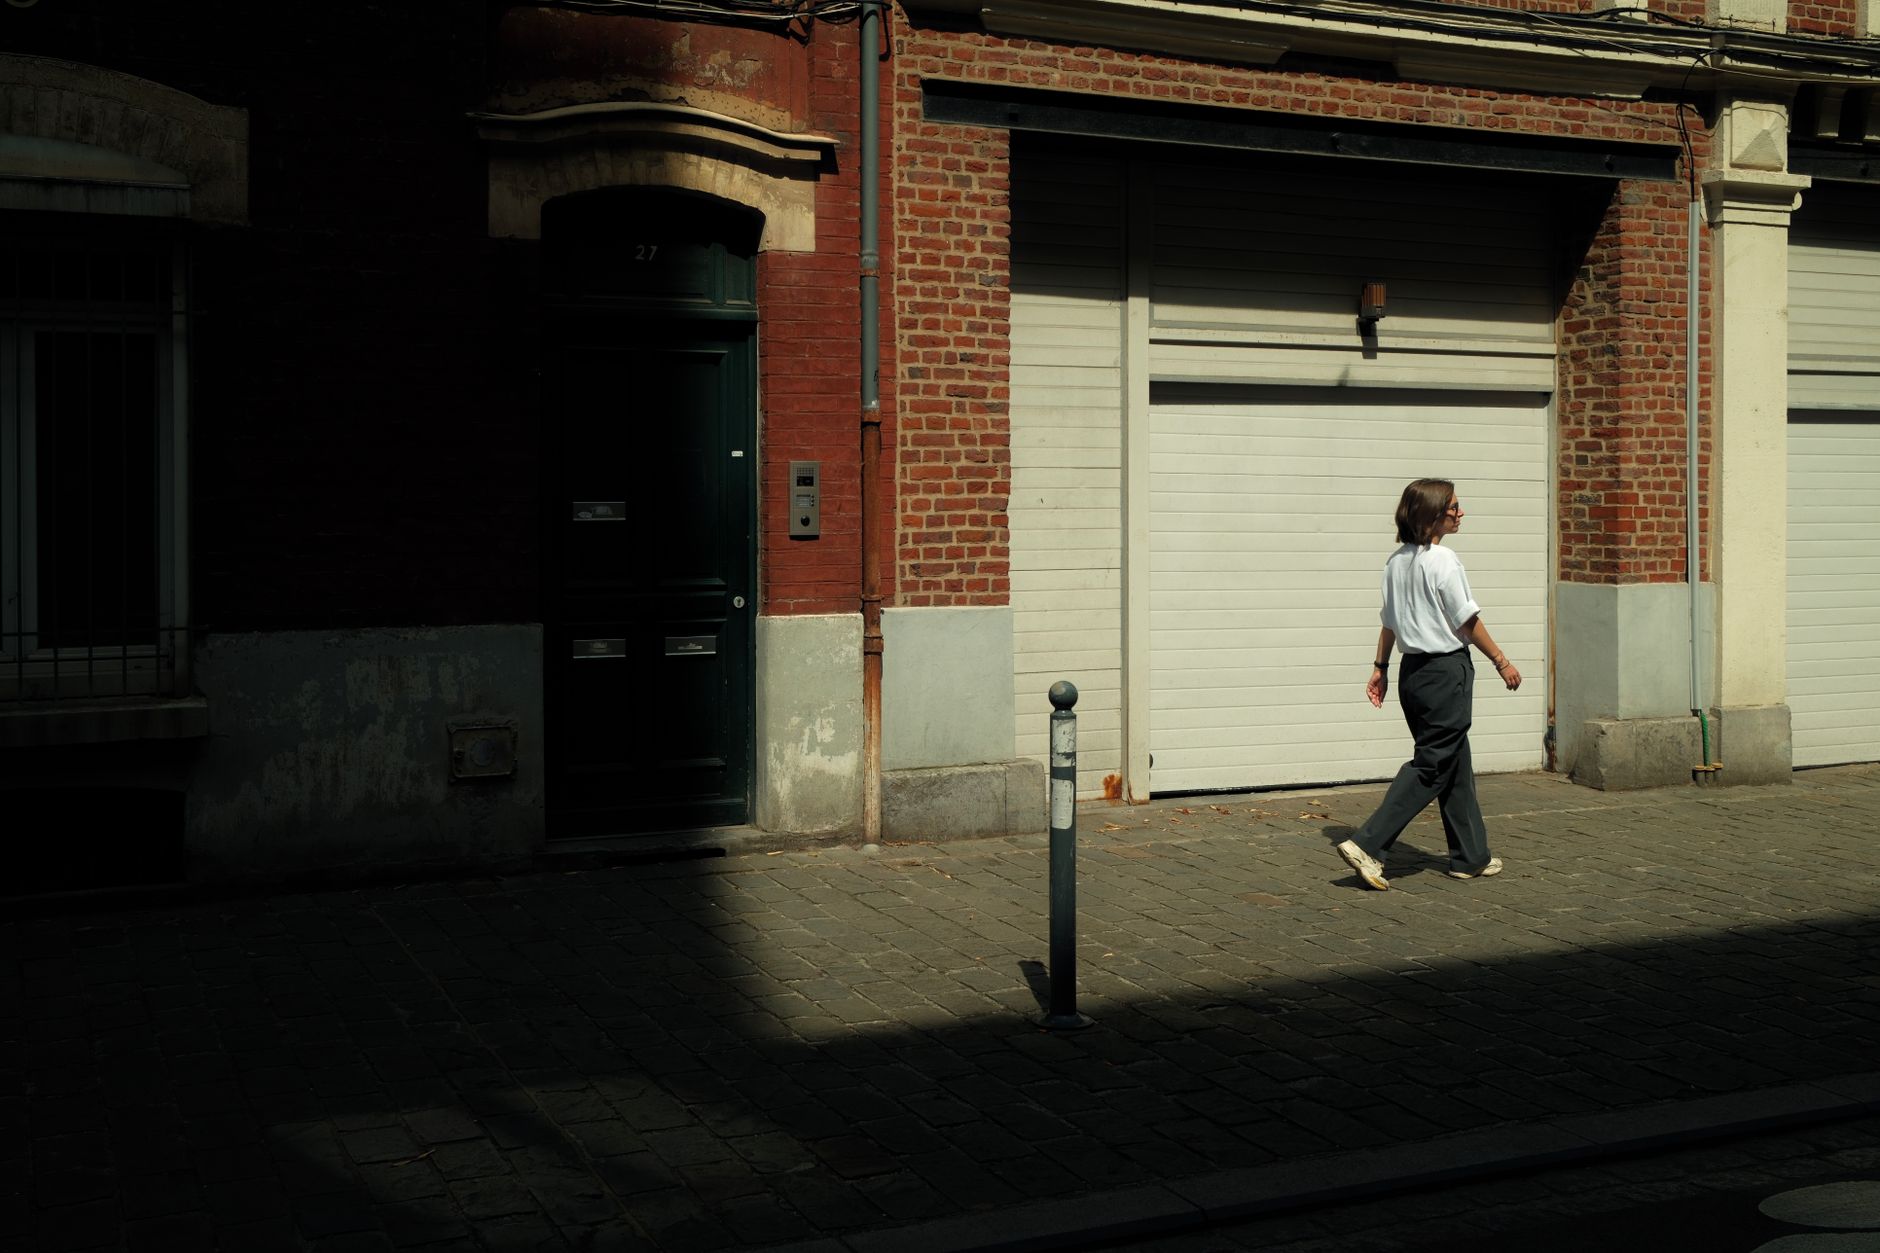
Photo by Thomas balabaud
Edit midday files without erasing the heat
A good midday edit should keep the photograph’s sense of sun. If you raise every shadow and pull down every highlight, the image can turn grey and lifeless.
Begin with exposure and white balance. Then reduce highlights enough to restore texture in walls or clouds. Open shadows only where they hide details that matter to the composition.
Protect contrast with local adjustments
Global sliders affect the entire image, so use them gently. A mask can darken a distracting bright corner, while another mask can lift a face that disappeared inside an arcade.
Lightroom’s local masking controls can select subjects or parts of an image for targeted adjustments. For phone photographers, Snapseed’s selective tools can achieve a similar restrained correction.
Don’t chase perfectly even tones. Let black areas stay black when they frame the subject well.
Crop for cleaner energy
Crop out bright edges that pull attention away from the action. Straighten vertical lines when they lean by accident, especially with wide-angle lenses. Still, don’t remove every imperfection.
A slightly tilted awning or a cropped shadow can preserve the feeling of a fast street encounter. European cities aren’t studio sets, and the best frames retain a little friction.
Make peace with the midday sun
Harsh noon light asks you to observe more carefully. It rewards prepared compositions, protected highlights, and a willingness to wait beside a shadow line.
The next time soft morning light is gone, don’t pack your camera away. Find a narrow street, set ISO 100, and watch where the sun reaches the cobblestones at the corner of an arcade.
