
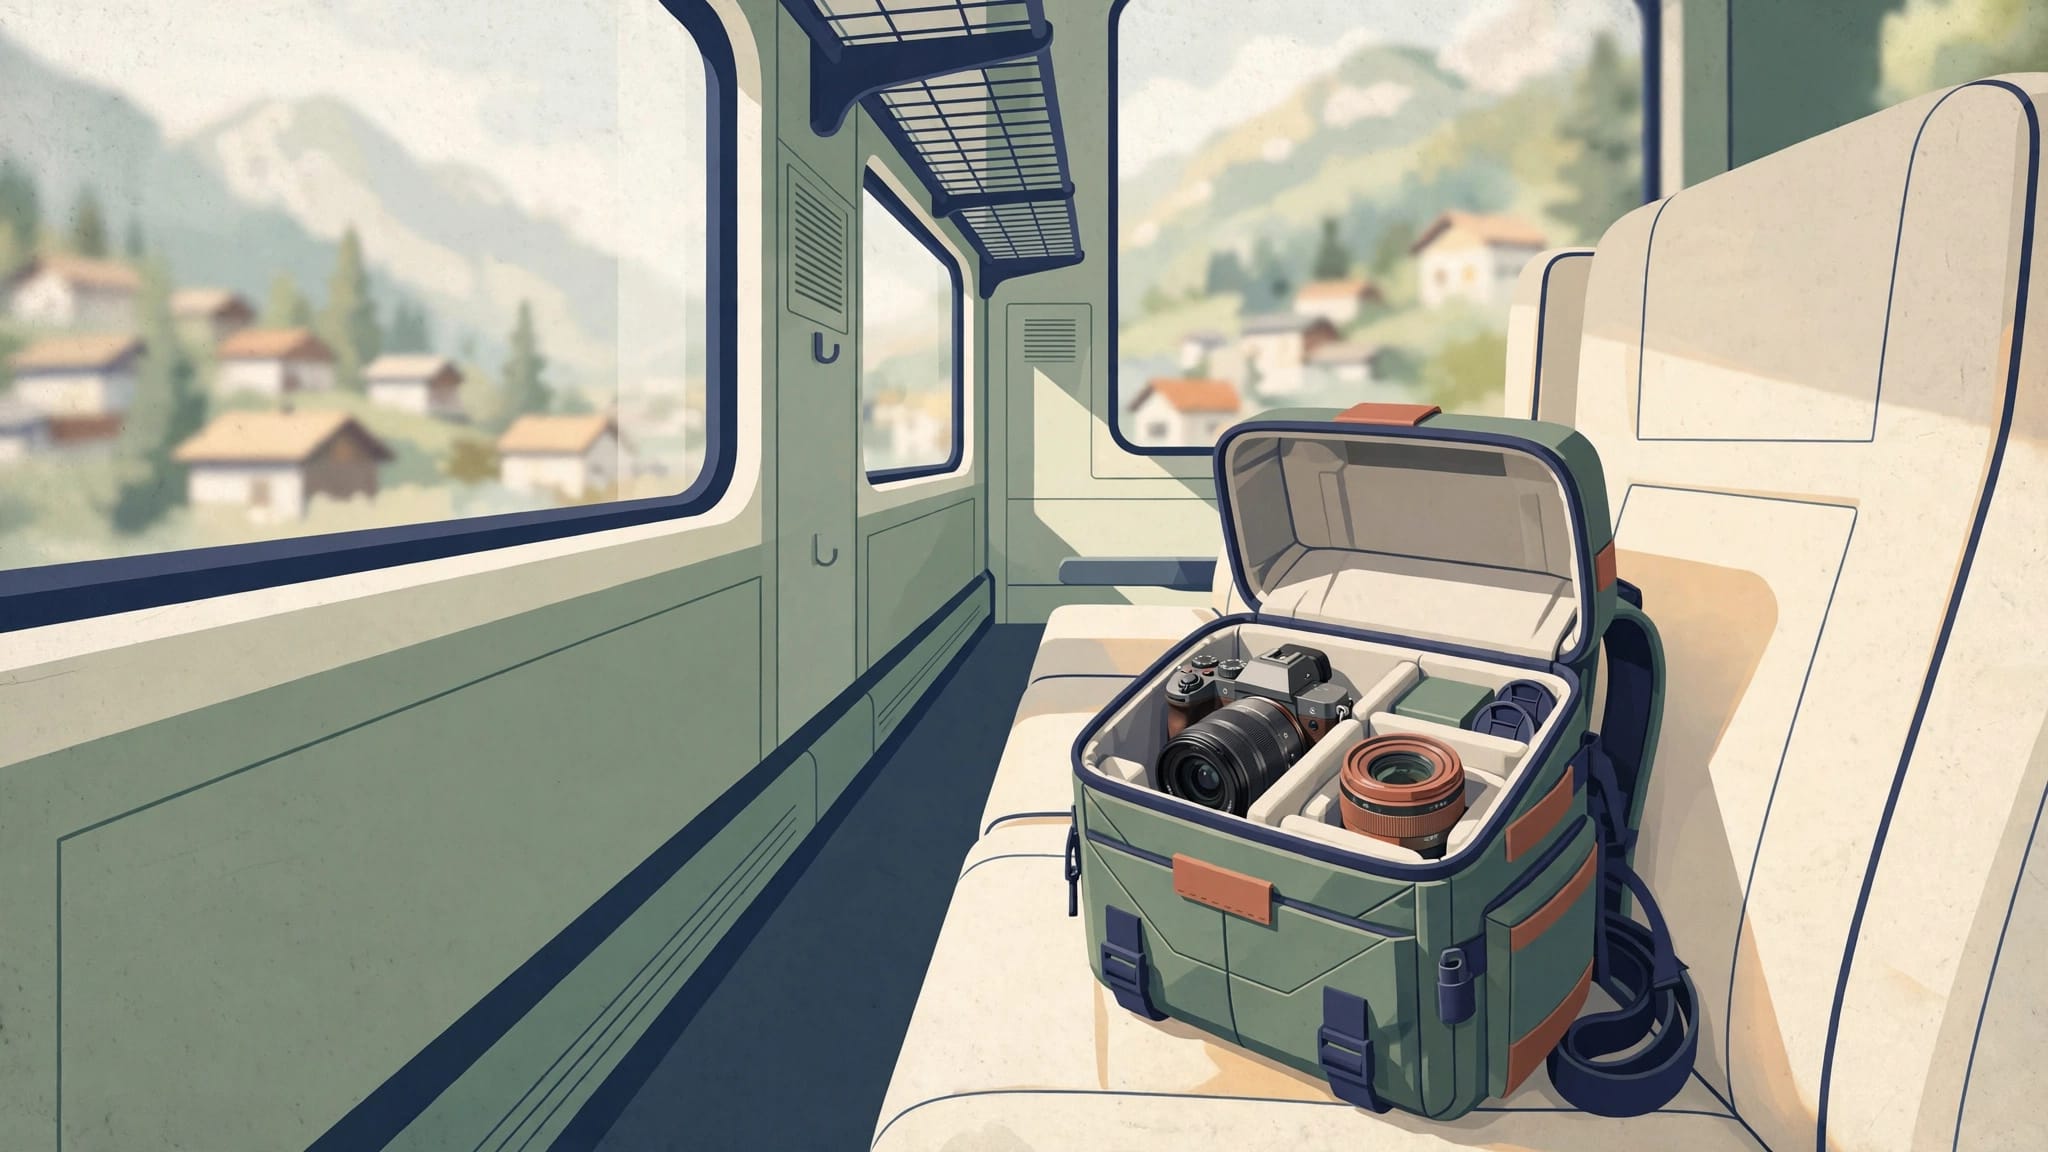
A camera bag that feels fine in an airport can become a burden after one steep station staircase. European rail trips involve narrow aisles, crowded platforms, overhead racks, and long walks over uneven pavement.
The best camera bags for European train travel protect your gear without making you the person blocking a carriage door. If you are comparing “camera bags train travel” options, prioritize compact dimensions, quick access, and a shape that stays close to your body.
Space disappears quickly. The right bag lets you board quickly, keep valuables in sight, and still reach a lens when the Alps, a canal, or a passing village appears outside the window.
What European Rail Days Demand From a Camera Bag
Train travel is less rigid than flying, but it still rewards disciplined packing. You may lift the bag above your head, tuck it beneath a seat, or carry it through an old station with no elevator.
SNCF Connect lists one cabin item up to 55 x 35 x 25 cm plus a smaller hand item on many services, although rules vary by train and fare. Check SNCF’s luggage conditions before departure, especially for low-cost or high-speed routes.
Eurostar permits two pieces of luggage and one hand item for Standard passengers, with each main piece up to 85 cm long. Still, that allowance doesn’t make a large photo backpack pleasant in a packed carriage. Eurostar’s current luggage policy is worth checking when London or Paris is part of the route.
Depth matters more than raw capacity
A deep, boxy pack catches armrests and forces you to turn sideways in an aisle. A bag around 15 to 21 cm deep usually sits more comfortably beneath a seat or against your legs.
Although a 30-liter backpack can hold extra clothing and a full editing setup, it becomes awkward when you need to stand in a vestibule while other passengers pass with rolling cases.
Access should not expose everything
Side access is useful when you need one camera quickly. However, open the panel only when the bag is supported against your body or a seat.
Top access works well on trains because it lets you retrieve headphones, a battery, or a lens cloth without laying the entire pack on a dirty platform. Small footprint, stable carry, rapid access.
Camera Bags Train Travel Well With These Shortlisted Picks
The right choice depends on how much gear you carry and whether a laptop travels with you.
| Bag | Best for | Useful rail-travel detail |
|---|---|---|
| Peak Design Everyday Backpack V2 20L | Camera, lenses, and laptop | 33 x 46 x 21 cm, side access, fits up to a 16-inch laptop |
| Peak Design Outdoor Backpack 25L | Lightweight mixed travel | 1.15 kg, 20L closed and 25L expanded |
| Lowepro Fastpack BP 250 AW IV | Value-minded creators | 22L, fast side access, 16-inch laptop sleeve |
| Peak Design Everyday Sling V2 6L | One body and small lens kit | Compact 6L shape, tablet sleeve up to 11 inches |
For most photographers, the Peak Design Everyday Backpack V2 20L is the strongest all-round choice. It holds a serious mirrorless kit while staying small enough for everyday rail use.
Peak Design Everyday Backpack V2 20L
The 20L version has side access, adjustable internal dividers, and room for a 16-inch laptop. Its 400D weather-resistant shell and waterproof bottom help when a platform is wet or a bag rests beside a train door.
The bag weighs about 2.01 kg with its dividers, so it is not the lightest option. Yet its structured shape protects gear well and keeps smaller items organized. Peak Design’s Everyday Backpack details explain its access layout and expandable design.
Choose a Lighter Pack for Long Walking Days
A photo bag can spend more time on your back than on the train. That is especially true in Lisbon, Rome, Edinburgh, or any city where station exits lead straight to hills and cobbles.
The Peak Design Outdoor Backpack 25L weighs about 1.15 kg, far less than the Everyday Backpack 20L. With its roll-top down, it measures about 48.5 x 28 x 15 cm. That slim depth makes it a sensible choice for under-seat storage and busy regional trains.
Peak Design Outdoor Backpack 25L
This pack works best if you use a modular camera insert rather than need a permanently divided photo interior. Its roll-top expands when you need a jacket or food for a long day, then compresses when the bag goes under a seat.
Peak Design’s Outdoor Backpack 25L supports several camera cube sizes, so you can build around a small mirrorless kit or a more serious setup. The softer structure also avoids the rigid-box look that can draw attention in crowded stations.
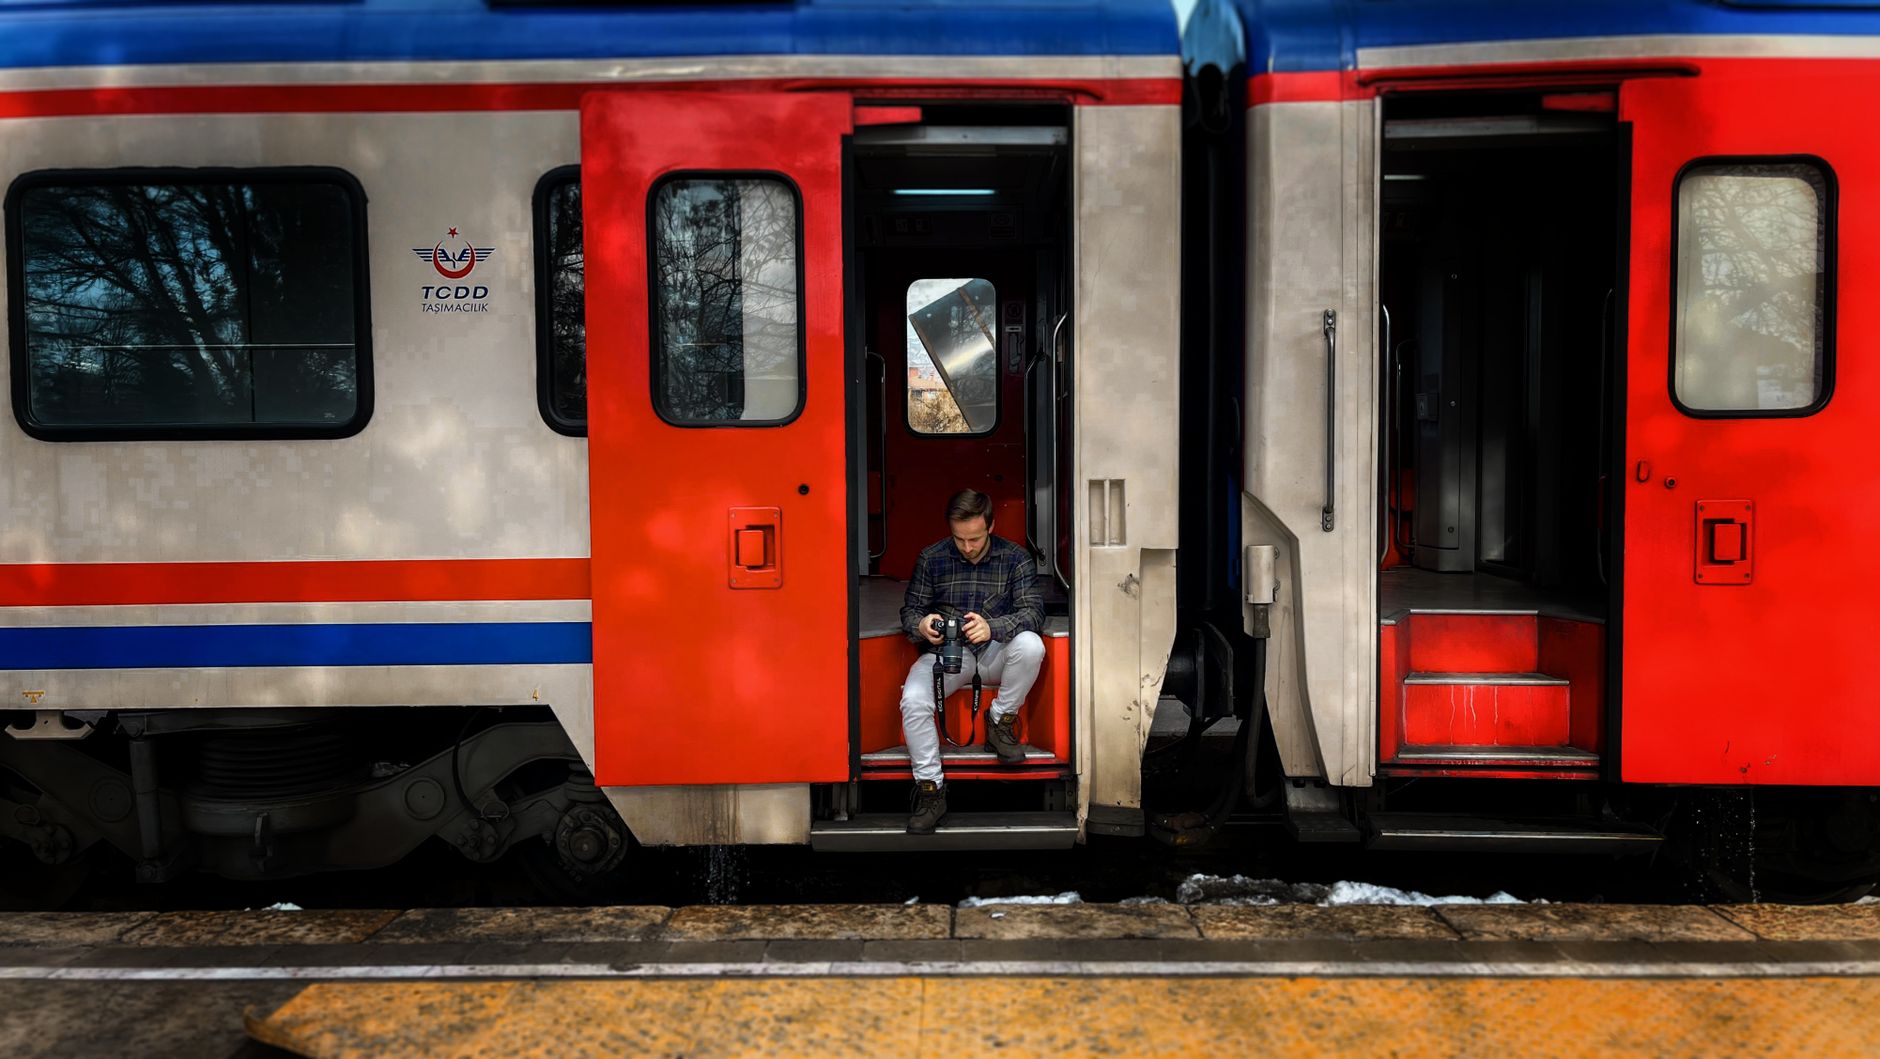
Photo by Lezgin Epik
Keep the roll-top partly empty on travel days. A full roll-top bag can become tall and unstable in an overhead rack.
Lowepro Fastpack BP 250 AW IV Brings Better Value
The Lowepro Fastpack BP 250 AW IV is a practical choice for creators who want camera protection and laptop space without paying premium-bag prices. Its 22-liter capacity suits a mirrorless camera, several lenses, accessories, and a 16-inch computer.
Lowepro lists fast side access, a dedicated laptop and passport area, plus a stow-away waist belt. That passport sleeve is useful during rail trips that cross borders or connect with flights. The Fastpack BP 250 AW IV product page also shows its separate storage zones.
Where the Fastpack fits best
This is a good bag for a photographer carrying a camera body, two or three lenses, a charger, and a laptop for evening edits. It is less discreet than a small sling, so keep it on your front in dense queues.
At roughly $169.95 in current retail coverage, it costs substantially less than many premium camera backpacks. It also gives you useful separation between photo gear and travel essentials.
Security matters more. Avoid placing the pack in a distant luggage stack if your camera body or passport remains inside.
Slings and Shoulder Bags Work for Smaller Kits
A sling makes sense when the train itself is part of the photo day. You can wear it across your chest, slide it into the seat beside you, and turn it forward before entering a crowded carriage.
The Peak Design Everyday Sling V2 6L fits a compact mirrorless body, one or two lenses, batteries, and a small tablet. Its outer measurements are roughly 35 x 23.5 x 12 cm, which makes it easy to keep close during a short ride.
Pick the 6L sling for a focused setup
A 6L sling is ideal with a camera and a 24-70mm equivalent zoom, or a body with a prime plus one spare lens. It is not a laptop bag, and that limitation is useful because it stops overpacking.
Peak Design’s wider camera bag range includes larger slings if you need a 13-inch laptop compartment. However, a 10L sling can feel heavy on one shoulder after a full day.
Shoulder bags need disciplined handling
Billingham and Think Tank shoulder bags appeal to photographers who prefer flap access and a quieter, less technical look. They fit well beneath train seats, but wear them cross-body and keep the flap facing inward in crowds.
Use a zippered insert or internal divider for cards and batteries. A loose accessory can fall out when you open a flap over a platform bench.
Protect Gear, Files, and Personal Items Separately
A camera bag is not a safe deposit box. Lockable zipper pulls can discourage casual interference, but they cannot replace attention.
On crowded platforms, wear a backpack on your front. Once seated, loop one shoulder strap around a leg or keep the bag against the window side. Don’t leave it across the aisle while you visit the cafe car.
Keep your backup copies apart
Transit is where photographers often put every important item into one pack. That creates a single point of failure if the bag is stolen, misplaced, or checked unexpectedly.
Carry the laptop in your main bag, but place a portable SSD in a separate zipped pocket or personal item. Keep full memory cards in a weather-resistant card case away from both. The familiar 3-2-1 backup approach, three copies on two storage types with one copy offsite, still works on a rail itinerary.
At Skogafoss, one photographer waited 25 minutes at 6:20 a.m. for spray to thin before shooting. The same patience applies to travel files, copy first and verify before formatting a card.
Pack for the Photos You Will Actually Make
A Europe trip can tempt you to pack every lens. Resist that urge unless the work demands it. Stairs expose bad choices.
For most city and rail photography, a mirrorless body, a wide-to-normal zoom, a short telephoto or fast prime, two batteries, cards, and a cloth will cover the day. Put the heaviest item closest to your back.
Keep daily tools near the top
Place tickets, passport, phone cable, battery, and card case in one top pocket. That placement prevents a frantic search at a platform gate.
A compact travel tripod should go inside the bag whenever possible. External tripod straps make a pack wider and can snag another passenger. Many museums and landmark interiors also ban tripods, so carrying a small support does not guarantee you can use it.
Rain can arrive without warning. Use a built-in cover or pack a simple rain sleeve, then wipe moisture off the bag before placing it overhead.
Choose the Bag You Can Handle at a Moving Door
The best camera bags for European train travel make your kit feel manageable when the carriage stops and everyone stands at once. Choose the smallest bag that safely carries your planned setup, rather than the largest one that might fit.
A 20L backpack suits a laptop-and-lens workflow, while a 6L sling keeps a compact kit close on day trips. Keep the spare battery and card case in the top pocket, where you can reach them before the 07:12 departure.
