
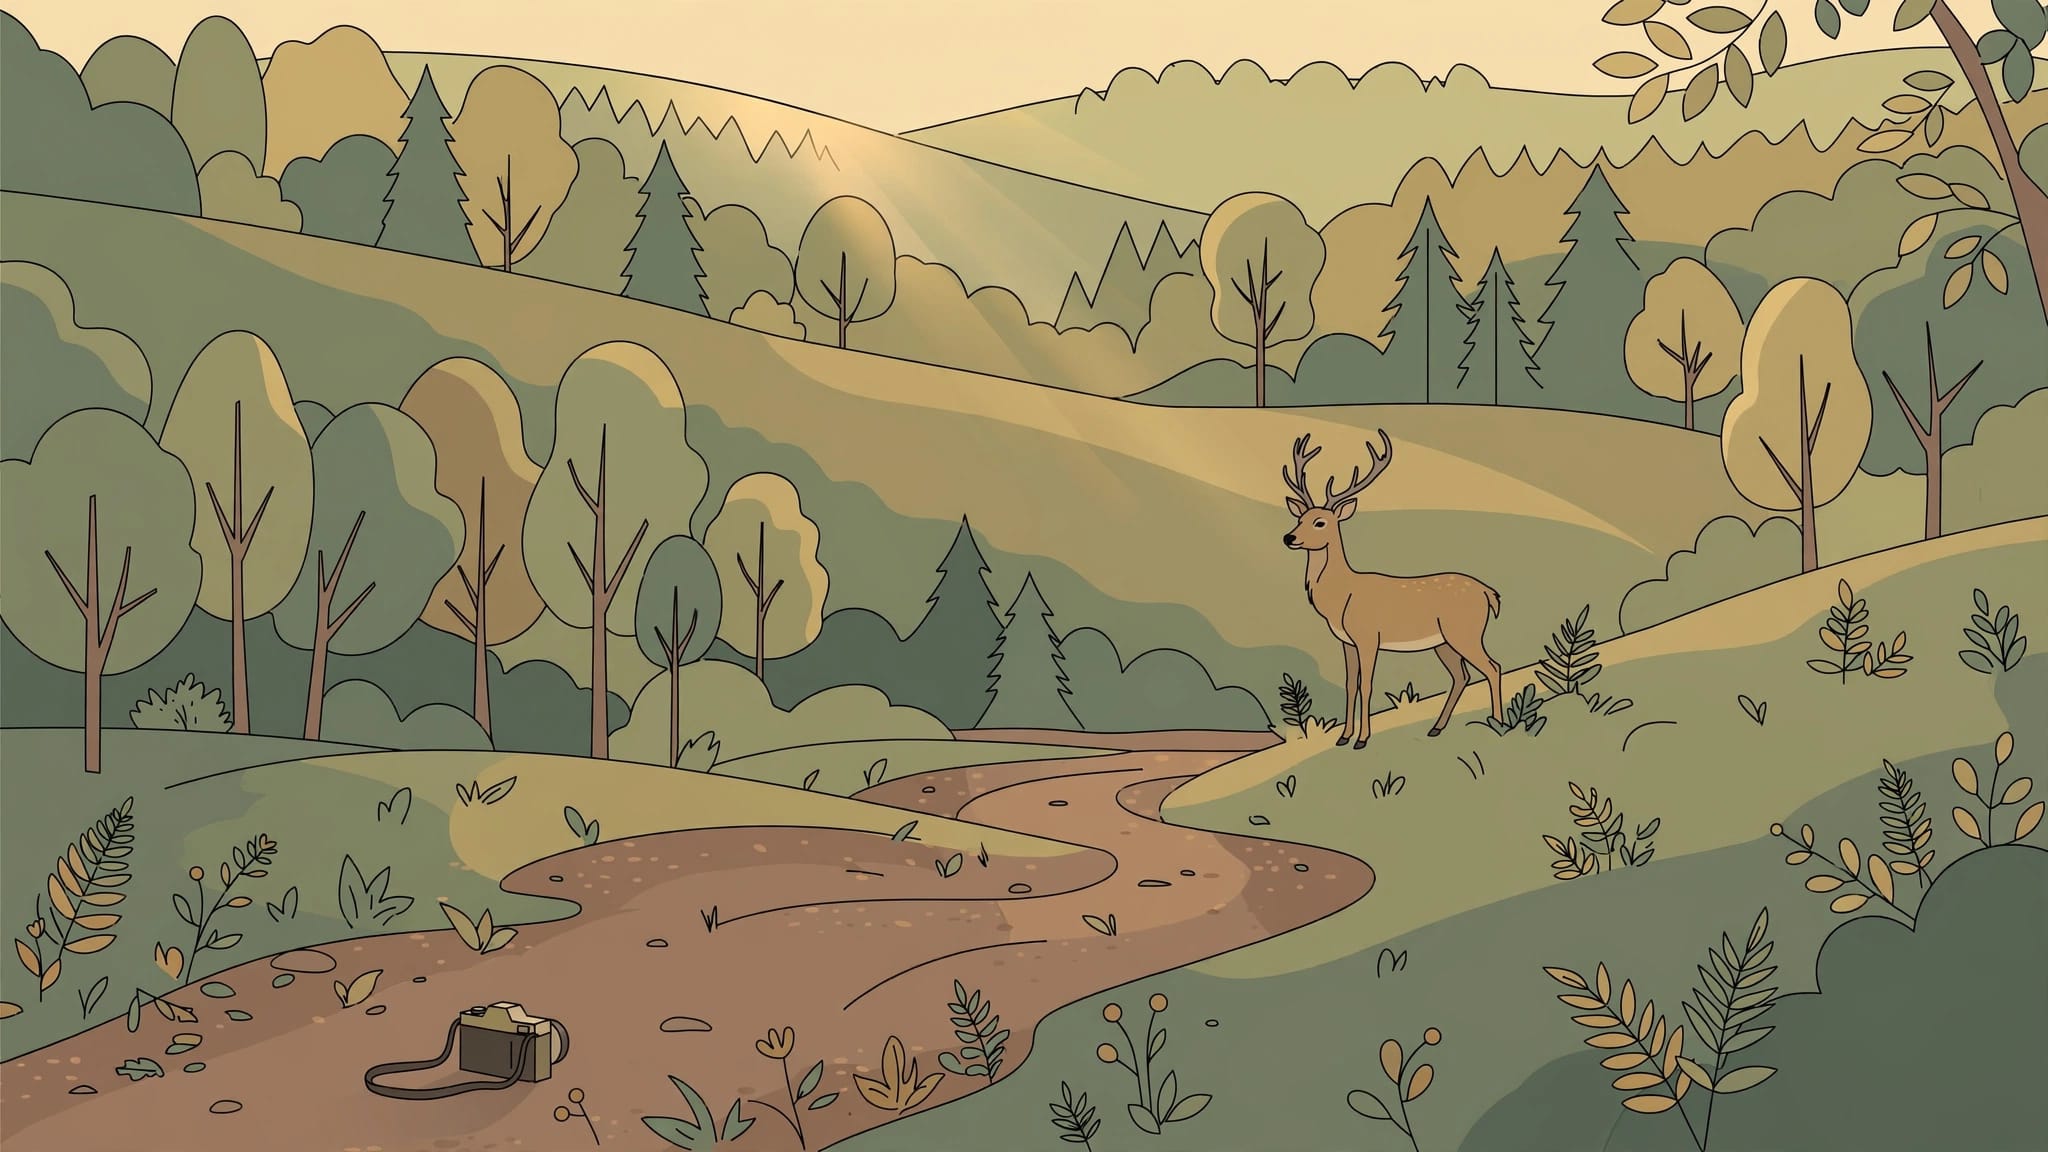
The deer appears beside the path just as you start putting your camera away. Getting the photograph depends on being ready, not stepping closer.
European wildlife photography from public trails rewards patience and a camera you can carry comfortably. You don’t need remote access to find worthwhile subjects, but you do need to understand the route and recognise when your presence changes an animal’s behaviour.
Start by choosing a walk where wildlife, legal access and useful light overlap.
Key Takeaways for Your Next Walk
- Trail access before species lists.
- Choose one target animal, then find an accessible route through its habitat.
- Set your camera before the encounter, rather than adjusting everything while the animal watches.
- Leave room for other walkers, including when you’re using a tripod.
- Return to a promising location instead of following an animal away from the path.
Plan European Wildlife Photography Around Access
Check the exact route, not just the destination
A national park name doesn’t tell you which paths are open or whether photography equipment needs permission. Public rights of way, ticketed reserve paths and protected-area trails can have different conditions.
Before travelling, check the reserve’s current access map and opening hours, because a route shown on a general walking app may cross a seasonal closure or reach a gate that stays locked until after sunrise.
Check access before sunrise. Also read notices at the entrance, since temporary restrictions may protect nesting birds or respond to storm damage.
The New Forest National Park Authority’s essential visitor guide is a useful starting point for understanding local access and considerate behaviour. Use the equivalent official guidance wherever you’re travelling.
Match the walk to light and habitat
Choose fewer locations and give them repeat visits. A familiar wetland loop usually offers better chances than a rushed circuit of several famous viewpoints.
Scout the route in daylight first. Note where woodland opens into grassland and which sections overlook water without dense foreground branches.
Dawn can suit deer and some birds, although shade may remain heavy beneath trees. Overcast conditions often give more workable exposure than bright sunshine across water.
For early starts, tell someone your route and expected return time. Download the map before leaving mobile coverage.
Choose Wildlife You Can Photograph Without Pursuit
Start with visible, repeatable subjects
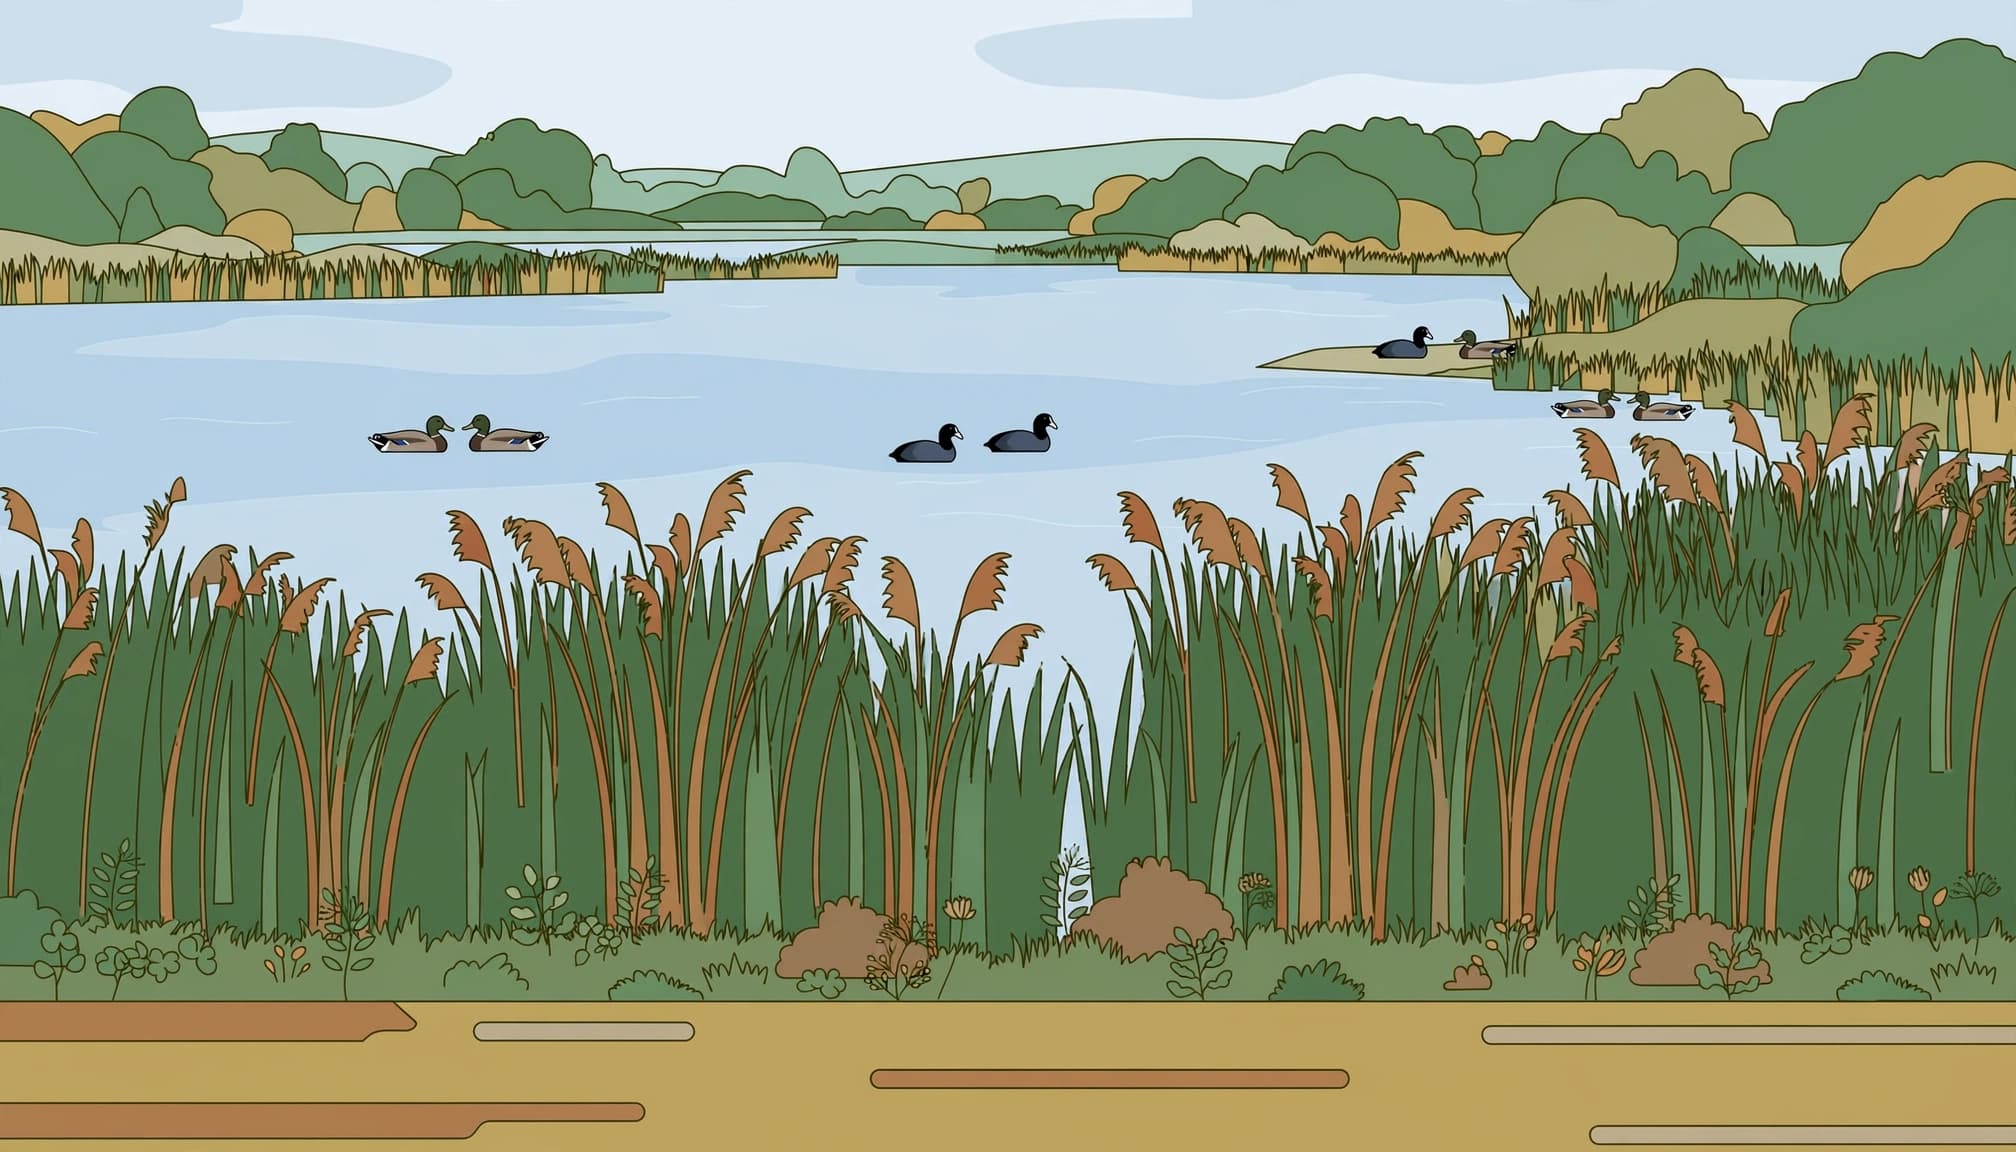
Waterbirds are useful beginner subjects because you can often watch them from established paths or hides. Mallards, coots and grey herons offer practice with movement without requiring a rare-species search.
Richmond Park in London offers opportunities to photograph free-roaming red and fallow deer. However, its deer live in a managed park, so captions should describe that setting accurately.
In alpine areas, chamois may be visible across open slopes. Photograph them where the marked route already gives a view; don’t cross fragile ground to shorten the distance.
Let the season shape your expectations
Spring brings breeding activity, but nests need extra caution. Avoid photographing adults at a nest entrance or lingering beside chicks.
Autumn deer encounters require care too. Rutting animals can move suddenly, and a relaxed-looking individual doesn’t give you permission to approach.
Meanwhile, winter light can be attractive, but animals may have limited energy reserves. Leave resting birds undisturbed.
For European wildlife photography, a common animal behaving naturally often produces a stronger image than a distant rarity you spend the whole walk pursuing.
Keep Your Distance and Read the Animal
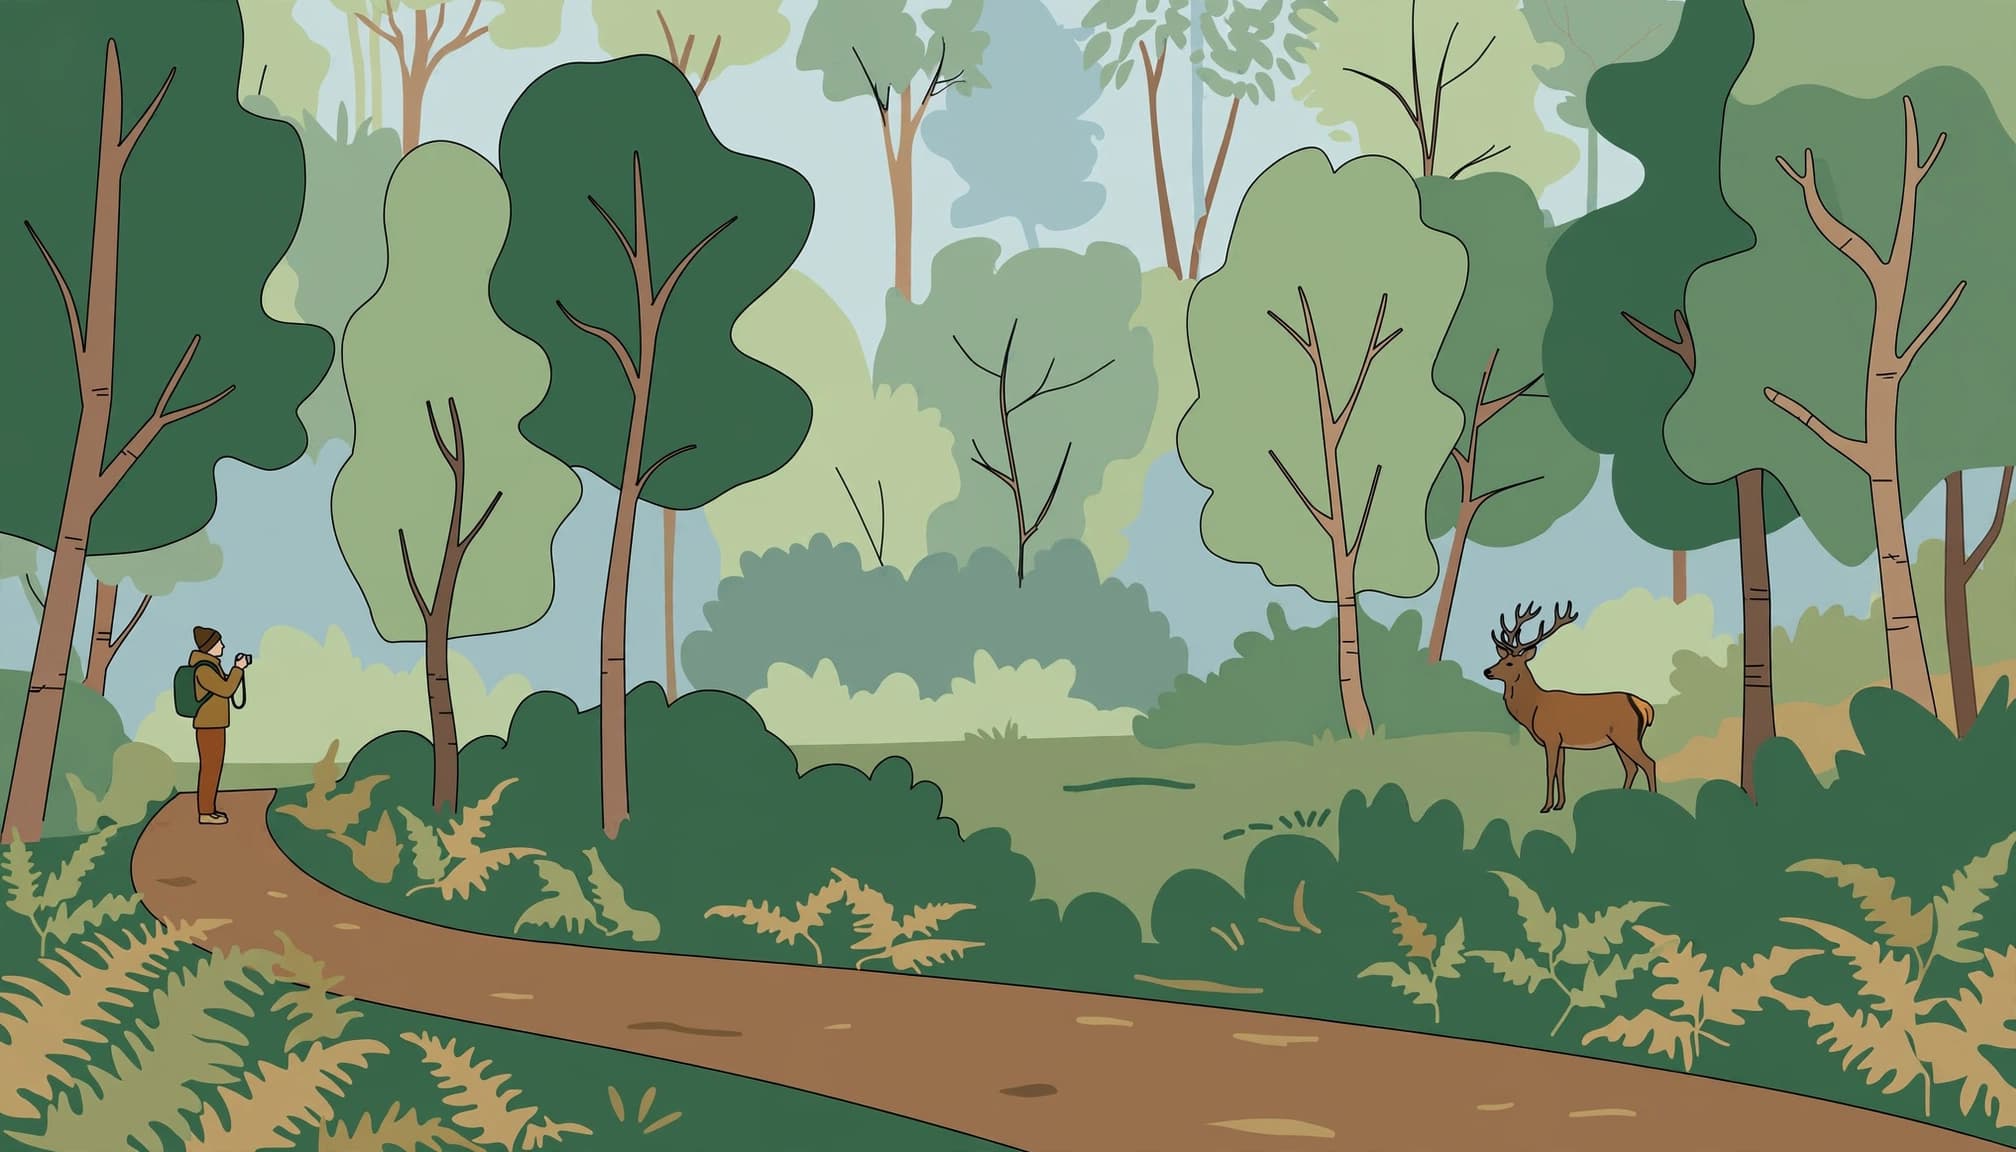
A public path isn’t permission to disturb wildlife. NatureScot’s wildlife photography guidance explains that photography can cross legal boundaries when it disturbs protected animals.
There isn’t one safe distance for every species and situation. Follow posted minimum distances, then give more space when behaviour calls for it.
If a bird repeatedly turns towards you or carries food without returning to its nest, lower the camera and retreat along the path rather than waiting for a photograph of its next move.
Stay on the path. Let the animal leave.
Watch for interrupted feeding and repeated alarm calls. However, apparent stillness doesn’t always mean comfort; some animals freeze when threatened.
A bird waiting nearby with food in its bill may be waiting for you to leave before approaching its nest.
Don’t use food or recorded calls to pull wildlife towards a trail. The Nature Photographer’s Code of Practice puts the subject’s welfare ahead of the photograph.
In 2011, a video filmed in Richmond Park showed a dog named Fenton chasing deer while his owner called after him. That brief incident is a useful reminder: dogs can turn a quiet wildlife encounter into a chase. Follow local dog restrictions and keep yours under control.
Carry Reach Without Overloading Your Bag
Choose the lens you’ll keep ready
For many trail walks, a telephoto zoom is more useful than several short lenses. Around 300mm to 500mm full-frame-equivalent reach is a practical starting range, although small birds may remain tiny in the frame.
A Canon RF 100-400mm F5.6-8 IS USM is one relatively compact option for Canon RF users. The Sony E 70-350mm F4.5-6.3 G OSS offers useful reach on Sony APS-C cameras.
These are examples, not requirements. Start with your existing lens and learn which subjects it handles well.
On APS-C, a given focal length produces a narrower angle of view than on full frame. However, it doesn’t physically magnify the animal more than the same lens would on a larger sensor.
Carry binoculars if you have them. They’re easier for sustained observation than holding a heavy camera to your eye.
Treat support equipment as optional
A tripod helps with prolonged observation, but it can become an obstruction on narrow trails. Check site rules before extending its legs.
On boardwalks, keep the entire setup within the permitted walking surface and leave a clear passing route. Fold the legs when space gets tight.
Handheld shooting is often more practical for animals moving between gaps in vegetation. A monopod may reduce fatigue, but it also needs room.
Pack a rain cover and lens cloth. Keep a spare battery warm in cold weather, and contain loose straps so they don’t catch vegetation or railings.
Set the Camera Before Wildlife Appears
Start with continuous autofocus, called AF-C or AI Servo depending on the camera. Use animal-eye detection when it’s reliable, but practise switching to a small focus area for subjects behind branches.
Manual exposure with Auto ISO is useful because you can control shutter speed while light changes. Choose an aperture your lens can provide at the focal length you’re using.
These settings are starting points, not guarantees.
| Subject | Starting shutter speed | Focus approach |
|---|---|---|
| Resting deer | 1/500 second | Continuous AF on the eye |
| Walking mammal | 1/1000 second | Continuous subject tracking |
| Bird flying across open water | 1/2000 second | Tracking with a wider AF area |
| Motionless bird in dim light | 1/250 second | Small focus area, steady support |
Increase shutter speed when movement causes blur. For still subjects, slower speeds may work with good technique, but image stabilisation can’t stop an animal moving.
Check the eye at playback magnification. A sharp branch beside a soft bird means autofocus chose the wrong target.
Also watch bright plumage. White feathers can lose detail against dark water, so check highlight warnings and adjust exposure when needed.
Use short bursts during meaningful movement rather than holding the shutter continuously. This makes selecting images easier later.
Silent electronic shutters can help, although fast movement may show rolling-shutter distortion on some cameras. Test that mode before relying on it for flying birds.
Build the Photograph From Your Position on the Trail
Clean up the background without stepping off
Look for gaps between branches and patches of distant, uncluttered background. Sometimes moving a metre along the path changes the image more than adding focal length.
Lower your camera slightly when it’s safe and permitted. For waterbirds, a lower viewpoint can reduce distracting shoreline clutter, but never climb barriers or crouch where passing walkers can’t see you.
Leave space in the direction the animal faces. If the subject is small, include its habitat deliberately rather than cropping until the file falls apart.
Mist can simplify a woodland scene, but heavy fog may remove detail. Use it for atmosphere when the animal remains recognisable.
Wait for behaviour, then stop
Pause at a useful viewpoint and watch before raising the camera. You may notice that a heron repeatedly fishes beside the same reed edge.
Photograph the behaviour available from your position. Avoid following an animal each time it moves away, because repeated approaches can interrupt feeding.
Record light conditions and where you stood after the encounter. On your next visit, that information is more useful than a vague memory of seeing wildlife somewhere along the loop.
For a fuller ethical framework, Still Outdoors’ nature-first photography guidance connects fieldcraft with decisions about sensitive locations.
When sharing photographs, omit precise nest locations and vulnerable roost sites. A recognisable landmark can disclose more than a written caption.
Frequently Asked Questions
Can I photograph wildlife with a phone?
Yes, especially larger animals photographed within their habitat. However, digital zoom quickly reduces detail, and a phone doesn’t justify approaching closer.
Use the wider composition available to you. A deer beside woodland can make a worthwhile image even when it occupies a small part of the frame.
Do I need a permit or hide booking?
Ordinary personal photography is often allowed from visitor trails, but permission depends on the site. Some hides require reservations, while commercial work or unusual equipment may need separate approval.
Check the exact conditions before travelling. Also confirm whether a hide is publicly accessible, ticketed or available only through a booked session.
Make the Next Walk a Repeat Visit
Return to the stretch of trail where you already found a clear view. Give yourself time to observe before photographing, and keep the camera ready while the animal remains relaxed.
If a deer walks into the opening, stay where you are. Check the background through the viewfinder, focus on the eye, and start at 1/1000 second.
