
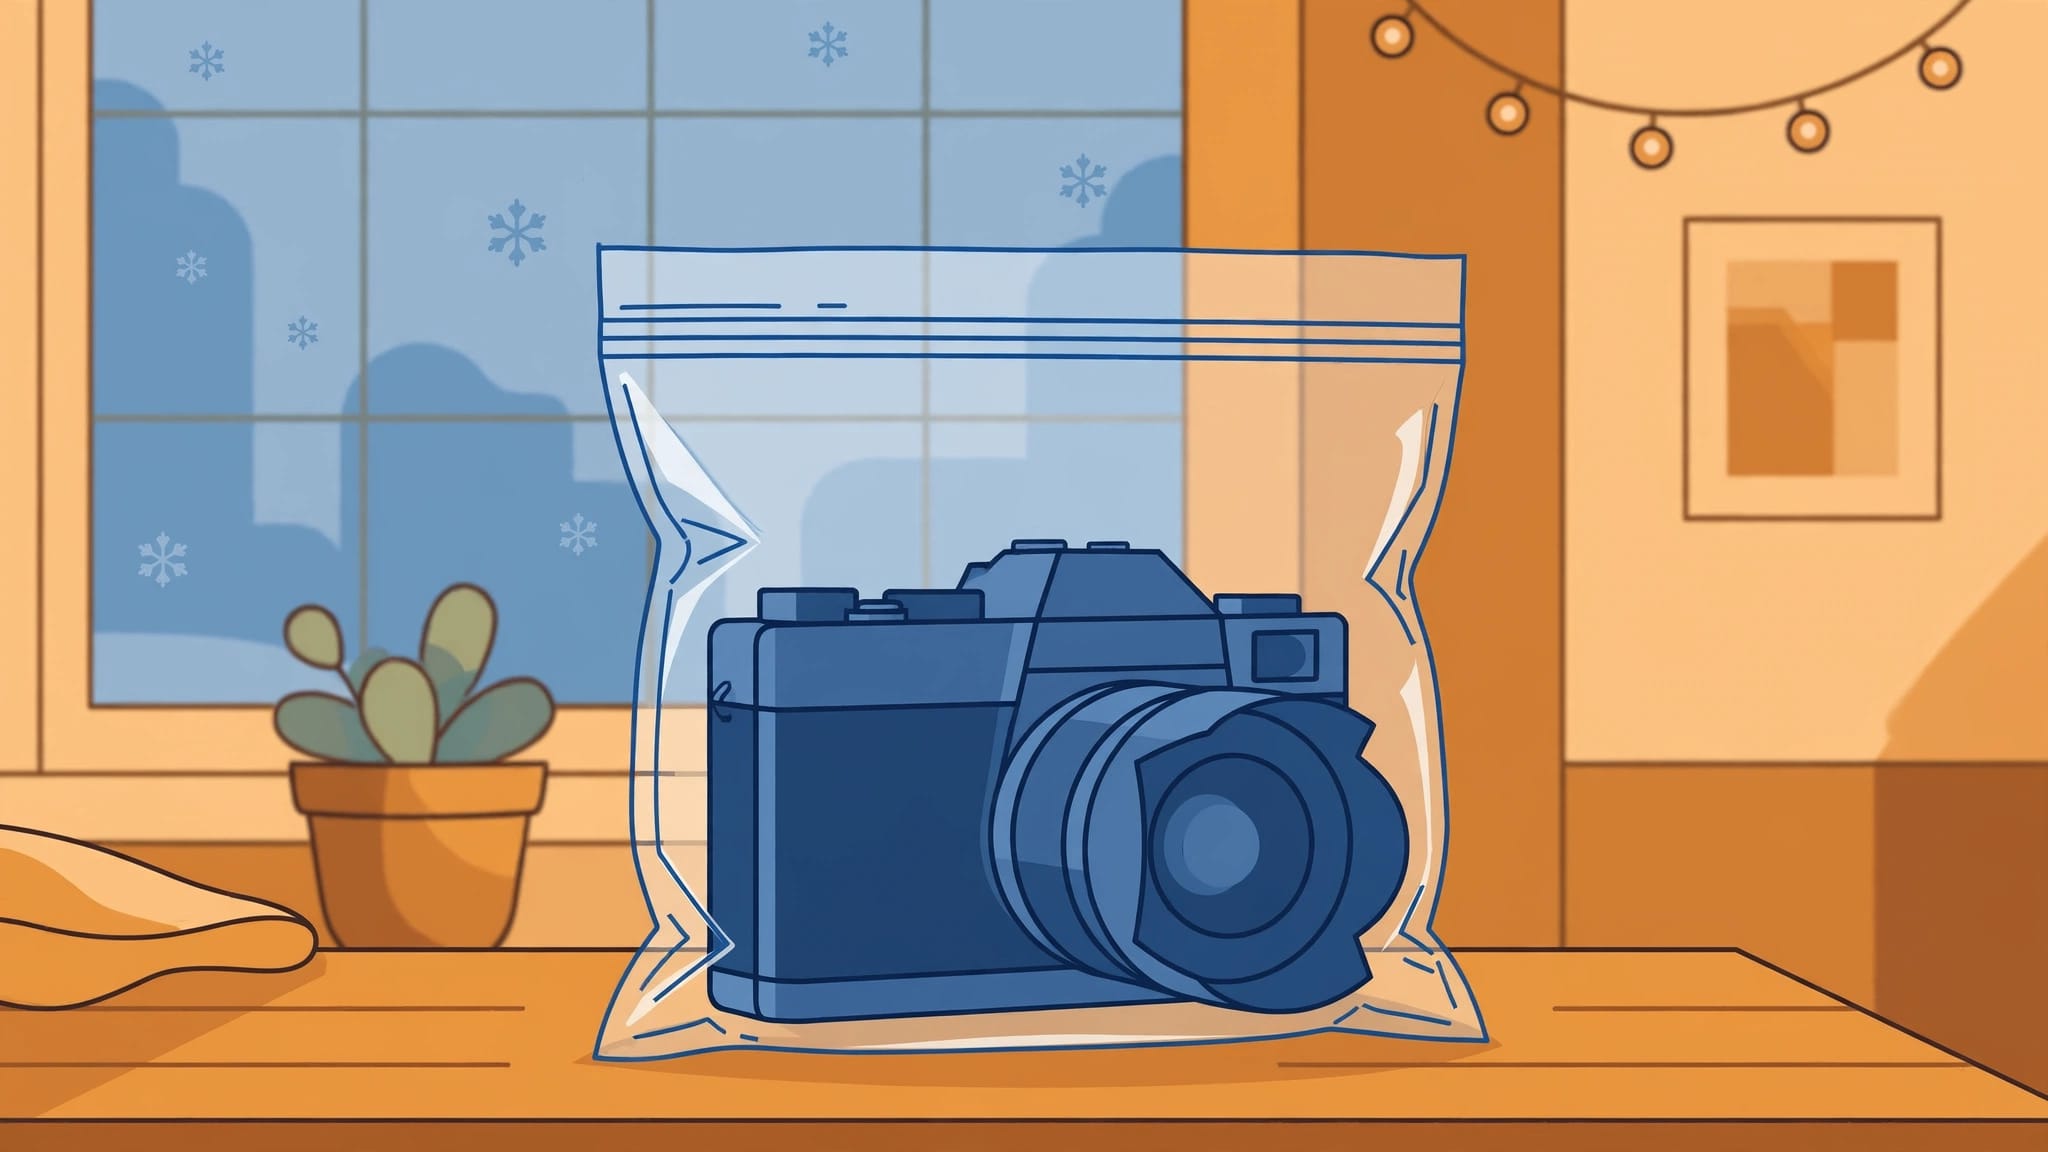
To prevent camera condensation, seal your cold camera in a dry, airtight bag before you bring it into a warm room. Leave it sealed while the camera warms, so humid indoor air can’t reach its cold surfaces.
This routine is useful after a snowy walk, a night photographing the aurora, or even a short stop in a heated cafe. The timing matters because condensation can appear on the lens and inside the camera.
Why camera condensation forms
Cold equipment can collect moisture when it meets warmer, humid air. The air next to the cold surface cools, and if it reaches its dew point, water vapor can turn into droplets.
NOAA’s explanation of humidity describes the dew point as the temperature at which condensation occurs. The more moisture in the indoor air, the warmer that threshold can be.
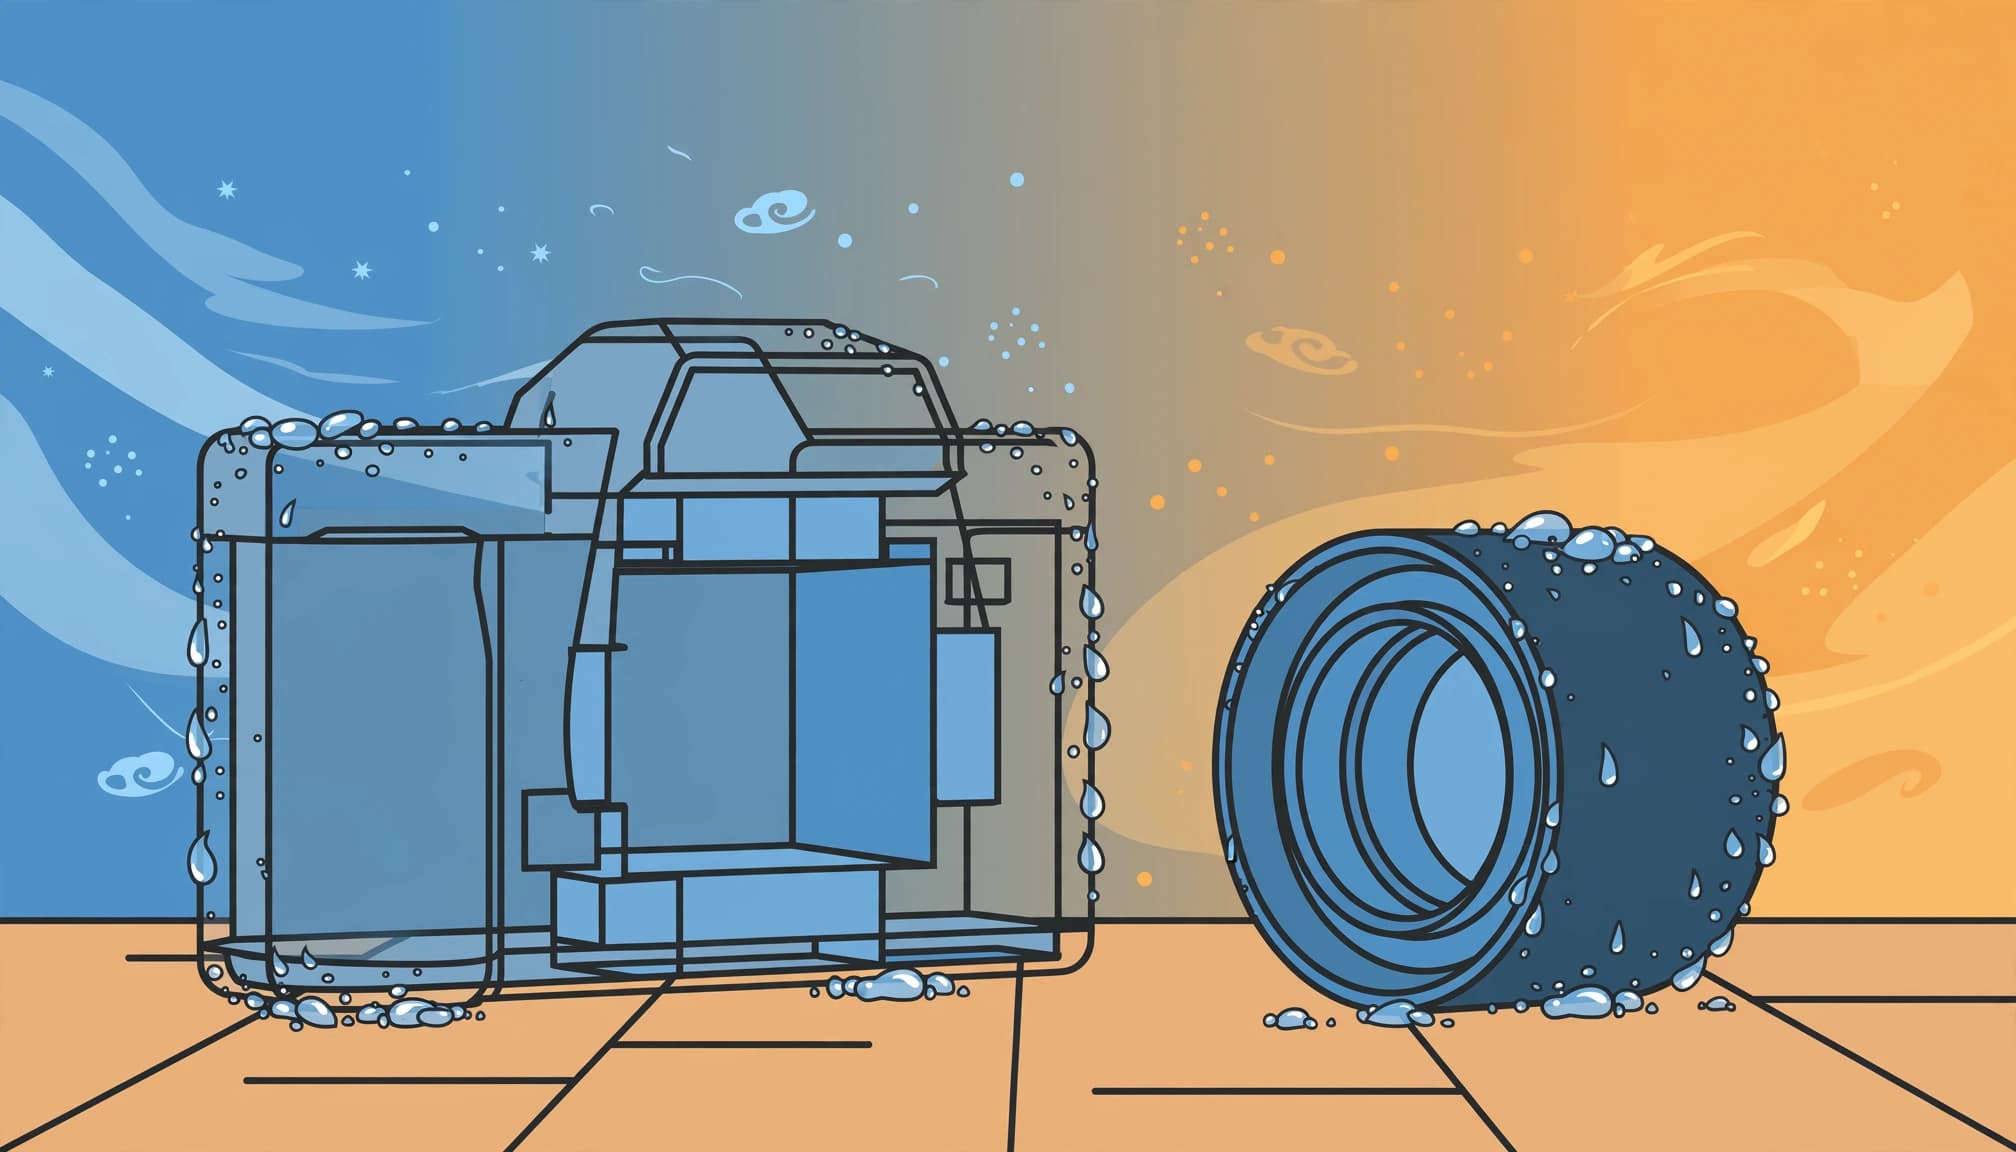
You might first notice a cloudy front element or beads on the camera body. A fogged viewfinder, too. Moisture can also form where you can’t easily see it, including inside a lens or camera body.
The droplets can soften photographs and make controls damp. Canon’s extreme-weather advice also warns that condensation can damage equipment.
The key is to limit contact between the cold gear and indoor air until the equipment has warmed. You don’t need a special camera case to do that, but you do need to prepare before you cross the threshold.
Seal the camera before coming indoors
Use a dry, airtight bag
A clean zip-top plastic bag works well for a camera with a lens attached. A dry bag with a secure closure is another option, provided it’s large enough to hold the equipment without forcing the zipper or bending the strap.
While you’re still outside, switch off the camera, fit the lens cap, and gently remove any visible snow or moisture from the exterior with a clean, dry cloth. Then put the camera in the bag and close it completely.
Seal it before entering.
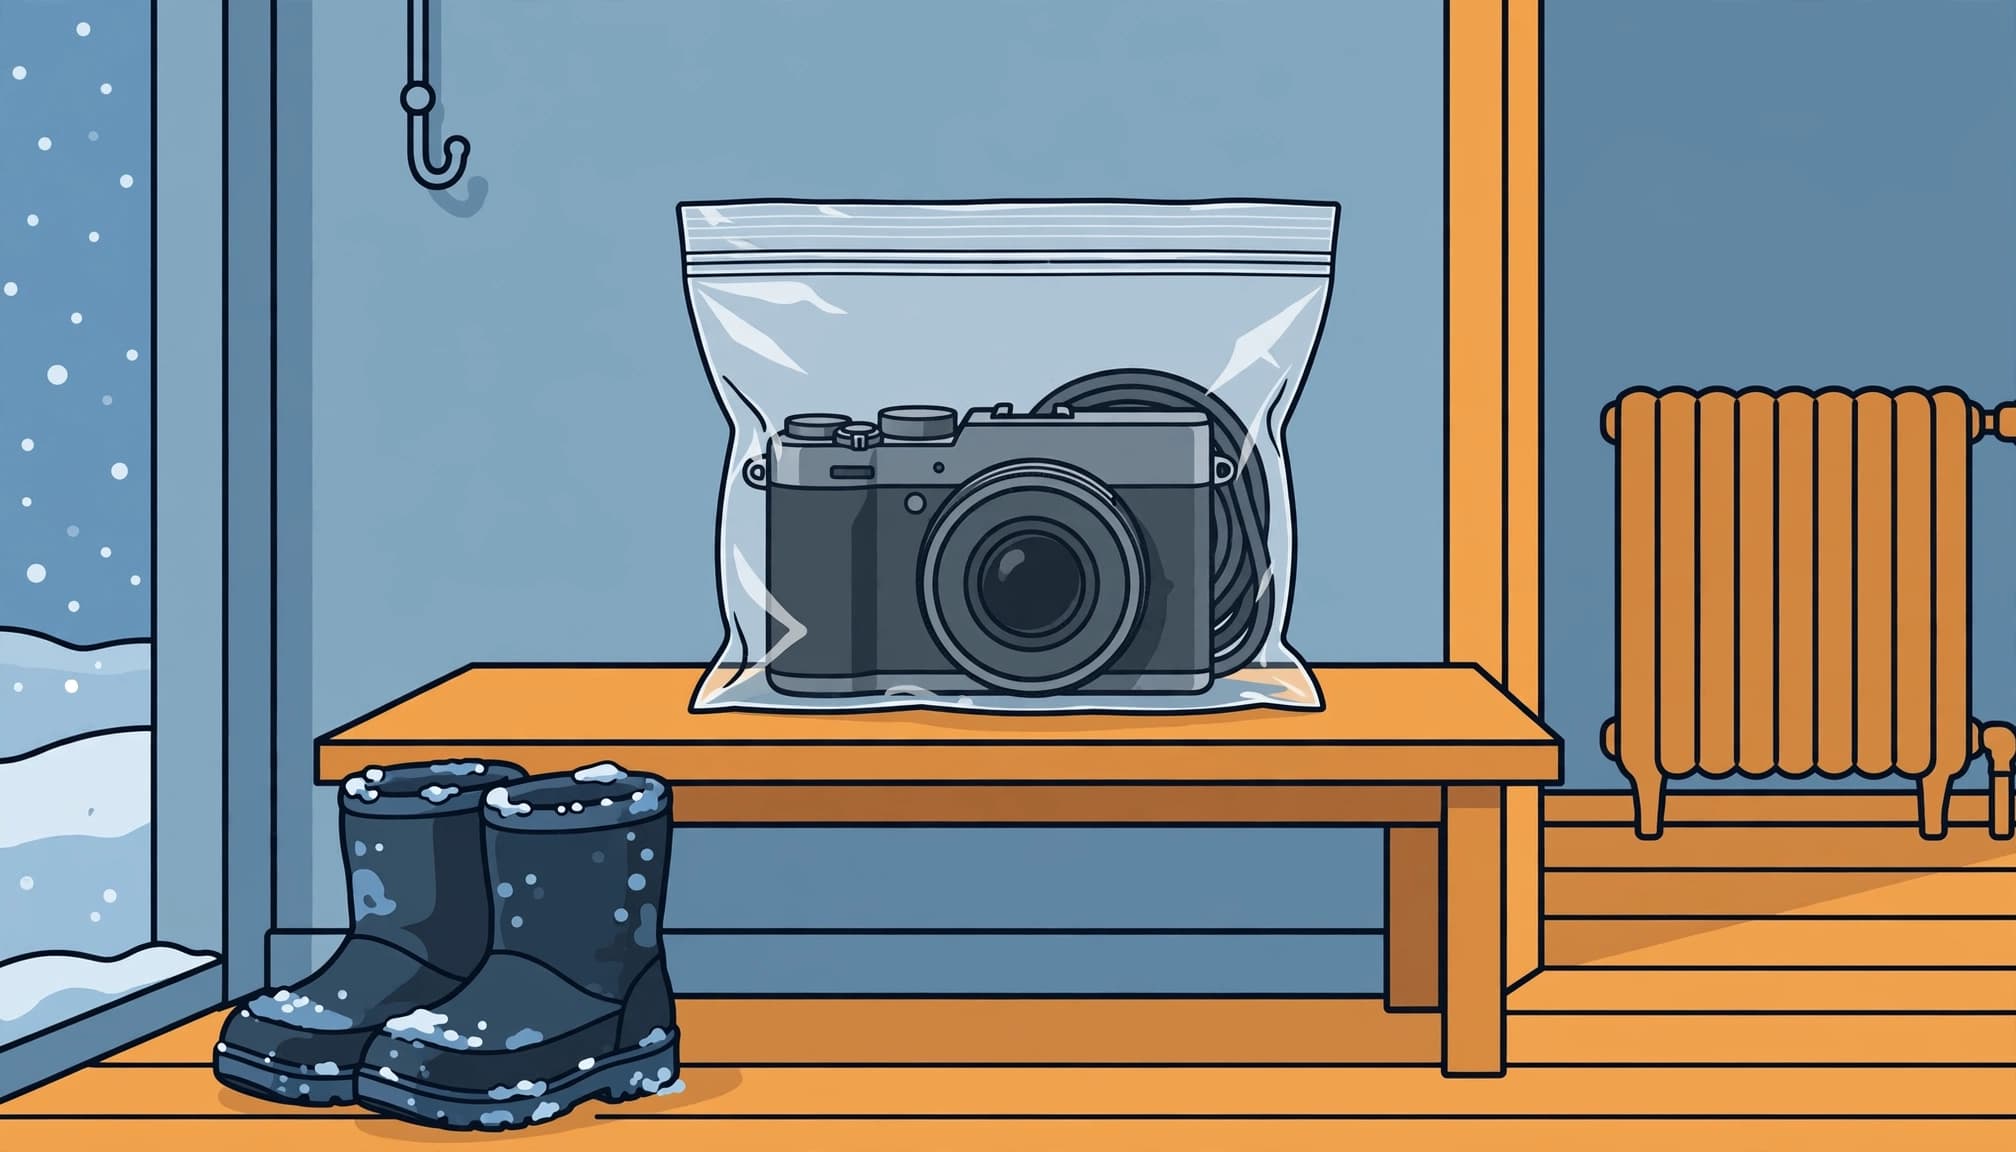
If moisture appears on the outside of the bag after you enter, the barrier is doing useful work. However, sealing isn’t a guarantee against every droplet: damp gear or moisture already inside the bag can still cause trouble.
Keep the lens attached
Leave the lens on the camera during the transition. That keeps you from exposing the camera’s interior to humid indoor air while the body is cold, and it saves you from handling a cold lens mount with damp fingers.
If you carry additional lenses, seal them while they’re still cold, too. Separate bags make sense when a lens won’t fit comfortably beside the camera.
This approach also works after a long winter session, such as photographing the northern lights in Finland, when the camera and lens may have spent hours outdoors.
Give the equipment time to warm
Put the sealed bag somewhere safe at normal room temperature, away from direct heat. Leave it closed while the camera and lens warm toward the temperature of the room.
A large lens or a heavily padded bag can take longer to warm through than a small accessory. If the camera still feels cold through the bag, give it more time rather than opening it for a quick photograph.
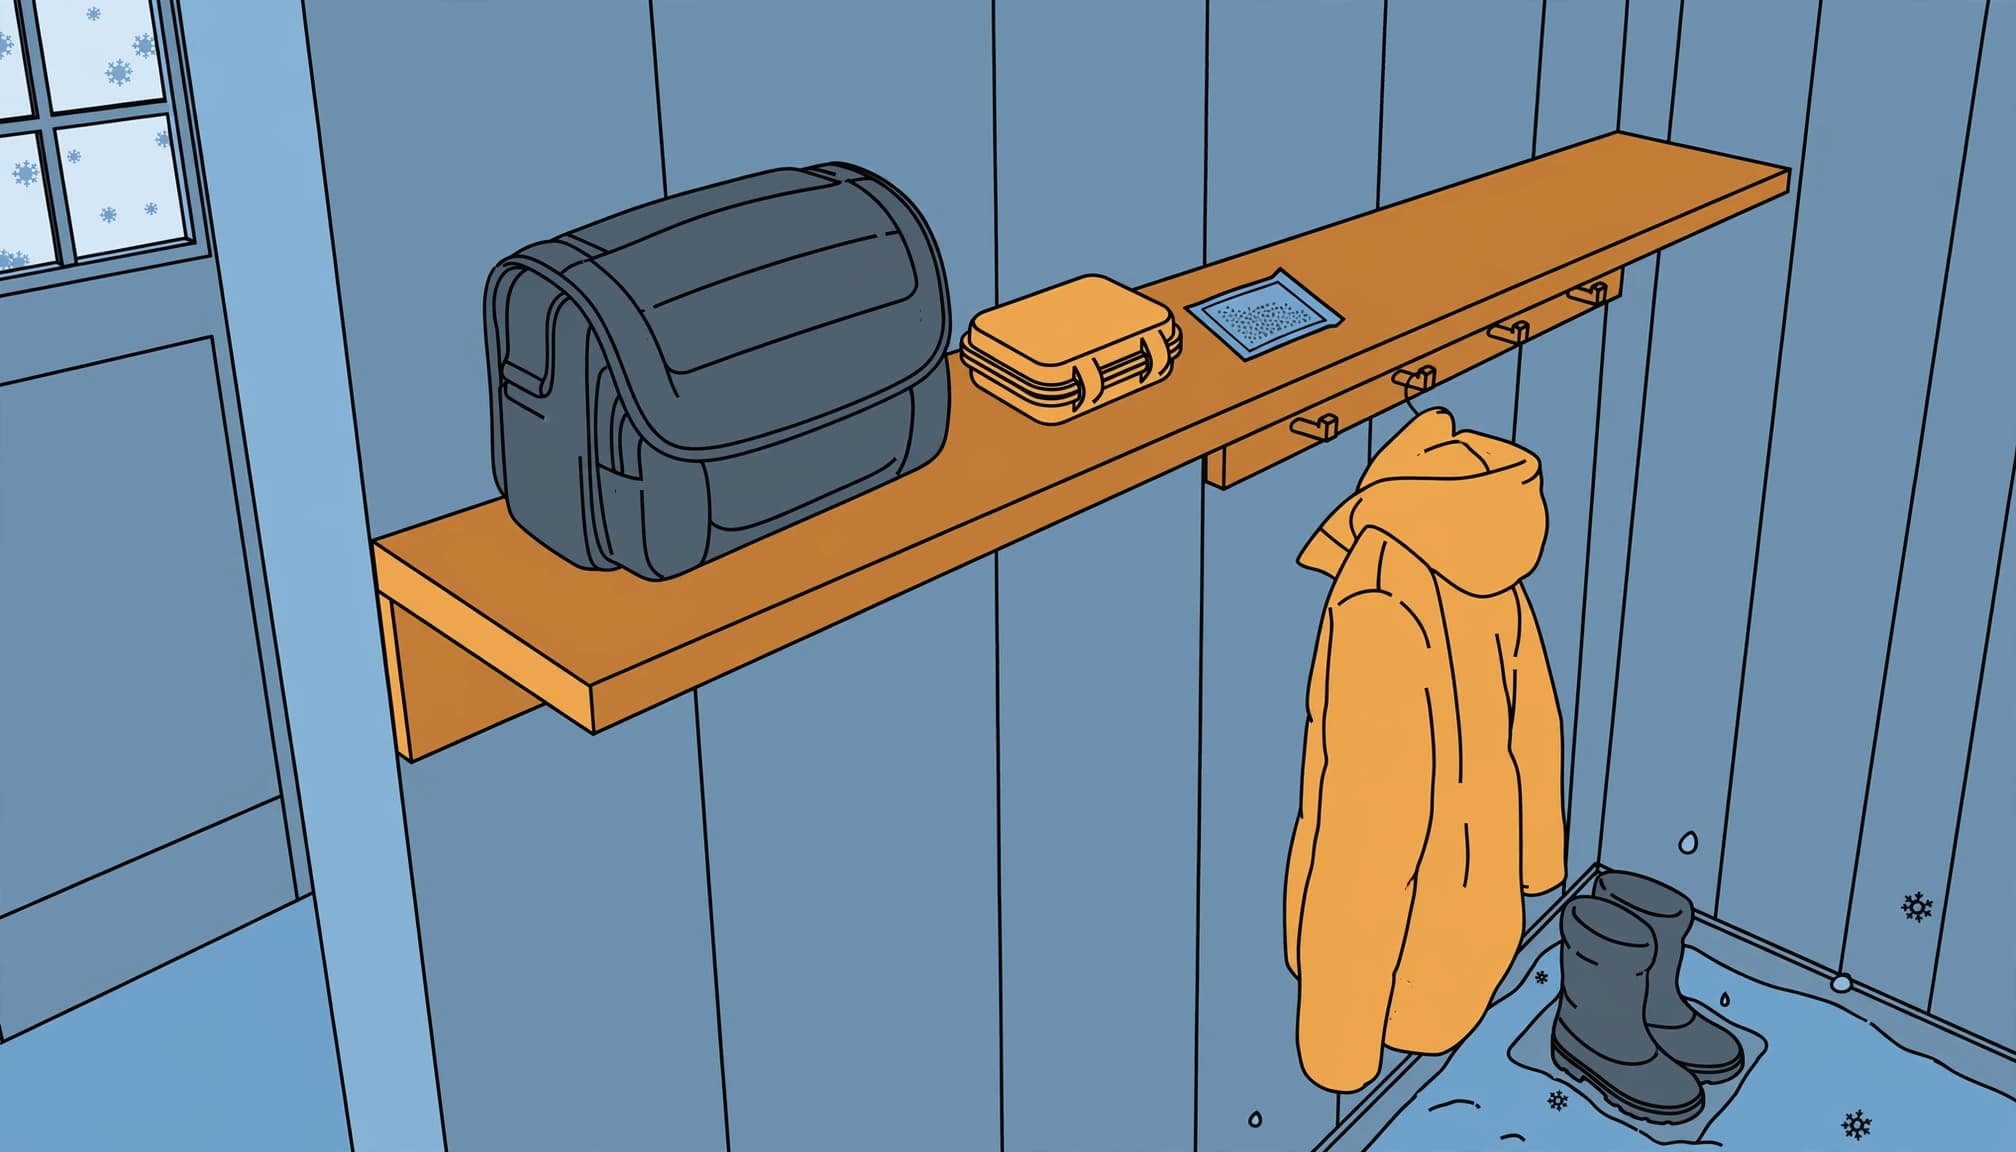
Don’t put the bag on a radiator or use a hair dryer to speed things up. Concentrated heat can warm the outside unevenly, and the camera doesn’t need it. A stable indoor spot is enough.
Once the gear has warmed, open the bag and inspect the exterior. Look at the viewfinder and front element as well as the body. If you see moisture, leave the equipment switched off and allow it to dry before using it.
A camera backpack can slow the temperature change, but most backpacks aren’t airtight. For better protection against warm, humid air, put the camera in a sealed bag first, then place that bag inside your backpack.
Pack for the return trip
Keep a dry cloth within reach
Snow and mist create a separate problem from condensation: they can leave water on the camera before you go indoors. Brush away loose snow and gently dab visible moisture before sealing the gear.
Keep one microfiber cloth for the front element and another for the camera body. Store them separately from damp gloves or clothing, so you don’t transfer moisture back onto the equipment.
If grit has landed on the lens, don’t rub it across the glass. Use a camera blower to remove loose particles, then dab the remaining moisture with a clean cloth.
A hood helps keep some falling snow and mist off the front element. For longer periods in wet weather, camera rain covers offer protection while you’re shooting, although a rain cover doesn’t replace the sealed bag for the indoor transition.
Carry a bag that fits your setup
Try the bag with your usual lens attached before a cold outing. It should close without stretching around the camera or leaving the strap caught in the seal.
A spare bag is useful if the first one gets wet inside or tears. Keep it in an accessible pocket, because searching through a backpack at the door makes it tempting to bring the camera straight into the warm room.
What to do if the camera is already fogged
Switch the camera off. If the battery compartment is dry enough to open safely, remove the battery. Avoid charging the camera or connecting a cable while you can see moisture around the equipment.
Set the camera in a dry indoor place and let it warm and dry naturally. If the outside is wet, gently blot the body with a clean cloth, paying attention to moisture around buttons and doors without forcing water into the gaps.
Don’t seal visibly wet equipment in a plastic bag for prolonged storage. A bag is useful as a temporary barrier for cold gear, but trapped liquid needs a way to dry once the camera has warmed.
When the lens fogs on the outside
Once the lens has warmed and the fog is on an accessible exterior surface, gently dab it with a clean microfiber cloth. If the glass is still cold, wiping may clear it only briefly because moisture can form again.
Take care around the focus ring while cleaning. In an account from Bear Lake, a photographer wiped spray from a filter with a gloved hand and nudged the focus ring; the following frame lost the sharpness of the previous shots.
That lesson applies to a fogged front element, too. After cleaning, check focus before making the next important photograph. The advice for keeping lenses clear in mist also applies when droplets gather outdoors.
When moisture appears inside
Don’t attempt to wipe the sensor or take apart a lens to reach internal fog. Leave the camera off and allow it to dry naturally.
If haze remains inside the lens after the equipment has dried, or if the camera behaves abnormally, contact a qualified camera repair service. Persistent internal haze can have causes other than fresh condensation, so more wiping won’t necessarily solve it.
Plan for short indoor stops
A cafe visit can be awkward when you want to warm up but plan to continue shooting. The same rule applies: seal the camera outside and keep the bag closed indoors.
If you’re stopping only briefly, leave the camera sealed rather than opening it at the table. That reduces the chance of exposing cold glass to humid air, and you can return outside with the camera still protected in its bag.
Once outside, remove the camera when you’re ready to shoot. Avoid moving it repeatedly between the warm room and cold street without protection, especially if each stop gives the body time to change temperature.
If you need indoor photographs during the break, plan for the camera to warm before taking it out. A second, already warm camera or phone can be useful when waiting would mean missing the moment.
For more ideas on working in snowy conditions, see these snow photography tips. A dry cloth and an accessible bag are easy additions to a winter kit.
Protect lenses, batteries, and accessories
Treat spare lenses like the camera
A detached lens can fog when it moves into a warm room, even if it has both caps fitted. Seal cold spare lenses before bringing them indoors and give them time to warm before removing their bags or caps.
Leave lens changes until the equipment has acclimated. A cold rear element and lens mount can meet humid air during a swap, while an open camera body exposes its interior. Choosing one lens for a cold outing also reduces the need to change lenses in snow or mist.
Keep batteries dry
Cold can reduce a battery’s usable performance, so carry a spare in an inside pocket while you shoot. Protect its contacts with a battery case or the manufacturer’s terminal cover.
A pocket-warmed spare and a cold battery taken from the camera have been at different temperatures. Keep track of the cold one and let it warm and dry before charging.
Memory cards deserve a dry place, too. If you need to transfer files as soon as you get indoors, remove the card before sealing the camera outside and carry it separately in a protective case. Keep the camera’s card door closed for the transition.
Weather sealing has limits
A weather-sealed camera can offer protection against moisture entering through joins and controls, but it doesn’t make the equipment immune to condensation. Cold surfaces can still meet humid air, and protection varies with the body, lens, and condition of their seals.
Nikon’s cold-weather guidance warns about condensation when cold cameras and lenses move into warm conditions. A sealed camera body deserves the same careful indoor routine as one without weather sealing.
Keep the exterior dry as well. Water left around a battery door can enter when you open it, so blot that area before accessing the compartment. For shooting in rain or snow, a weather-resistant camera is useful protection, but it doesn’t replace a cover or a dry cloth.
Keep the bag by the door
Choose a bag that fits your camera with its usual lens attached. Store it somewhere you can reach before entering a warm building, rather than at the bottom of your pack.
After a cold shoot, leave the sealed camera somewhere safe while it warms. Keep the dry microfiber cloth in a separate pocket.
